How to place climbing nuts
When to use a climbing nut versus a cam, plus how to place climbing nuts for your safety and confidence on the crag

All the latest inspiration, tips and guides to help you plan your next Advnture!
You are now subscribed
Your newsletter sign-up was successful
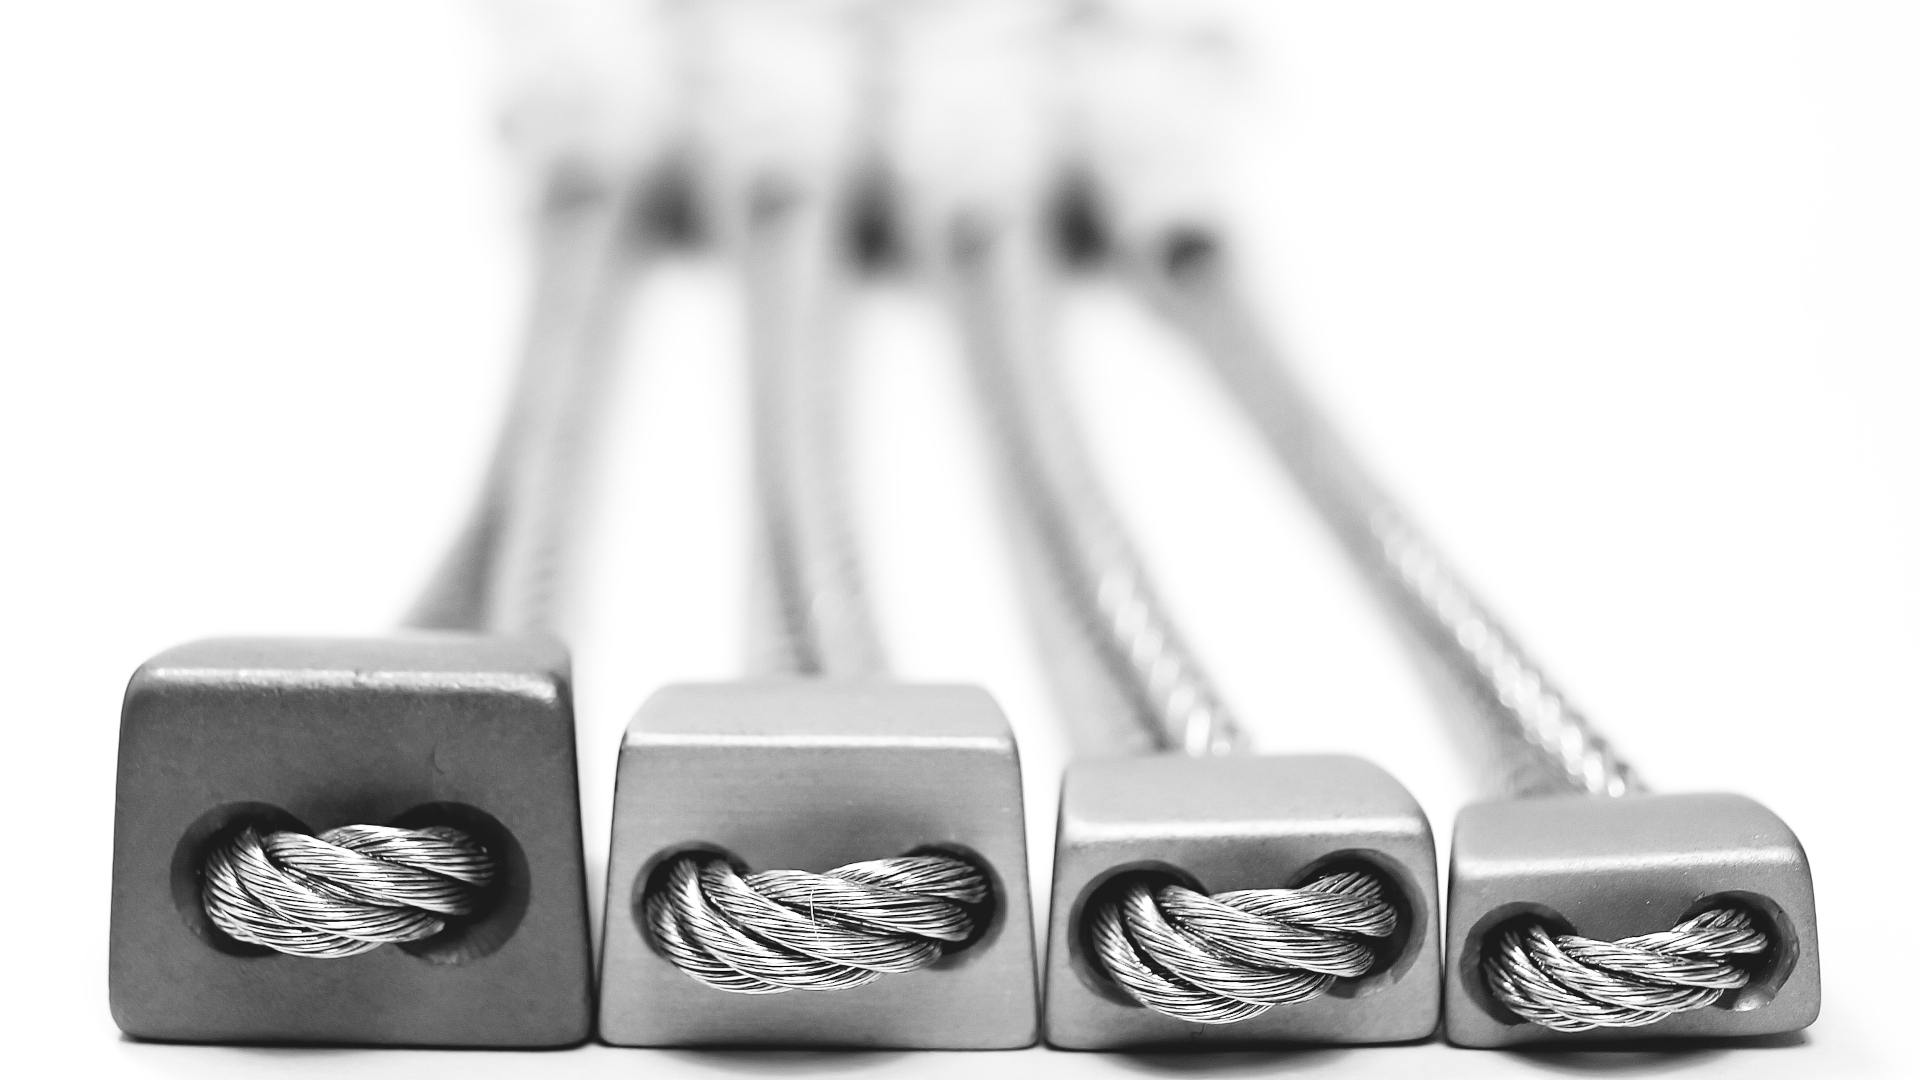
Rock climbing nuts may not provide the same level of versatile, multi-directional protection as cams, but they are still essential gear for any trad climber. Compared to cams, they’re lighter and considerably cheaper, so it makes a lot of sense to have a good set of nuts clipped to your climbing harness, especially for longer routes. But unlike cams, which expand into gaps in the rock and offer active protection (and are easy to remove), climbing nuts are considered passive protection and take a little more finagling to place properly.
Knowing how to place climbing nuts for the best protection allows you to save your pricey cams for when you really need them, getting more mileage out of your climbing gear. In this article, we discuss when to use a climbing nut versus a cam, plus how to place climbing nuts for your safety and confidence on the crag. As a disclaimer, this article is for reference purposes only and is not a replacement for climbing with a professional guide.

When to use a nut versus a cam
In an ideal world, you’d place a cam every time you come across a crack. They’re more adaptable, more secure and easy to remove. But their price means you might have less of them than you need, and their size and weight means you can’t possibly carry an infinite number of them up the wall with you.
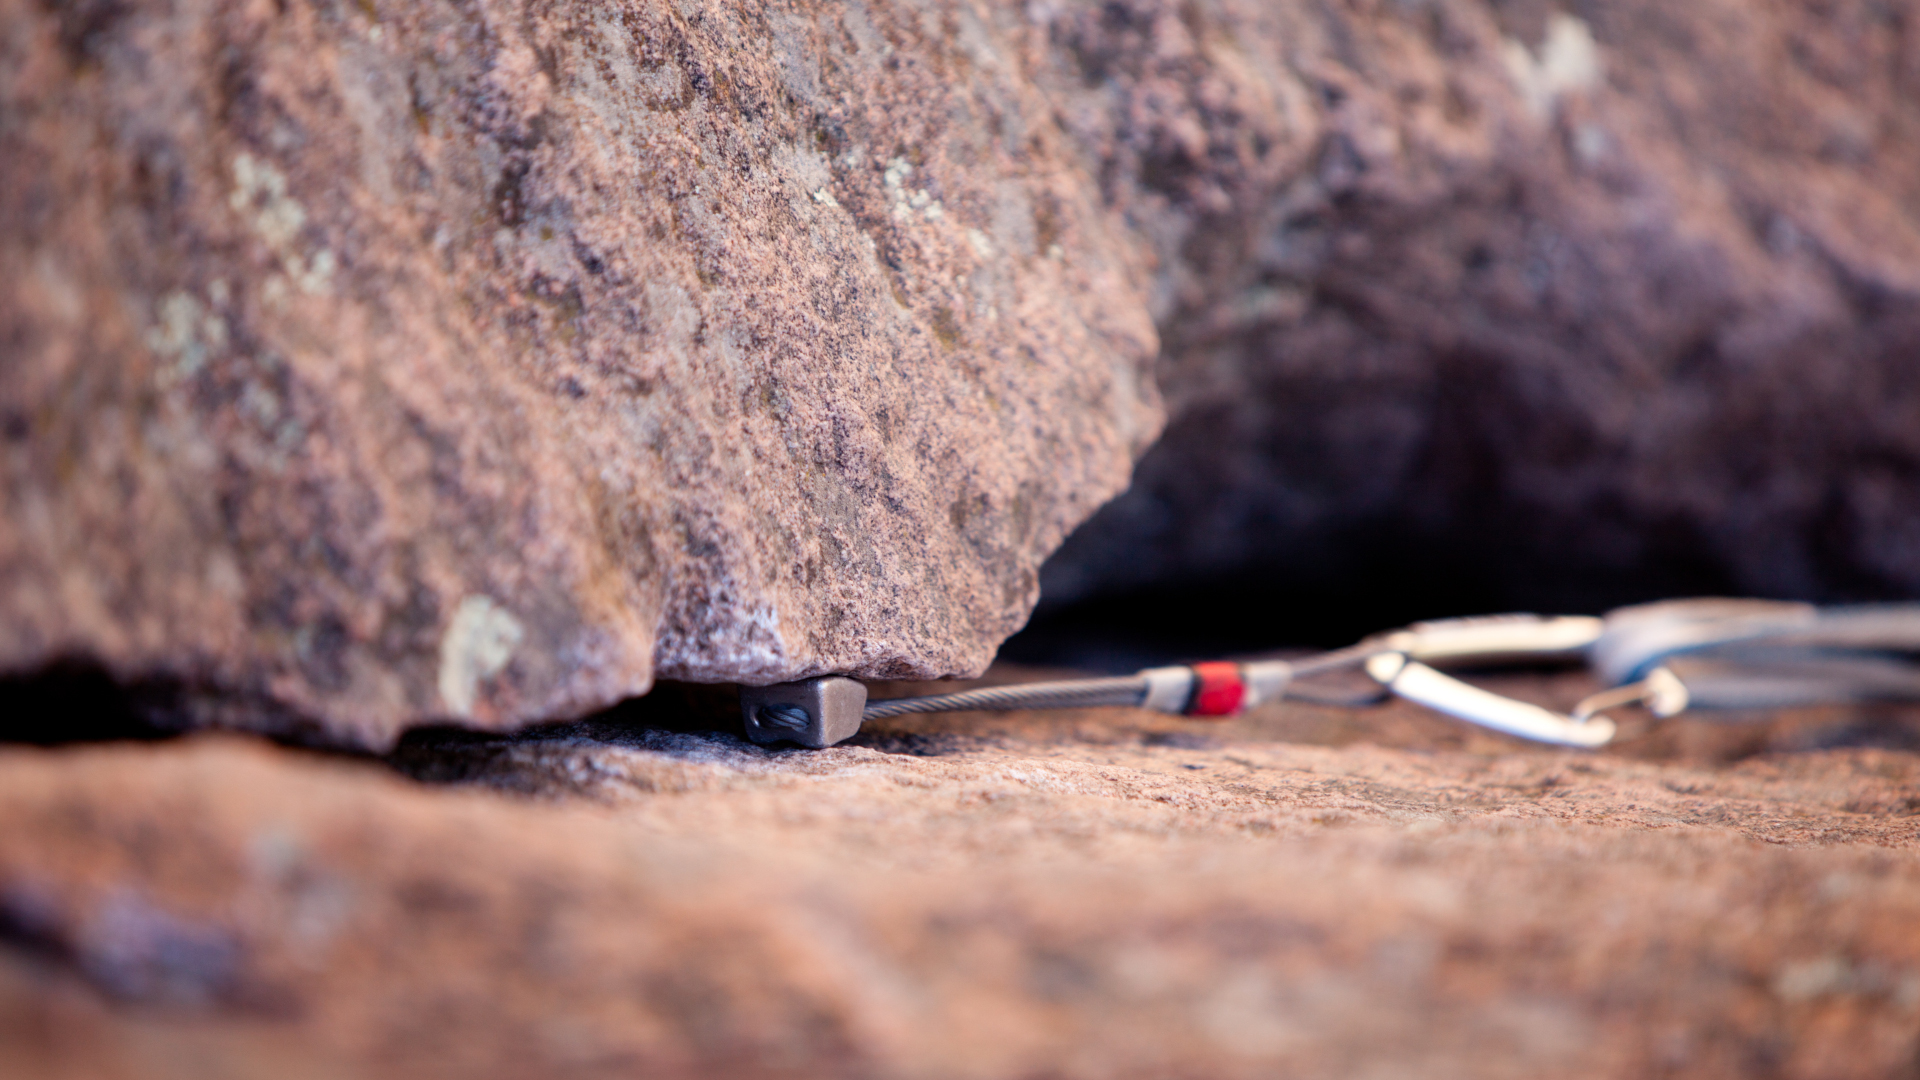
There’s no set scenario then where a nut is preferable over a cam, though your smallest nut should fit into a smaller space than your smallest cam, so tapered cracks that get very narrow at the bottom or at one end are a good place to start. Climbing nuts work in vertical cracks well, and can be used in horizontal cracks too. They can be a little less secure in diagonal cracks where they won’t be pulled directly into the constricting rock when weighted, so in that scenario you should choose a cam if available.

How to place climbing nuts
Because climbing nuts are an important piece of safety gear, it’s a good idea to learn how to use them with a professional guide, and to practice placing them on the ground before you start climbing. Once you’ve had some practice, these are the steps for a basic climbing nut placement:
1. Rack your nuts
Before you head out, arrange your nuts by size from smallest to largest on one or two carabiners and clip to your harness.
2. Check the rock
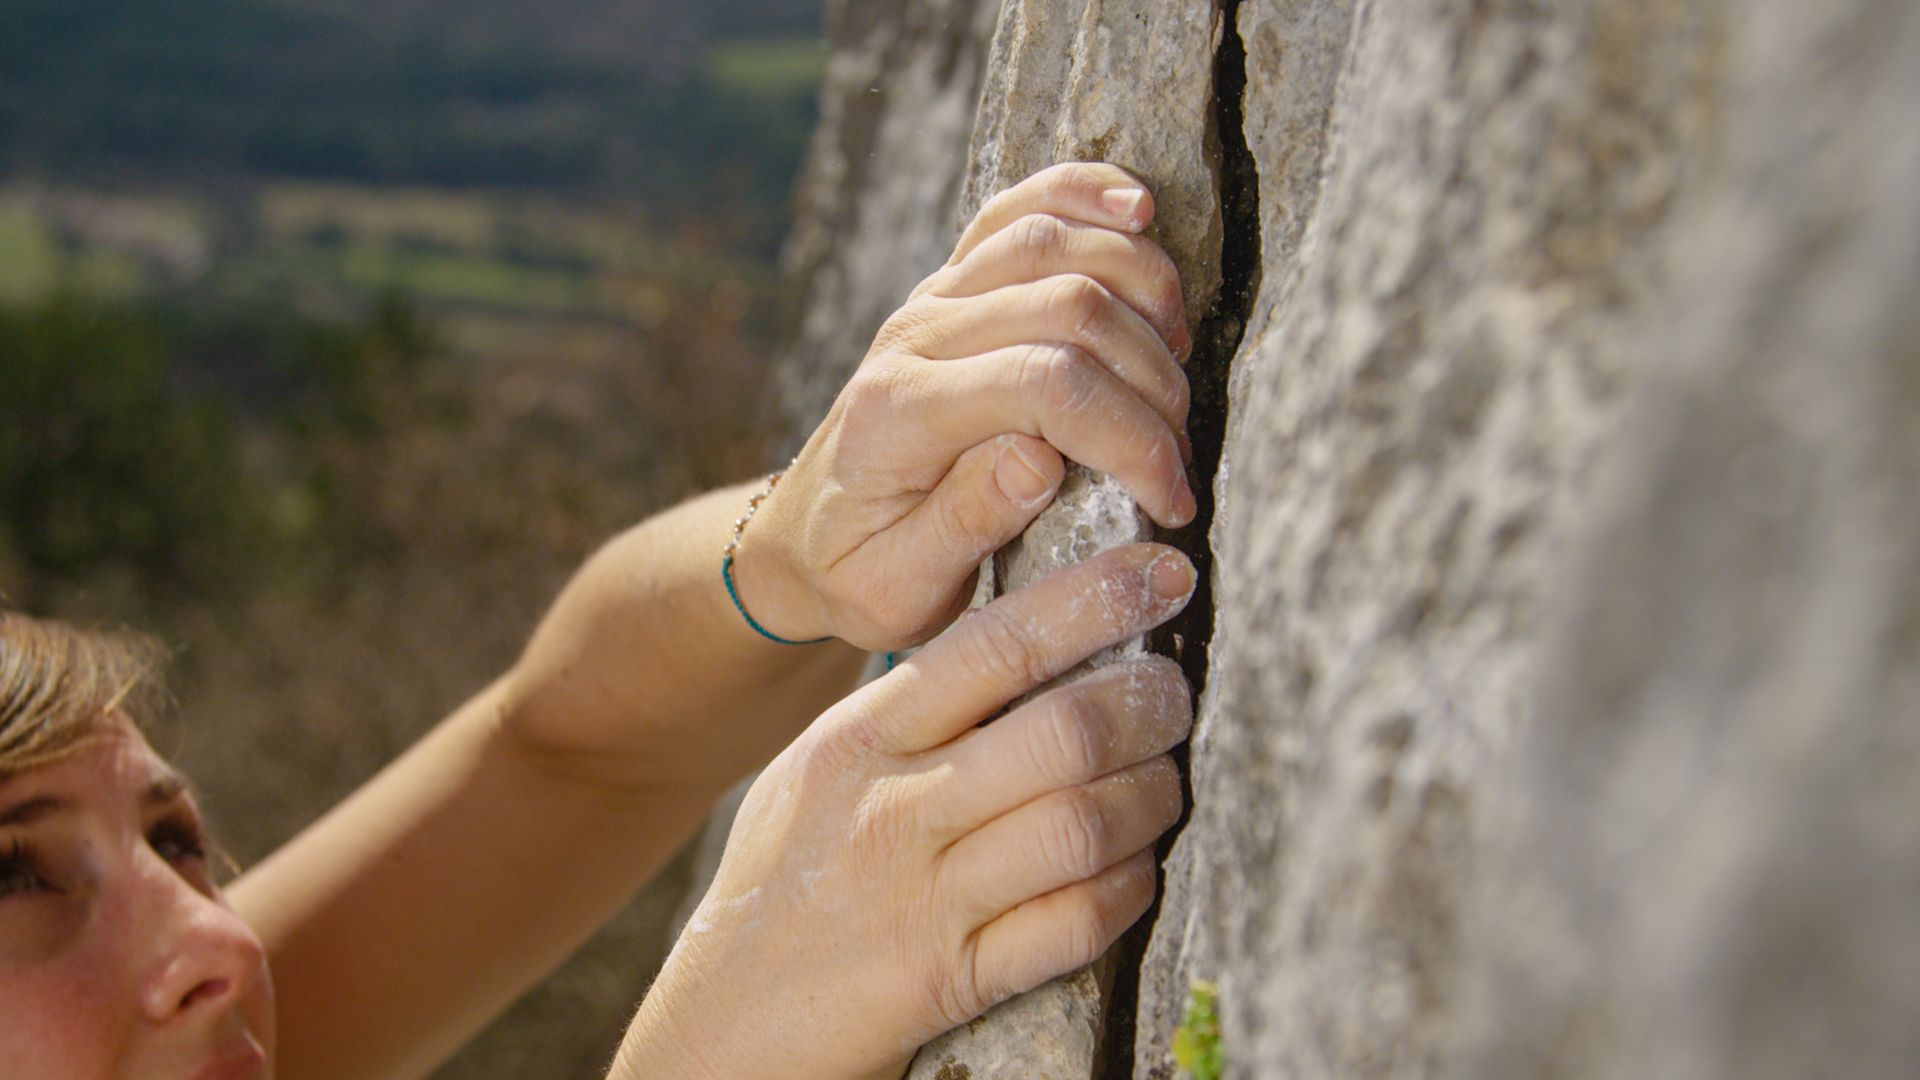
Once it’s time to place some gear, you want to make sure you’re not trying to place a nut in rock that is crumbly or could give way. Grab the rock, try to move it and make a fist and give the rock a good thump to check it’s not going to move on you.
All the latest inspiration, tips and guides to help you plan your next Advnture!

3. Choose a nut
Take the whole carabiner off your harness and start testing nuts to find one that will fit. It needs to be small enough to fit into the wider part of the crack and big enough to work into the narrow end. Remember that climbing nuts are asymmetrical, so there will be four different ways you can position it. When you’ve found the right nut, take it off the carabiner and return the carabiner to your harness.
4. Place the nut
Place the nut into the crack and start to work it down or along to where the crack narrows. Sometimes a crack will be narrow towards the front and wider at the back so you may have to pull the nut towards you to wedge it in place. Holding the loop, work the nut in as tightly as you can then so that it has as much surface contact with the rock as possible. You should still be able to see the nut in the rock once it is placed.

5. Check the nut
Before you clip your rope in, hold the loop on the nut and pull down to make sure it will stay in place in the direction it would be pulled if you fell. It’s also good practice to pull up and check the nut will stay in place. Even though you can't fall upwards, if your upward movement once you start climbing dislodges the nut, it could be disastrous if you then take a fall. If you’re worried about the nut moving once you start climbing, clip a sling and a quickdraw to it to create more distance between your rope and your gear.
6. Remove the nut
You can often remove a nut by hand, however it’s a good idea to carry a nut tool in case you can’t so you don’t have to leave your gear in the wall. If your partner is cleaning, make sure they have the tool. Tap your nut from below (or from the narrowest side) with the end of the tool to work it back towards the wider end of the crack.
Julia Clarke is a staff writer for Advnture.com and the author of the book Restorative Yoga for Beginners. She loves to explore mountains on foot, bike, skis and belay and then recover on the the yoga mat. Julia graduated with a degree in journalism in 2004 and spent eight years working as a radio presenter in Kansas City, Vermont, Boston and New York City before discovering the joys of the Rocky Mountains. She then detoured west to Colorado and enjoyed 11 years teaching yoga in Vail before returning to her hometown of Glasgow, Scotland in 2020 to focus on family and writing.

