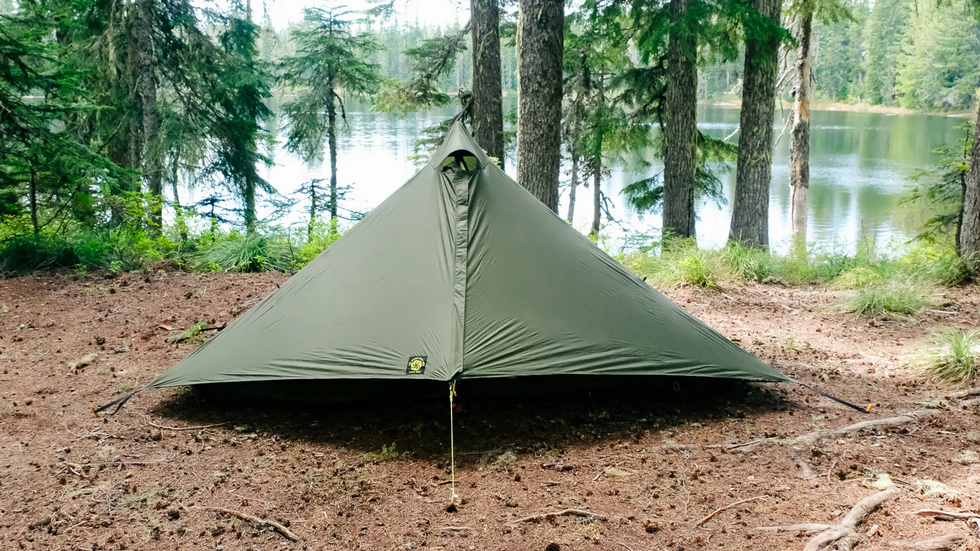
How to waterproof a tent: protect your shelter in 5 easy steps
Learning how to waterproof a tent will save your shelter from springing adventure-ending leaks on your camping trips and expeditions. Here's how...

All the latest inspiration, tips and guides to help you plan your next Advnture!
You are now subscribed
Your newsletter sign-up was successful
Knowing how to waterproof a tent will not only keep your camping trips and backcountry expeditions on track, it will also increase the lifespan of your beloved shelter. After repeated use, whether its multiple car camping holidays or nights spent wild camping in the wilderness, your tent is going to take something of a beating from wind, rain, UV rays, mud and other forms of wear and tear.
This elemental bombardment will eventually lead to your flysheet’s Durable Water Repellent (DWR) coating becoming compromised. The point of waterproofing your tent is to restore your shelter to rainfall-ready status, so that it can battle the elements like a fabric superhero once more.
You will know when it’s time to waterproof a tent when water stops beading and rolling smoothly off your flysheet and starts soaking in, which eventually leads to leaks. Even the very best camping tents won’t stay waterproof forever so, if you value your favorite shelter, the time will come where you have to give it some TLC.
Follow our simple 5 step guide below and you’ll be back out there in no time.

How to waterproof a tent: step-by-step instructions
Step 1
Wait for a dry day then pitch the tent outside (need help with how to pitch a tent?). Brush off any obvious mud, then use a clean, non-abrasive sponge, water and a dedicated tent cleaning agent, such as Fabsil Tent + Gear Cleaner, Nikwax Tech Wash or Fenwick’s Cleaner for Awnings and Tents, to wash both the flysheet and tent inner. Rinse well with a watering can or gentle hose after cleaning.
Step 2
Once the tent is clean, follow the instructions on a specialist waterproofing product – Nikwax Tent & Gear SolarProof, for example, is best applied to a clean, wet tent, while Fabsil Gold Universal Protector needs a clean, dry tent.
Step 3
Using a clean paint brush or pump spray, cover the outside of the flysheet with an even coating of the waterproofing agent. Do not waterproof the tent inner, because this will stop it from breathing. Pay special attention to seams, which are a common point of weakness in any tent’s defences against H20. Complete each panel before moving on to the next to avoid tide marks, and wipe away surplus product with a damp cloth.
All the latest inspiration, tips and guides to help you plan your next Advnture!
Step 4

To waterproof a tent, this stage is just as crucial: leave the re-waterproofed shelter to dry completely.
Step 5
When the tent is completely dry, pack it away ready for your next camping adventure. Don't know the best way to store it? Our guide on how to store a tent has you covered!
After spending a decade as editor of Country Walking, the UK’s biggest-selling walking magazine, Jonathan moved to edit Outdoor Fitness magazine, adding adrenaline to his adventures and expeditions. He has hiked stages or completed all of the UK's national trails, but was once overtaken by three Smurfs, a cross-dressing Little Bo Peep, and a pair of Teletubbies on an ascent of Snowdon. (Turns out they were soldiers on a fundraising mission.)

