How to pack a cooler for camping
Our guide to how to pack a cooler for camping can help your steaks stay cold and will ensure you don’t spend the whole trip rummaging through soggy food
All the latest inspiration, tips and guides to help you plan your next Advnture!
You are now subscribed
Your newsletter sign-up was successful
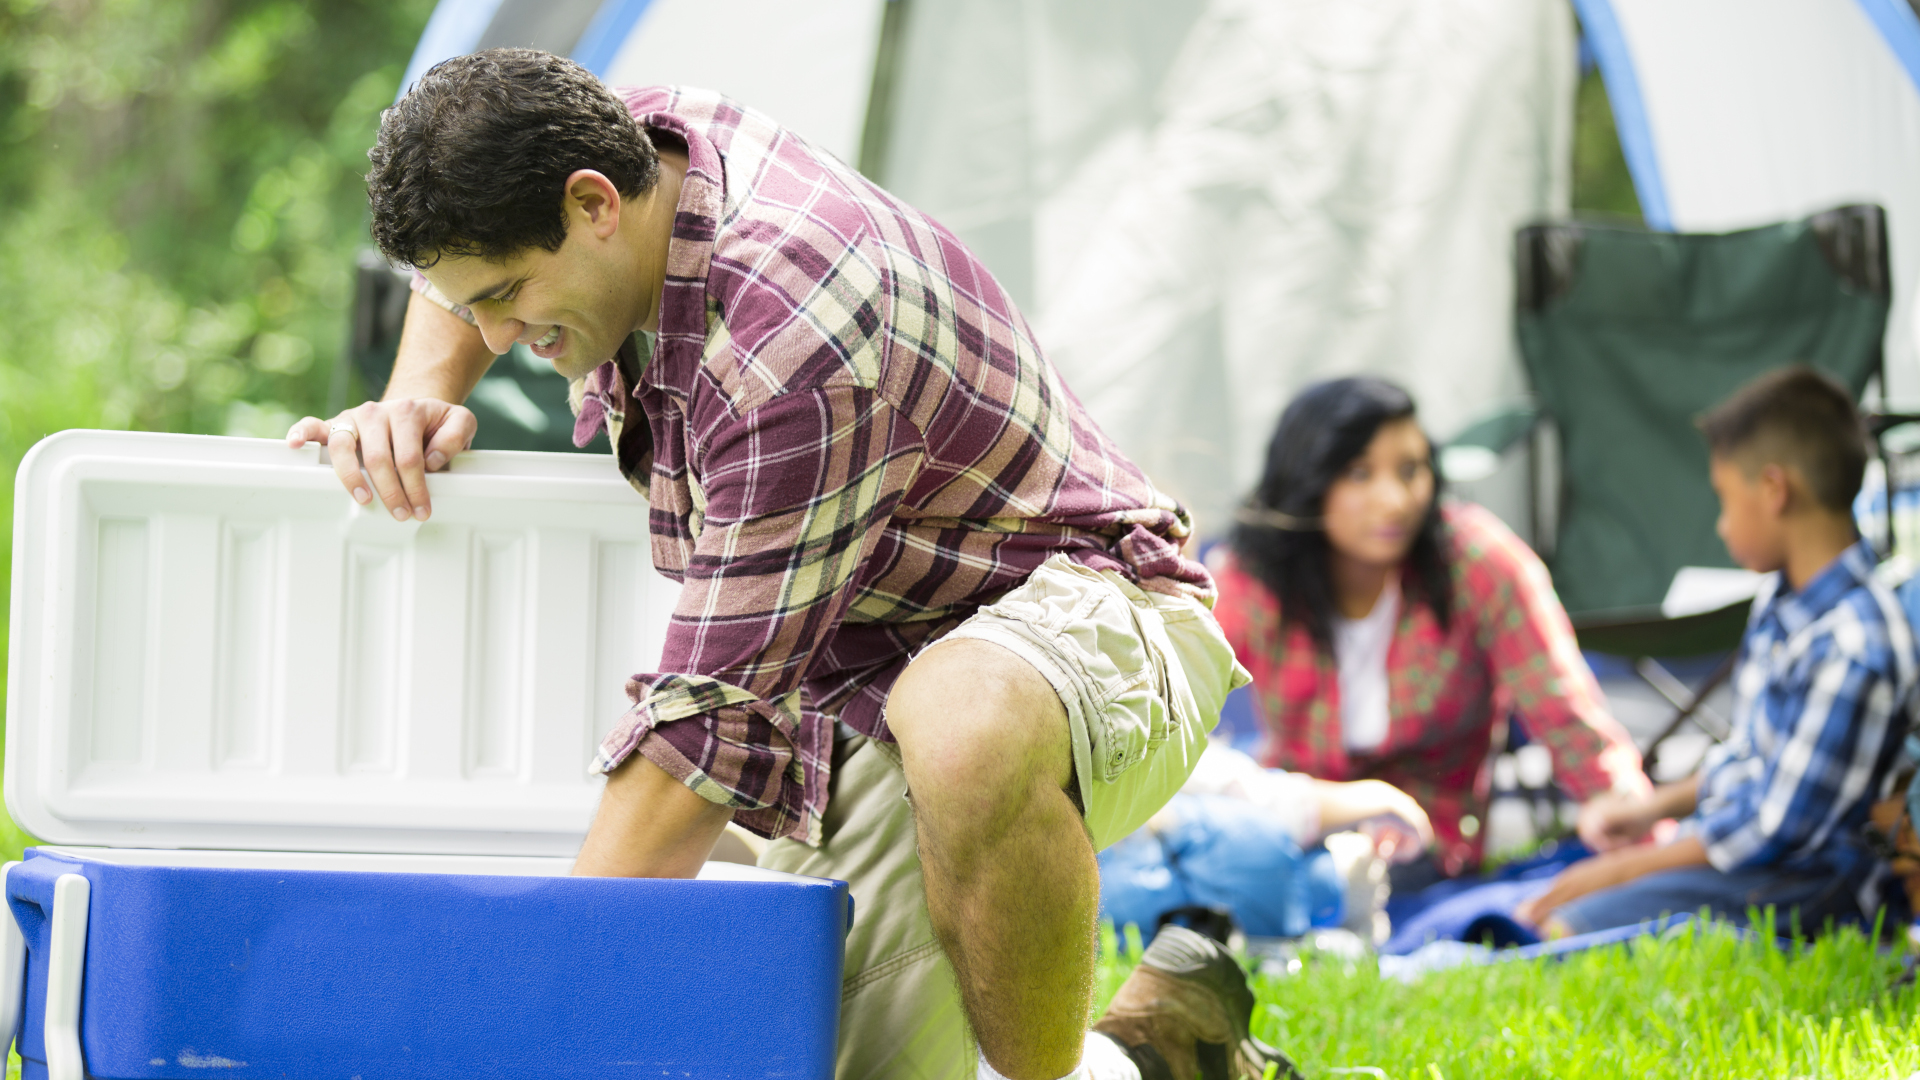
Overnight adventures in the great outdoors should be paired with the best camping meals enjoyed round the campfire, but all the fun and effort that goes into planning your camping menu goes out the window if you don’t know how to pack a cooler for camping properly. If you just tip your groceries into your cooler and head for the hills, you might get out the door faster but you’ll spend half your trip rummaging through increasingly soggy food and probably end up just living on potato chips.
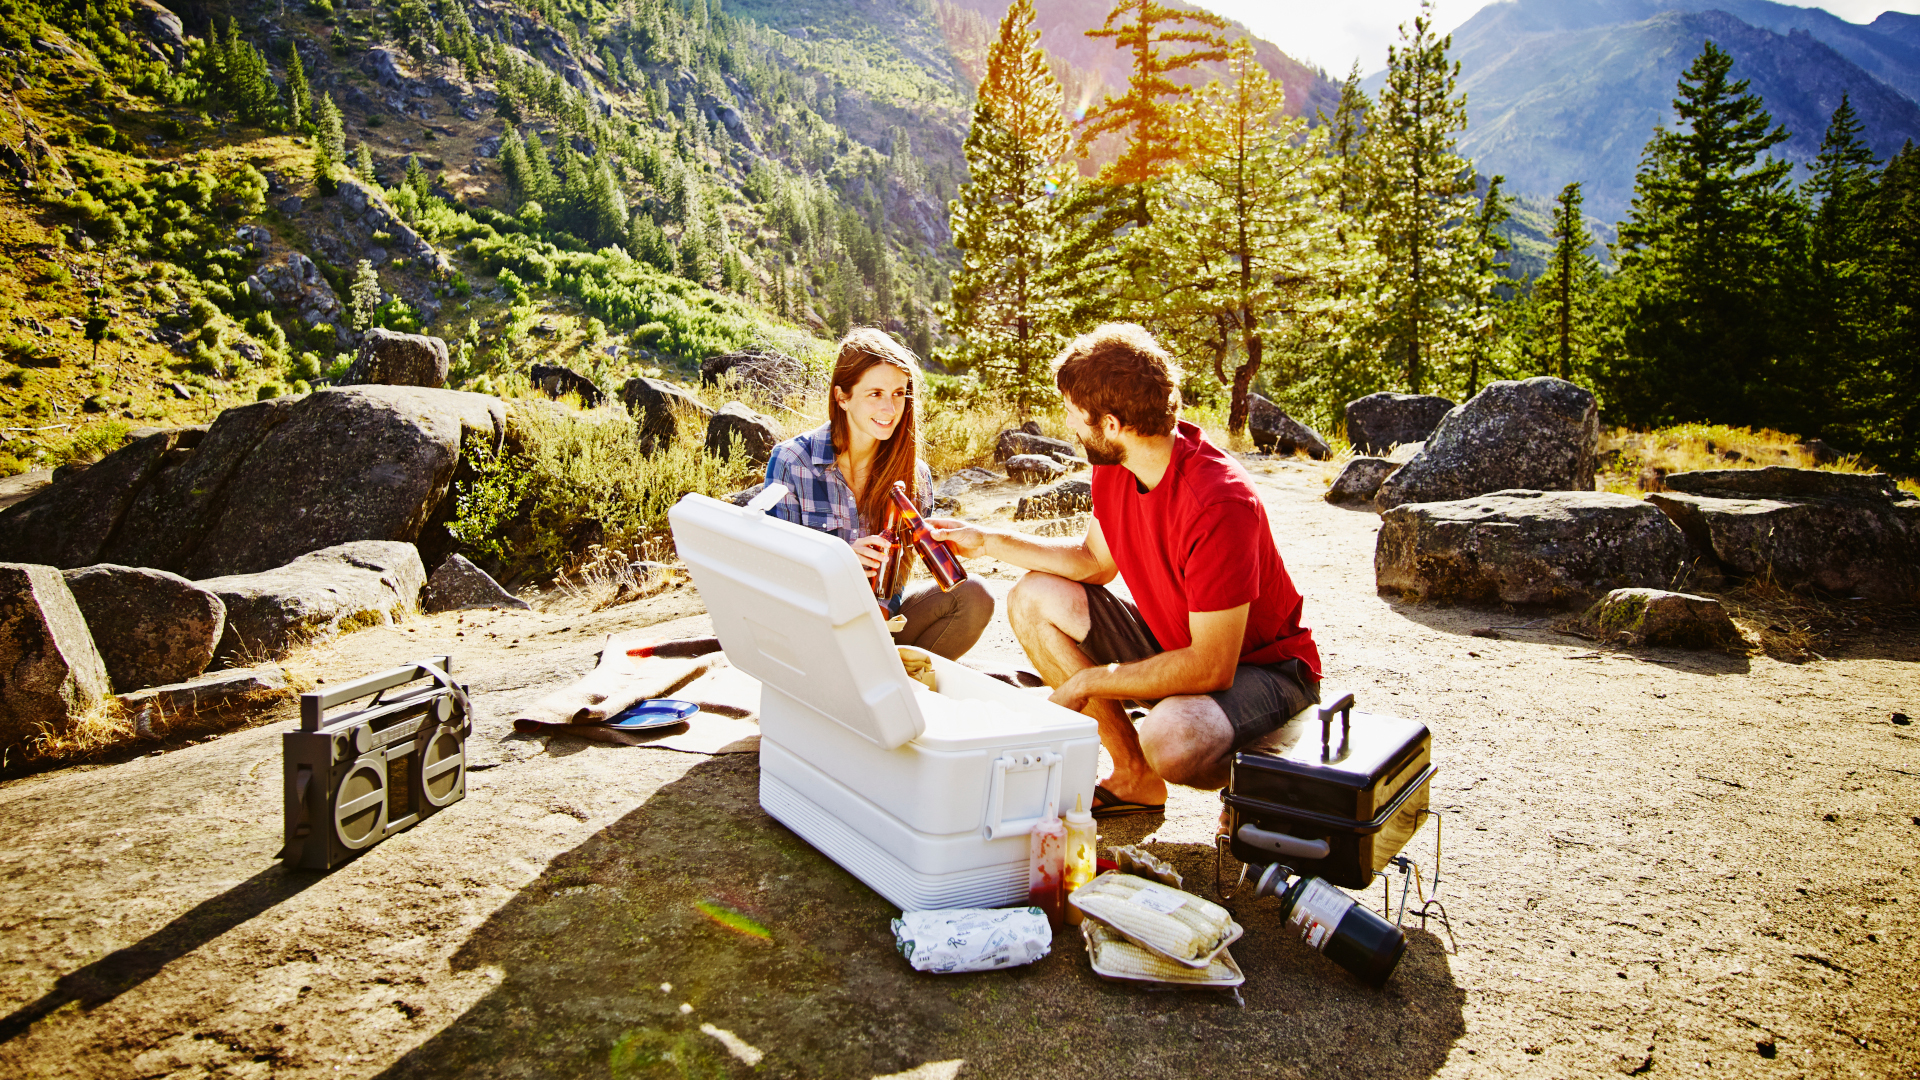
Knowing how to pack a cooler for camping helps to keep your food cold, and therefore fresh, but it also makes sure you can find what you want faster, keeps food from getting contaminated and stops the delicate stuff from getting squashed. Grab your best camping cooler and follow our steps for packing your food like a pro so once you’ve pitched your tent, you can start cooking dinner with ease, whether you’re cooking on a double burner stove or grill or over the open flame of the fire.
How to pack a cooler for camping
1. Prep your food in advance
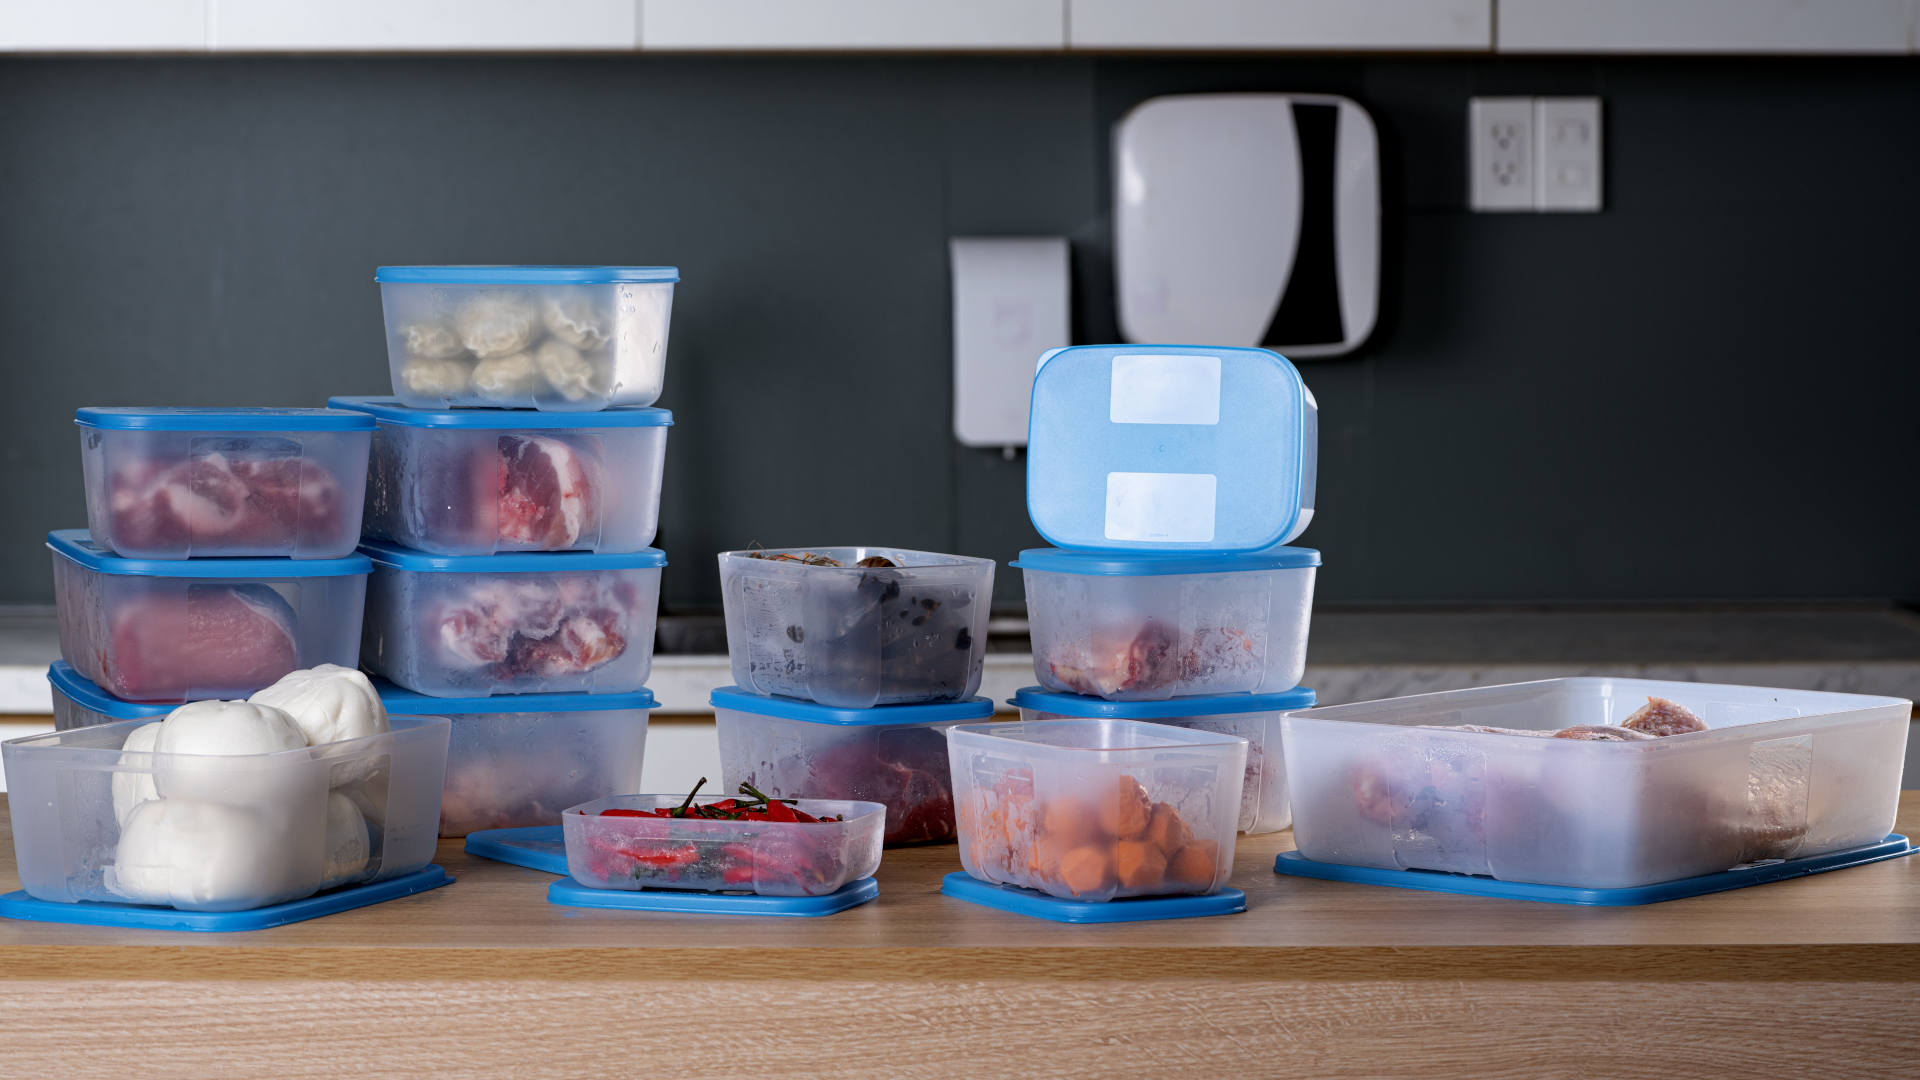
As the saying goes, well begun is half done. If you just dump your groceries into your cooler, you’ll need to bring more gear to do food prep at camp, and you might not be able to utilize the full capacity of your cooler properly.
Rather than keeping your food in the bulky – and often non-waterproof – packaging it comes in, unpack your food and prep it all in advance. Slice up meats, cheese and veggies so you don’t have to bring a cutting board and as much as possible and pack them inside sealed, reusable waterproof containers – either tupperware or if the food isn’t too fragile or Ziploc bags which take up less space. Yogurt can be stored into more sturdy mason jars while condiments and other liquids can be decanted into smaller bottles. To make life even easier, you can stick labels on top of each container indicating what’s inside so you don’t have to open each and every one looking for the sandwich meat at lunchtime.
For a big camping trip, this might mean more containers that you own, but the more you do this, the less you have to worry about soggy food or contamination.
2. Place ice at the bottom
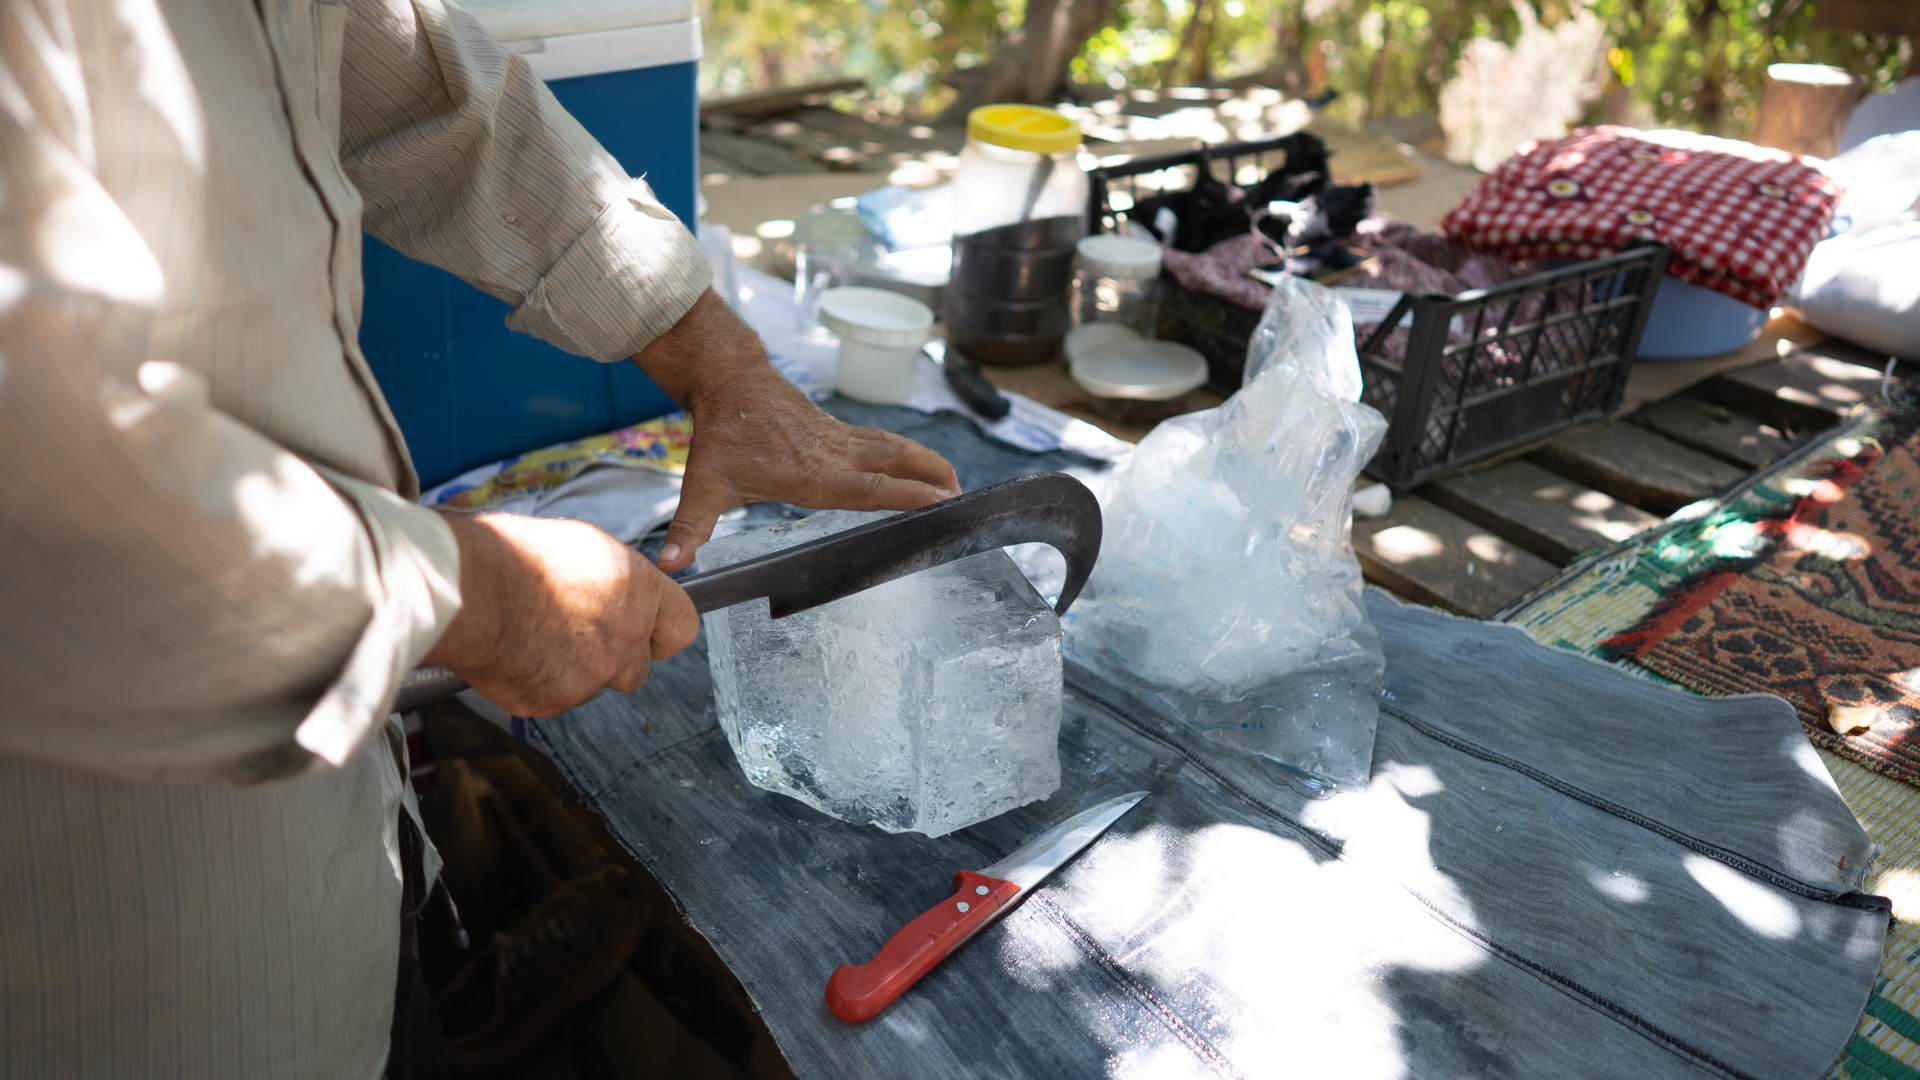
The old school method of packing your cooler and then pouring a bag of ice cubes in to fill the gaps only gets you soggy food faster, and also means more rummaging through ice to get to that string cheese you want for your snack.
Cool air sinks so you want your ice at the bottom of the cooler, before any food goes in. We’re big fans of skipping the ice cubes altogether and using large blocks of ice or ice packs which stay frozen longer, but you’ll want to cover these with a layer of plastic to protect your food from the ice. Read more tips on how to your food cold while camping if you’re going away for a few days or camping in hot weather.
All the latest inspiration, tips and guides to help you plan your next Advnture!
3. Pack perishables first
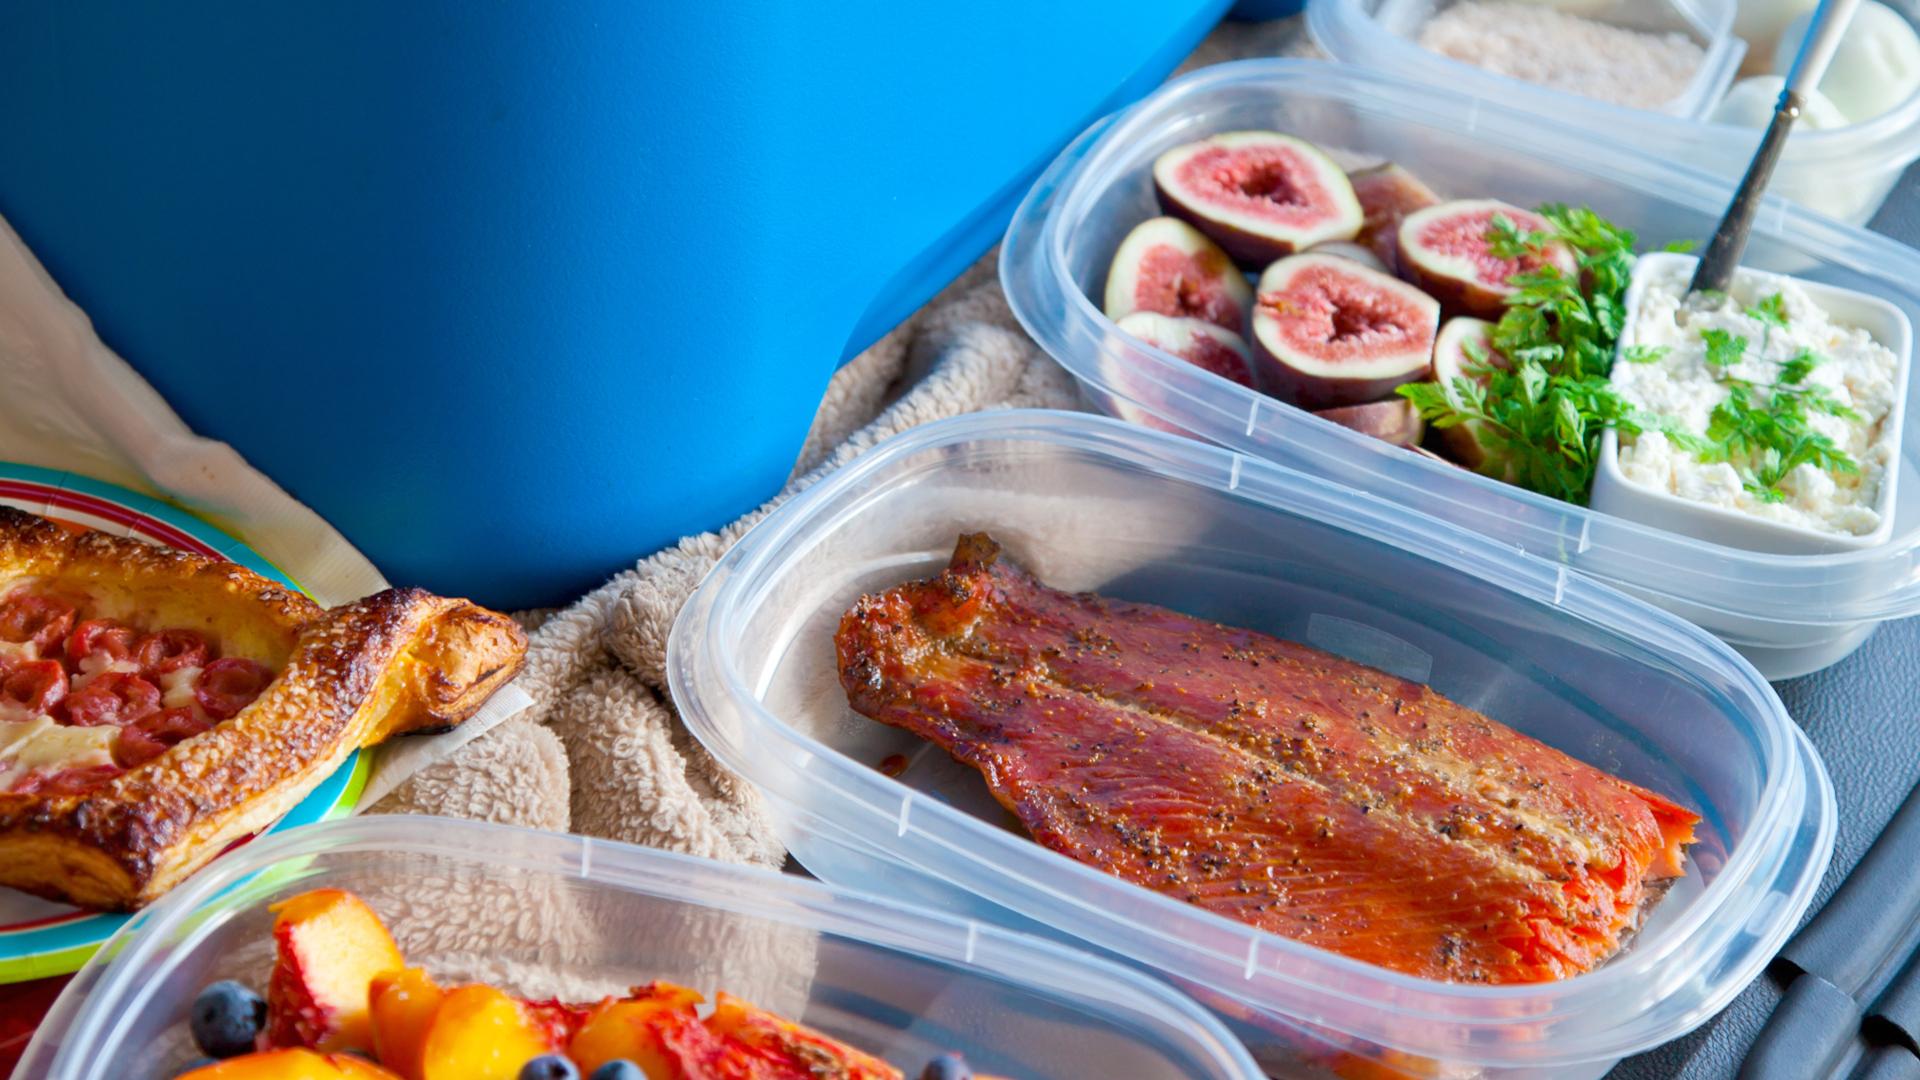
Place your most perishable items – like meat, milk, cheese and yogurt – on or as close to the ice as possible to keep them from spoiling. If you’ve packed these items in individual, sealed containers, you won’t have to worry about contamination, but if you’ve decided to skip that or don’t have enough containers, make sure any meat is at the bottom and well sealed to avoid contamination, and place any dairy on top of it.
4. Place items you want close to hand in the middle
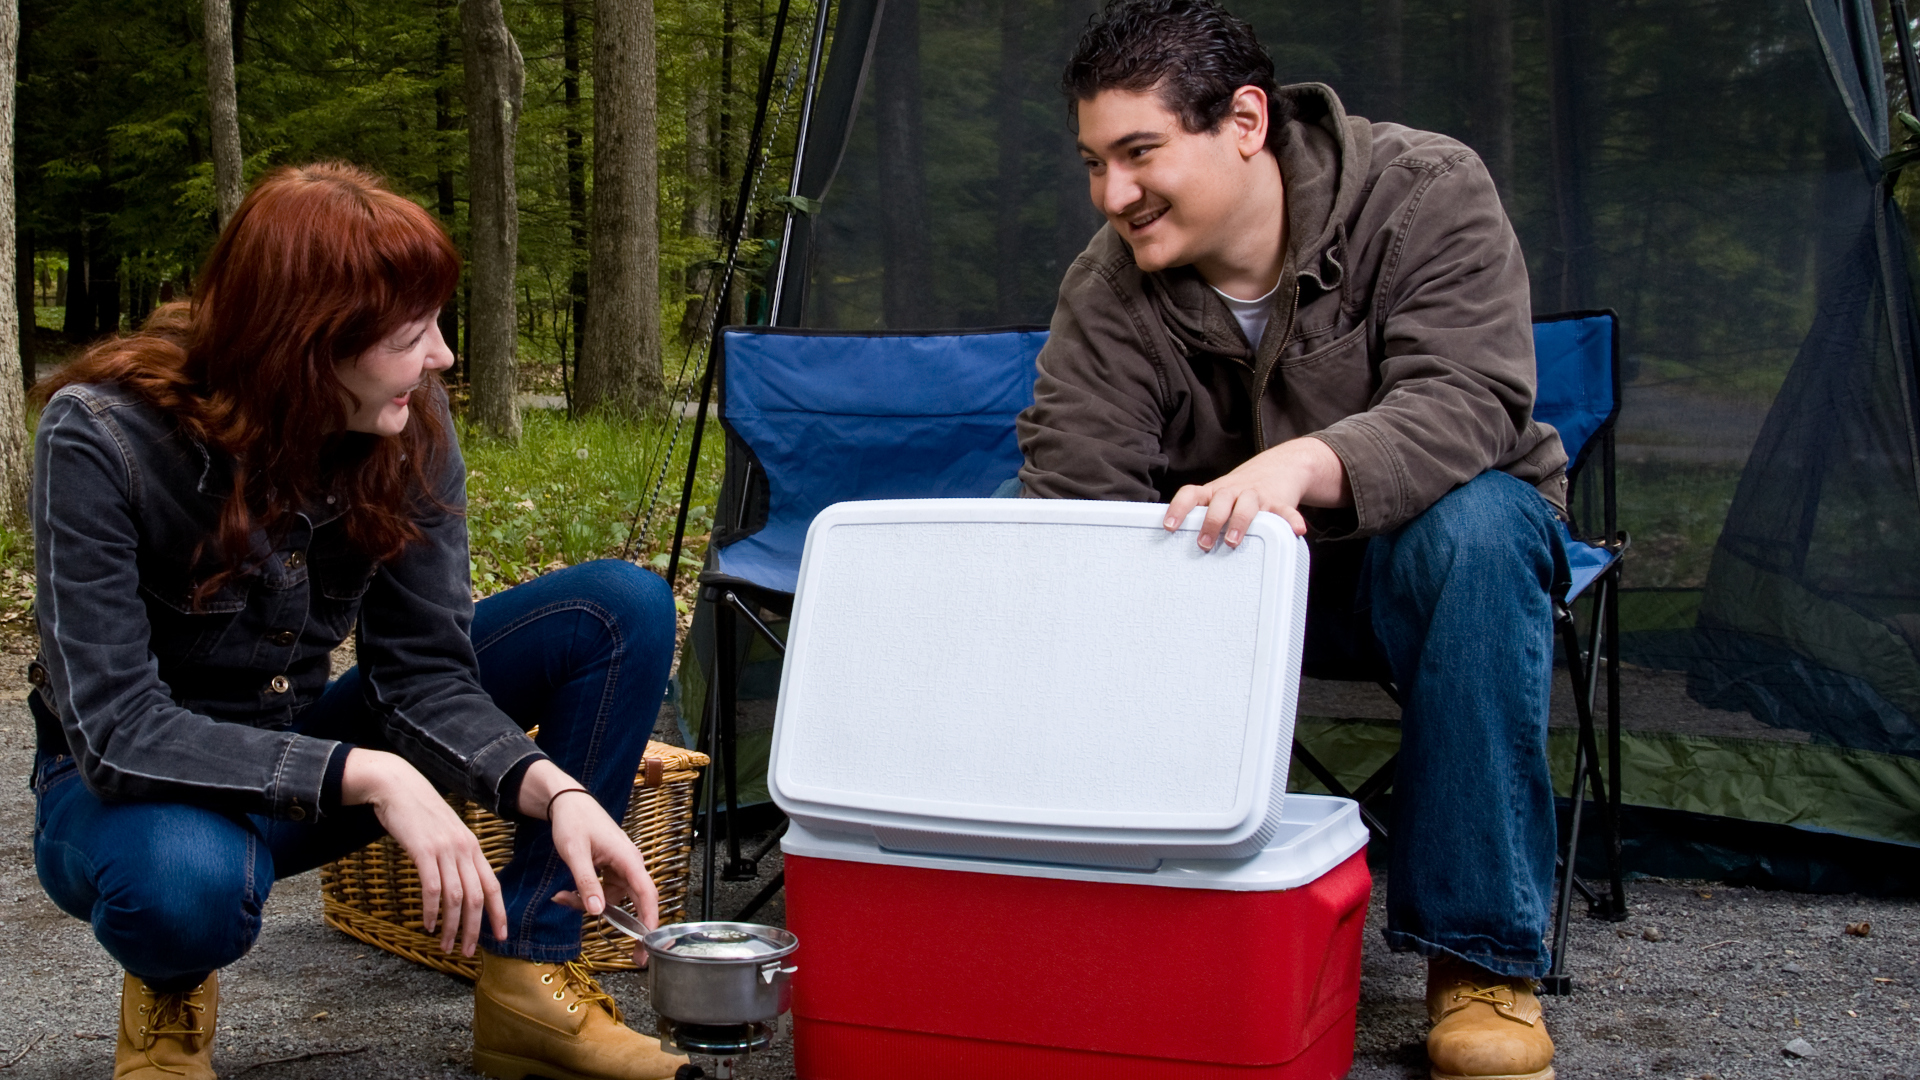
Next, place any items that you want close to hand and aren’t fragile towards the middle of the cooler – this can include sturdy vegetables like baked potatoes and pre-sliced carrots and peppers, prepared meals that you just want to grab and heat up, sandwich fillings and of course any snacks that need to be kept cold.
The more air circulating inside your cooler, the faster it will warm up, so pack your cooler tightly, and fill any gaps with smaller items – but beware of packing small items that you might want to access regularly towards the bottom just to fill space, as the longer you have your cooler open trying to find them, the faster your ice will melt.
5. Put fragile items at the top
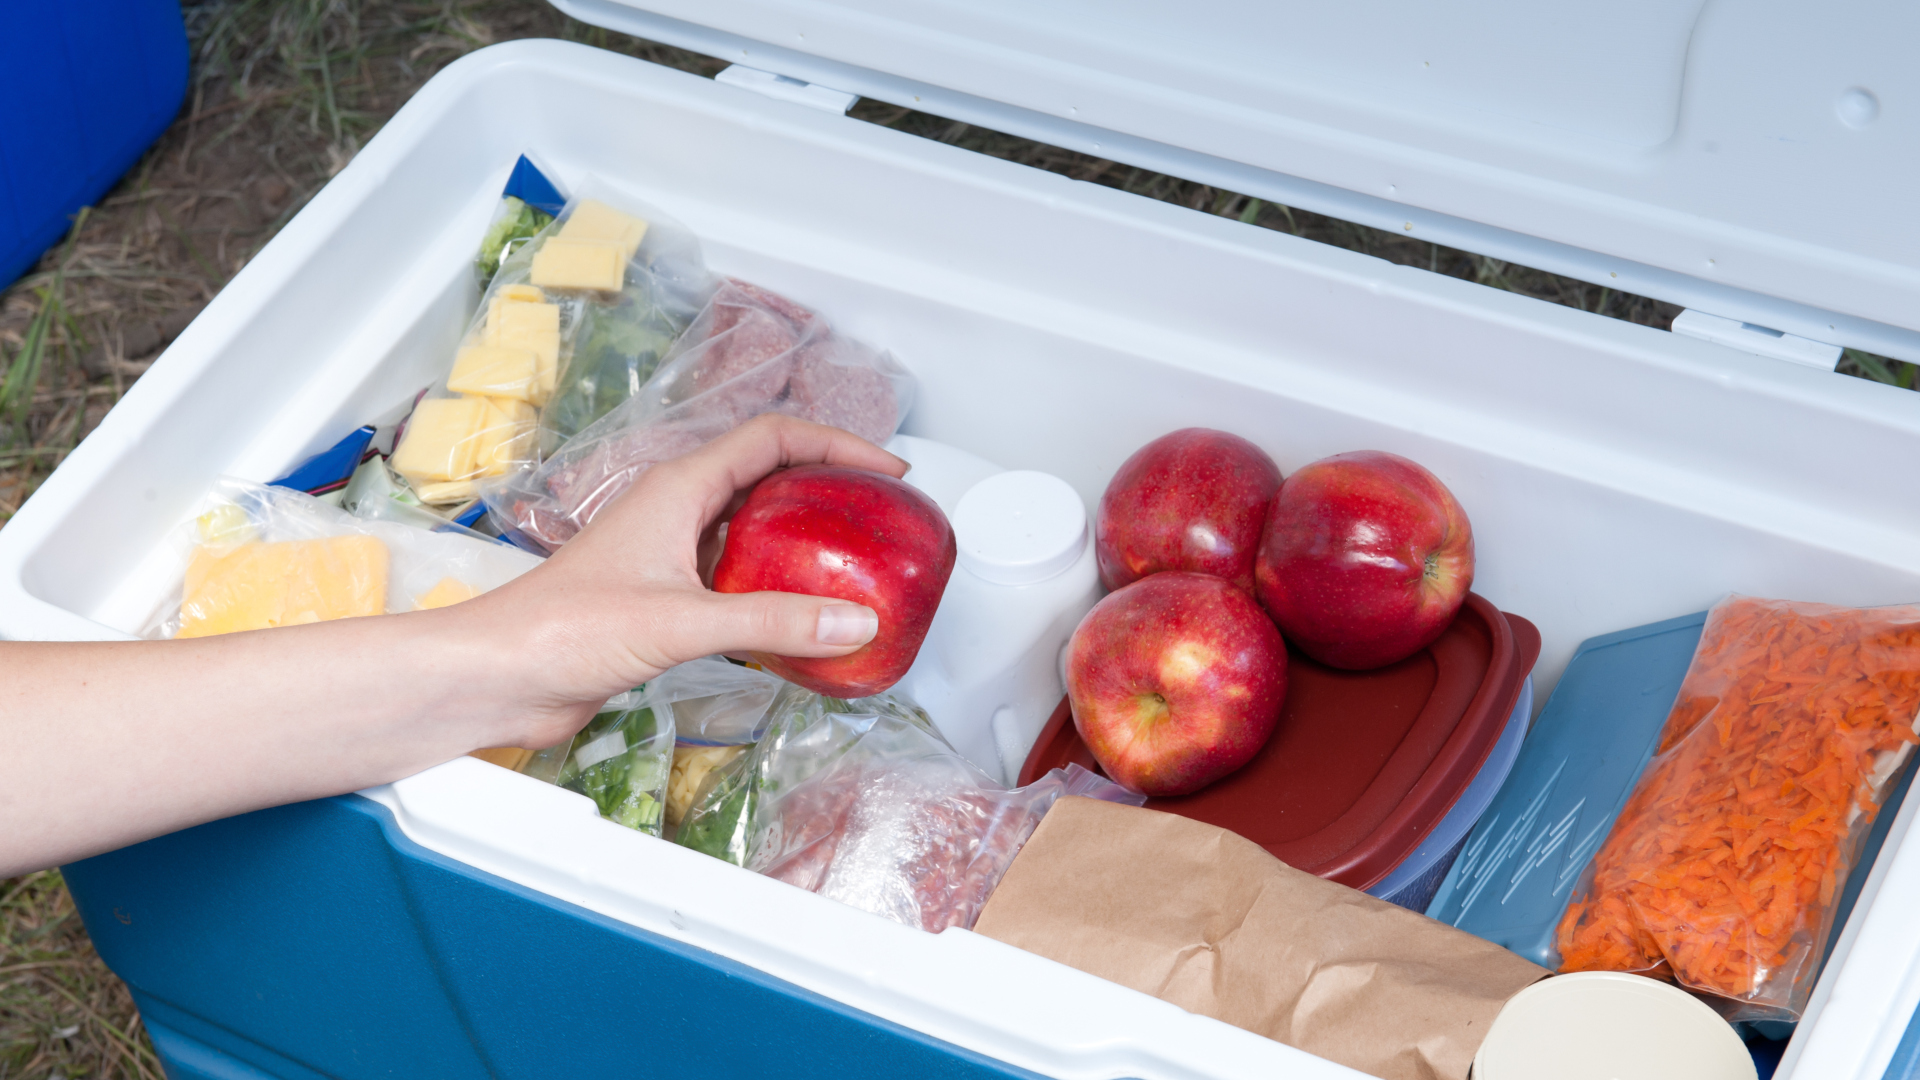
Save fragile items, like bananas, berries and eggs, for the top of the cooler so they don’t get squashed. Again, you can also pack these inside plastic containers to protect them. If everything is packed inside containers, simply make sure perishable items are at the bottom to keep them coldest, and then pack everything you want easily accessible towards the top.
Julia Clarke is a staff writer for Advnture.com and the author of the book Restorative Yoga for Beginners. She loves to explore mountains on foot, bike, skis and belay and then recover on the the yoga mat. Julia graduated with a degree in journalism in 2004 and spent eight years working as a radio presenter in Kansas City, Vermont, Boston and New York City before discovering the joys of the Rocky Mountains. She then detoured west to Colorado and enjoyed 11 years teaching yoga in Vail before returning to her hometown of Glasgow, Scotland in 2020 to focus on family and writing.
