How to seam seal a tent
Your definitive guide to seam sealing your tent – in four simple steps

Seam sealing is the action of applying a waterproof sealant to the seams of your tent to ensure no water gets through. Popular with many lightweight models and tents made from silnylon, it both waterproofs and strengthens your tent – if it’s done right.
So, if your brand-new tent has just turned up and you’re horrified to see that you’ve got to seam seal it before you put it up against a deluge of rain, don’t worry. The process is quick and painless and can be done in a few hours on a dry afternoon. Here’s how you seam seal a tent.
What’s up with seam sealing, anyway?
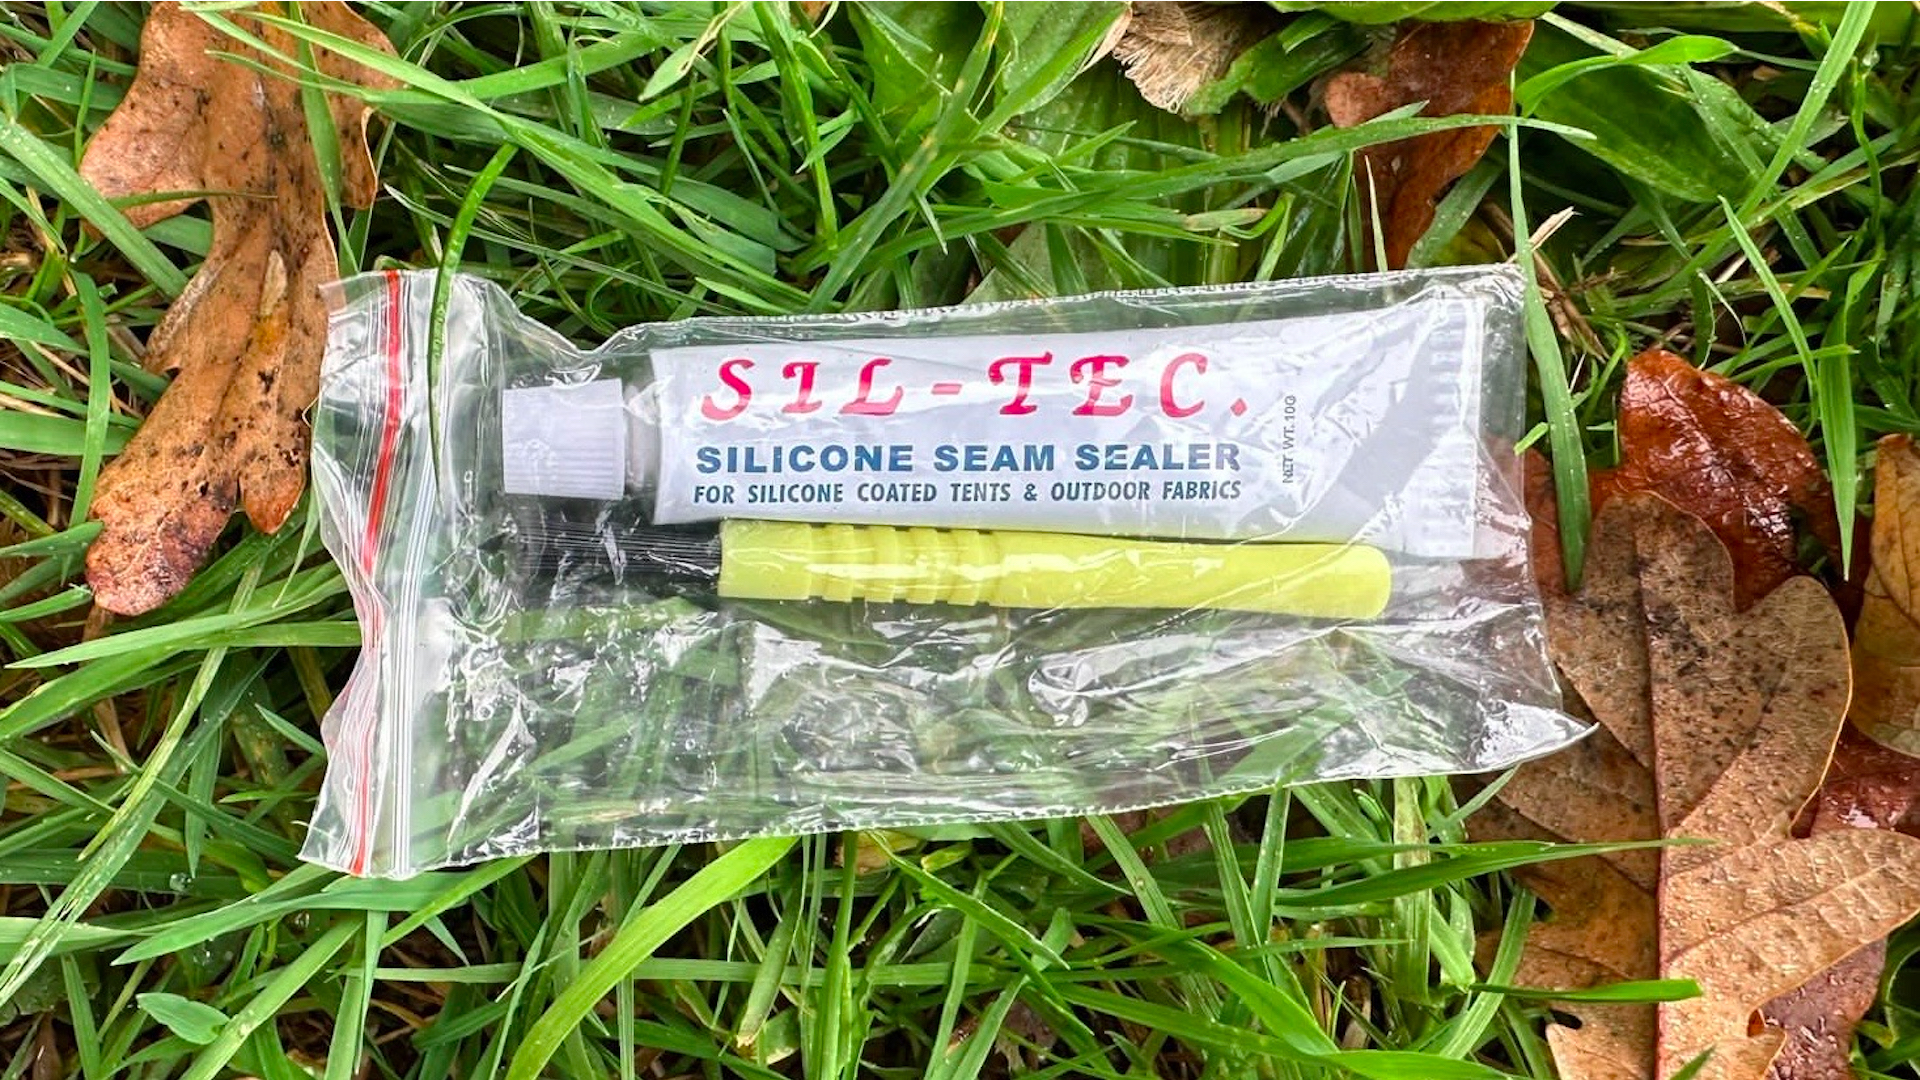
Seam sealing is the act of applying a waterproof silicone sealant to the seams along the inside of a tent. This closes any holes left during the stitching process, making the tent both more durable and fully waterproof, and it’s pretty common on ultralightweight lines or tents with silnylon flysheets.
The reason for it is simple: nothing sticks to silicone, so flysheets manufactured from silicone can’t be seam-taped, which is popular on polyester models. Instead, more silicone needs to be applied along each seam to plug the holes, which is an incredibly easy process. You need no prior experience or skills to do a good job, and it can be done well in just a few steps. Therefore, in order to keep the price of the tent low, many manufacturers hand over this final stage of the manufacturing process to the consumer. As, otherwise, you’d have to pay the premium hourly rate it would cost for an engineer to apply the sealant in the factory.
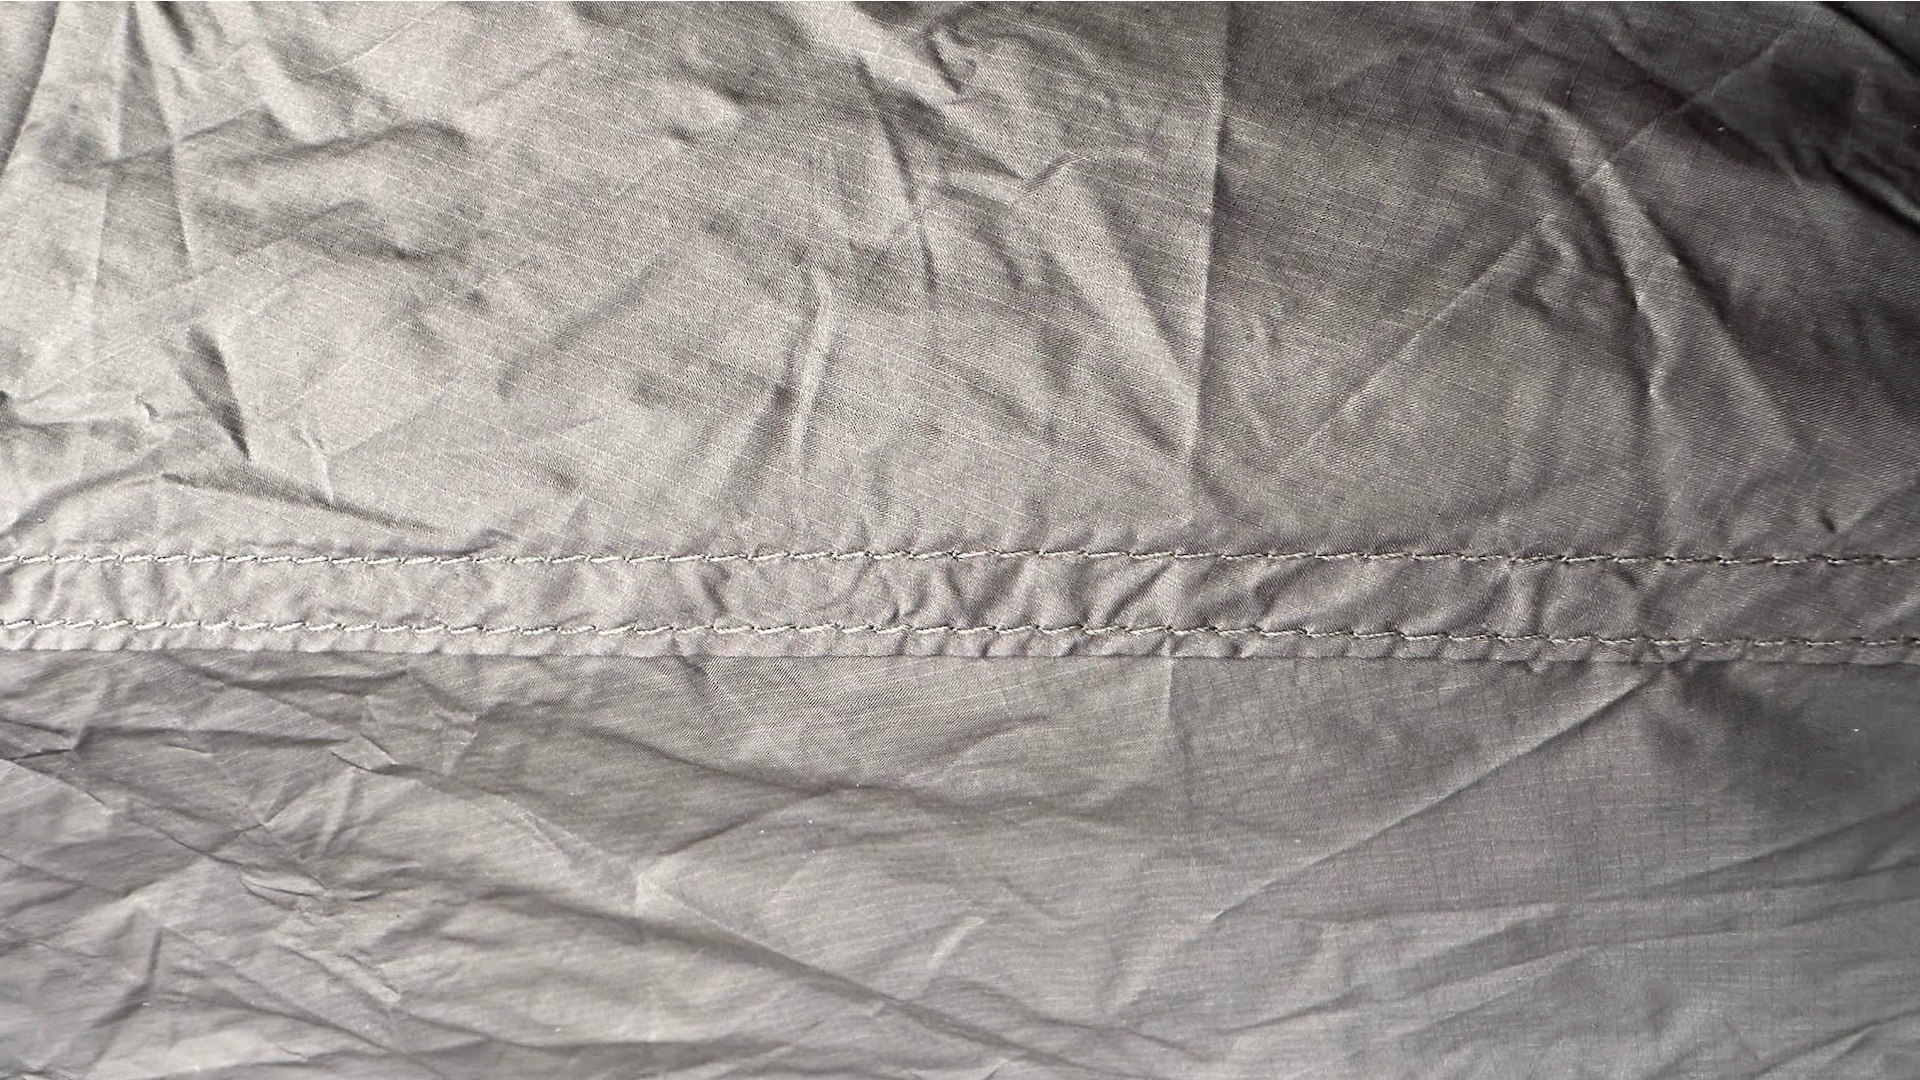
What’s more, sealing the seams of most tents isn’t strictly necessary. Silnylon swells when wet, which plugs most holes left during the manufacturing process. Naturally, water will still seep through in sustained rain, but it won’t flood your tent in most cases. Some may seep through the seams, but this will be minimal and would cause very little disruption in already very disruptive weather. So why pay for something you potentially don’t even need?
That said, to reinforce the seams and to sleep soundly safe in the knowledge nothing is ever getting in, I’d still err on the side of caution and seam seal a tent when the manufacturer suggests it. So here’s how you do just that – in four quick steps.
Setting the scene for seam sealing
Before you actually start applying sealant to your tent, you need to first make sure the conditions are suitable for doing so. It’s important that you pitch the tent somewhere it’ll remain reliably dry (which, for most of us, will likely mean doing so outdoors on a day on which there’s no rain forecast). You also need to let the sealant dry for about eight hours after you’ve applied it, ideally somewhere where the temperature doesn’t drop below around 10-15°C
All the latest inspiration, tips and guides to help you plan your next Advnture!
1. Pitch your tent

The first thing you want to do is pitch your tent. And how you do this depends on which side of the flysheet you want to seam seal as it can be applied to either side of your tent. To keep things tidy and make sure no ugly streaks of silicone are visible, I always prefer to seam seal the seams on the underside of the flysheet, though it’s entirely up to you which side you apply the sealant to.
To do this, you’ve got two options. You can simply remove the inner and squat inside, or you can remove the inner and pitch the tent inside out. As I was sealing the seams of the Nortent Vern 1 during this demo – a one-person lightweight backpacking tent that’s decidedly low to the ground – I reversed the fly and pitched the tent inside out for easy access to all seams that needed sealing.
2. Prep the seams
Next up, you need to prep your seams. You will need to remove any dirt and grime that might have entered the seams before you start sealing by wiping things down with a rag or going over the seams with a brush. And even if you’ve not used the tent yet, this step is still crucial: during manufacture, transport or storage, dust particles might have built up along the seams, so wipe these down to be thorough.
3. Apply the sealant
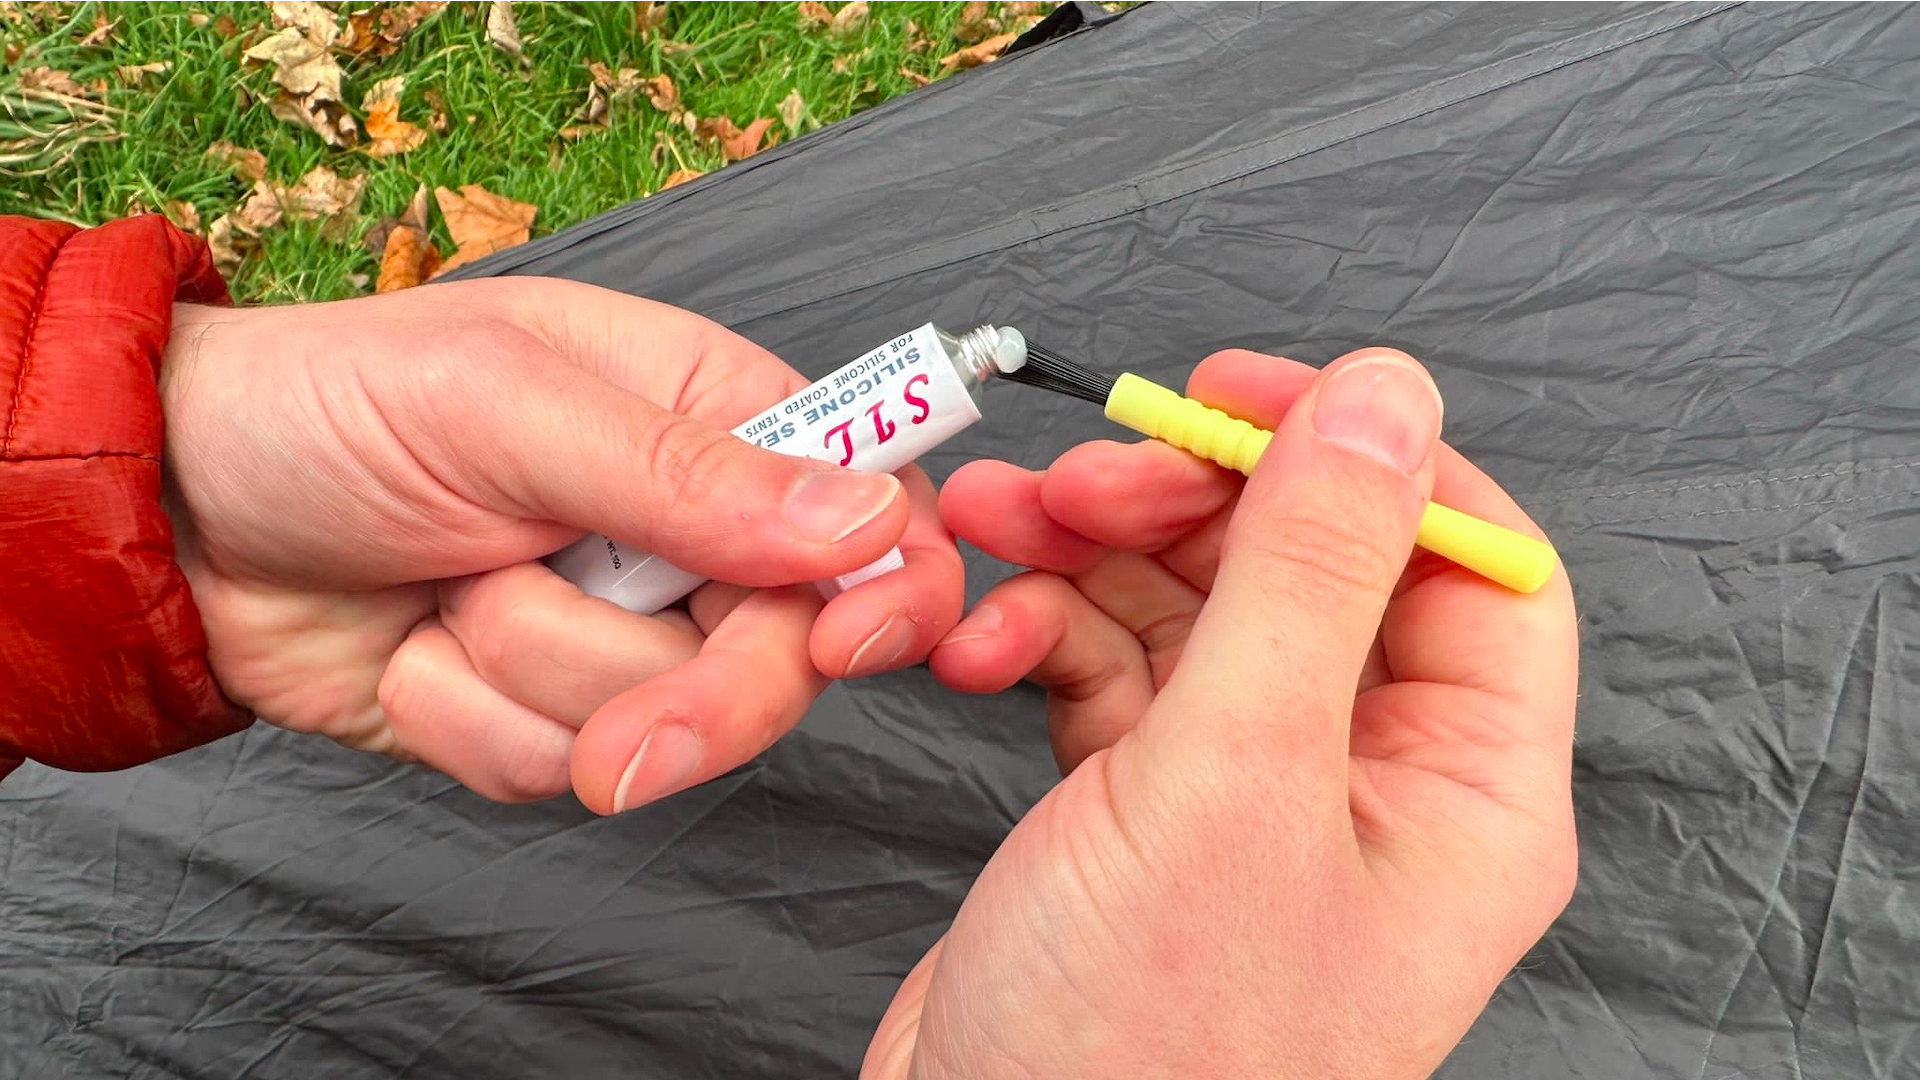
Once your seams are ready, the next step is the one you’ve been waiting for: the application of the sealant. Even this is really simple. Just squirt a little bit of the sealant onto a fine brush (which most tubes of seam sealer come with) and rub it up and down across the length of the seam. Make sure you go over it a few times to ensure you’ve effectively caught all holes.
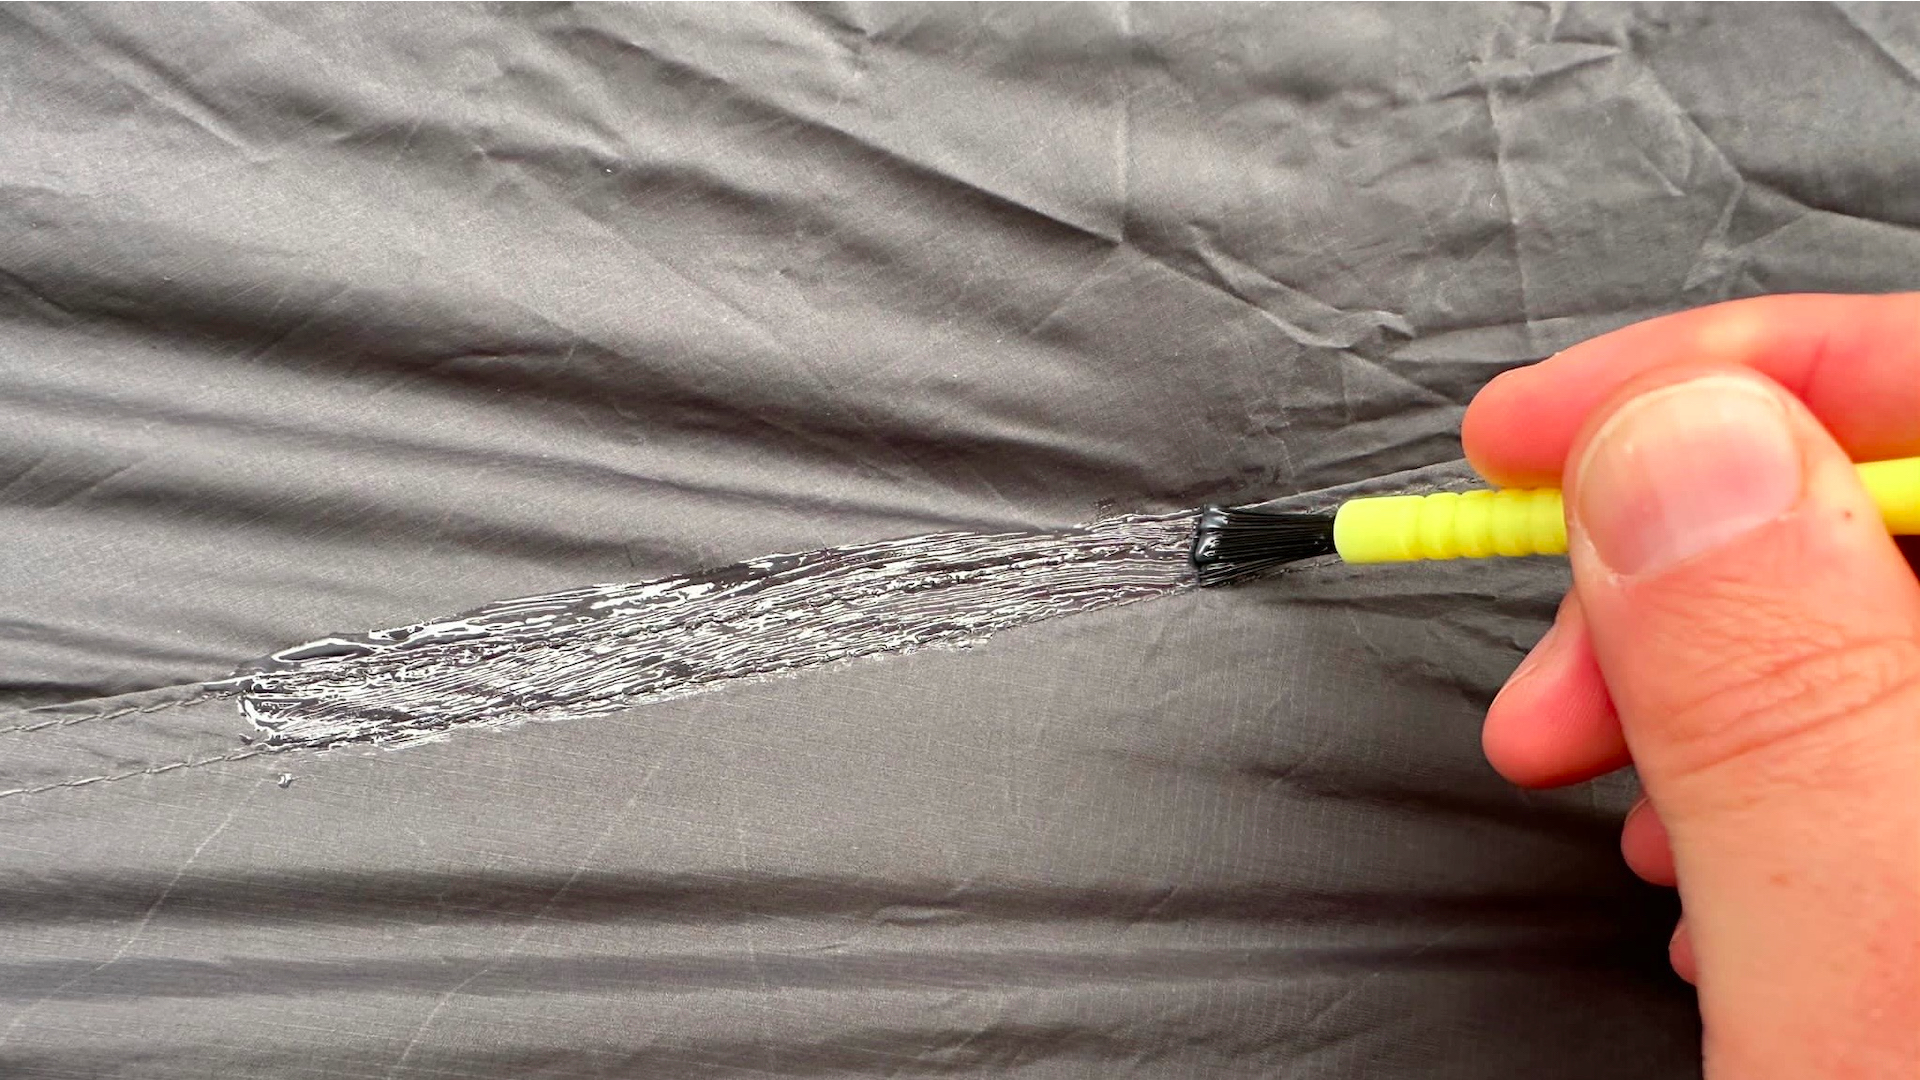
When you do this, just remember that you don’t need to smear a thick line of sealant all over the seals. A little goes a long way. For a tidy job, add the sealant a bit at a time and remove any excess sealant with your finger when you see you’ve added too much.
4 Let it dry
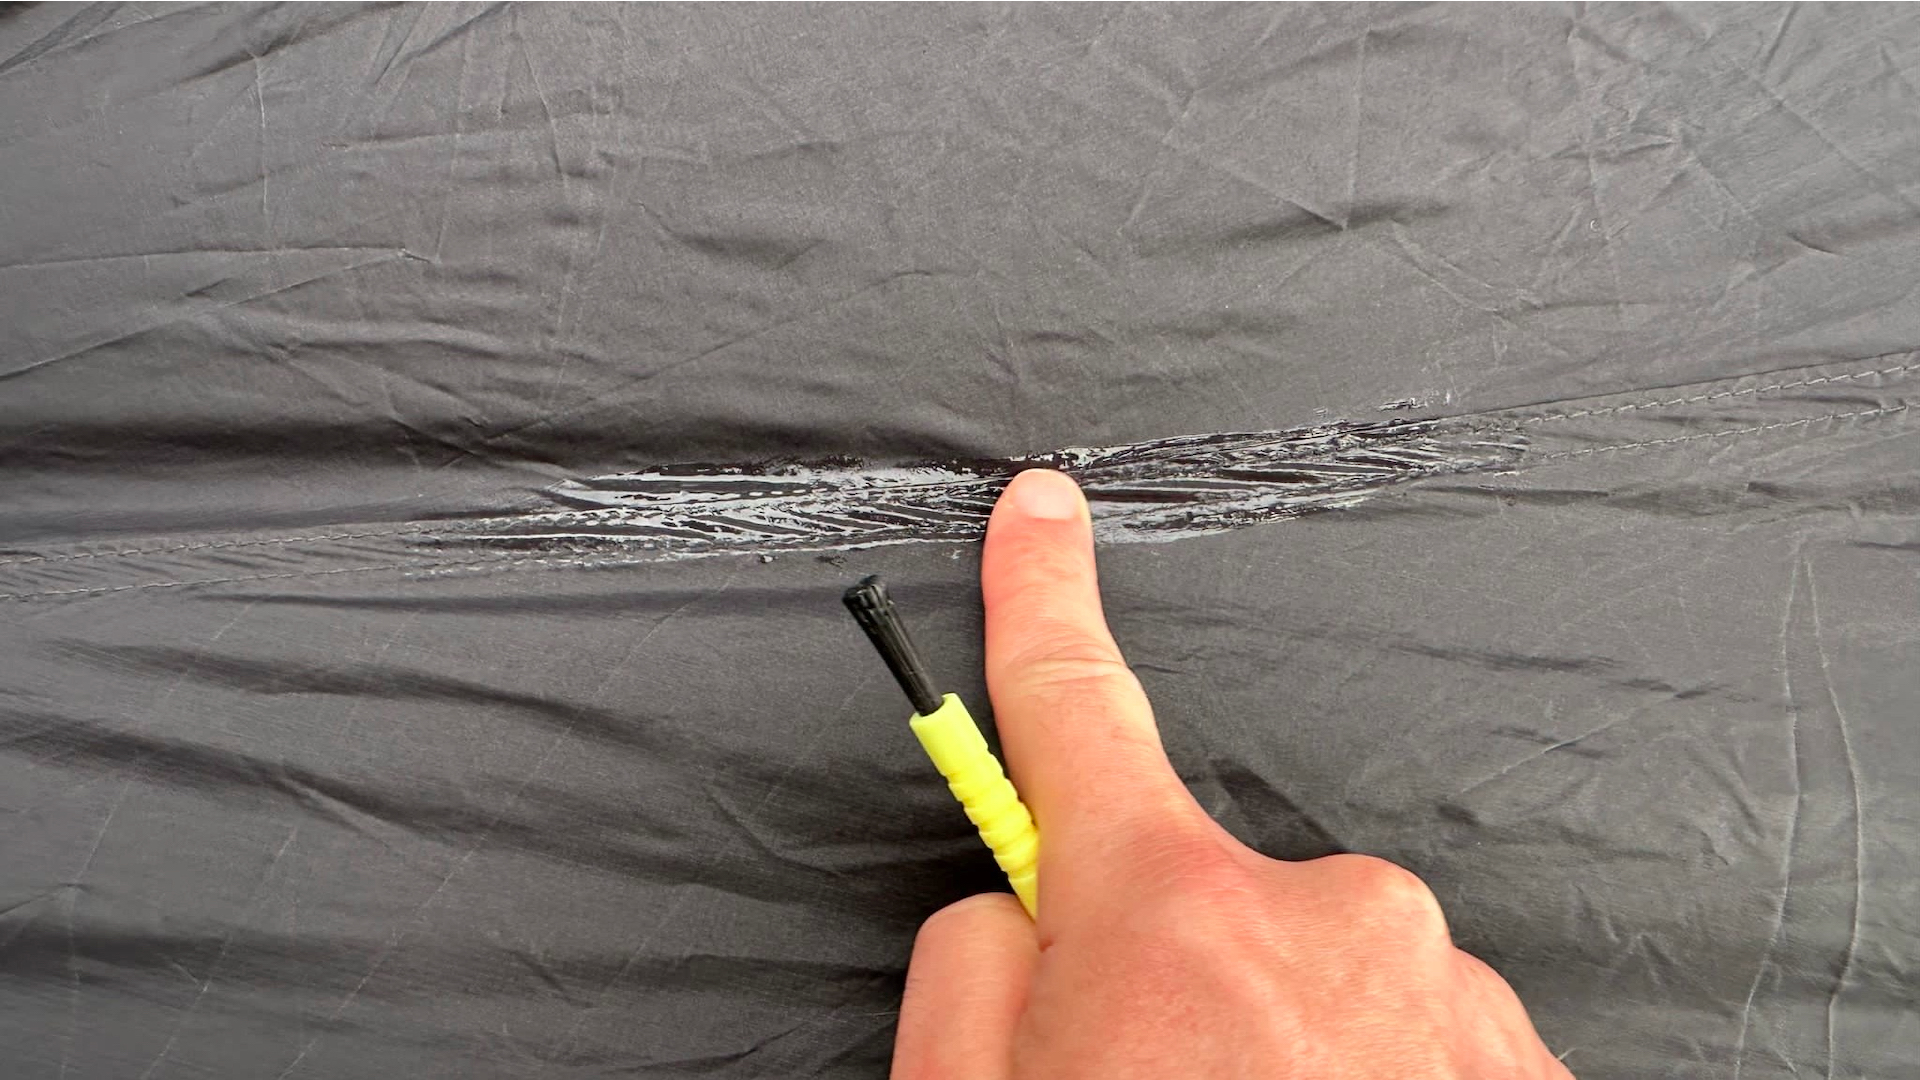
And now we’re on to the final step: letting your tent dry. Which is kind of self-explanatory. To be thorough, leave your tent air dry for at least eight hours or overnight if possible. Just be sure to do this somewhere dry where the temperature doesn’t drop below 10°C.
Then, once your sealant is dry, you’re done! You can now pack your tent away ready for your next adventure, safe in the knowledge that your shelter is now truly impenetrable.
- How to pitch a tent in the rain: our top tips on wet weather pitching
Growing up just south of the glorious Brecon Beacons National Park, Craig spent his childhood walking uphill. As he got older, the hills got bigger, and his passion for spending quality time in the great outdoors only grew - falling in love with wild camping, long-distance hiking, bikepacking and fastpacking. Having recently returned to the UK after almost a decade in Germany, he now focuses on regular micro-adventures in nearby Snowdonia and the Brecon Beacons, as well as frequent trips to the Alps and beyond. You can follow his adventures over on komoot.

