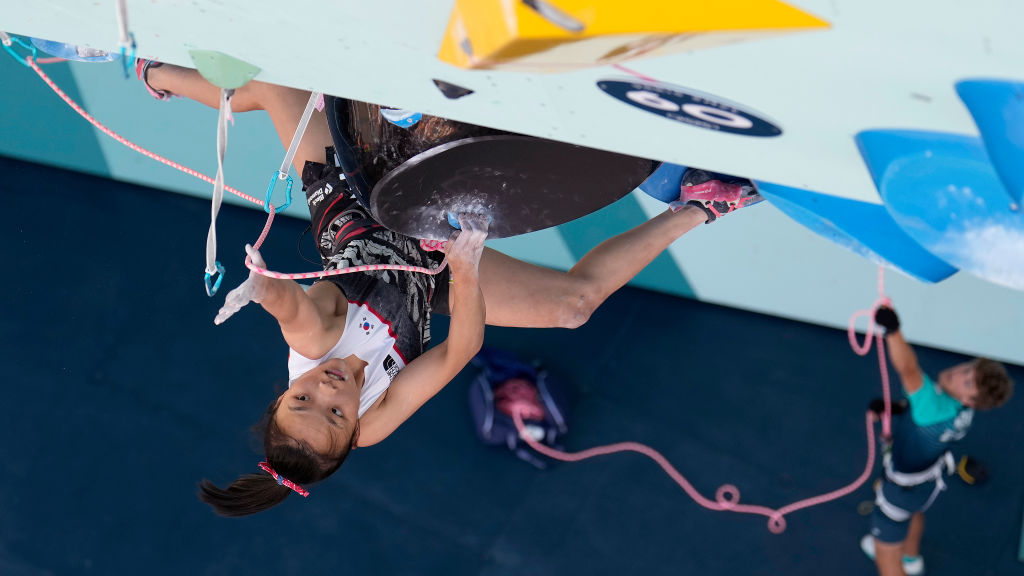
How to belay: keep your climbing partner safe with our comprehensive guide
‘Climb when ready!’ How to belay in a range of climbing situations, what devices you can use and how to body belay
All the latest inspiration, tips and guides to help you plan your next Advnture!
You are now subscribed
Your newsletter sign-up was successful
Knowing how to belay is an essential skill for any aspirant rock climber. Unless your ambitions are firmly set on either unroped scrambling or bouldering, you’re going to need to learn how to belay. It is, quite simply, one of the foundations for trad climbing, sport climbing, ice climbing and technical mountaineering.
So, what is it? Well, belaying is the process of managing the rope while your partner is climbing so that if they were to take a fall, you’d be able to prevent them from tumbling too far and injuring themselves. Paying attention to how your partner is getting on, keeping things relatively tight, maintaining friction on the rope and ensuring you – as the belayer – have a strong, stable stance are the key aspects.
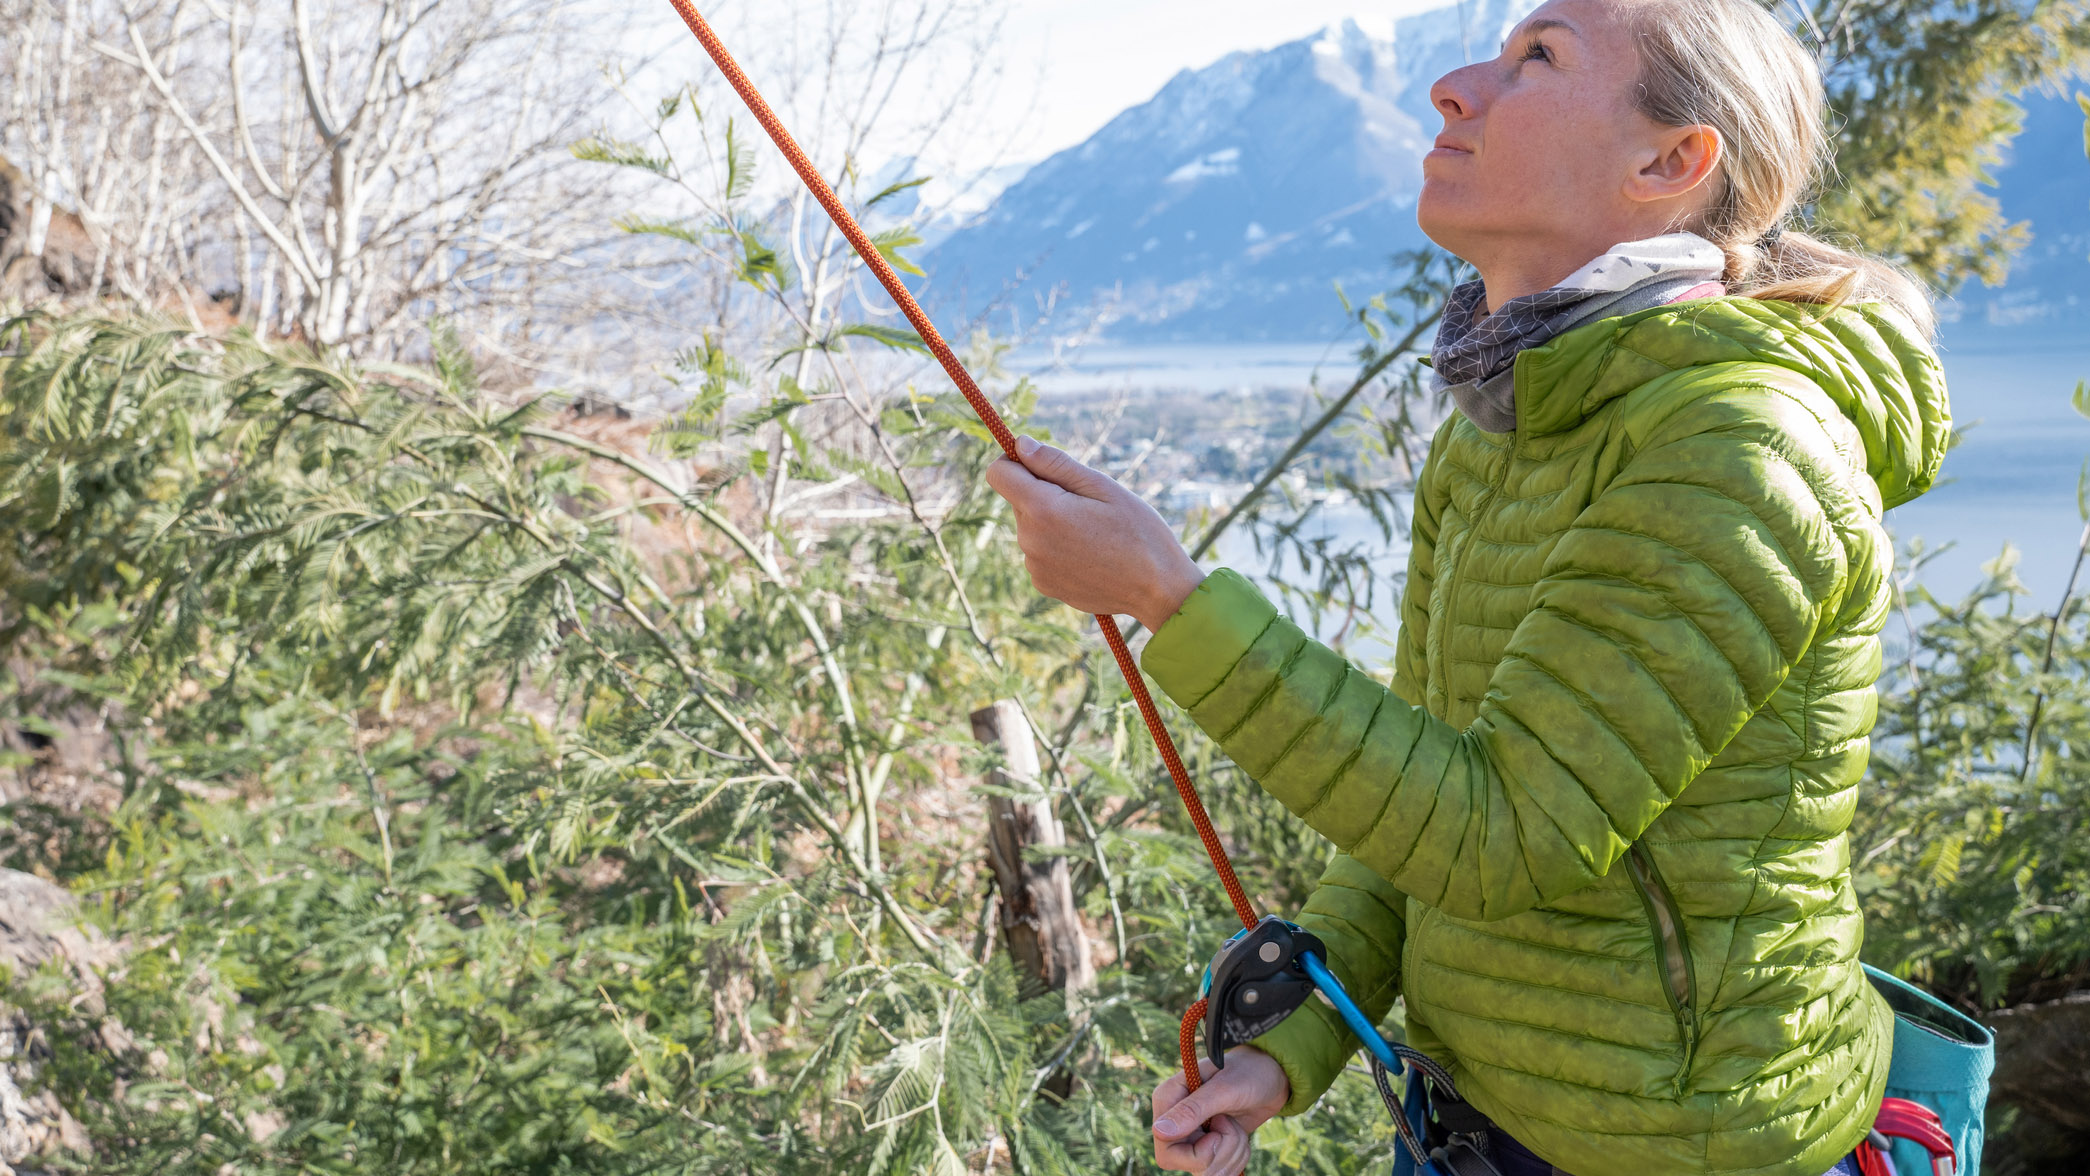
In normal circumstances, the rope is threaded through a belay device that’s attached to the belayer. The device creates friction, helping the belayer to control the rope’s speed. These devices, a mainstay in any climber’s backpack, are designed to lock off in the event of the sudden tension on the rope caused by a fall.
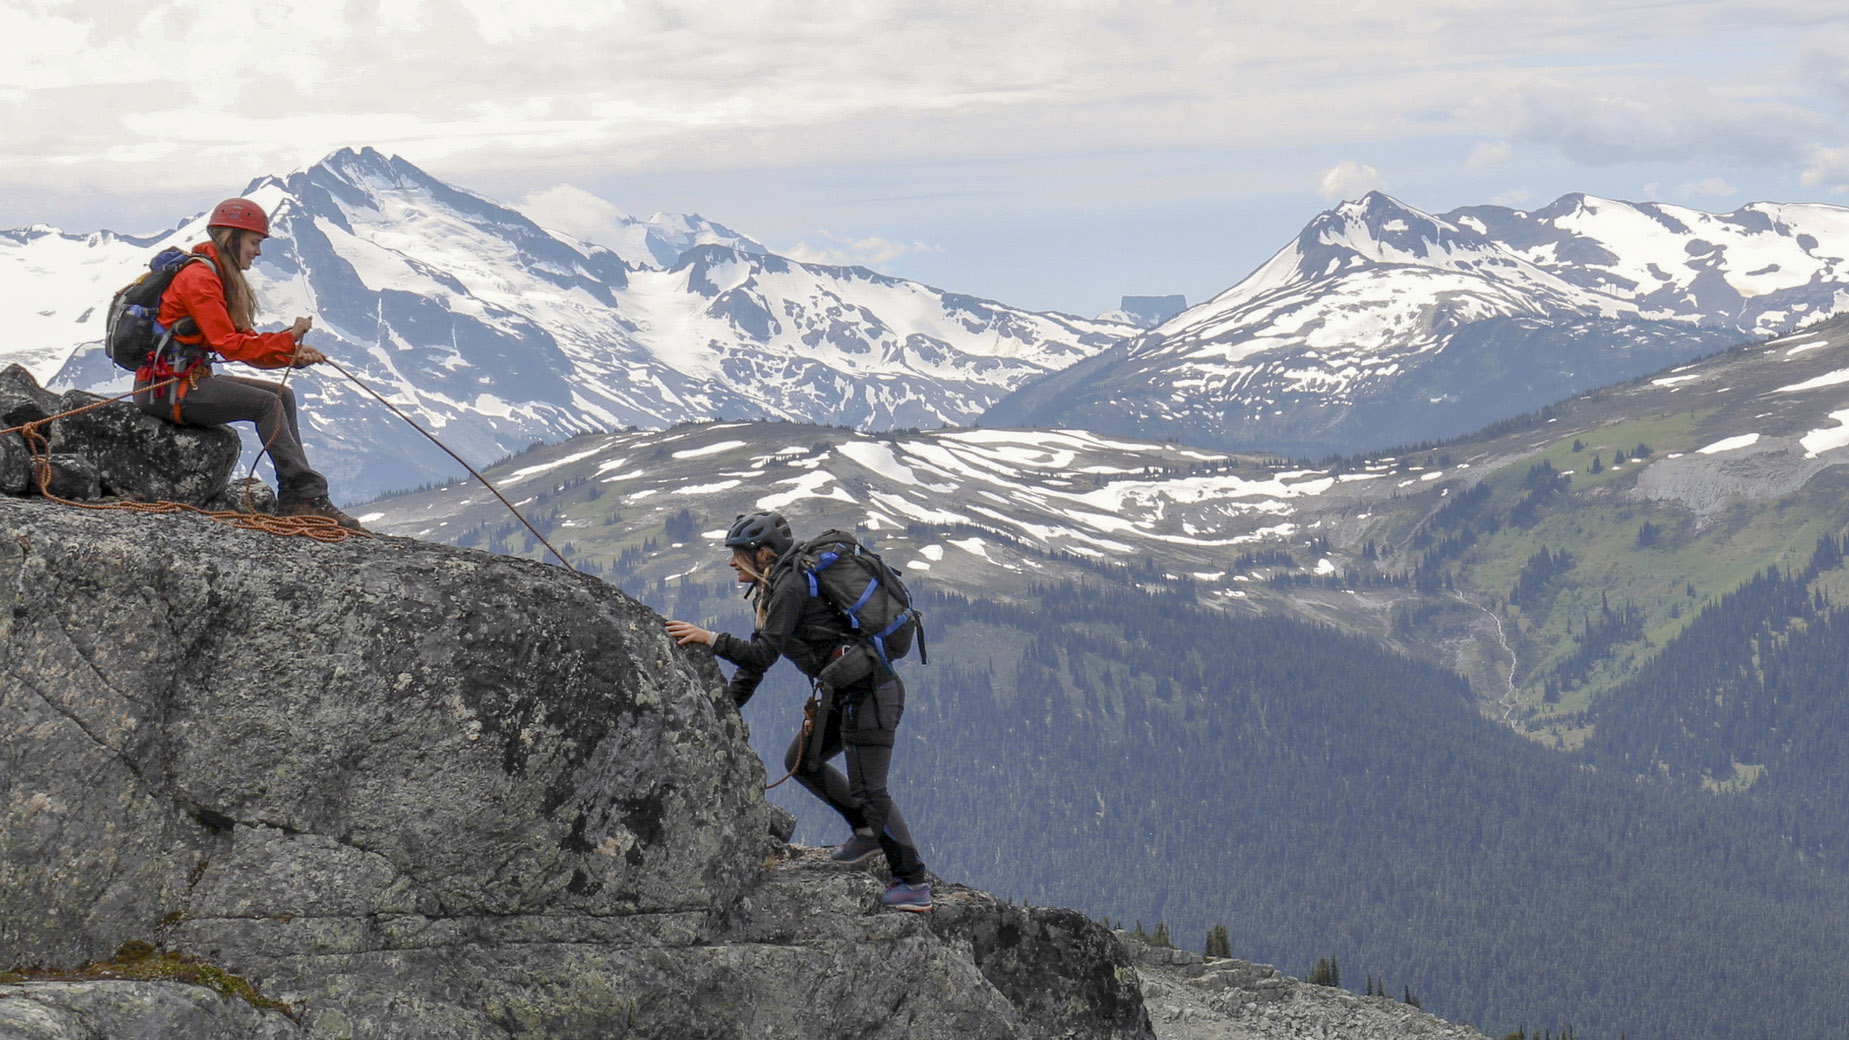
Knowing how to belay without a device can also be useful. It’s possible to belay using your body or even using features in the terrain, such as rock spikes. These kinds of techniques are often used by alpinists seeking safety through speed, as they are faster than setting up a traditional belay stance. So, belaying skills are useful for those in hiking boots as well as those in climbing shoes.
How to belay: setting up a belay
You can belay both from above and below your climbing partner and in both cases the principles are mostly the same. If you are safely stood at the foot of a climb, you won’t need to secure yourself to anything for safety but you will need to get yourself into a strong and stable stance. If you are halfway up a route – or you’ve scrambled to the foot of the climb in your approach shoes – and you find yourself on a precarious ledge, make sure you attach yourself to an anchor. Without an anchor, if your partner were to take a fall, the sudden force could throw you off the ledge.
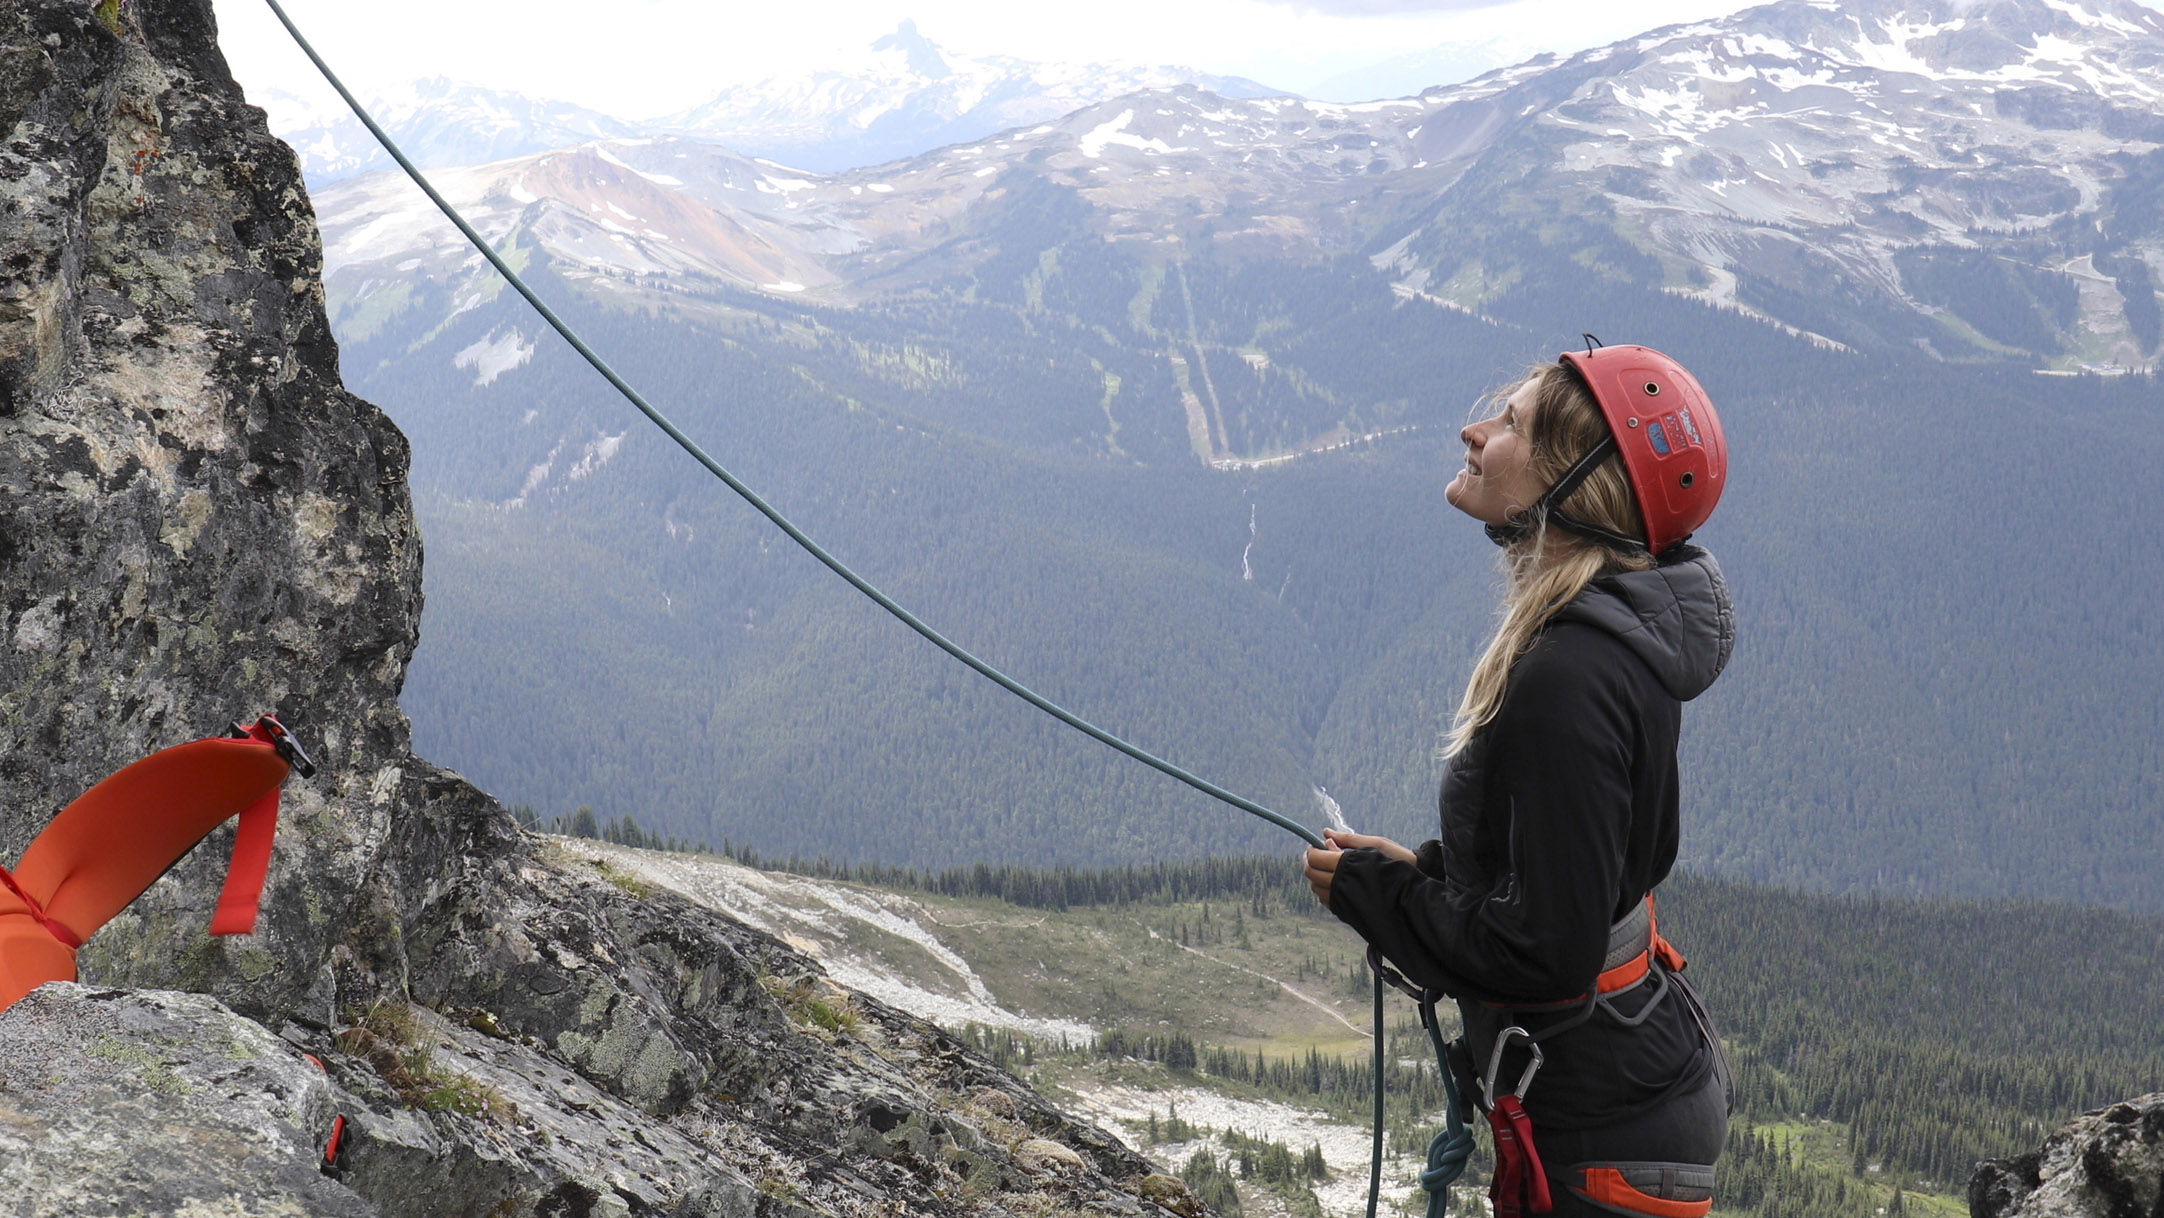
Once your climbing partner has tied to the end of the rope, pull up all the slack and leave it neatly piled to one side. Take a bight of the rope and feed it through your belay device, clipping the rope into a screwgate carabiner, which is attached to your belay loop on the front of your harness. Always check your screwgate is done up and visually inspect your setup to check everything is as it should be. If you are belaying from below, now is also a good time to check your climbing partner has tied in properly too.
The length of rope leading from your device to the climber is known as the live rope, while the length that passes through the device, over its teeth and collects in an orderly pile beside you is the dead rope. The belayer should adopt a sideways posture, with their brake hand furthest from the climber, holding the dead rope. It’s important that the brake hand has plenty of room to pull the dead rope through in order to take in the slack.
All the latest inspiration, tips and guides to help you plan your next Advnture!
After a thorough check that all is ready, the belayer should communicate to the climber that they can ‘climb when ready.’
How to belay: managing the rope during the climb
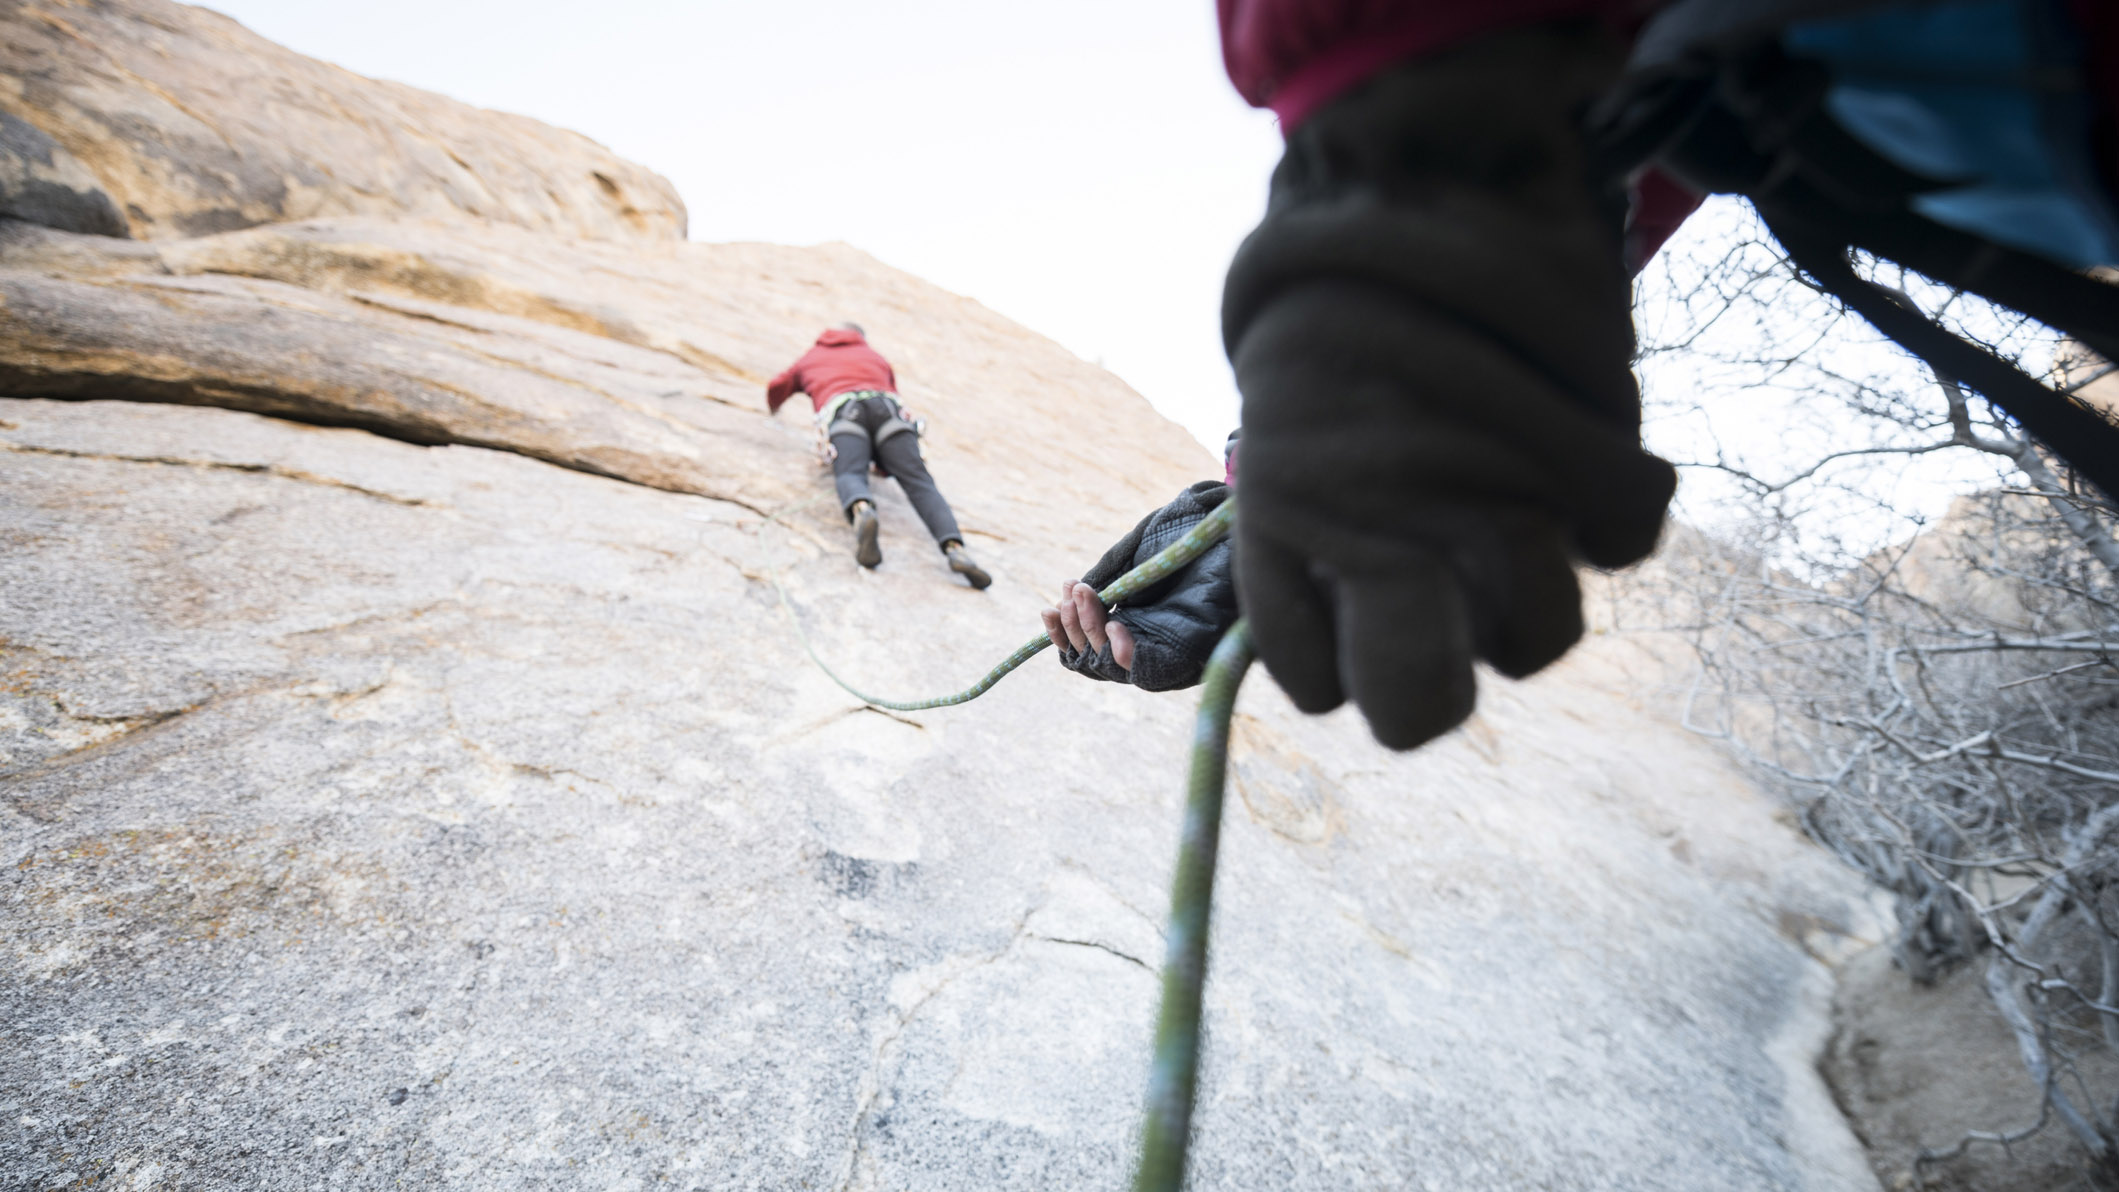
If you’re belaying from above, slack is created as the climber progresses up the wall. This has to be taken in by the belayer, using a defined sequence of hand movements.
1) First, the non-brake hand reaches down the live rope while the brake hand holds the dead rope in the braking position: the rope is held down, forming an S shape through the belay device, creating maximum friction. In this position, the rope is also fully in contact with the belay device's teeth.
2) The brake hand then pulls outwards and upwards while the non-brake hand pushes. This action brings the rope through the device, taking in slack from the live rope.
3) The brake hand moves back into the brake position and the non-brake hand is moved to grip the dead rope just up from the brake hand.
4) The brake hand is then moved up to the top of the dead rope, close to (but not touching) the belay device. This is the only time the brake hand leaves the rope.
5) The non-brake hand is then taken back to the live rope and the whole process starts again.
The only time the dead rope is not in the braking position is when the rope is pulled through. The reason the brake position is used so often is that it creates the most friction; if the climber were to suddenly take a fall, it is much easier for the belayer to hold it successfully. When it comes to holding a fall, it should be relatively easy if the correct technique is followed. Modern ropes are dynamic, meaning they can take a certain amount of stretch, thus taking some of the force of a fall.
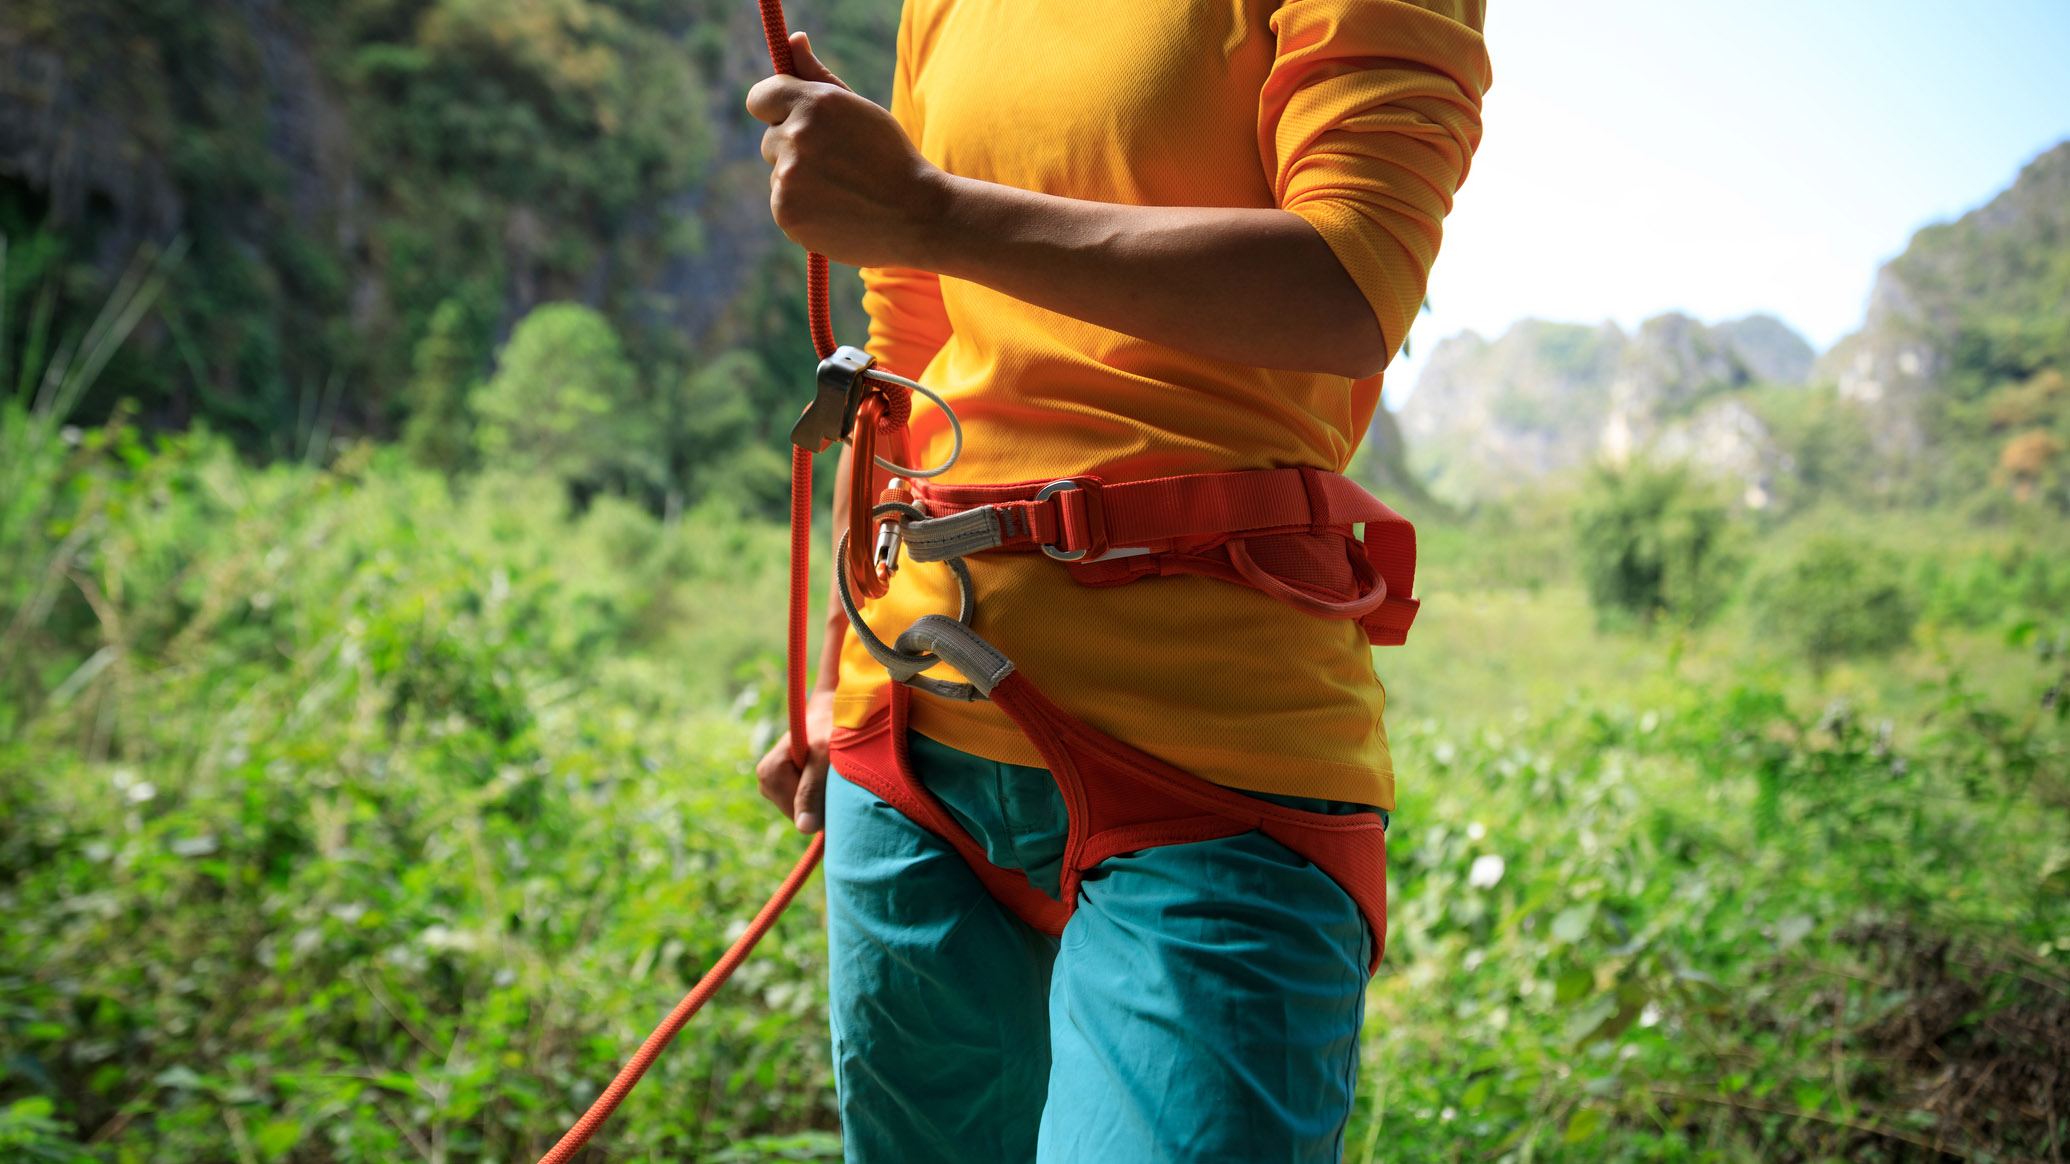
The main difference when belaying from below is that, because the climber is moving upwards, they will often require the belayer to feed them slack, rather than taking it in. This approach requires solid teamwork and communication.
The belayer can also lower a climber down a slope by putting both hands on the dead rope and slowly feeding it through the device. This enables the climber to simply lean back and walk down the rock as if rappelling (abseiling).
How to belay: belay devices
There are two main types of belay device, manual braking devices and assisted braking devices and it's worth knowing how to belay with both. Manual braking devices create friction by bending the rope in an S shape, flattening the rope as it is pulled through. A big advantage is that they can be used in all climbing situations and can take two rope bights for rappelling (abseiling) situations too. On the dead rope end of the device are its teeth, which create loads of friction when the rope is locked off and helps the belayer to hold a fall. Industry stalwarts include the Petzl Verso, DMM Mantis and the Black Diamond ATC.
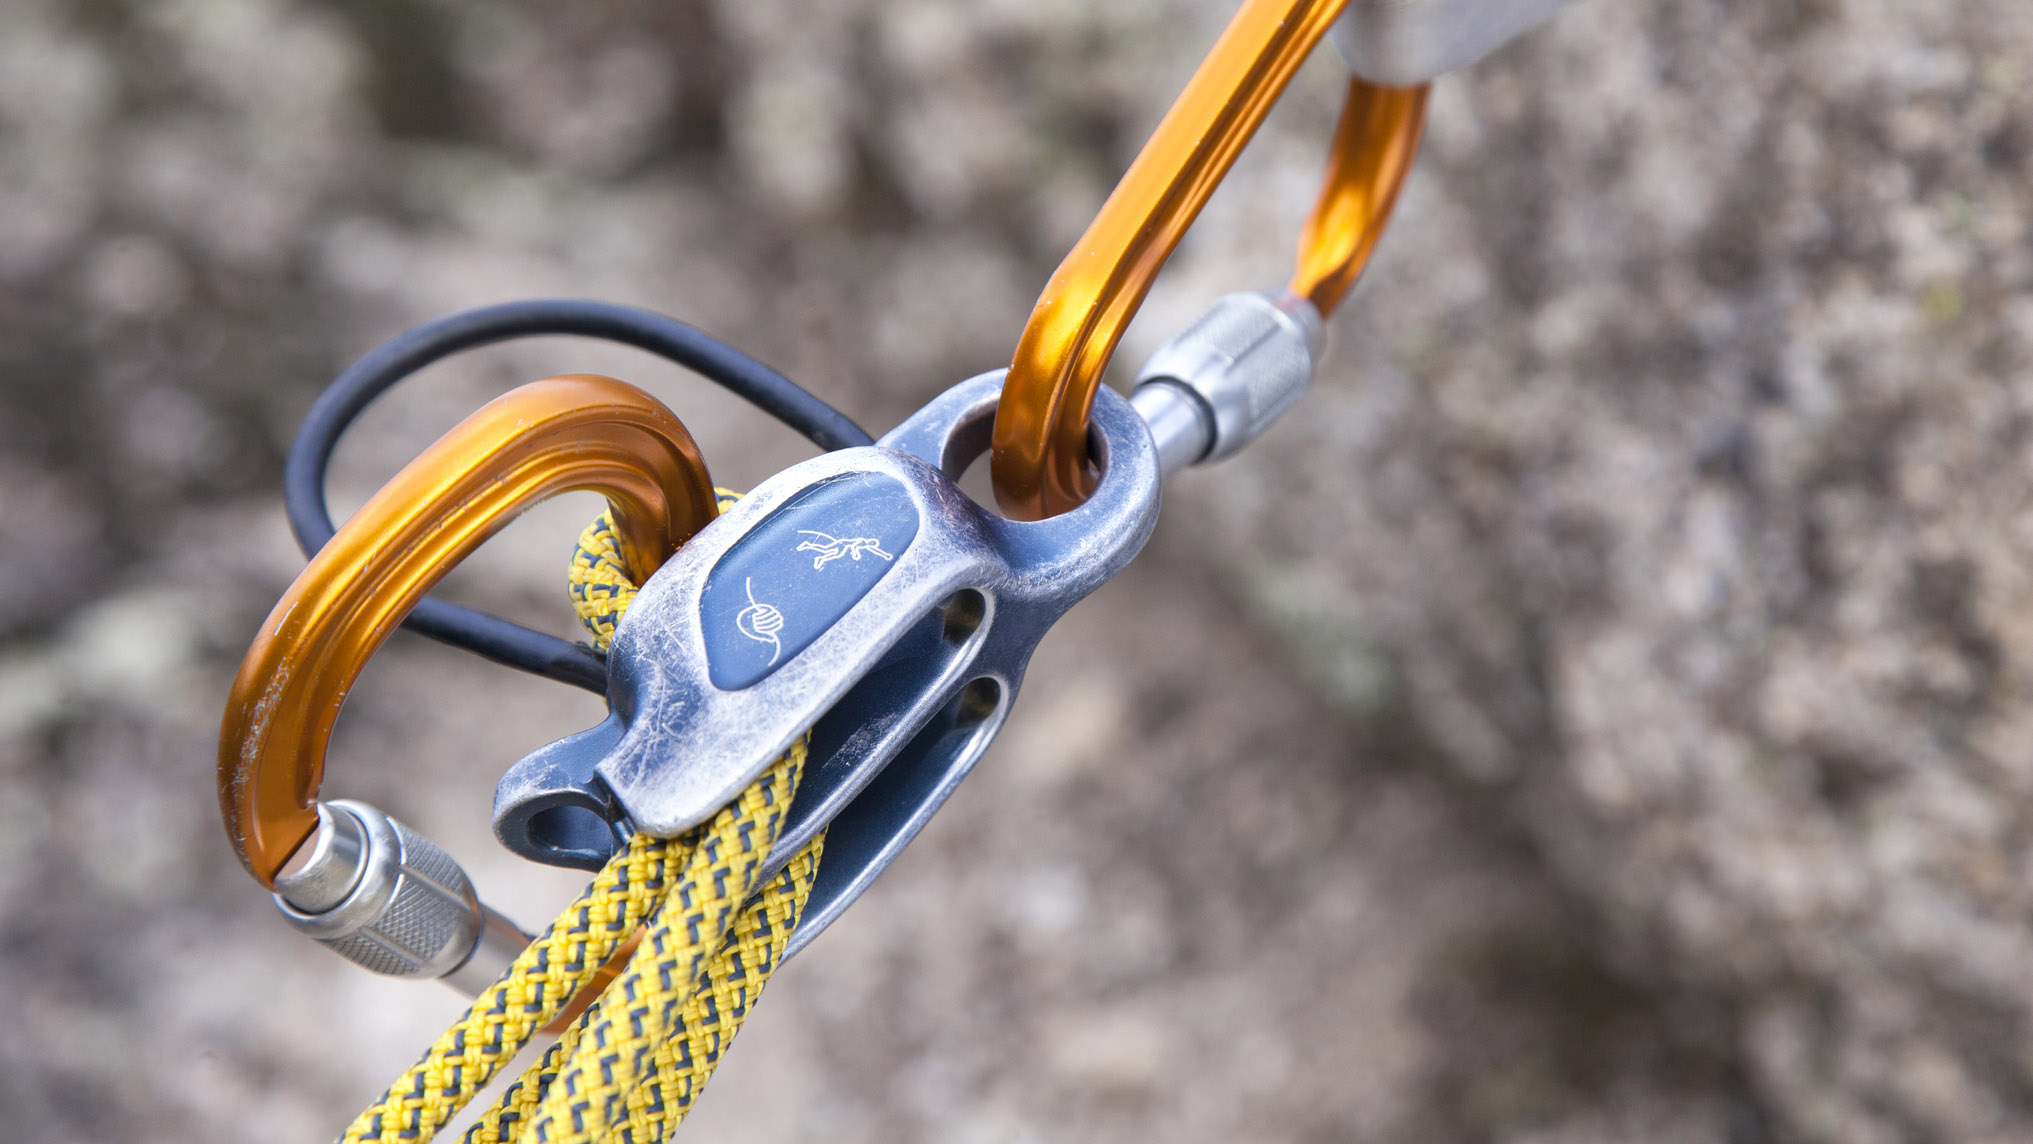
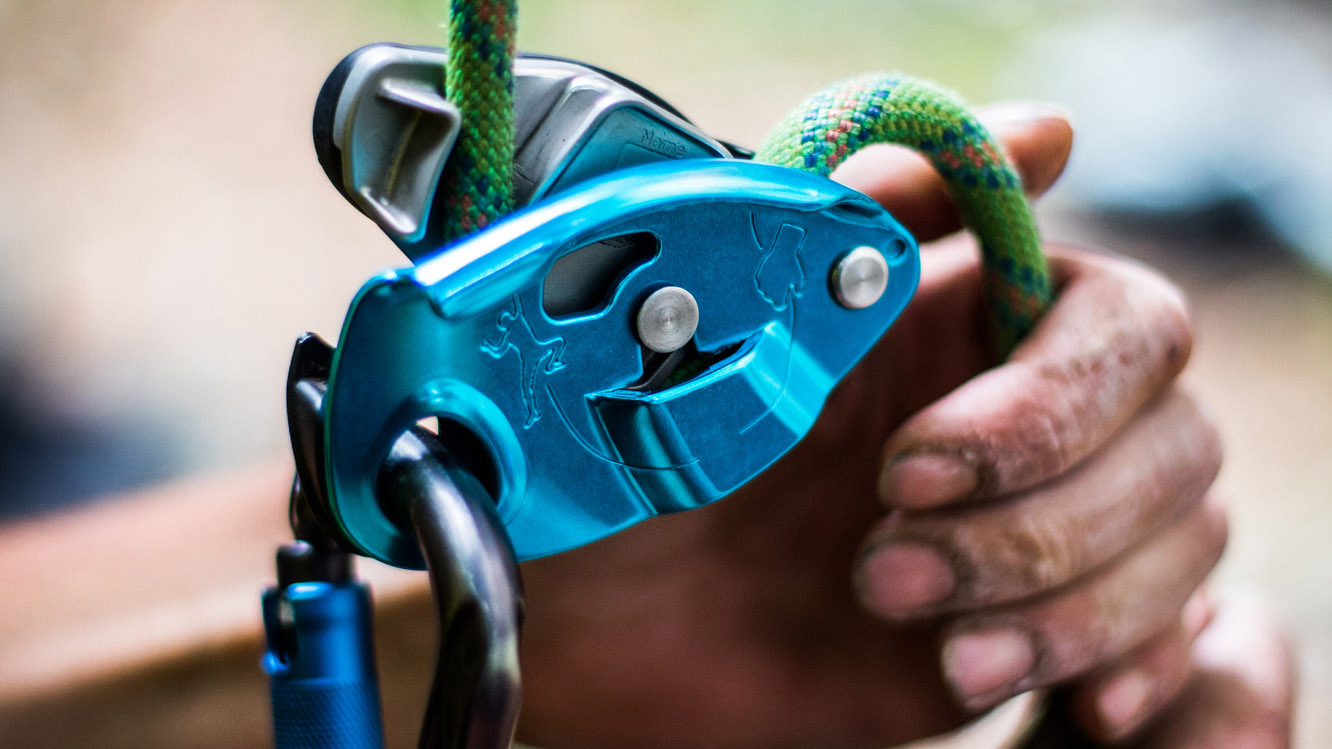
Assisted braking devices automatically lock using a camming mechanism that pinches the rope tight in the event of a fall. This takes some of the pressure off the belayer as, if they were to let go of the rope, the device would still hold the fall. The downside is that they are not as straightforward to set up as manual braking devices and lowering takes a bit of getting used to. The Petzl Grigri is the classic assisted braking device and is extremely popular, to the extent that many climbers call any such device a grigri.
How to belay: how to set up a body belay
No belay device? Not a problem. Knowing how to belay with minimal equipment can come in handy and one of the most used techniques is the body belay. We wouldn’t necessarily recommend you go and attempt super technical rock climbs using a body belay. However, the technique can be used in scrambling and mountaineering situations, or to safeguard an emergency descent. Indeed, British Mountain Leaders are all trained to use a body belay in this way.
The principles are the same as traditional belaying, only this time there’s no harnesses, no carabiners and no devices. Again, the live rope is the length that’s attached to the climber, perhaps tied around their waist in this instance. With one on the live end and one on the dead end, measure out a length of rope between your hands before sitting forward and flicking it behind your back. You’ll need to make the length longer if you’re wearing a daypack in order to get the rope over.
Now there’s friction caused by the rope against your body. Make sure your outer layer, whether it's a down jacket or a hard shell, is not riding up, as you can give yourself nasty rope burn if it is not cushioned. To increase the friction, take your dead rope arm and wrap it under and over the top of the dead rope, grasping it between your thumb and index finger. Again, rope burn can be a factor, so wear a decent pair of hiking gloves. Never wrap the rope around your live rope arm, as this can cause a nasty injury if the climber was to take a fall.
Alex is a freelance adventure writer and mountain leader with an insatiable passion for the mountains. A Cumbrian born and bred, his native English Lake District has a special place in his heart, though he is at least equally happy in North Wales, the Scottish Highlands or the European Alps. Through his hiking, mountaineering, climbing and trail running adventures, Alex aims to inspire others to get outdoors. He's the former President of the London Mountaineering Club, is training to become a winter mountain leader, looking to finally finish bagging all the Wainwright fells of the Lake District and is always keen to head to the 4,000-meter peaks of the Alps. www.alexfoxfield.com

