How to waterproof your leather ski gloves
Get your leather ski gloves ready for shreddy with our quick how-to guide to waterproofing them

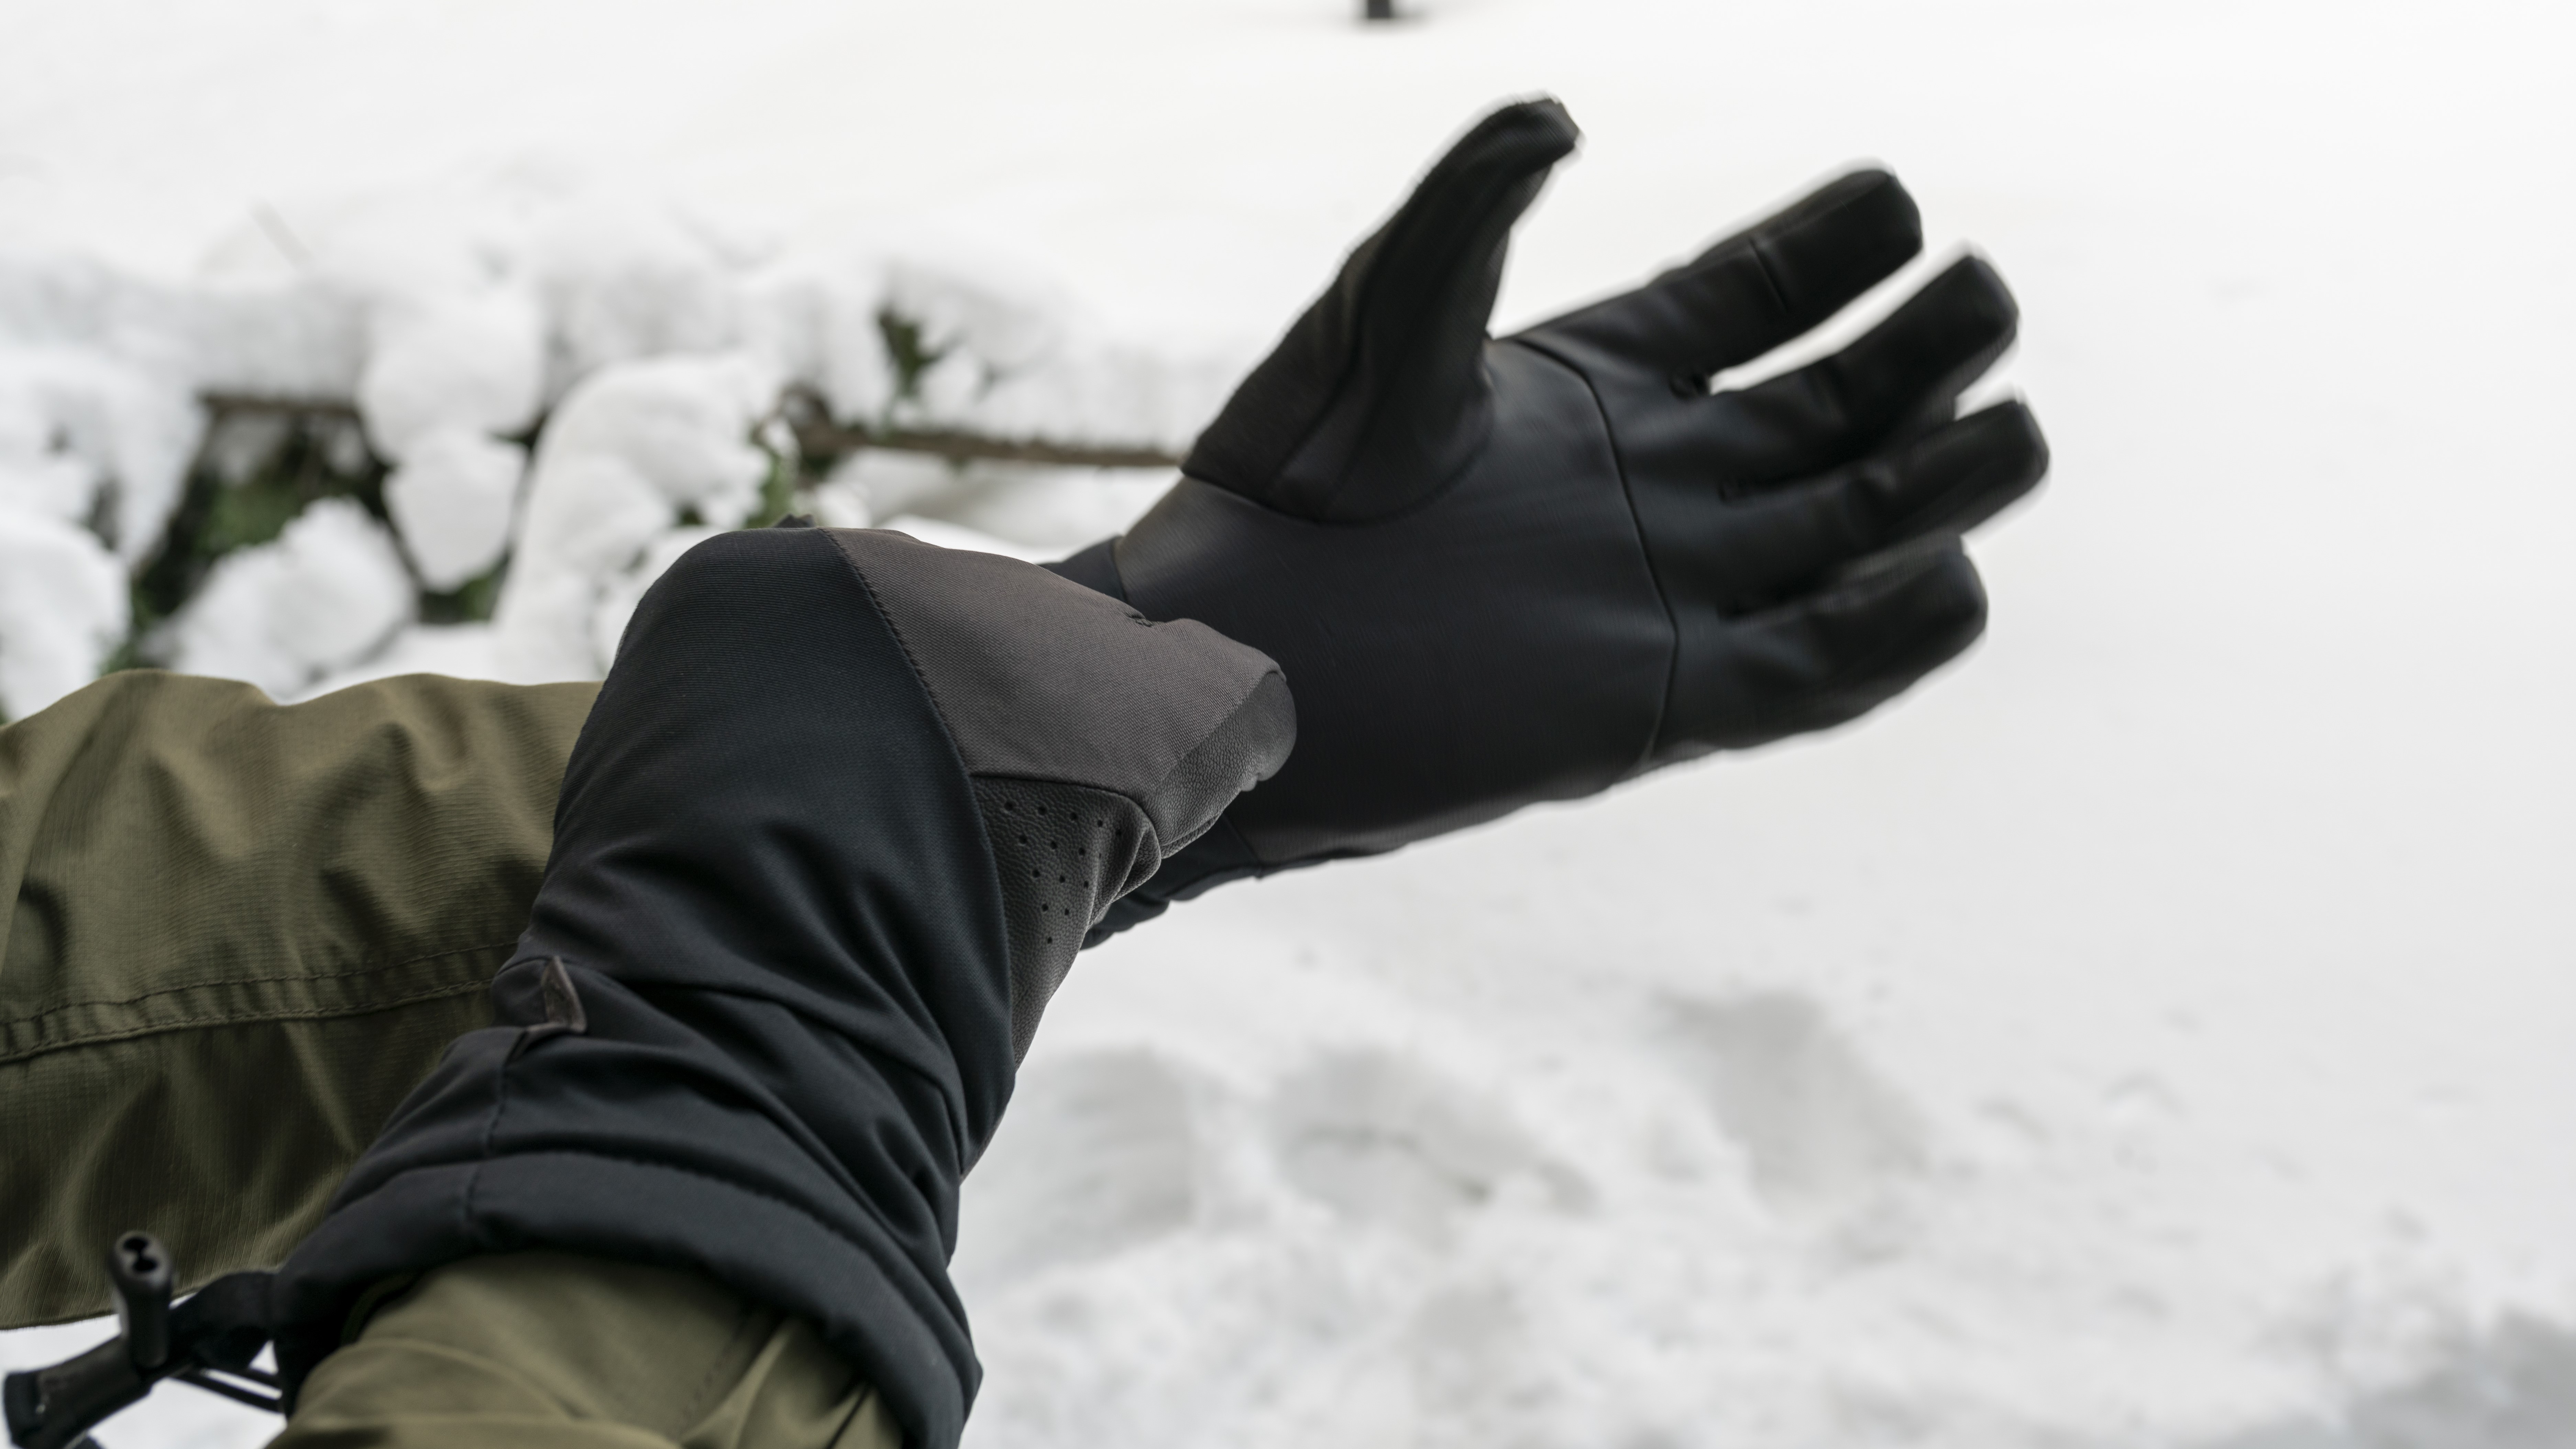
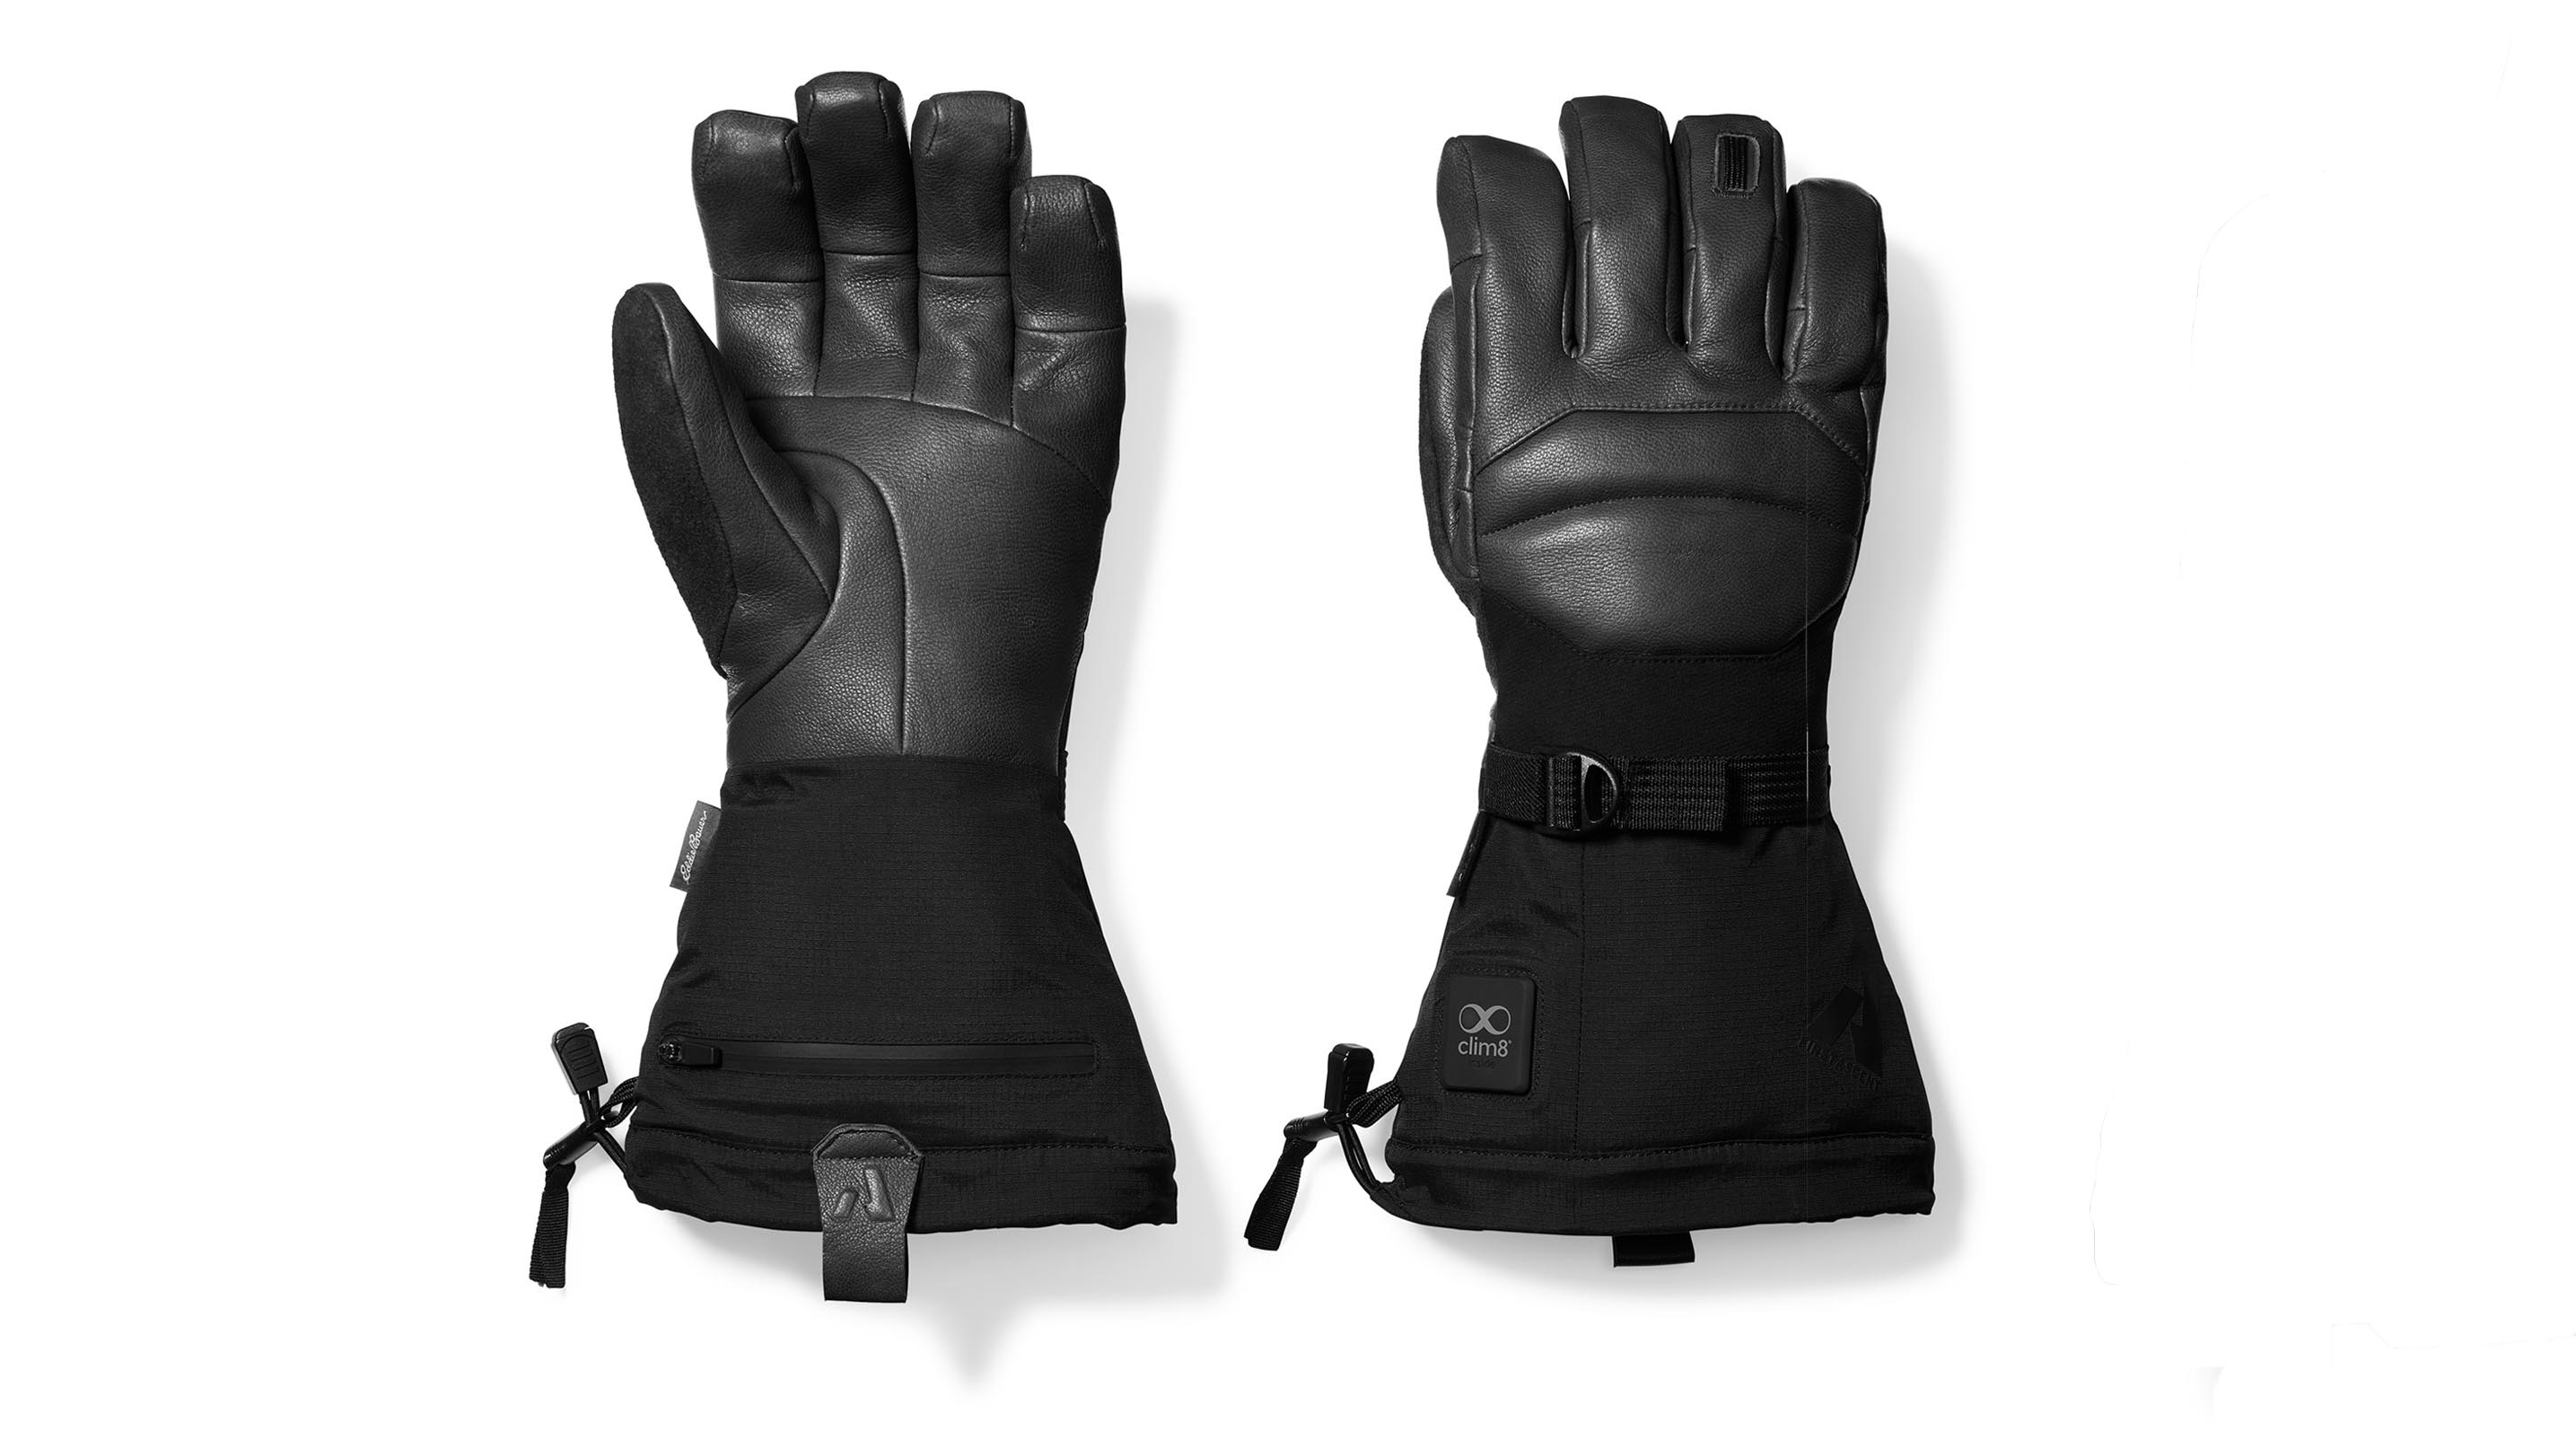
If you’re looking for robust protection against the cold that will hold up to poles, ice axes, rock and rope, leather ski gloves can be an absolute game changer. Leather might seem a bit outdated compared to the advantages of high performing technical fabric, but there’s a reason why it’s been so enduring in outdoor gear – it works.
I spent years trying to mess with my bindings wearing bulky synthetic gloves before discovering the joys of leather with a pair of Rab Khroma Tour Infinium gloves. They provide plenty of weather protection, but not at the expense of grip and dexterity, which can really make or break a ski day whether you’re lapping chairs or skinning in the backcountry.
Leather ski gloves can also last for years, but it’s important to waterproof them to extend their life and maximize their performance. Whether you’re expecting heavy, wet snow or just pulling down the bar on the chairlift and loosening your boots, your gloves are going to meet with some moisture if you’re using them at all, and this can break down the leather over time.
In this article, we guide you through how to waterproof your leather ski gloves so the three of you can have a long and happy relationship together on the slopes. You’ll also want to read our guide to how to not lose ski gloves on the chairlift to prolong your relationship.

How to waterproof your leather ski gloves
Waterproofing wax will add water-repellency to the leather portions of your gloves but won’t diminish breathability for those powder days when your paws get sweaty. Your leather ski gloves might have come with a waterproofing wax, and if so, you should use that. If you don’t already have waterproofing wax, you can use Nikwax Waterproofing Wax for Leather which is made without PFCs and is fragrance-free (note that this wax may slightly darken your gloves if they are light-colored, so it’s advisable to do a spot test first).
Beyond wax, all you need are a couple of clean rags to get started.
1. Clean your gloves
If you’ve used your gloves before, give them a clean before you get started. Simply take a damp cloth and wipe the leather – never machine wash leather gloves.
All the latest inspiration, tips and guides to help you plan your next Advnture!
2. Apply waterproofing wax
Check the instructions on the wax for quantity recommendations, and squeeze some onto the leather. Use either the sponge applicator if there is one included, or your fingers to gently work the wax into the leather. Pay extra attention to the seams.

3. Let the wax absorb
Leave the gloves with the wax on them for at least two minutes (longer if instructed), then wipe the leather with a damp cloth to remove any excess wax. Finally, use a dry cloth to buff the leather until it’s shiny.
4. Dry your gloves
Though your gloves should be immediately waterproof, it’s best to let them air dry (do not use heat or wring) before you use them.
Julia Clarke is a staff writer for Advnture.com and the author of the book Restorative Yoga for Beginners. She loves to explore mountains on foot, bike, skis and belay and then recover on the the yoga mat. Julia graduated with a degree in journalism in 2004 and spent eight years working as a radio presenter in Kansas City, Vermont, Boston and New York City before discovering the joys of the Rocky Mountains. She then detoured west to Colorado and enjoyed 11 years teaching yoga in Vail before returning to her hometown of Glasgow, Scotland in 2020 to focus on family and writing.

