What is a via ferrata? And how to do your first via ferrata route
In this post, we take a look at the hiking-climbing hybrid that is via ferrata in more detail and offer a selection of tips to help newcomers get those all-important first few routes under their belts
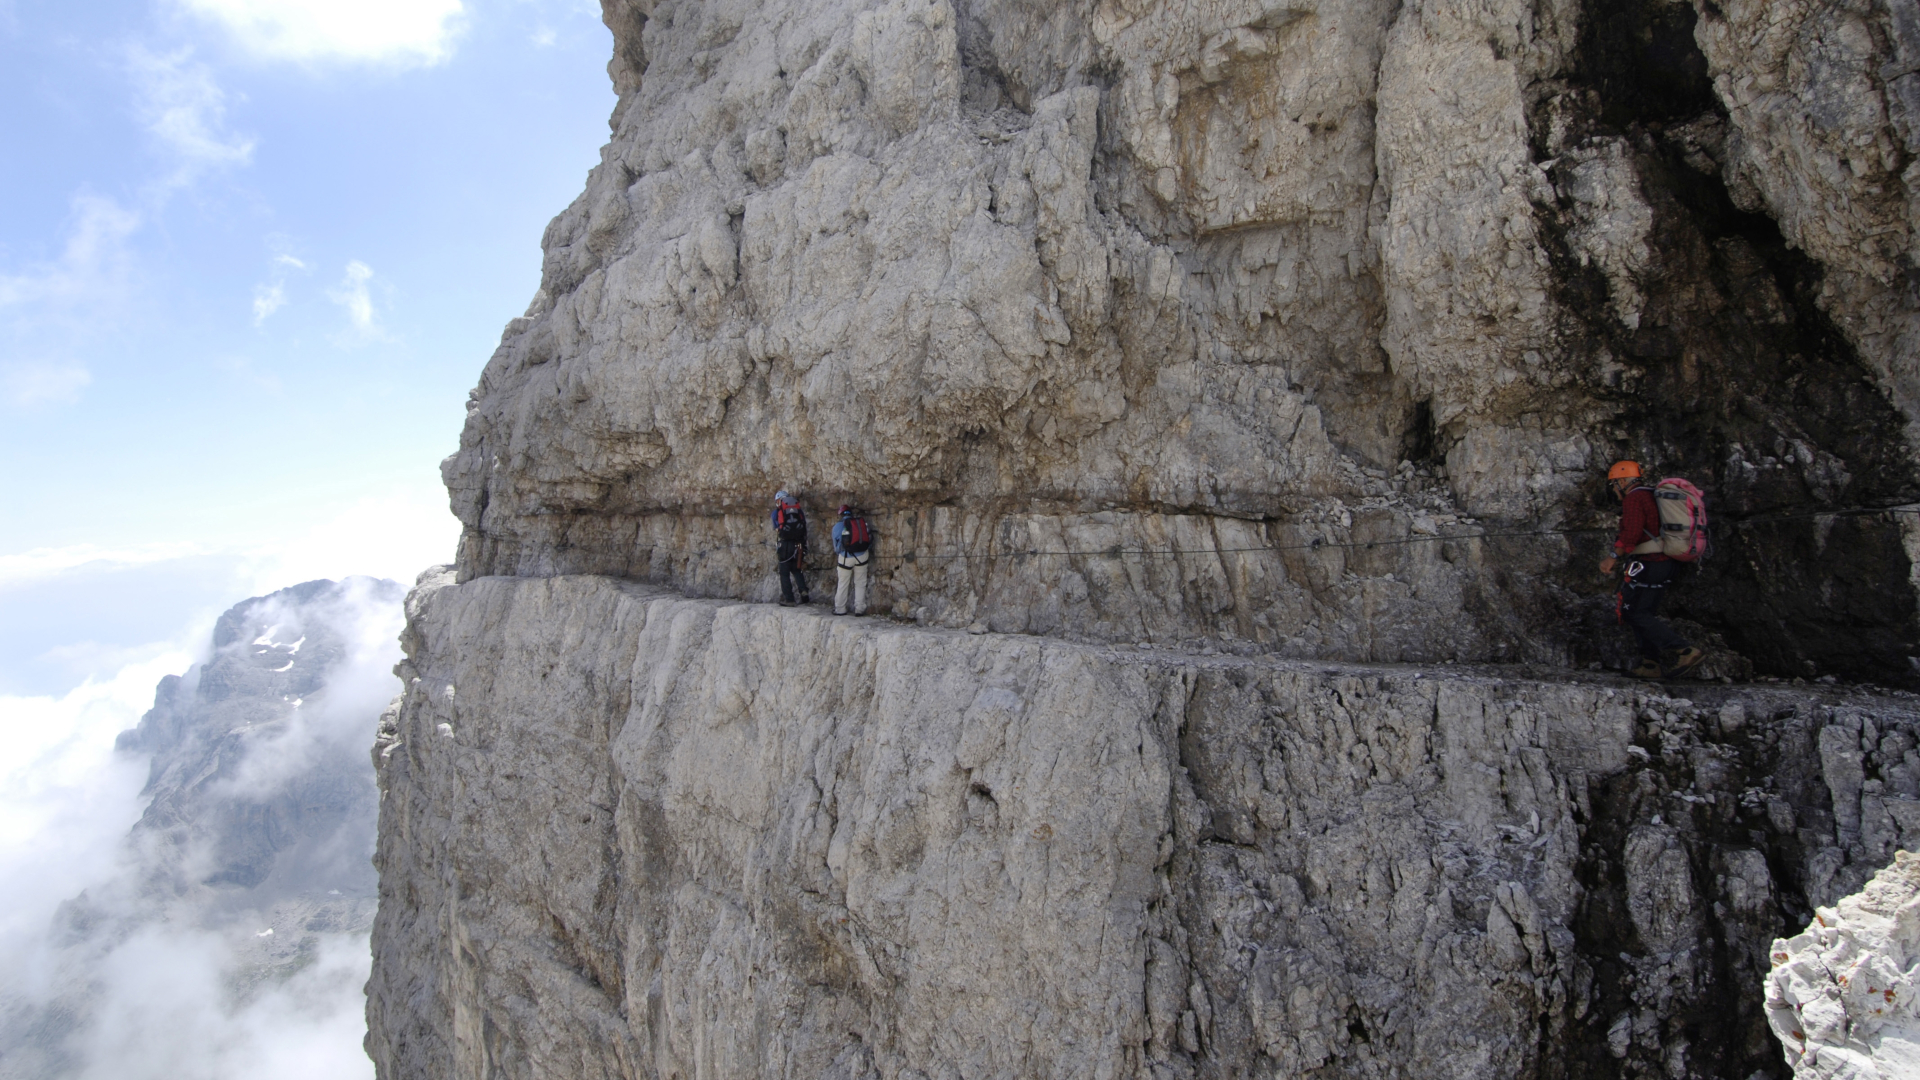
For adventurers who are keen to branch out from regular hiking but not quite ready to venture into the more extreme world of rock climbing or out-and-out mountaineering, there exists an awesomely fun and no less exhilarating middle-way that provides all the thrills with only a fraction of the risk – the via ferrata.
But what is a via ferrata? If you’ve been hiking for long enough, you’ve probably already heard the term and wondered what this exotic-sounding hiking variant entails. In this post, we explain all, providing a brief bio of the “iron way”, a bit of history, and a selection of tips to help you get your first few routes done safely.
What is a via ferrata? A definition
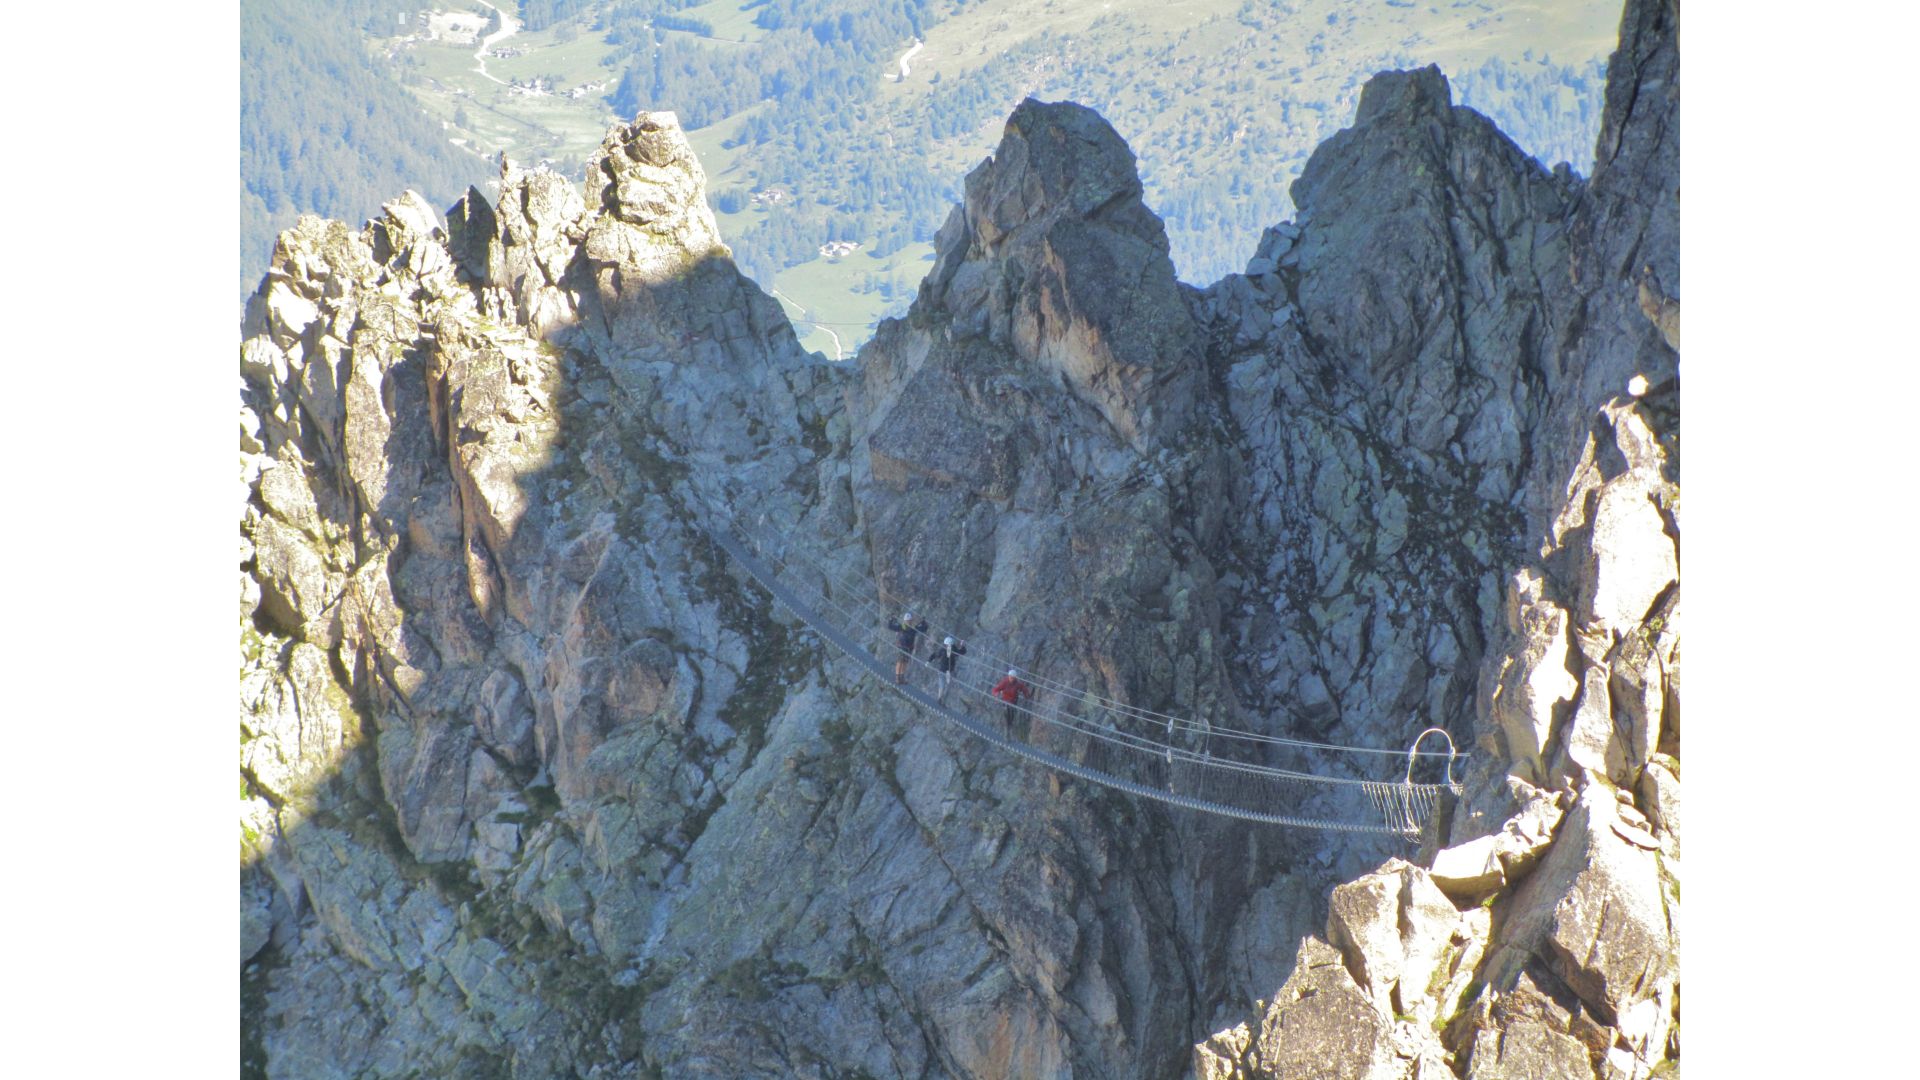
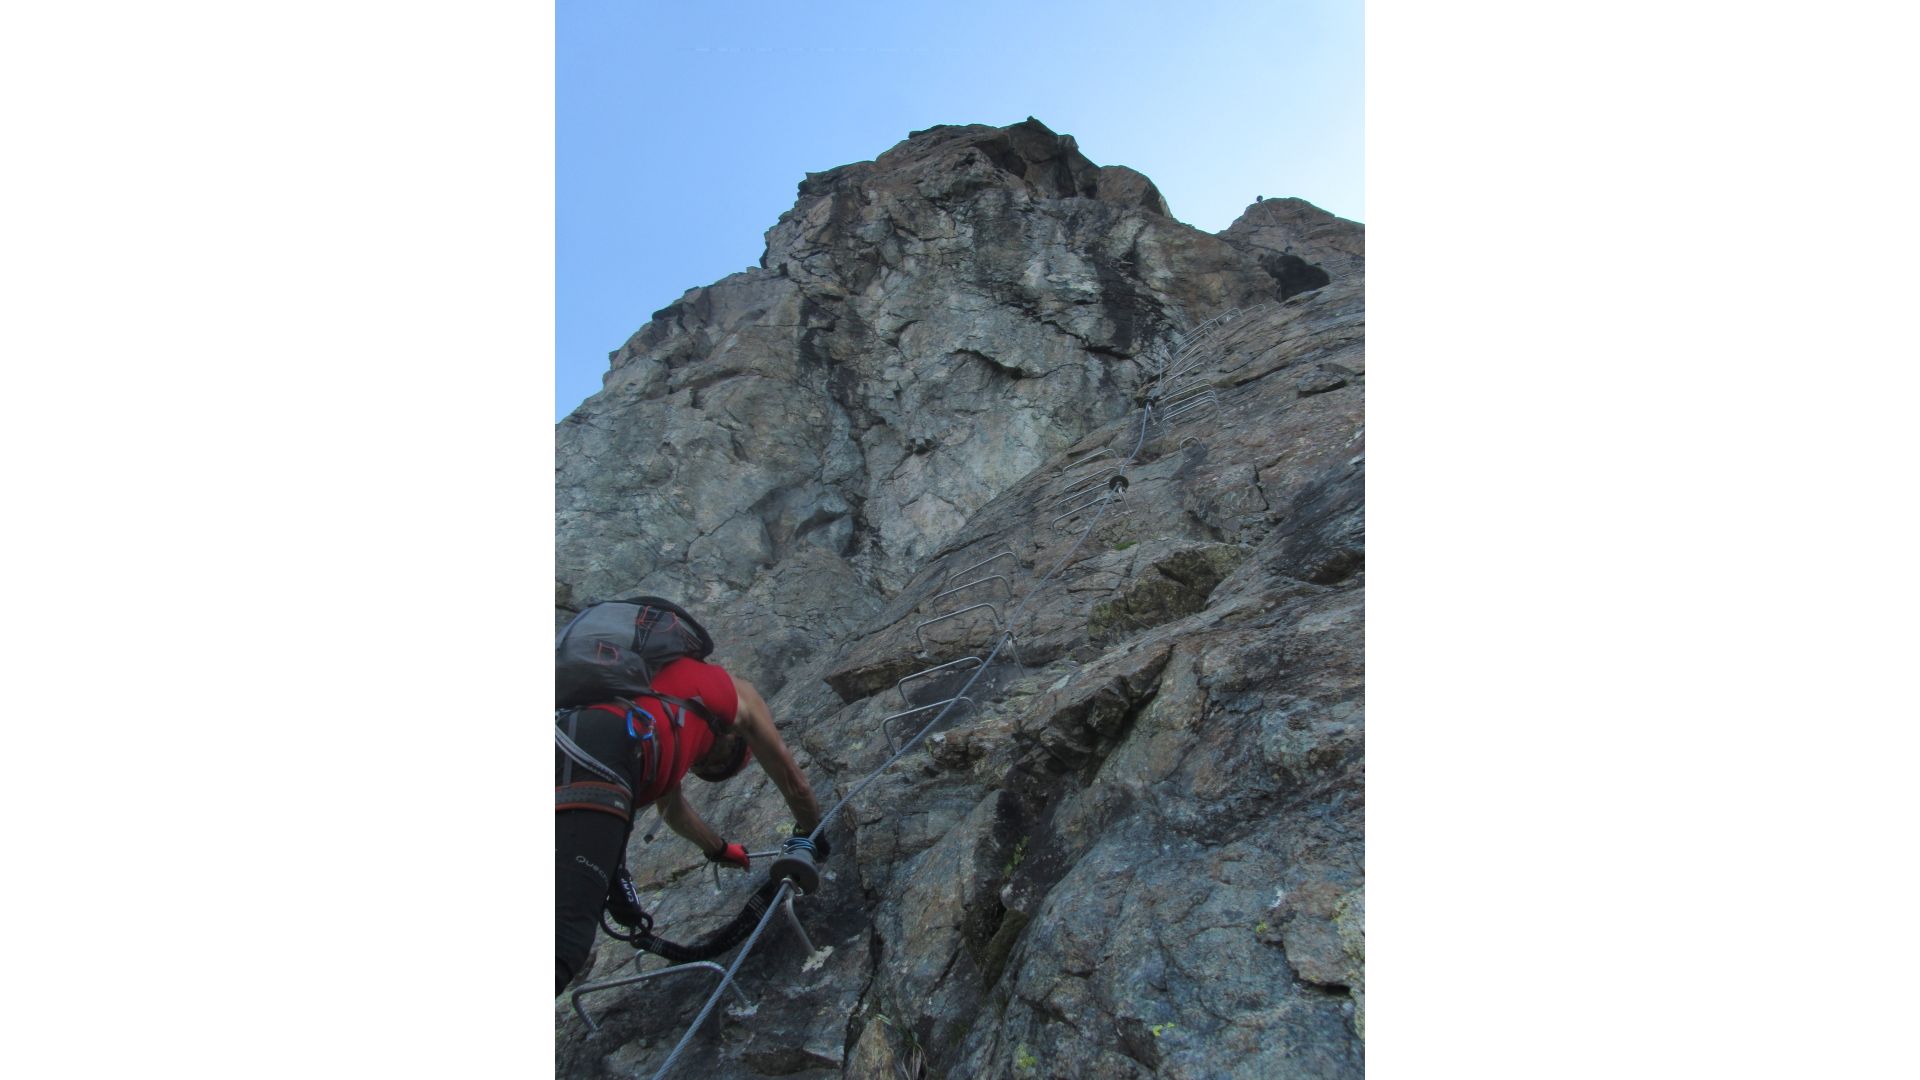
Via ferrata is a recreational activity that involves ascending steep, often exposed mountain routes by way of a series of fixed cables, rungs, chains and/or ladders attached to the rock – the term via ferrata literally means “iron way”. When doing a via ferrata route, climbers/hikers use a harness and a duo of lanyards with carabiners attached to the ends to clip themselves to the cables and progress safely between the iron/steel poles between which the cables run. Experientially, via ferrata offers participants a way to enjoy the fun, thrills, and exposure of technical mountaineering or rock climbing without quite so much risk.
What is a via ferrata? A short history of the “iron ways”
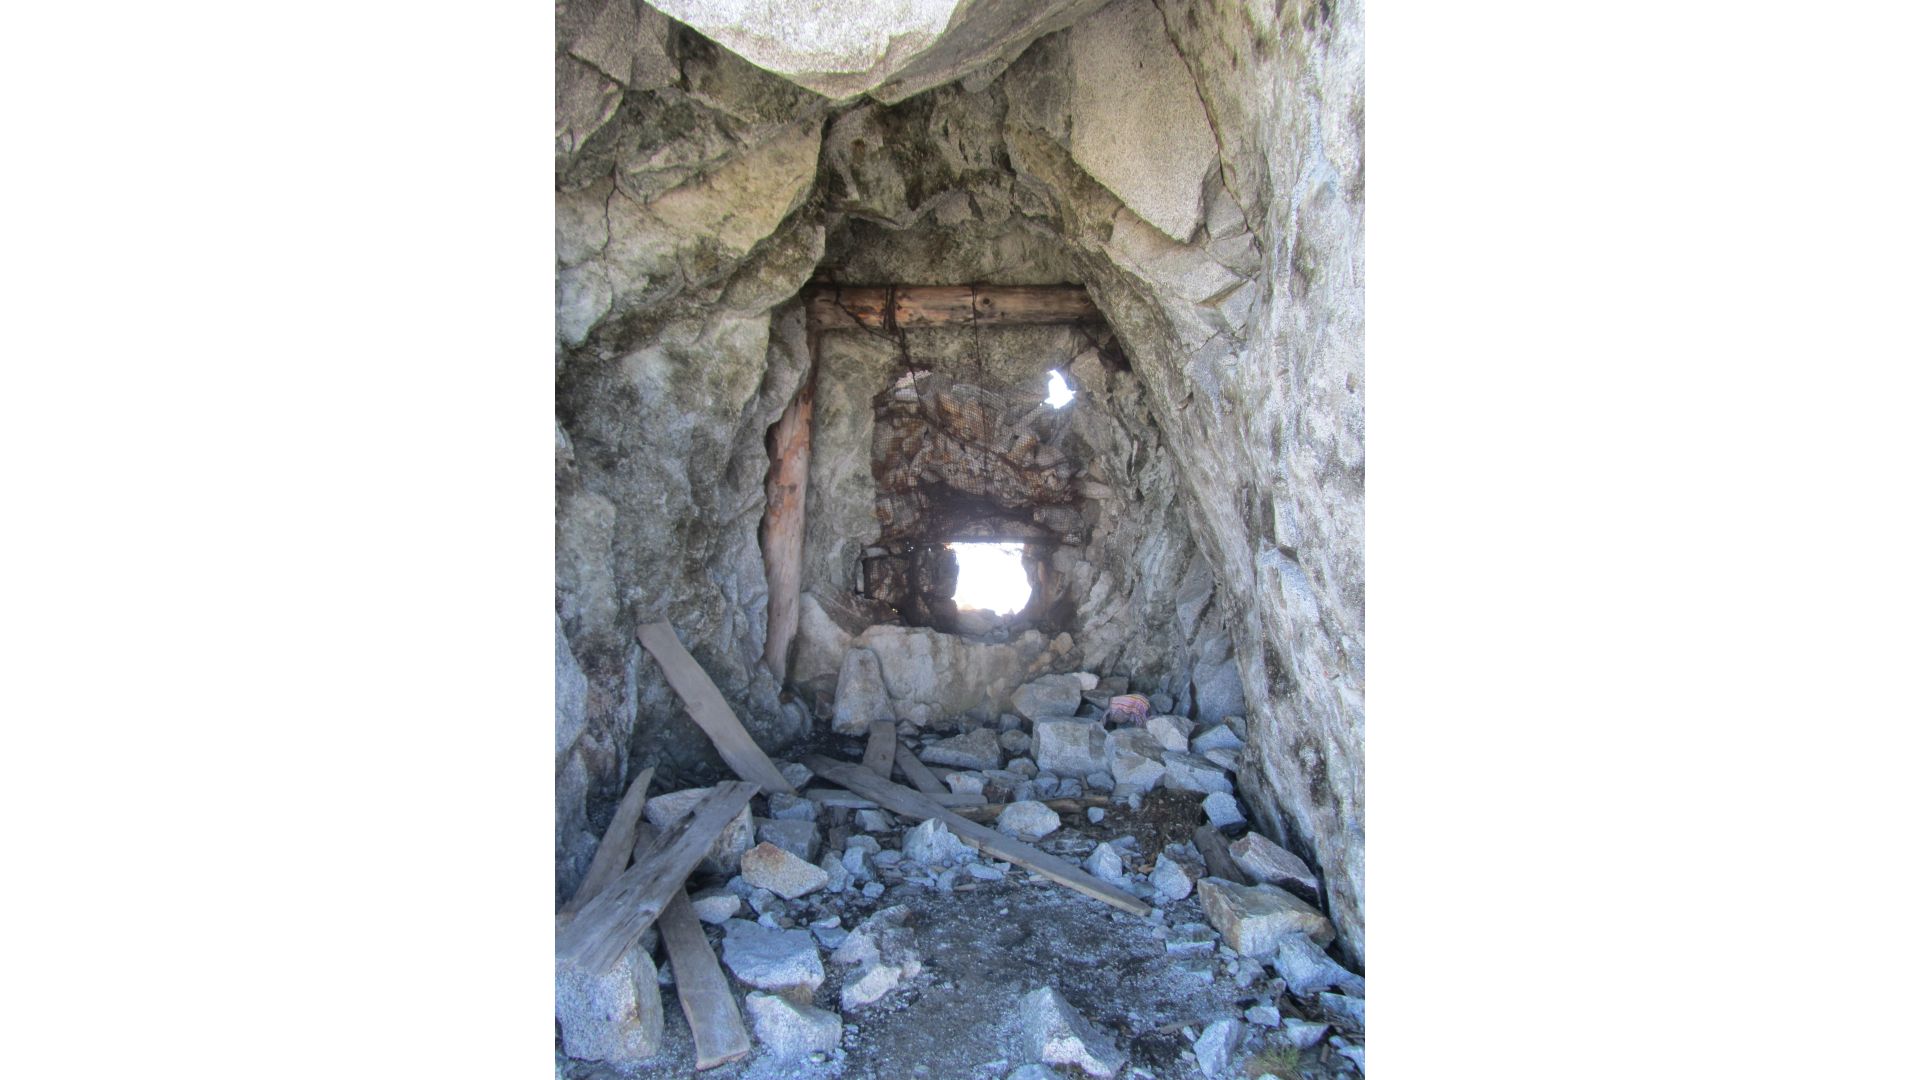
The world’s first via ferrata routes began to appear in the regions of Trentino, Alto Adige, and Friuli-Venezia Giulia in northern Italy in the 19th century, but really rose to fame for the part they played in the First World War’s infamous “White War” – the name given to the three-year battles fought between Hapsburg and Italian forces in high-altitude Alpine regions on the Italian Front from 1915-18. Throughout this period, troops on both sides of the conflict installed cables, ladders, and bolts into the rock to reach and supply high-altitude barracks, eagles’ nests, garrisons, gunning stations, and lookouts across the front, from the Adamello Group in Italy’s Southern Limestone Alps to the eastern dolomites in the Julian Alps in modern-day Slovenia.
Following WWI, as mountain-going became an increasingly popular recreational activity, hikers and climbers began using wartime via ferrata routes recreationally, and soon new routes began springing up throughout the Eastern Alps, particularly in Austria, northern Italy, Germany, and Slovenia. Today, there are nearly two thousand via ferrata routes in Europe and nearly as many again locations as diverse as the UK, Spain, China, Kenya, and the US, some of which are featured in our list of the most dangerous trails in the world.
How to do your first via ferrata: 5 tips
1. Get your hands on the right gear
As with any outdoor activity – hiking, camping, trail running, what have you – the most important box to tick when starting out is kitting yourself out with the best gear your budget will stretch to.
All the latest inspiration, tips and guides to help you plan your next Advnture!
For via ferrata, you’ll need all of your regular hiking essentials for starters, including a pair of the best hiking boots or best hiking shoes, spare clothing, and a daypack to carry a water bottle, some grub, a waterproof jacket, and a first aid kit. Next, you’ll need your safety equipment: a helmet, a harness, and – if you’re worried about the welfare of your paws – a pair of gloves to protect your skin from the cables, which aren’t always silky smooth. Finally, you’ll need to choose how you’ll attach yourself to the ferrata – with a pre-assembled via ferrata kit or a DIY kit.
Pre-assembled, store-bought kits, as you might expect, are the pricier option of the two, but often boast a couple of added features that make them more convenient to use than homemade kits, such as energy-absorbing lanyard systems that provide a “soft” catch if you fall or slip and carabiners with internal locking mechanisms with squeeze activation for easy, one-handed use. They also save you the hassle of retying knots every time you do a route (leaving the knots in the rope will reduce the rope’s strength over time).
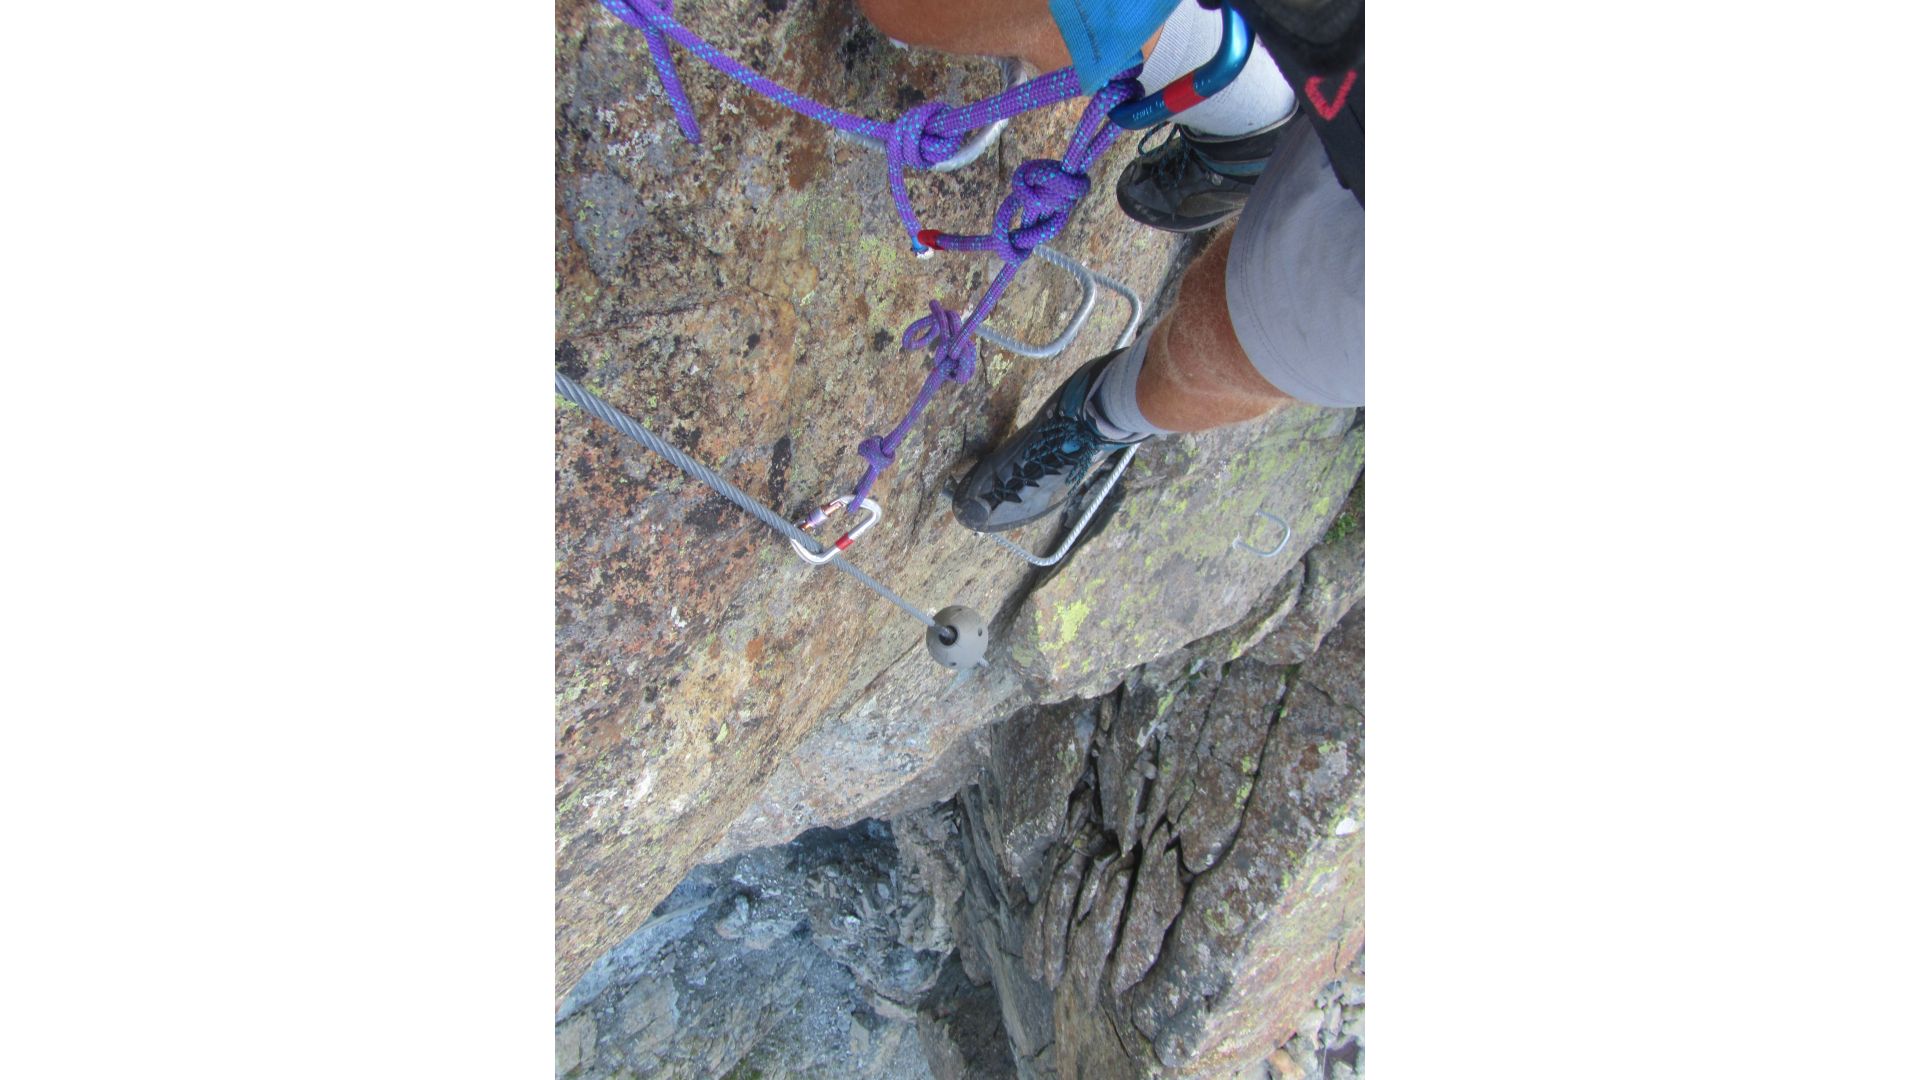
To make a DIY via ferrata kit, you’ll need two 5 or 6-foot lengths of 8.5-9.5mm climbing rope, two non-locking carabiners (or auto-locking twistlock carabiners), and a single screwgate carabiner. Once you’ve gathered all of the above, tie knots in each end of the lengths of rope – either a figure 8 on a bight or a simple overhand knot, attach one end of each rope to the belay loop on your harness with the screwgate carabiner, and attach the other two carabiners to the bights in the two ends of the ropes – these will be used to clip onto the cables on your route.
2. Choose your route carefully
Via ferrata routes – like different types of hiking trails – vary significantly in terms of both the degree of challenge they present and the environment in which they are located, and different countries around the world use different rating systems to grade each route that take into account the route’s technical difficulty, length, and exposure.
Given that the majority of the world’s via ferrata routes are in Italy, below we’ve added a brief overview of the Italian system to let you know what to expect:
F – A hiking path that is “equipped”, i.e. which has rungs, cables, or ladders to increase safety, usually in the most exposed sections of a hiking trail
PD – A short, less challenging and less strenuous route with limited exposure
D – A medium-length route that involves an increased degree of exposure and vertical or slightly overhanging sections. These routes require decent fitness levels, a good head for heights, and technical competence.
TD – Long, exposed, technical, and sustainedly strenuous routes with gradients no less than vertical.
ED – The hardest of the bunch. These involve sustained exposure, limited assistance from rungs, ladders, and cables, and require a high level of technical skill, strength, and fitness.
If you’re taking on your first via ferrata, and have never tried rock climbing, we recommend that you start off with a few F and PD routes to get a feel for things before venturing onto anything that involves more sustained exposure or more vertical (or overhanging) terrain. If you’re keen to dive straight in on something tougher before having cut your teeth on more mellow routes, we strongly advise enlisting the services of a qualified local guide.
3. Go early to avoid the crowds
The main beauty of via ferrata is that the routes allow you to enjoy the exposure, elevation, and physical challenge of mountaineering without having to worry quite so much about the hazards, whether subjective (slips, trips, falls, human error) or objective (avalanches, crevasses, seracs, etc).
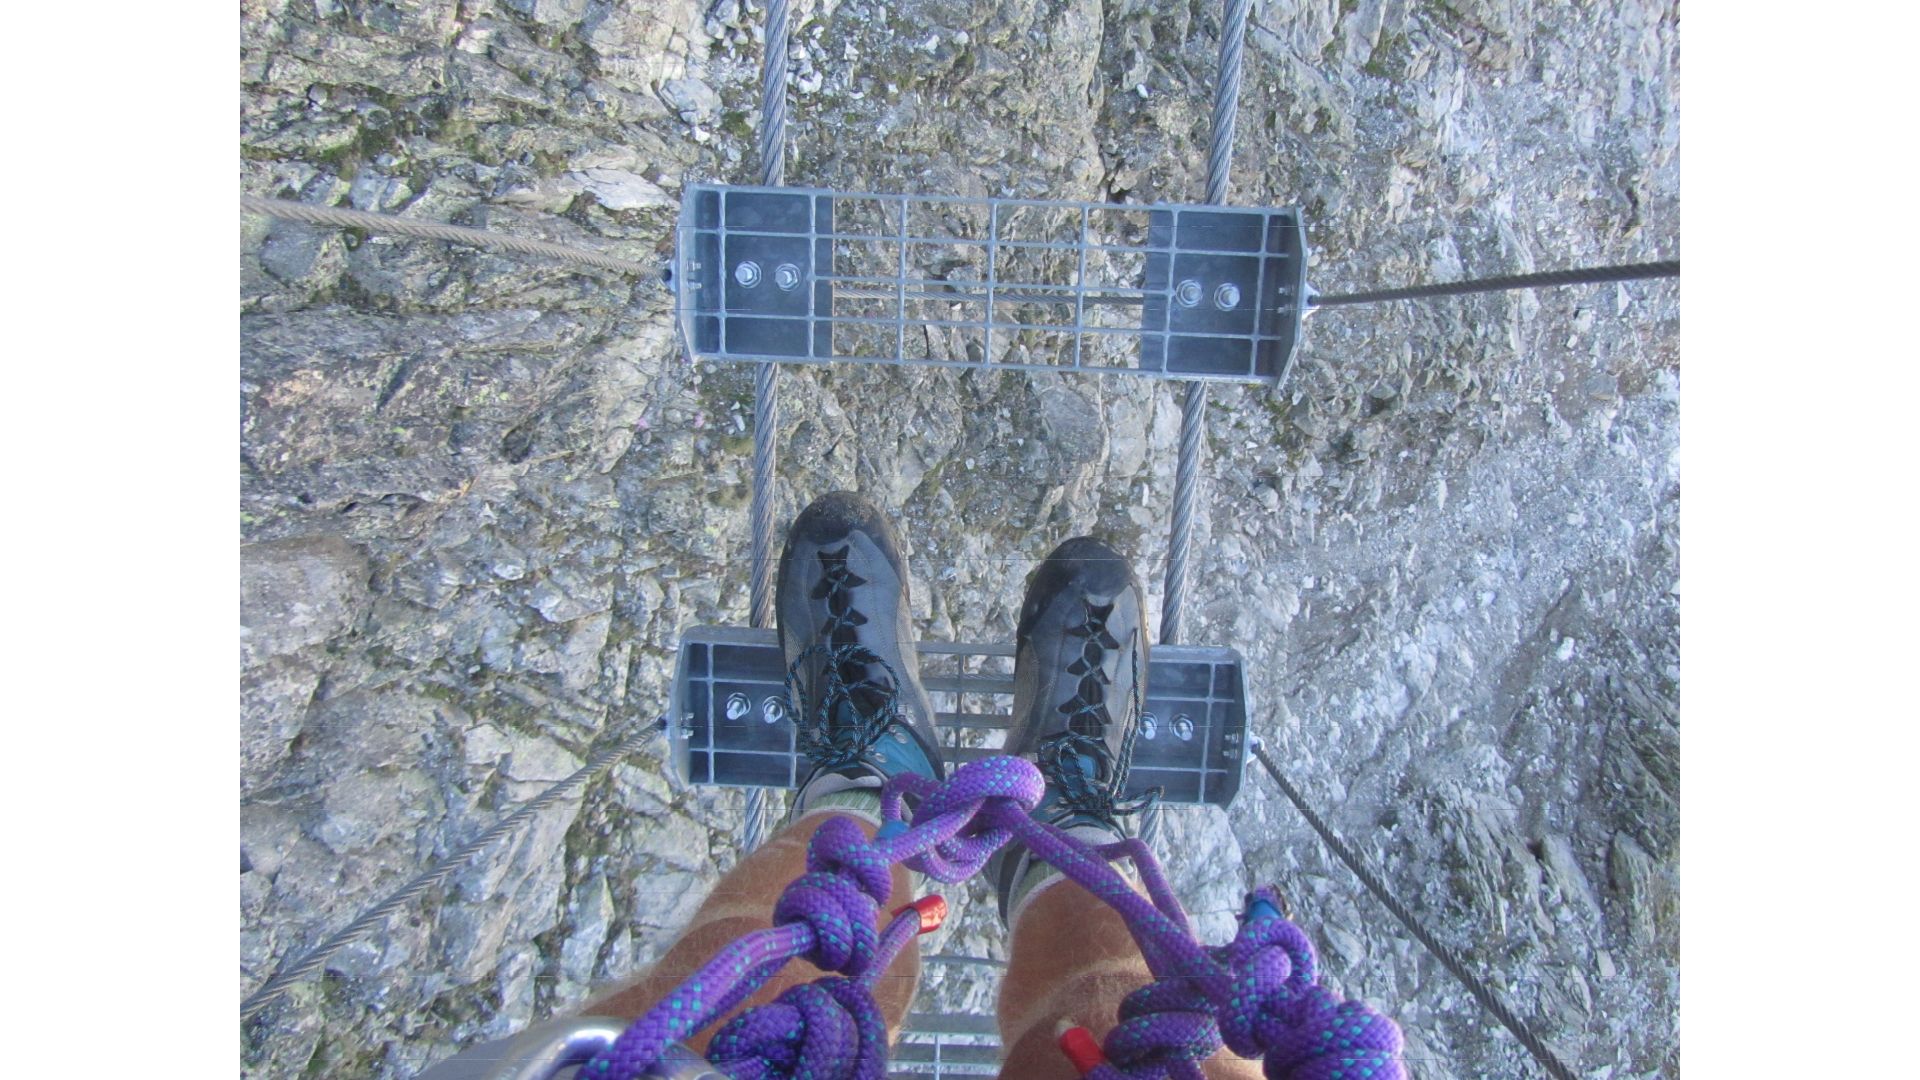
The presence of fixed protection on via ferrata routes, however, doesn’t mean that they are danger-free. While human error is the main cause of accidents on via ferrata routes, the second biggest risk takes the form of other humans above you on the route. Because many routes are on lower-angled terrain with large ledges, there’s always a risk that any stones or rocks on those ledges could be dislodged and sent down the route by inattentive climbers on higher ground, placing you in the direct fall line of something that could – at best – knock of you off balance or – at worst – do serious harm to whatever part of your anatomy it happens to land on.
If the prospect of raining rocks sounds a little too crazy for your appetite, then the most important addition you need to make to your via ferrata kit is an alarm clock. By setting this for a more ungodly hour than other climbers are likely to rise at, you’ll not only be reducing the risk of getting caught in a sh*tshow of falling rock, but also avoid having to wait for slower groups ahead of you on the route.
4. It’s all about the feet
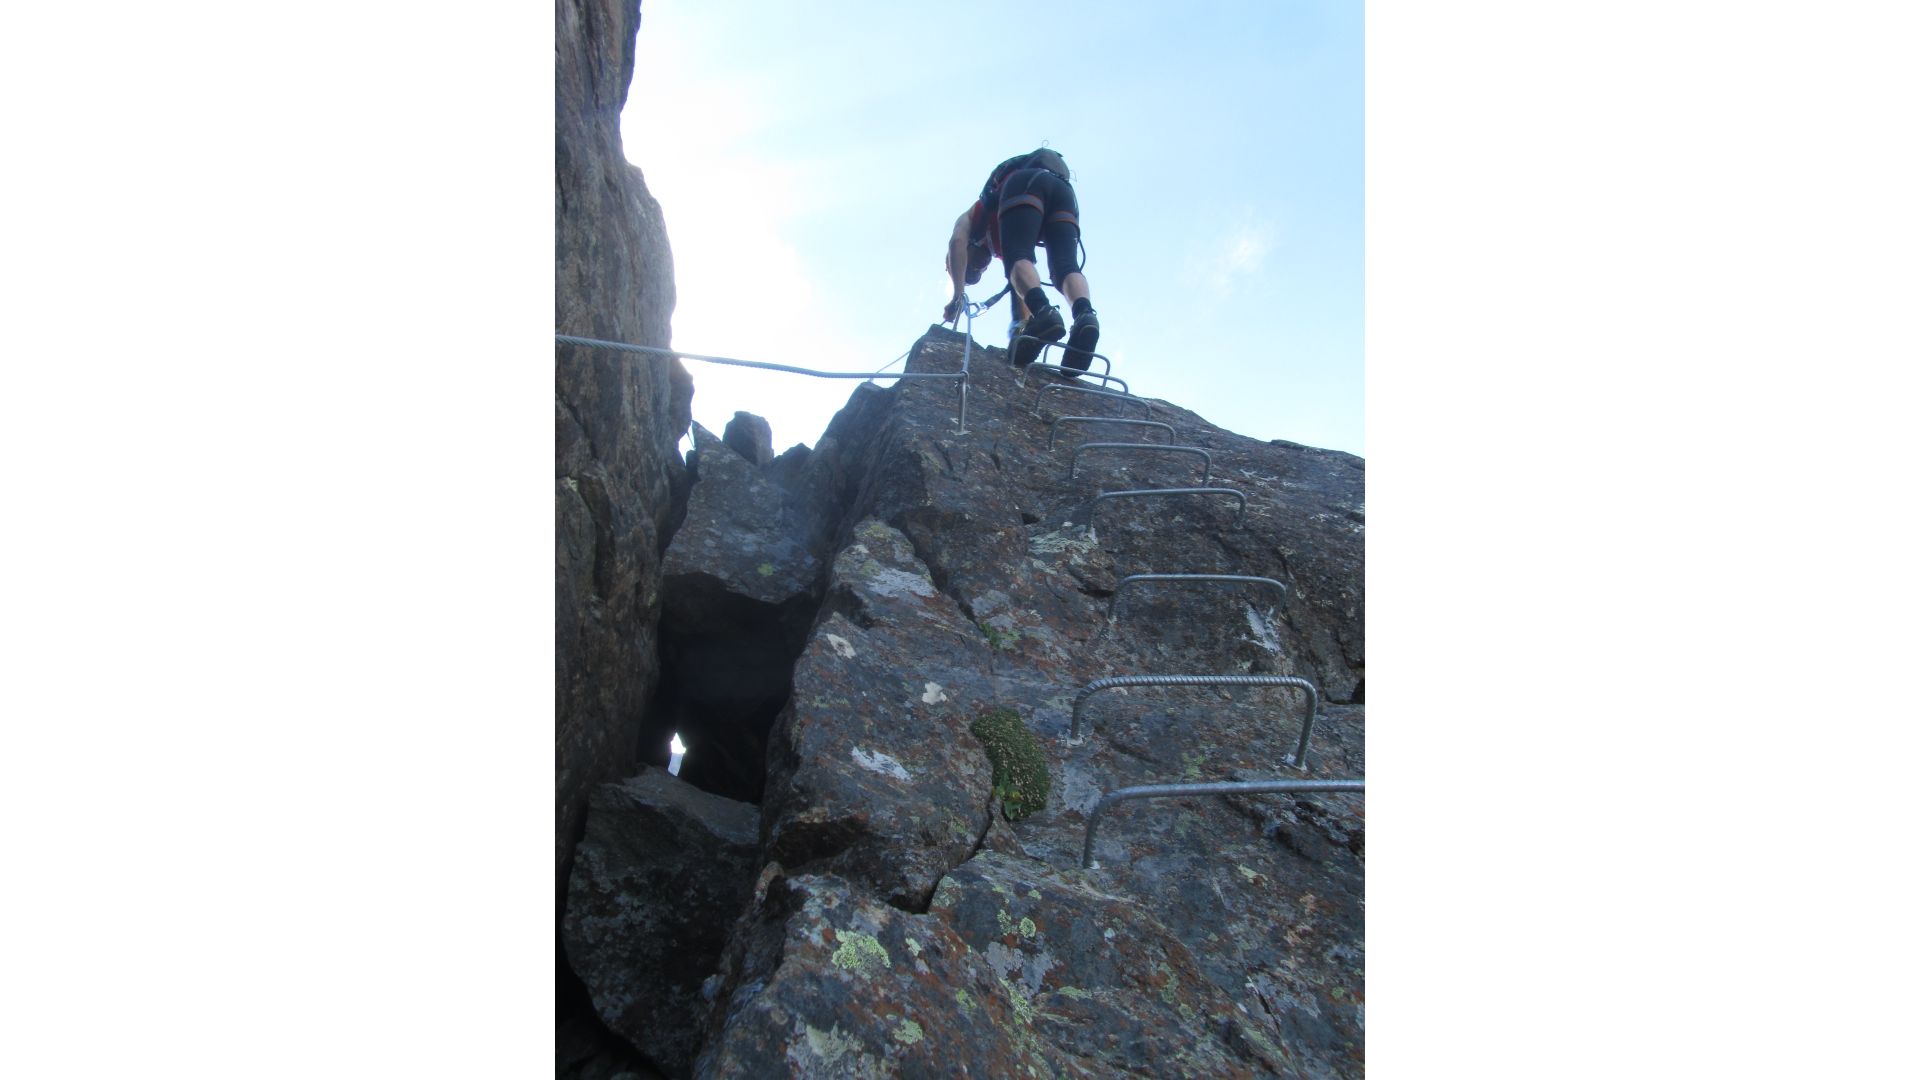
One of the first lessons climbers learn when making their first forays onto the rock is that footwork is all-important, and the same applies with via ferrata. While’s it’s perfect feasible to pull yourself up any route using your upper body strength if you happen to bench press small cars in your lunch breaks or bicep curl your relatives, if you’re anything less than superhuman doing so is likely to result in premature fatigue, leaving you will an awful lot of climbing ahead of you and not enough gas in the tank to do it safely.
To avoid this mistake, be mindful of how you progress on your route, making sure you use the muscles in your legs – which are larger and, thus, less liable to fatigue – to push yourself up rather than relying on your arms. The best way to do this is to think of your arms as only there to aid balance and leave all the heavy pushing to your pins.
5. Avoid complacency
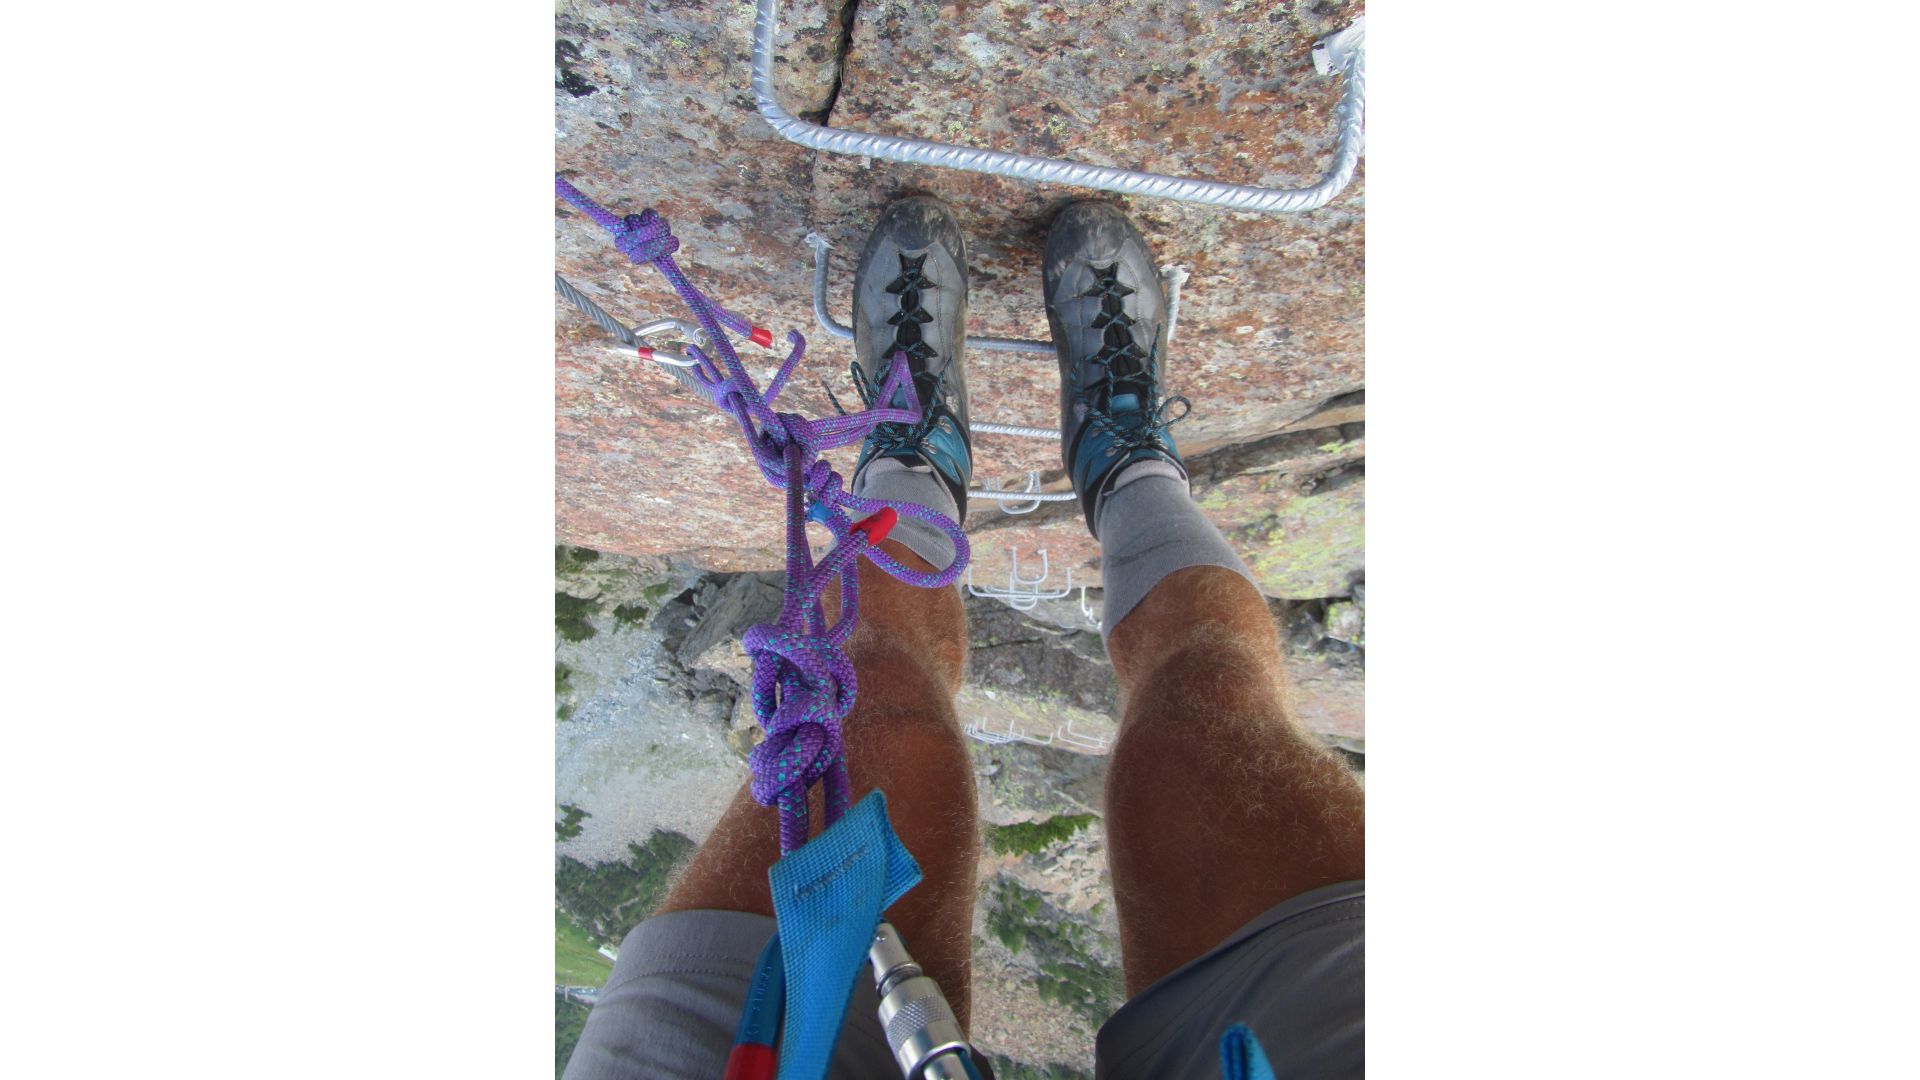
One of the greatest risks in via ferrata arises from failure to use the fixed protection on the routes. This usually occurs when hikers/climbers already have a few routes under their belts and start to get a little lax, deciding to do forego clipping into the cables when they come across an easier section of the route.
The best way to avoid falling into such complacency is to make a non-negotiable promise to use fixed protection at all times, bearing in mind that just one slip, trip, or a stray rock knocked down from above could spell game over – either in the narrower sense of ending your trip or the wider, existential sense. Also be diligent when transitioning between cables, ensuring you have one ‘biner clipped at all times when one cable ends and another begins, even if you’re standing on safe, unexposed ground.
Former Advnture editor Kieran is a climber, mountaineer, and author who divides his time between the Italian Alps, the US, and his native Scotland.
He has climbed a handful of 6000ers in the Himalayas, 4000ers in the Alps, 14ers in the US, and loves nothing more than a good long-distance wander in the wilderness. He climbs when he should be writing, writes when he should be sleeping, has fun always.
Kieran is the author of 'Climbing the Walls', an exploration of the mental health benefits of climbing, mountaineering, and the great outdoors.
