
So you’ve read our article on how to choose an ice axe, picked out one of the best ice axes for your wintery expeditions, and now all that’s left is to figure out how to carry it when you’re not using it to haul yourself up a mountain. Do you just throw it in your backpack? Attach it to your pack with zip ties and let it dangle behind you? Knowing how to attach an ice axe to a backpack properly is as much about safety as it is convenience when you’re trying to climb, and fortunately it’s very simple.
A lightweight ice might weigh as little as 11 ounces while on the heavier end, they can weigh in close to 1lb, which may not sound like a lot, but imagine carrying a bag of flour in your hand while hiking up steep, icy terrain. It would get old quite fast.
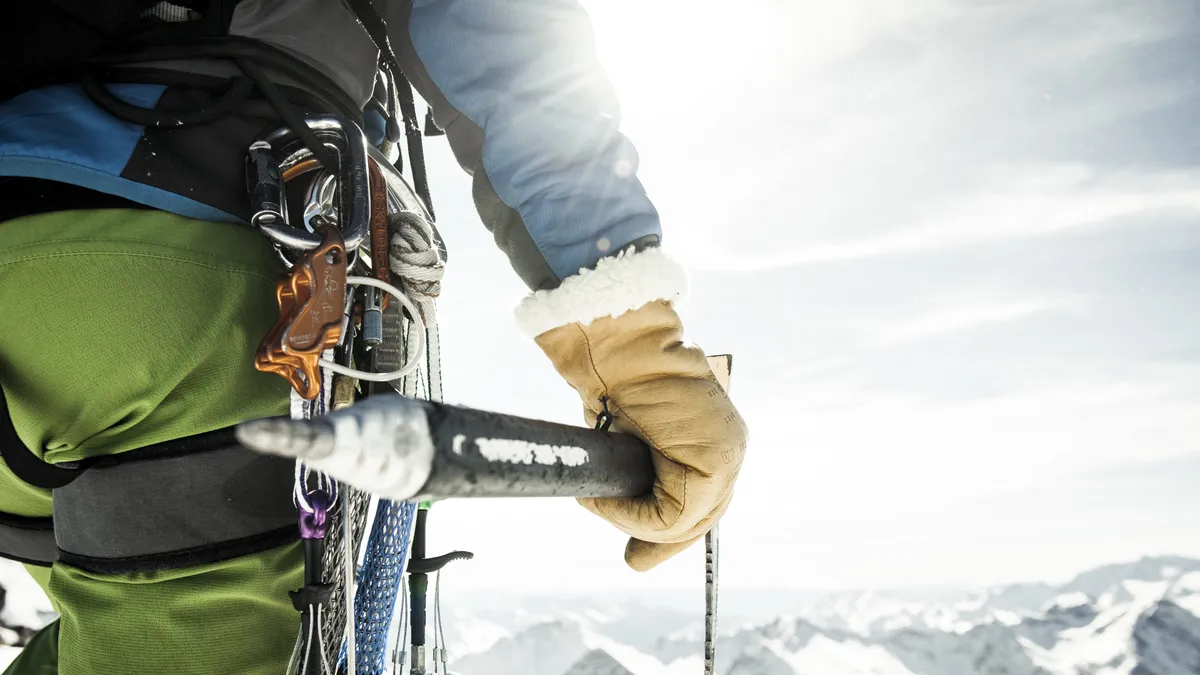
When you’re not using your axe to maintain balance while glacier hiking, test terrain or help you climb, you definitely want to stow it away somewhere safe. This not only ensures your hands are free to climb, but it means that if you fall, you won’t be at risk of getting injured by your own axe.

How to attach an ice axe to a backpack

The good news is that it’s very easy to attach your ice axe to your backpack and keep it out of harm’s way. You will need a proper winter hiking backpack that has loops on the outside intended for attaching gear such as an ice axe. Once you’ve got that, simply follow these easy steps.
1. Thread the ice axe through the loop
Take your backpack off and hold your axe by its head. Slide the handle all the way down through the loop until the head touches it and the handle is dangling down below the pack.
2. Turn your ice axe pick in
Next, spin the axe around so that the pick, which is the sharp end you drive into the ice, is facing in. If the hiker behind you was looking at your backpack, the pick would be pointing towards the midline of your backpack rather than out to the side where it might snag on branches or other people. It might seem slightly counter intuitive, but this is largely to ensure that if you fall, the pick won’t go into your hip because the pack will be in between you and the axe head.
3. Strap your ice axe in
Rather than leaving your axe handle dangling down where it will knock into your legs and annoy you, keep the pick facing in and flip your ice axe upside down now, then use a strap or buckle towards the top of your backpack to secure the handle flush to your pack. Now when you put the backpack on, the handle will be pointing up towards the sky, the head down towards the earth, and you’re free to get on with your cold weather adventure.

