How to triangulate: to find your location in any terrain
Learning how to triangulate is vital for safe and efficient backcountry navigation. Our simple, step-by-step guide shows you how it’s done

All the latest inspiration, tips and guides to help you plan your next Advnture!
You are now subscribed
Your newsletter sign-up was successful
When you’re doing your hiking in unfamiliar backcountry terrain without one of the best GPS watches, a handheld GPS unit, or cell phone navigation app, the most reliable – and easiest – way to find your whereabouts is triangulation.
In a few words, triangulation is using two or three landmarks in the terrain as reference points from which you can determine your location. If you’ve already learned the basics of how to read a map and how to use a compass, adding this navigational method to your skillset (see why learn navigation?) will be an absolute breeze – all you need’s a clear day, decent eyesight, your map and compass, and a little bit of instruction, which we aim to provide in the following straight-talking, step-by-step guide on how to triangulate your position in the field.
How to triangulate: step-by-step instructions
Step 1: identify features in the terrain
Effective triangulation requires being able to spot landmarks in the terrain that you can subsequently locate on your map, so good visibility is essential.
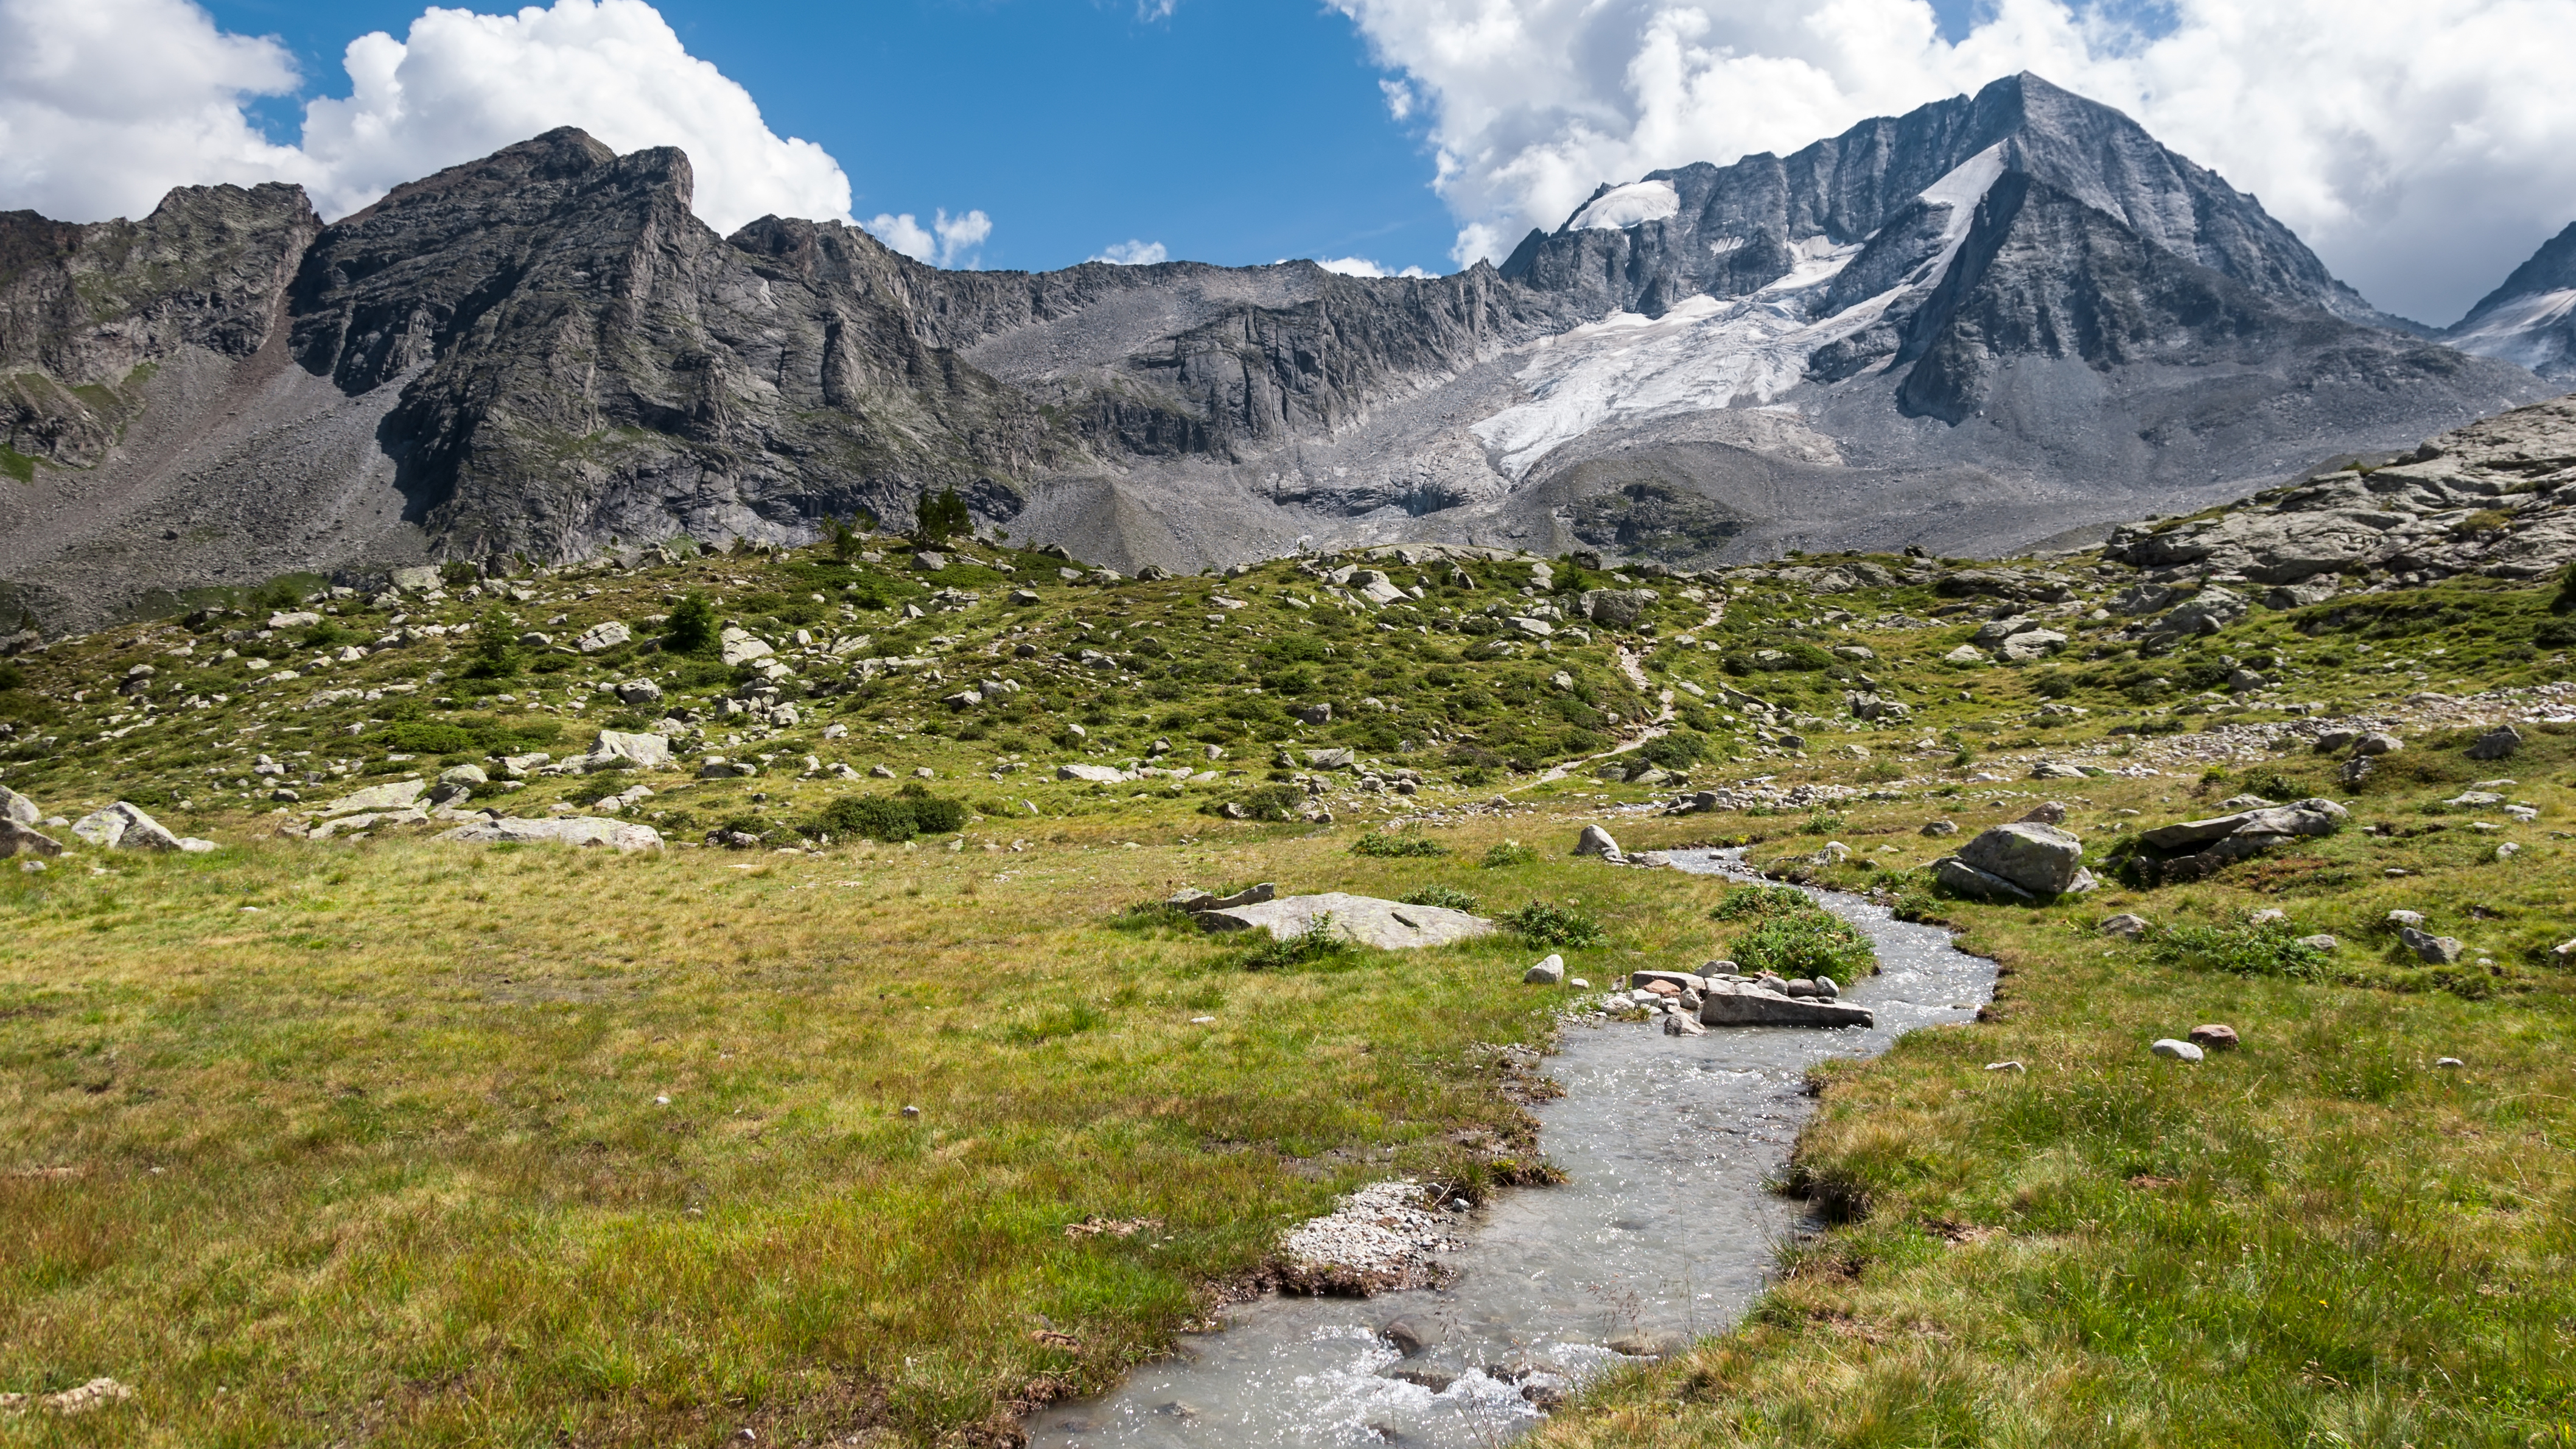
The best features are those that are easily identifiable, such as isolated peaks, lakes or ponds, rocky outcrops, saddles, large boulders, buildings, or an isolated copse or grove of trees. If none of these are visible, then other features you can use are patches of vegetation (in an arid landscape), patches of rocky ground (in a vegetated terrain), particularly steep segments of a slope (reflected on your map by contour lines that are packed closely together), depressions in the terrain, and bends in roads, trails, streams or rivers.
Step 2: orient your map
To match the features you’ve identified in the terrain to those depicted on your map, you have to first make sure your map is correctly oriented (i.e., facing the right way).
Here’s how it’s done:
First, adjust your compass for the area’s magnetic variation. Don’t know how to do this? Check out our guide on how to adjust for magnetic declination. Next, orient your map by aligning the north-south grid lines on your map with the magnetic needle in your compass, which will point due north after adjusting for magnetic variation if you’re using a declination-adjustable compass. If you’re using a non-adjustable compass, add or subtract the degree of magnetic variation after aligning your compass needle with the map’s grid lines.
All the latest inspiration, tips and guides to help you plan your next Advnture!
Step 3: get bearings on each of your landmarks or features
To get bearings on each of the landmarks or features you have identified in the terrain, hold your compass in front of you and aim the direction-of-travel arrow (located at the top of the rotating dial) directly at the landmark – if you want to know more, check out our in-depth guide to taking a bearing. Next, turn the compass dial until the red end of the magnetic needle is aligned with the orienting arrow (the red arrow inside the rotating dial). In navigation-speak, this step is called “putting red in the shed.
Step 4: transfer your bearing to your map
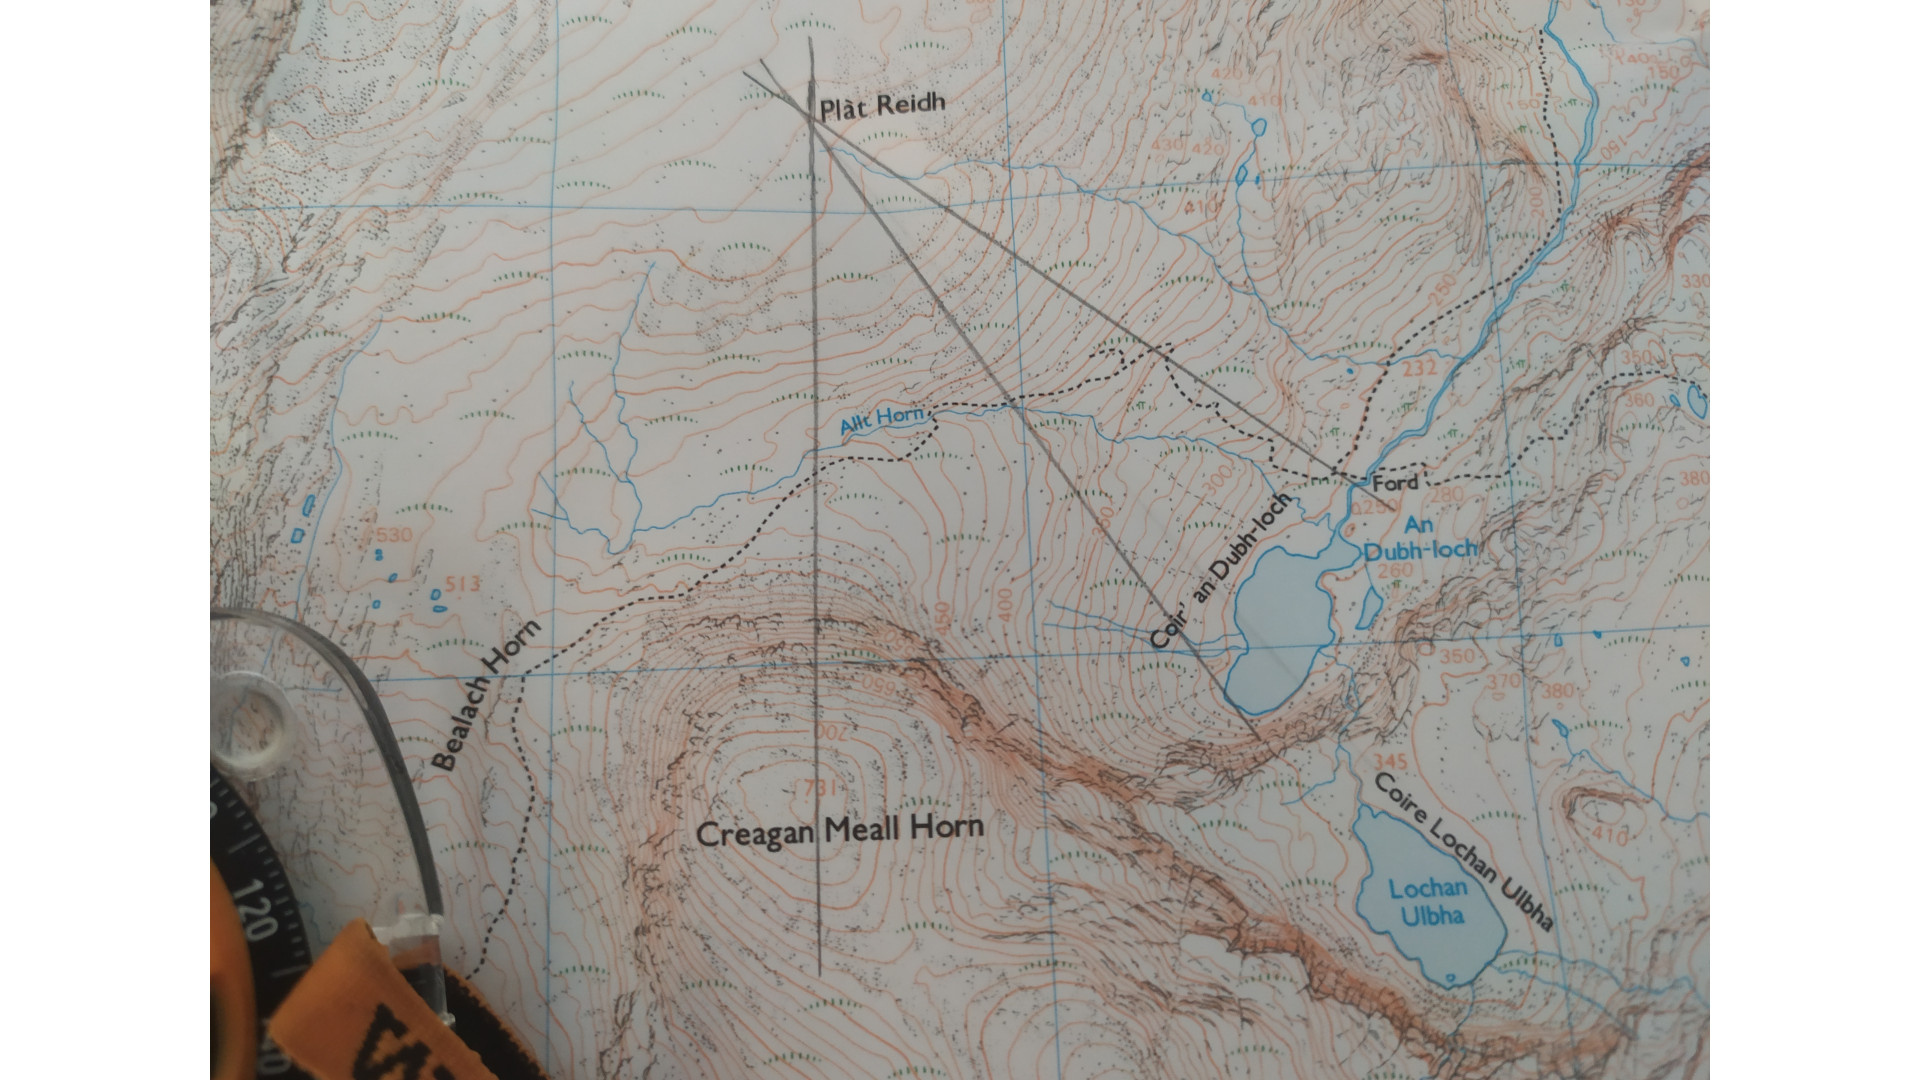
Move your compass to your map, placing the top of the long edge of the compass (either side works) on the landmark you’ve taken the bearing from. Make sure the orienting lines inside the compass dial are aligned with the north-south meridian line, and then use a pencil (or pen) to draw a line along the edge of your compass from the landmark to the compass’s base.
Step 5: repeat
Repeat steps 3 and 4 with two more landmarks or features. When finished, the point where the three lines you have drawn intersect (they usually form a small triangle) is your approximate location.
How to triangulate with one landmark
In certain situations, triangulating with a single landmark is feasible. If, for instance, you find yourself situated next to or on a landmark like a river, road, ridge, or trail, then you can simply repeat steps 1 to 3 of the triangulation process described above and your approximate location will be given by the point where the line you have drawn from the single landmark passes through the landmark or feature you’re next to.
Former Advnture editor Kieran is a climber, mountaineer, and author who divides his time between the Italian Alps, the US, and his native Scotland.
He has climbed a handful of 6000ers in the Himalayas, 4000ers in the Alps, 14ers in the US, and loves nothing more than a good long-distance wander in the wilderness. He climbs when he should be writing, writes when he should be sleeping, has fun always.
Kieran is the author of 'Climbing the Walls', an exploration of the mental health benefits of climbing, mountaineering, and the great outdoors.
