
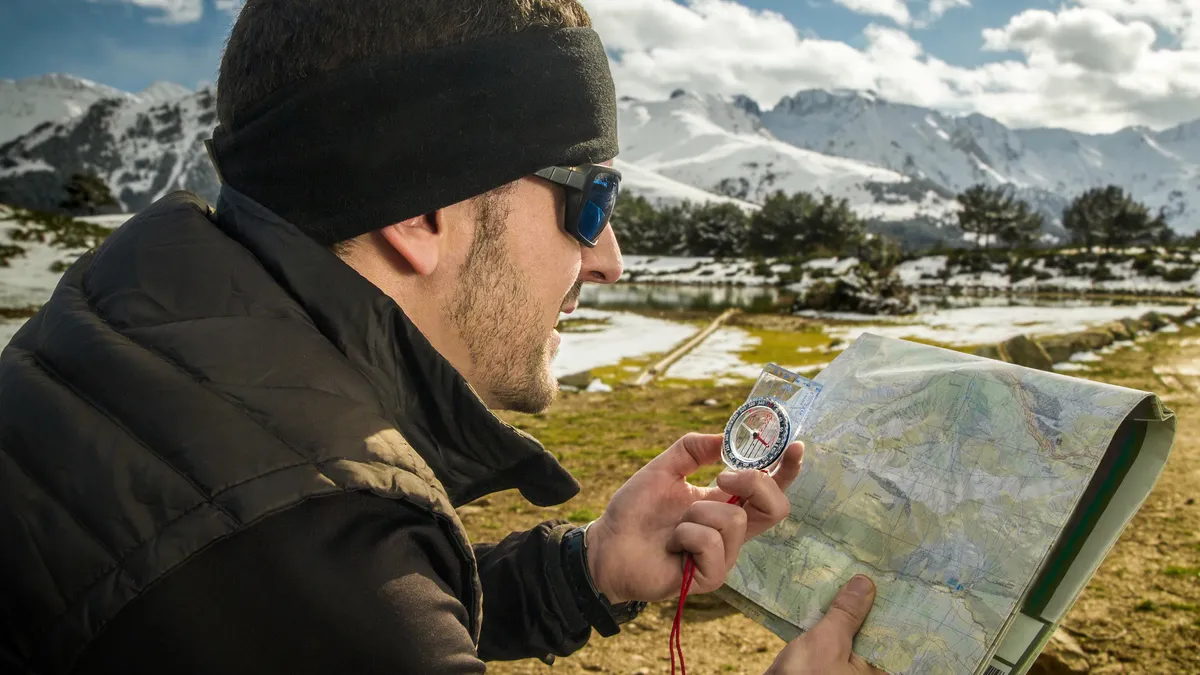
Knowing how to take a bearing is crucial knowledge when navigating in wilderness areas or in challenging conditions. Using your map and compass, a bearing enables you to venture in the correct direction with confidence, even if you can’t see more than a meter in front of you.
A few other skills come into play, of course. You need to be able to read a map and having a good grasp of your average hiking speed is useful if you're following a bearing over considerable distances. However, once you've got all of this, you'll have great fun navigating your way around the backcountry.
Our qualified Mountain Leader is here to reveal what a bearing actually is, how to take one from a map and how to then follow it in your hiking boots across backcountry terrain. Compasses at the ready? Let's go!

What is a bearing?
A bearing is the direction between two points expressed in degrees, using north as a reference point. For example, let's say the summit is directly east of a mountain hut. North is always expressed as 0 degrees, so the bearing from the mountain hut to the summit would be 90 degrees. Similarly, the bearing from the summit back to the mountain hut would be 270 degrees.
Of course, the direction from one arbitrary point to the another isn't always as straight forward as due east or due west. Let's say you are on a mountainous plateau in poor visibility and you know your location. You also know where you want to get to on the map. Taking a bearing allows you to work out the direction between your location and your objective on the map and then apply it to you real world navigation, using your compass.

How to take a bearing
Taking a bearing is a relatively complex process on the face of it. I've broken it down into the six steps below. For the relevant detail behind each step, click the links or scroll further down.
- 1) Find your location on the map – it's vital you know your exact location
- 2) Estimate the bearing – this acts as a handy check that you've measured the bearing correctly in the coming steps.
- 3) Line up A and B on the map using your compass – this is where A is your location and B is your destination
- 4) Align the map's grid with the compass' orienting lines – ensure the red orienting arrow is pointing north and the map is the right way around.
- 5) Read the bearing from the top of the compass housing – refer back to your estimate to check it's within the expected range
- 6) Align the compass north needle with the orienting arrow – having put your map to one side, the compass' direction of travel arrow will now point to your chosen location
Meet the expert

Alex is a Mountain Leader and former President of the London Mountaineering Club. He's passionate about hiking and mountaineering and is an advocate of using a blend of traditional navigation methods with modern GPS tools.
So, you know how to read a map and you known the basics behind how to use a compass. It's now time to put these skills into practice.
A great way to hone your navigation is to head out on a remote wild camp and use it as a base. You can develop your skills on a hike in the daytime and don your best headlamp for some night navigation once the sun has set. That's what I did when I pitched up in Wales' Bannau Brycheiniog (Brecon Beacons) National Park.
For more detail on my step by step guide, see below:

Find your location on the map
When you take a bearing, you need to know where you are (Point A) and where you want to go (Point B). The first thing you need to do is triangulate to work out exactly where you are and match this to the map. Use terrain features to do this, using fixed natural features first – such as gradients, crags and rivers – and then confirming your judgement using human features, like paths, walls and fences, as these are more liable to change over time.
Of course, if you need to take a bearing it may be because visibility is low. Perhaps the cloud has rolled in or perhaps it’s the dead of night. When this is the case, working out exactly where you are on a map is much more difficult. In these circumstances, it’s a good idea to cross reference with the map every time you arrive at an obvious feature, such as a summit, a building, a clear junction of paths, a waterfall etc. It’s worth reiterating: there’s no point taking a bearing unless you know where you are on the map.

Estimate the bearing between Point A and Point B
So, you know where you are on the map, this is Point A. You’ve figured out where you want to be, this is Point B. It’s useful, especially in low visibility, if Point B is something that should be quite an obvious feature when you arrive there.
It’s a good idea to make an estimation of the bearing because this will give you more confidence when you come to measure it accurately. It also ensures one little lapse in concentration doesn’t lead to a big navigational error, such as getting north and south mixed up.
Study your map and estimate what you would expect the bearing to be. To do this, Look at the direction of travel between Point A and B on the map. If it’s between north and east, you would expect a bearing between 0 and 90 degrees – closer to 0 if it’s broadly north and closer to 90 if it’s broadly east. If the direction of travel is between east and south, you’d expect a bearing between 90 and 180 degrees. South and west is 180 to 270 degrees and west to north is 270 to 360 (or 0 – as you’ve come full circle) degrees.

Line up A and B on the map using your compass
What often confuses people when they are learning to take a bearing is that the compass’s red north-facing needle does not come into play until you’ve put the map away. It almost seems counterintuitive because the north needle is what immediately springs to mind when we think about compasses. So, to reiterate, you don’t need to worry about the north-facing needle when calculating a bearing until you put the map away.
Bring your compass to the map and line up Point A with Point B using the straight edge of your compass, or the forward-facing lines on the base plate.

Align the map grid with the compass orienting lines
Being careful not to move the baseplate, rotate the compass housing (often referred to as the bezel) to align the orienting lines with the north-south gridlines on the map. Ensure the red orienting arrow on the compass is pointing north on the map and that your map is the right way around.

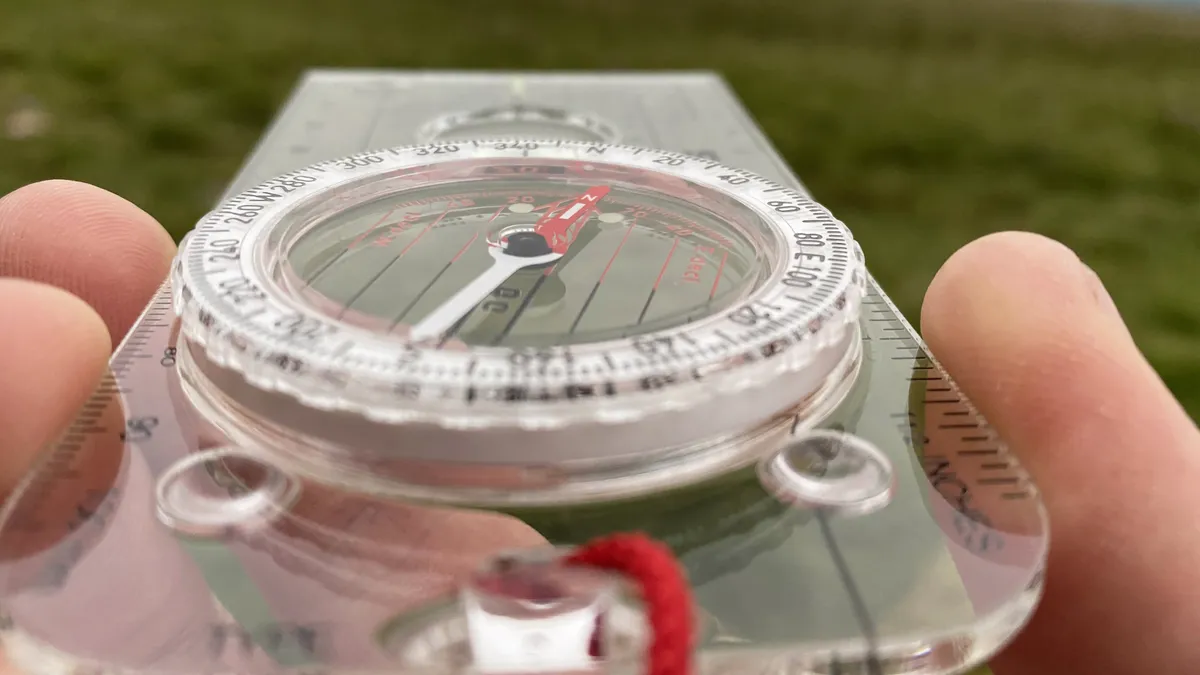
Read the bearing
Read the bearing from the top of the compass housing and refer it back to your estimate to make sure it is what you were expecting. In the illustrated example above, the bearing is 341 degrees, which agrees with the estimation of between 330 and 350 degrees. So to walk between Gwal y Cadno and the stone circle, a bearing of 341 degrees should be followed...
Align the compass north needle with the orienting arrow
Putting your map to one side, this is where your compass’s red north-facing needle comes into play. Rotate with your compass in hand until the north needle aligns with the red orienting arrow. The direction of travel arrow on your compass will now face the way you intend to go. It’s important to hold the compass horizontally, to allow the magnetic needle to spin freely. Holding it in two hands and locking your elbows to your side is a good way to ensure it stays level.

How to walk on a bearing
So, you've got your bearing and now you need to follow it. Here are three methods you can use to follow your bearing, as well as some advanced techniques you might require. Scroll down or click the links for more detail.
- Use terrain features as sighting points – if a feature lies directly on your bearing, you can walk to it safe in the knowledge that you're heading in the right direction.
- Or, use a friend as a sighting point – is poor visibility on featureless terrain, get a friend to walk in a straight line on your bearing until they're at the edge of your visibility.
- Walk with the compass set – walk with the compass held out in front, following the direction of travel arrow and making sure the north-facing needle stays within the north arrow
- Advanced techniques – when faced with an obstacle in poor visibility, you can box around it by turning 90 degrees, taking a set number of paces to avoid the obstacle and repeating this until you're back on your original bearing.
Use terrain features as sighting points
If the visibility is good, there are usually features in the landscape that you can use to help you get from Point A to Point B. For example, when you sight along the direction of travel arrow (see image above) and it’s pointing towards a fixed object – like a building, a rocky outcrop, or a distant summit – you can walk directly towards this with confidence that you are still heading in the right direction.
These sighting points become checkpoints along your route. Objects in the middle distance are better than those that are far away for two reasons. Firstly, they make for easy-to-reach checkpoints on your way to your objective. Secondly, features like a distant summit could be obscured by cloud as you walk towards them. For obvious reasons, don’t walk on a bearing towards a buzzard or a sheep; these don’t fall into the category of fixed objects.
Or use a friend as a sighting point
If visibility is really poor and you can’t use features in the landscape, you can use your buddy as a sighting point. Show them the bearing (even better if they’ve got their own compass too), ask them to walk ahead until they reach the edge of your visibility and tell them to stop. Check they are still in line with the direction of travel arrow on your compass – ask them to step to the right or left to get back in line if they’re not – and then walk forward to join them. You can then repeat this process, which ensures you stay on your bearing.
Walk with the compass set
If you’re alone and there’s very little visibility, you’re going to have to walk with the compass set. This means walking with the compass held out in front of your eyes, following the direction of travel arrow and making sure the red north-facing needle stays within the red north arrow. It’s quite rare that visibility is so poor that you can’t identify at least something as a sighting point, but every now and again this technique will have to be deployed.
Advanced techniques
It’s inevitable when walking on a bearing that you will meet the occasional obstacle that you can’t (or don’t want to) walk over, such as a bog or a rocky outcrop. This isn’t an issue If you are walking towards a clear object that you’ve identified as a sighting point. You can simply walk around the obstruction and continue to the sighting point, before taking another look at your compass to identify the next checkpoint on your bearing.
In poor visibility, this can be more of an issue. One way to get around the obstruction while making sure you stay on your bearing is to ‘box’ around it. Let’s say there’s a craggy outcrop that you can go over. If you turn 90 degrees to the right and walk for ten paces; turn 90 degrees to the left and walk another ten paces; and turn 90 degrees to the left again and walk for ten paces; before finally turning 90 degrees back to the right you should be back on your bearing and around the obstacle.
Why are map and compass skills important?
- A map and compass will never fail and can be used anywhere
- Winter, in particular, has the potential to sap the battery life of electronic gadgets
- Navigating using traditional methods is fun and rewarding
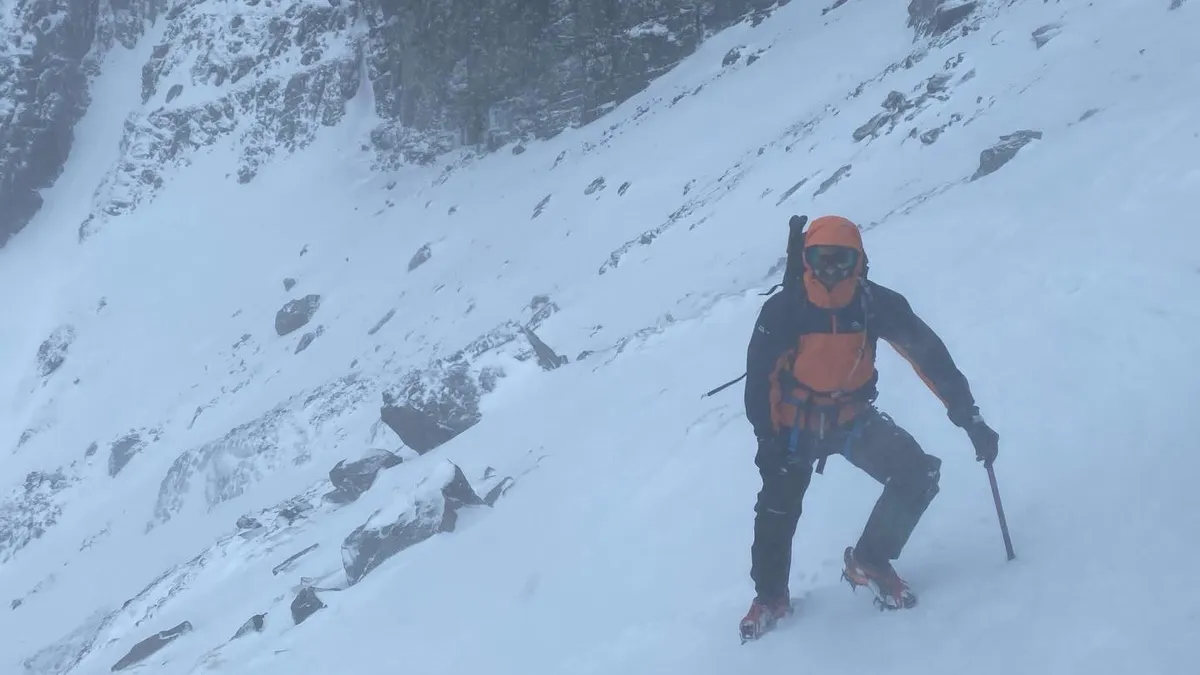
With many of us heading out into the hills and mountains in winter, the need to head in the right direction when confronted with poor visibility, the dark of night or, worse, a full on blizzard is critical. These days, there are always those who champion the use of technology over traditional navigational methods. However, technology is fallible, particularly when you throw in freezing temperatures and a whole load of precipitation, be it snow, rain, sleet or hail.
Your best compass won’t run out of battery. Your map won’t suddenly go blank in Baltic temperatures. Better still, the knowledge of how to take a bearing is something you can use all over the world, from coastal paths in South Africa to treks among Himalayan giants. Better still, the sense of satisfaction you’ll get from successfully finding your way through the backcountry without the use of tech is tangible.
Due to this, we never head for the trail without a map and compass in our hiking backpack. Once you’ve mastered the basics of map reading, it’s time to build on your skills and learn things like being able to take a bearing.

