How to adjust a backpack: 6 easy steps to fit your pack properly
We break down how to adjust a backpack so that it carries your gear on day hikes and long treks without hurting your back or bogging you down

All the latest inspiration, tips and guides to help you plan your next Advnture!
You are now subscribed
Your newsletter sign-up was successful
Knowing how to adjust a backpack so that it fits properly when you’re on a hike or backpacking trip can make the difference between moving with ease and slogging miserably along the trail.
You can have the world’s best backpack in the right size, but if you don’t adjust it properly to fit your body, the weight of your back can slow you down and even cause back pain which can really put a damper on your excursions. In this article, we break down the simple steps to adjusting your backpack so that it carries your gear on day hikes and long treks without bogging you down.
If you’re still in the market for a goodbackacpking backpack, you’ll want to start with our guide to how to choose a backpack.
How to adjust a backpack

1. Pack your backpack with weight
Your backpack will behave differently empty than it will full of gear, so you want to make sure you adjust it with some weight in it. The easiest thing to do is to pack some of your regular items like your best sleeping bag, sleeping pad and camping stove so it’s roughly the same size and weight it will be on your adventures.
2. Loosen all the straps
The straps of your backpack might have been tightened for shipping, for a mannequin in the store, or by other shoppers trying on, so to start from scratch, loosen all the straps. This way you’ll only have to work on tightening them to fit your body, not tightening some while loosening others.
3. Find the right placement for the hip belt
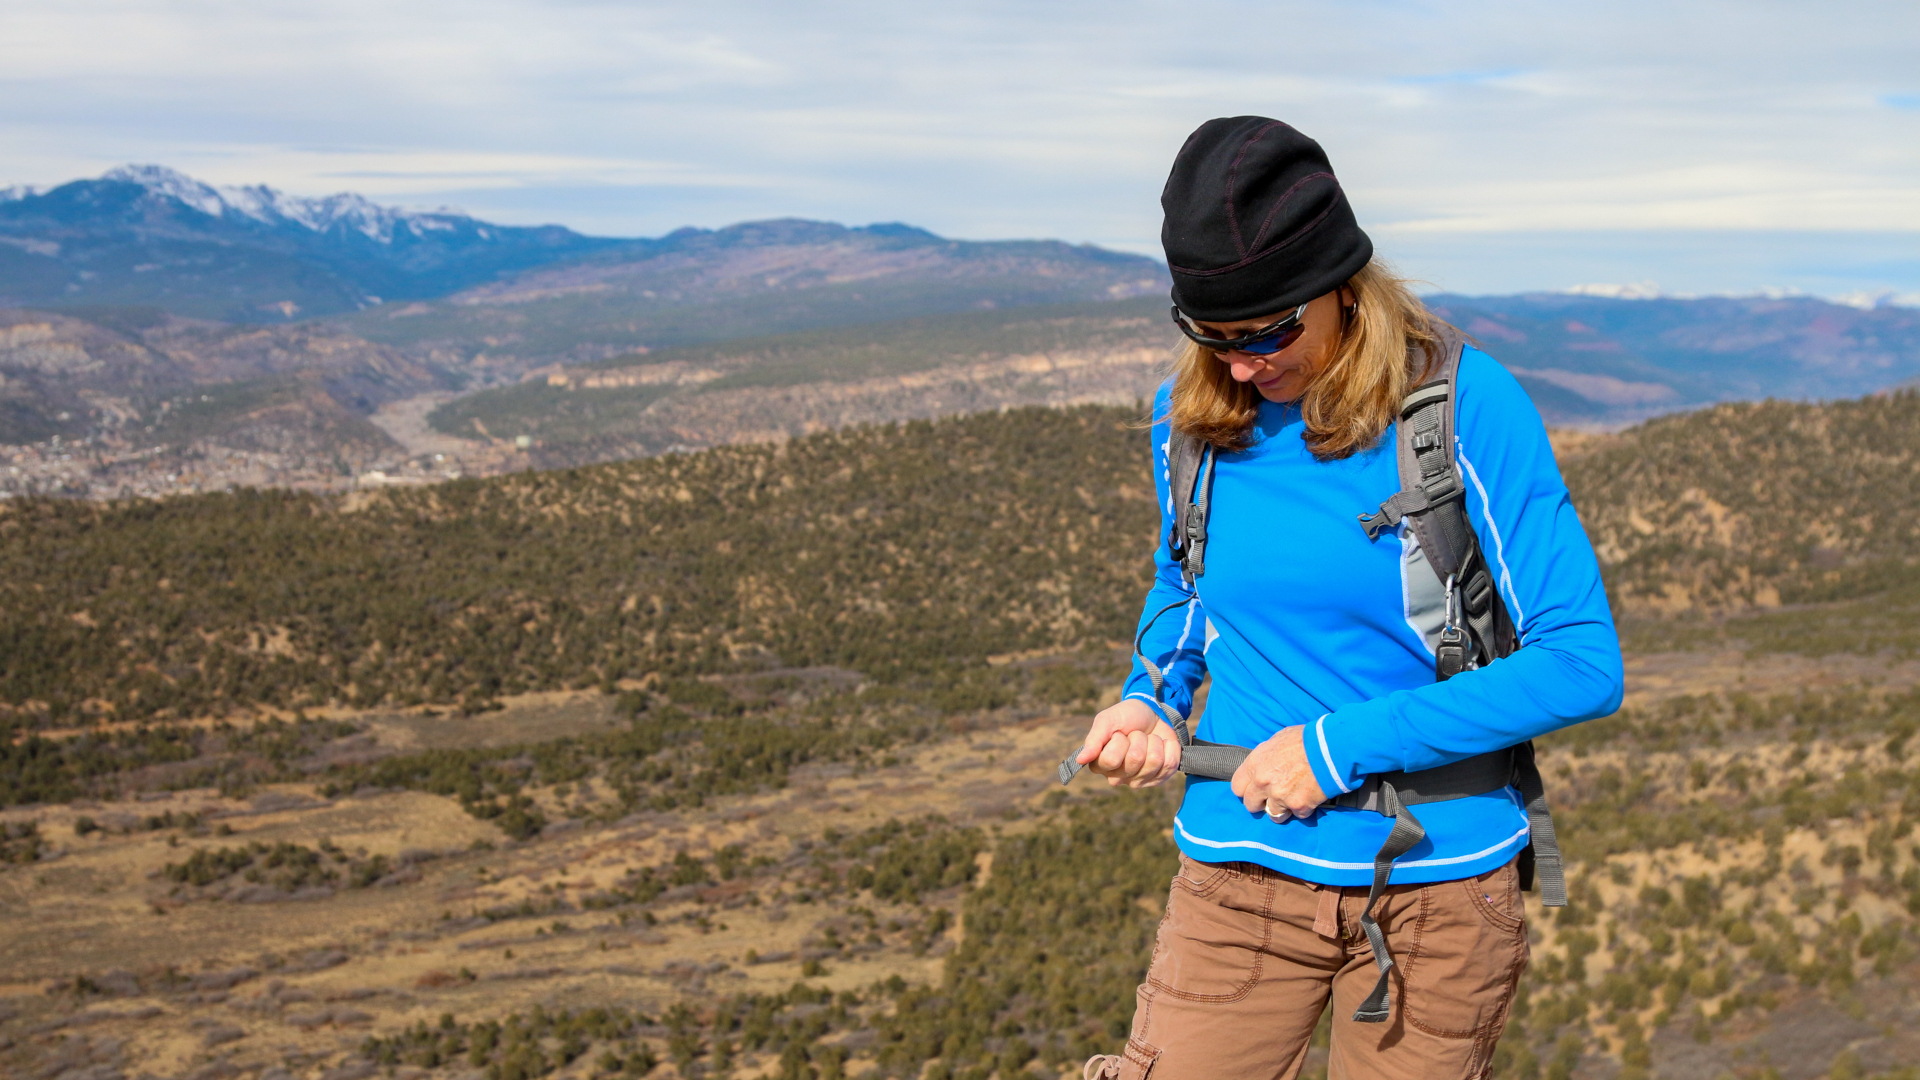
Now, put the backpack on and start by finding the right placement for the hip belt. The padded section of the hip belt should sit right on top of your hip bones, which transfers most of the weight of the backpack off your shoulders and low back and onto your legs. Buckle the hip belt and fasten so it feels snugly – remember that it shouldn’t feel uncomfortably tight and you have to be able to breathe.

4. Adjust the shoulder straps
Next, work your way up to the shoulder straps and tighten them both at the same time by pulling down on the straps. Again, you don’t want the straps to be so tight that they’re uncomfortable, or start to lift the weight of the pack off your hips. The shoulder straps should contour snugly to your shoulders all the way around from front to back – if there are any gaps between the straps and your shoulders after tightening the straps, your backpack is too big and you need a smaller size.
All the latest inspiration, tips and guides to help you plan your next Advnture!
5. Adjust load lifter straps
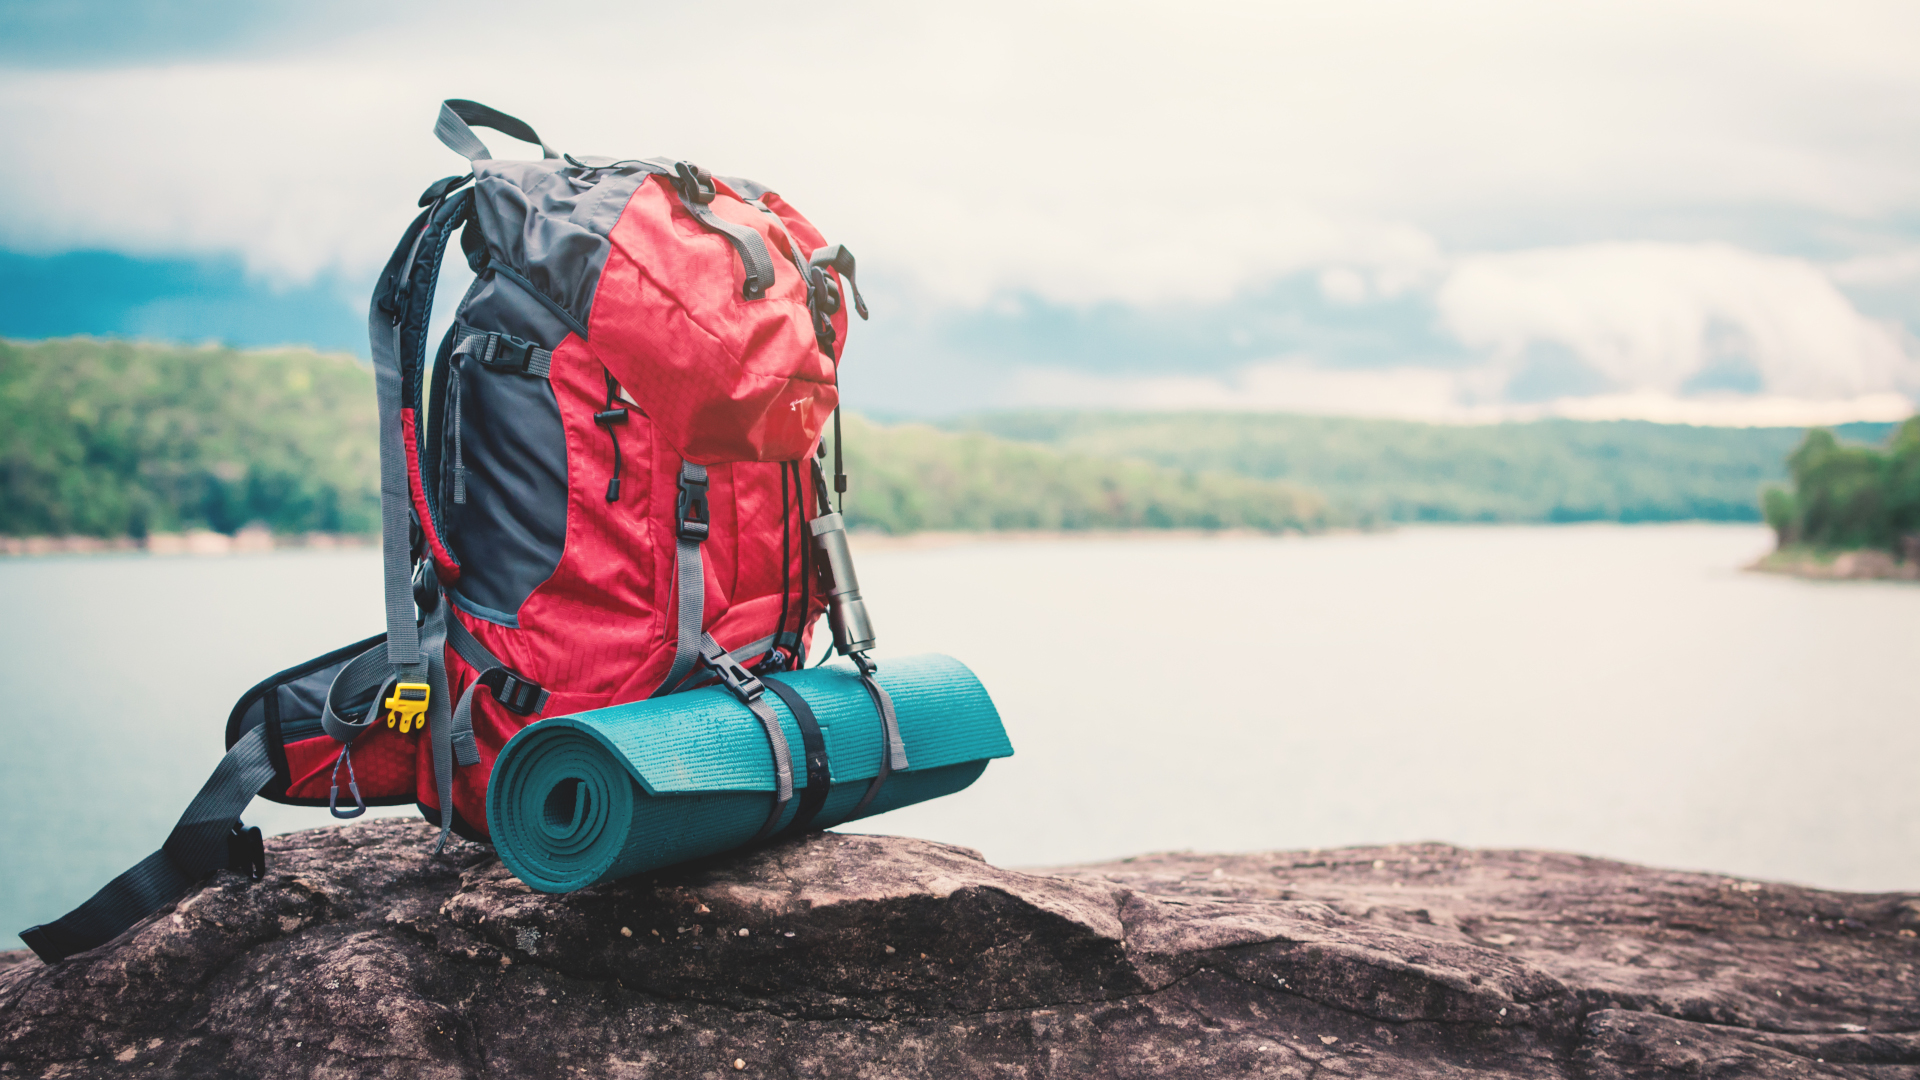
The load lifter straps meet just behind your neck (check out our guide to the parts of a backpack) and they pull the weight of the backpack closer in towards your body so that it doesn’t pull your body backwards, which can offset your center of balance and cause back pain. Reach back and pull on the load lifters straps so that the pack is at about a 45 degree angle from your body.
6. Adjust the sternum strap
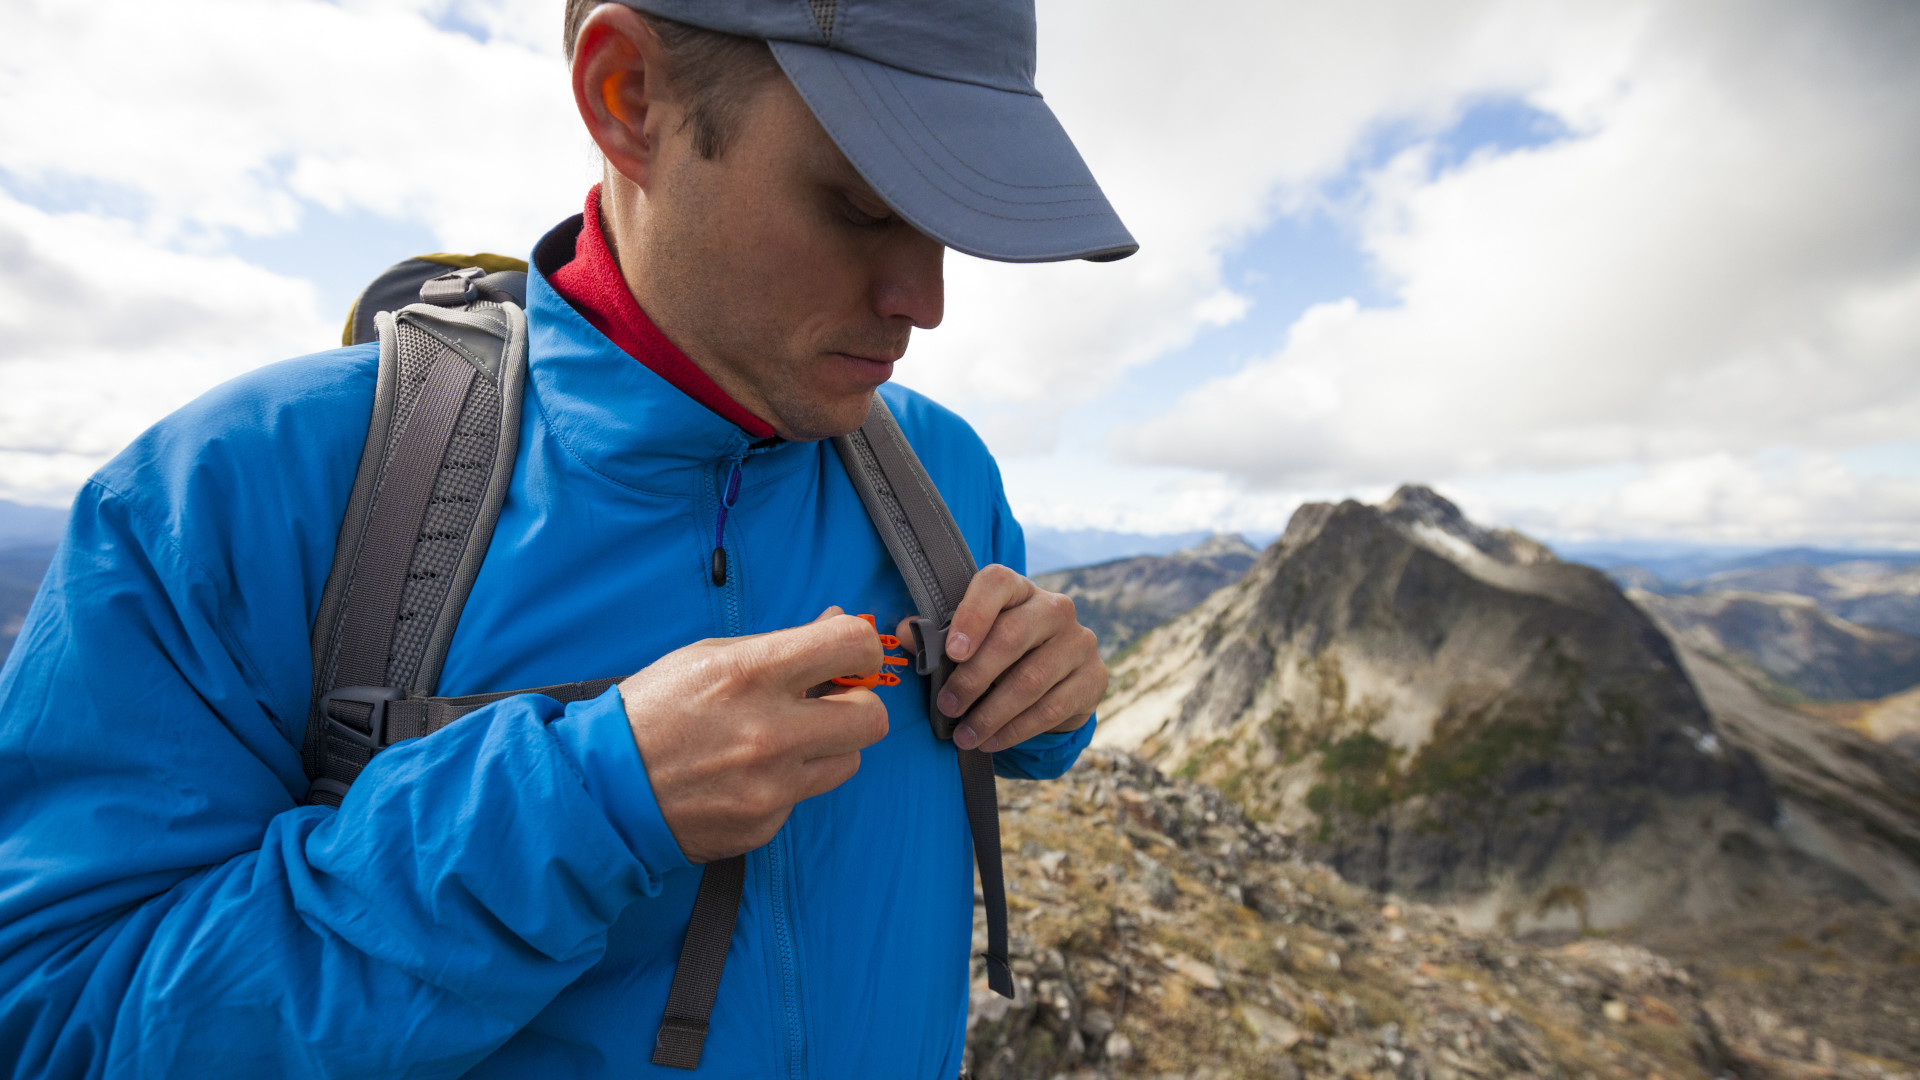
Finally, buckle the sternum strap across your chest and tighten it so that it’s snug but again, not too tight. You have to be able to breathe when you’re hiking.
And that’s it! You’re now ready to head out into the hills with all the gear you need for an epic adventure and a spring in your step.
Julia Clarke is a staff writer for Advnture.com and the author of the book Restorative Yoga for Beginners. She loves to explore mountains on foot, bike, skis and belay and then recover on the the yoga mat. Julia graduated with a degree in journalism in 2004 and spent eight years working as a radio presenter in Kansas City, Vermont, Boston and New York City before discovering the joys of the Rocky Mountains. She then detoured west to Colorado and enjoyed 11 years teaching yoga in Vail before returning to her hometown of Glasgow, Scotland in 2020 to focus on family and writing.

