How to use trekking poles whether you're hiking, trail running or mountaineering
Knowing how to use trekking poles can make a world of difference on a long-distance trek, ultra or mountaineering expedition
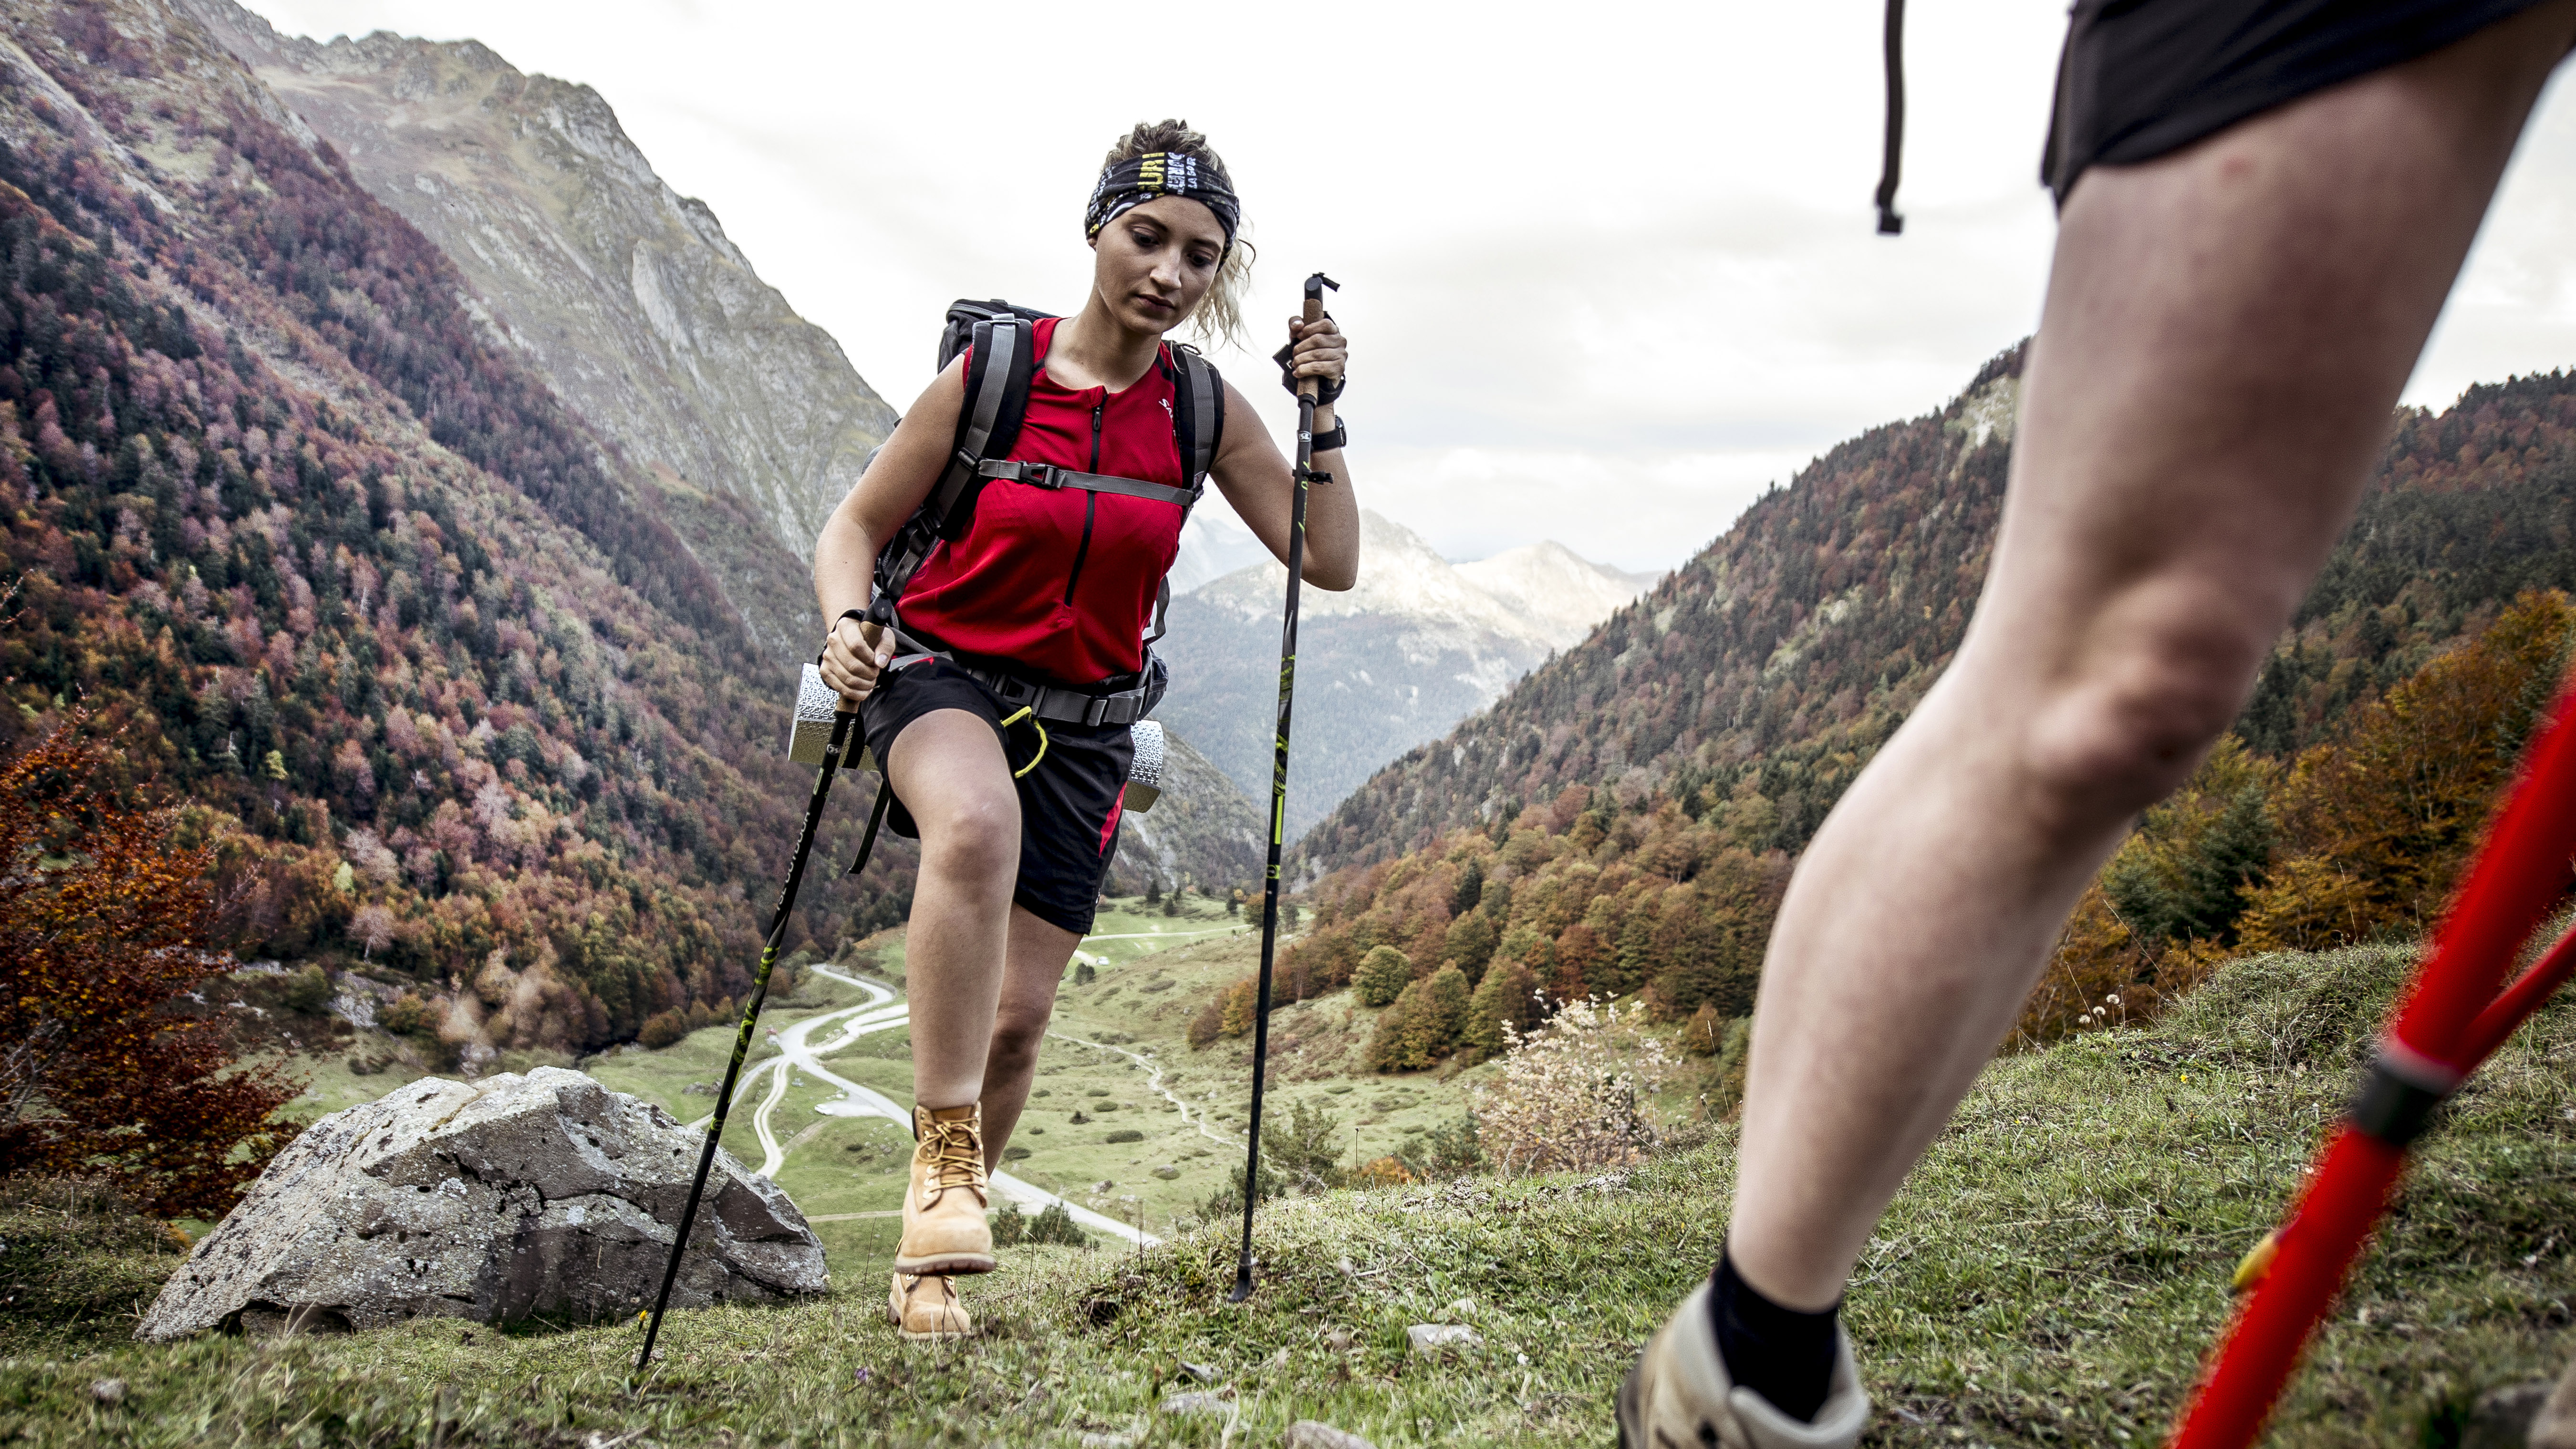
All the latest inspiration, tips and guides to help you plan your next Advnture!
You are now subscribed
Your newsletter sign-up was successful
The benefits of knowing how to use trekking poles are known by many in the outdoor community. It's why ultra runners swear by them, thru-hikers adore them and why mountaineers often carry one in their expedition pack. However, some still see them as extra weight, a needless addition to their kit or extra faff on the trail.
Nevertheless, utilized correctly, they are an indispensable aid to your adventures, which is why we rate knowing how to use trekking poles as essential expertise. They aid us on challenging terrain, help us over difficult river crossings, take the strain off our knees on long descents and improve the efficiency of our walking technique.
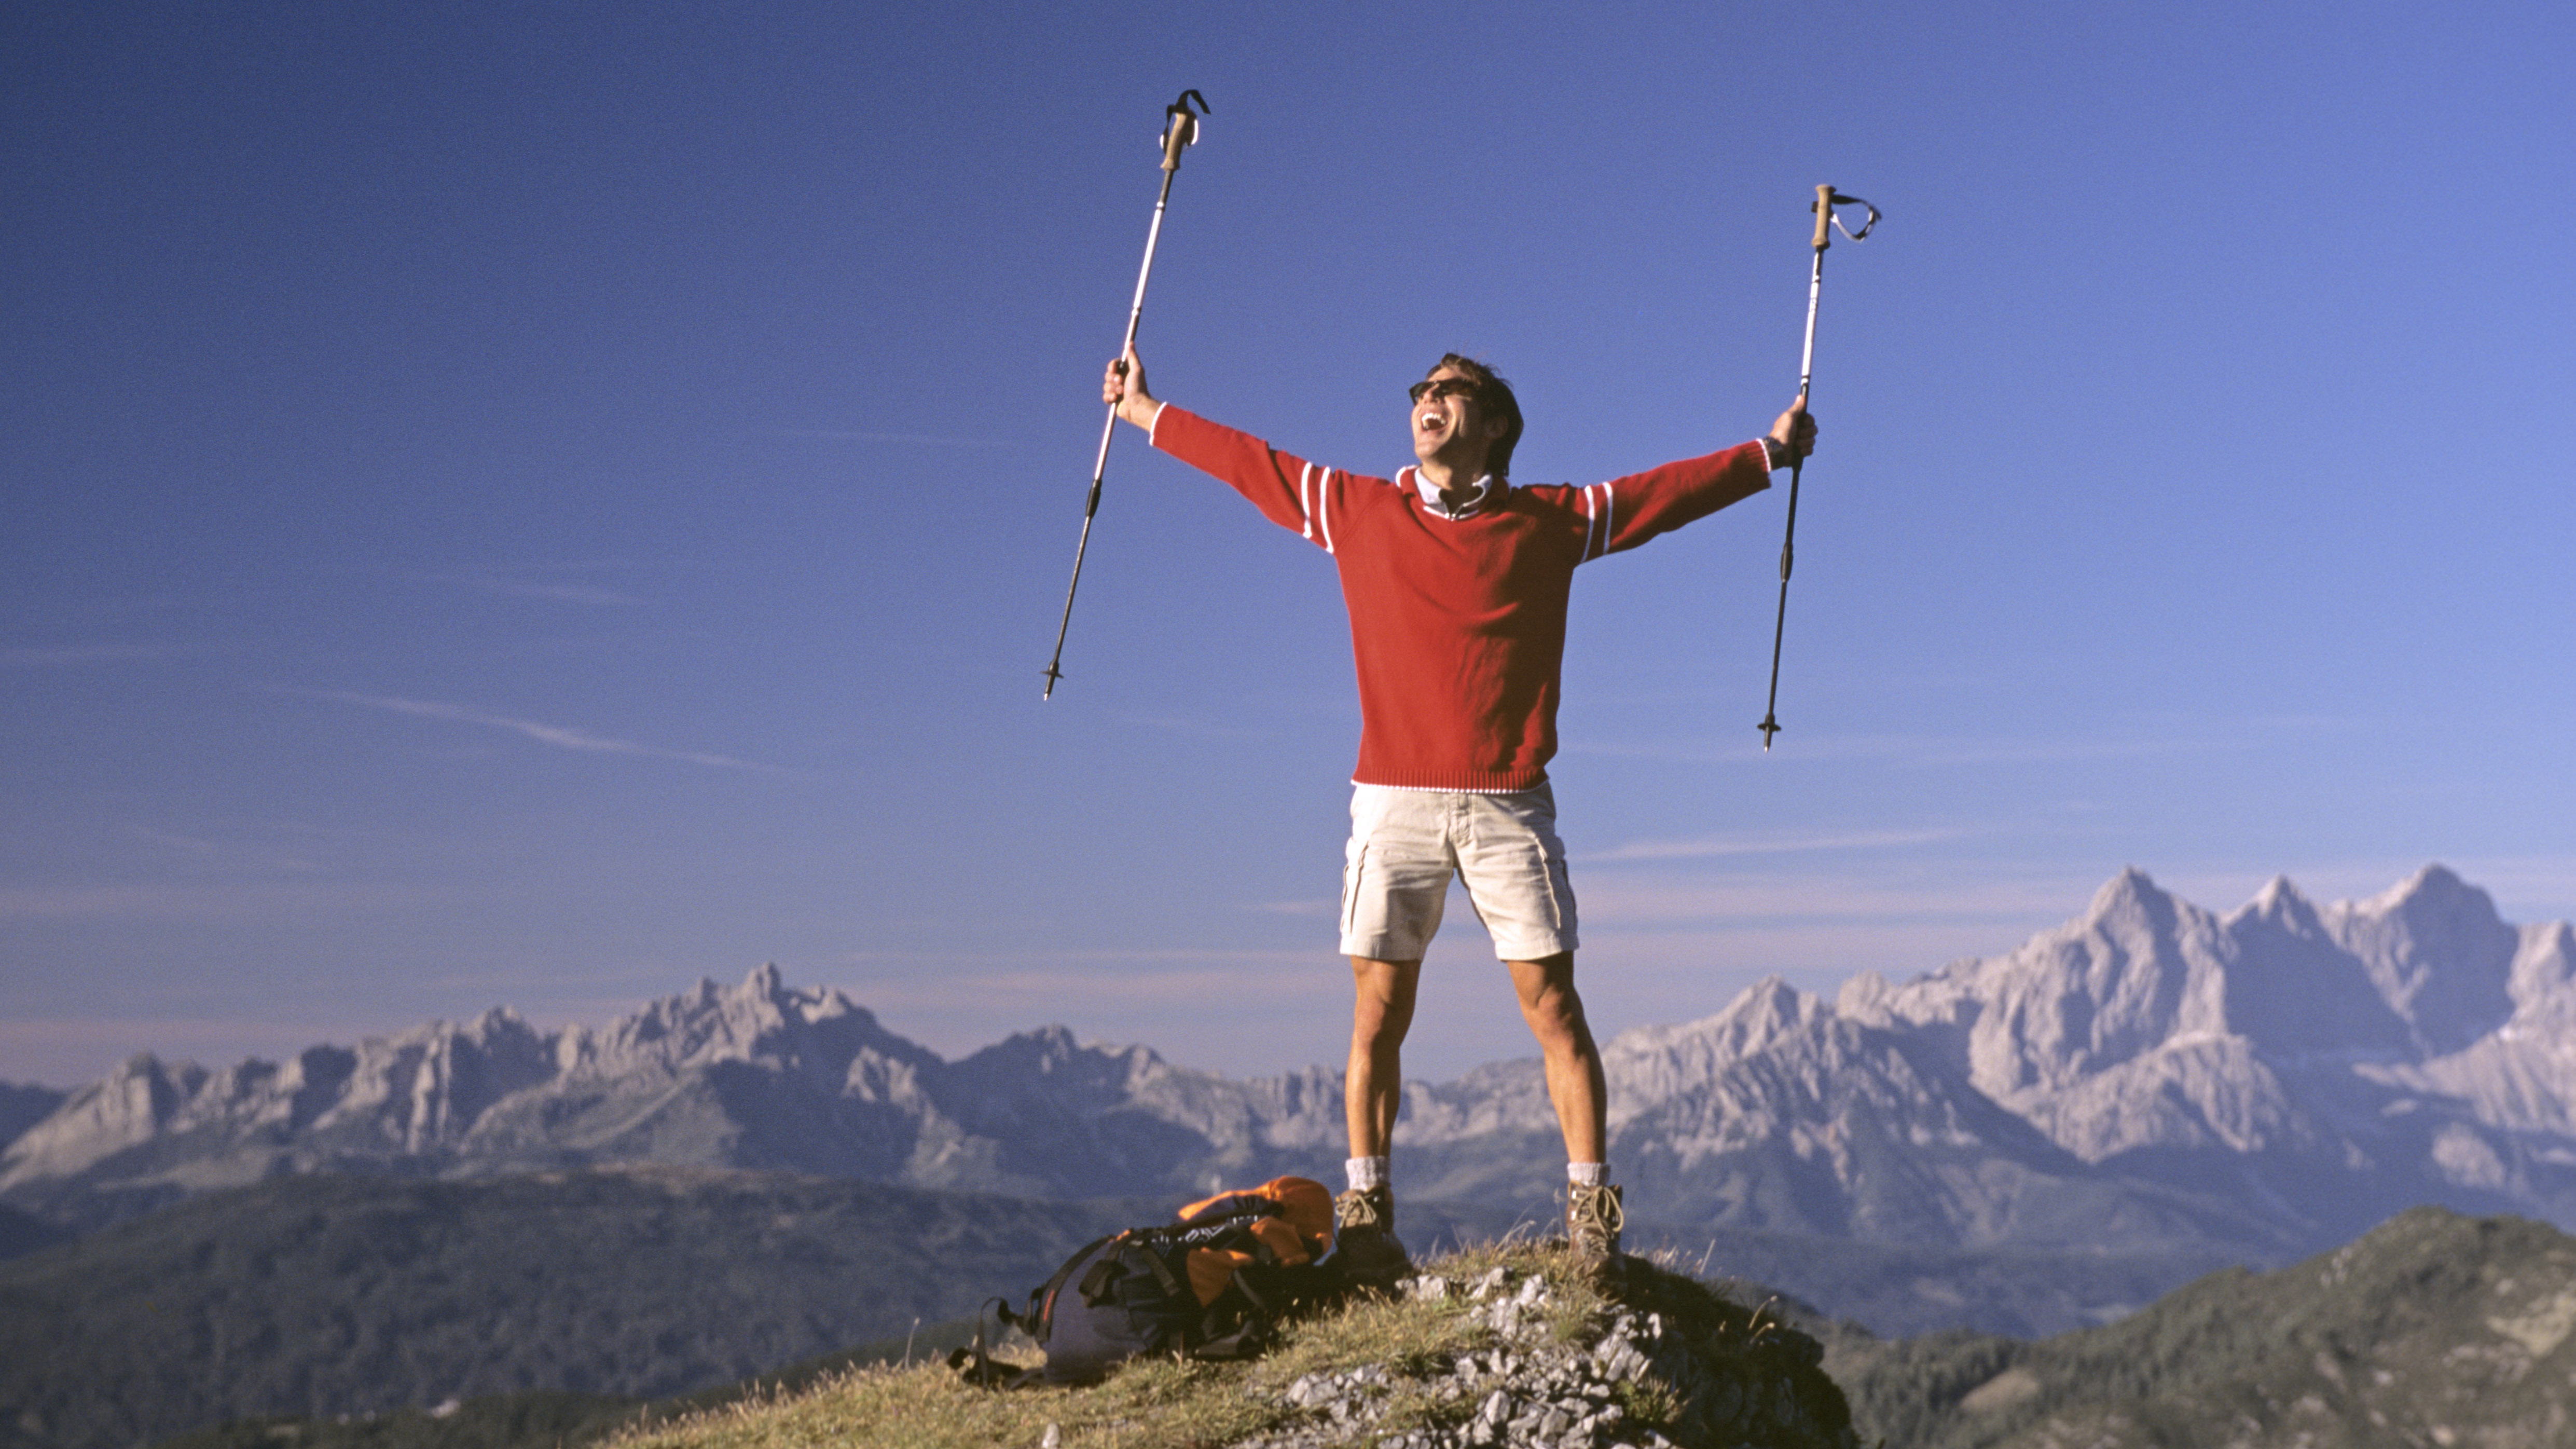
By transferring the stress and weight away from knees and ankles, they prolong a walker's shelf life, meaning they'll have many more years before hanging up their best hiking boots for the final time. With trekking poles you can go further, faster. In the pursuits of fastpacking, thru-hiking, ultra running and hut-to-hut trekking, this can only be a good thing.
These days, the best trekking poles are as lightweight and portable as ever, so adding them to your kit list is a great idea. Learning how to use trekking poles isn't rocket science and you'll soon hit your stride. Here are our top tips for getting to grips with these essential hiker's aids.
How to use trekking poles: when to use them
The short answer to this is: whenever you’re walking on uneven, unsealed surfaces, from gently undulating countryside footpaths to technical mountain trails. Unlike Nordic walking poles – which look similar but are specifically designed for short bursts of fitness-focused activity that make you burn calories, rather than saving your energy – trekking poles are not intended for use on sealed surfaces such as pavements and roads. They do not typically come with rubber feet and can hinder more than help in such scenarios, if they skid.
When hiking on unsealed terrain, though, trekking poles provide excellent support, stability, weight and impact distribution, and technique enhancement. It’s estimated that around 20% of a walker’s weight is transferred to their arms during each step down when poles are being used, which radically reduces the stress placed on the lower body – especially long-suffering knee joints.
Modern trekking poles are very lightweight and either collapsible or telescopic, so they’re a very easy item to carry if you’re planning a walk across a mixture of sealed and unsealed terrain. If you prefer to wear a pair of the best hiking shoes over hiking boots in summer, trekking poles will somewhat negate the fact you will have less ankle support.
All the latest inspiration, tips and guides to help you plan your next Advnture!

Single or double?
Once you’ve decided to invest in some poles, the first decision you’re faced with is: one pole or two. Many manufacturers offer the option of a single pole, and some hikers do prefer to use just one. On very technical terrain, when you’re scrambling across rocks, it can be helpful to have one hand free, so you can grab holds that will assist you to climb. On graded scrambles – indicated in our guide to climbing rating systems – it is worth putting both away so that you can use both hands. Organised trail runs often state in their terms and conditions that trekking poles are not allowed to be used during scrambling sections.
However, on the vast majority of surfaces, having two poles will double the benefit you pass on to your body, enabling a much more efficient technique. Remember: if you invest in a pair of poles, you can always put one in your pack for a period, but if you only get one, that’s all you’ve got.
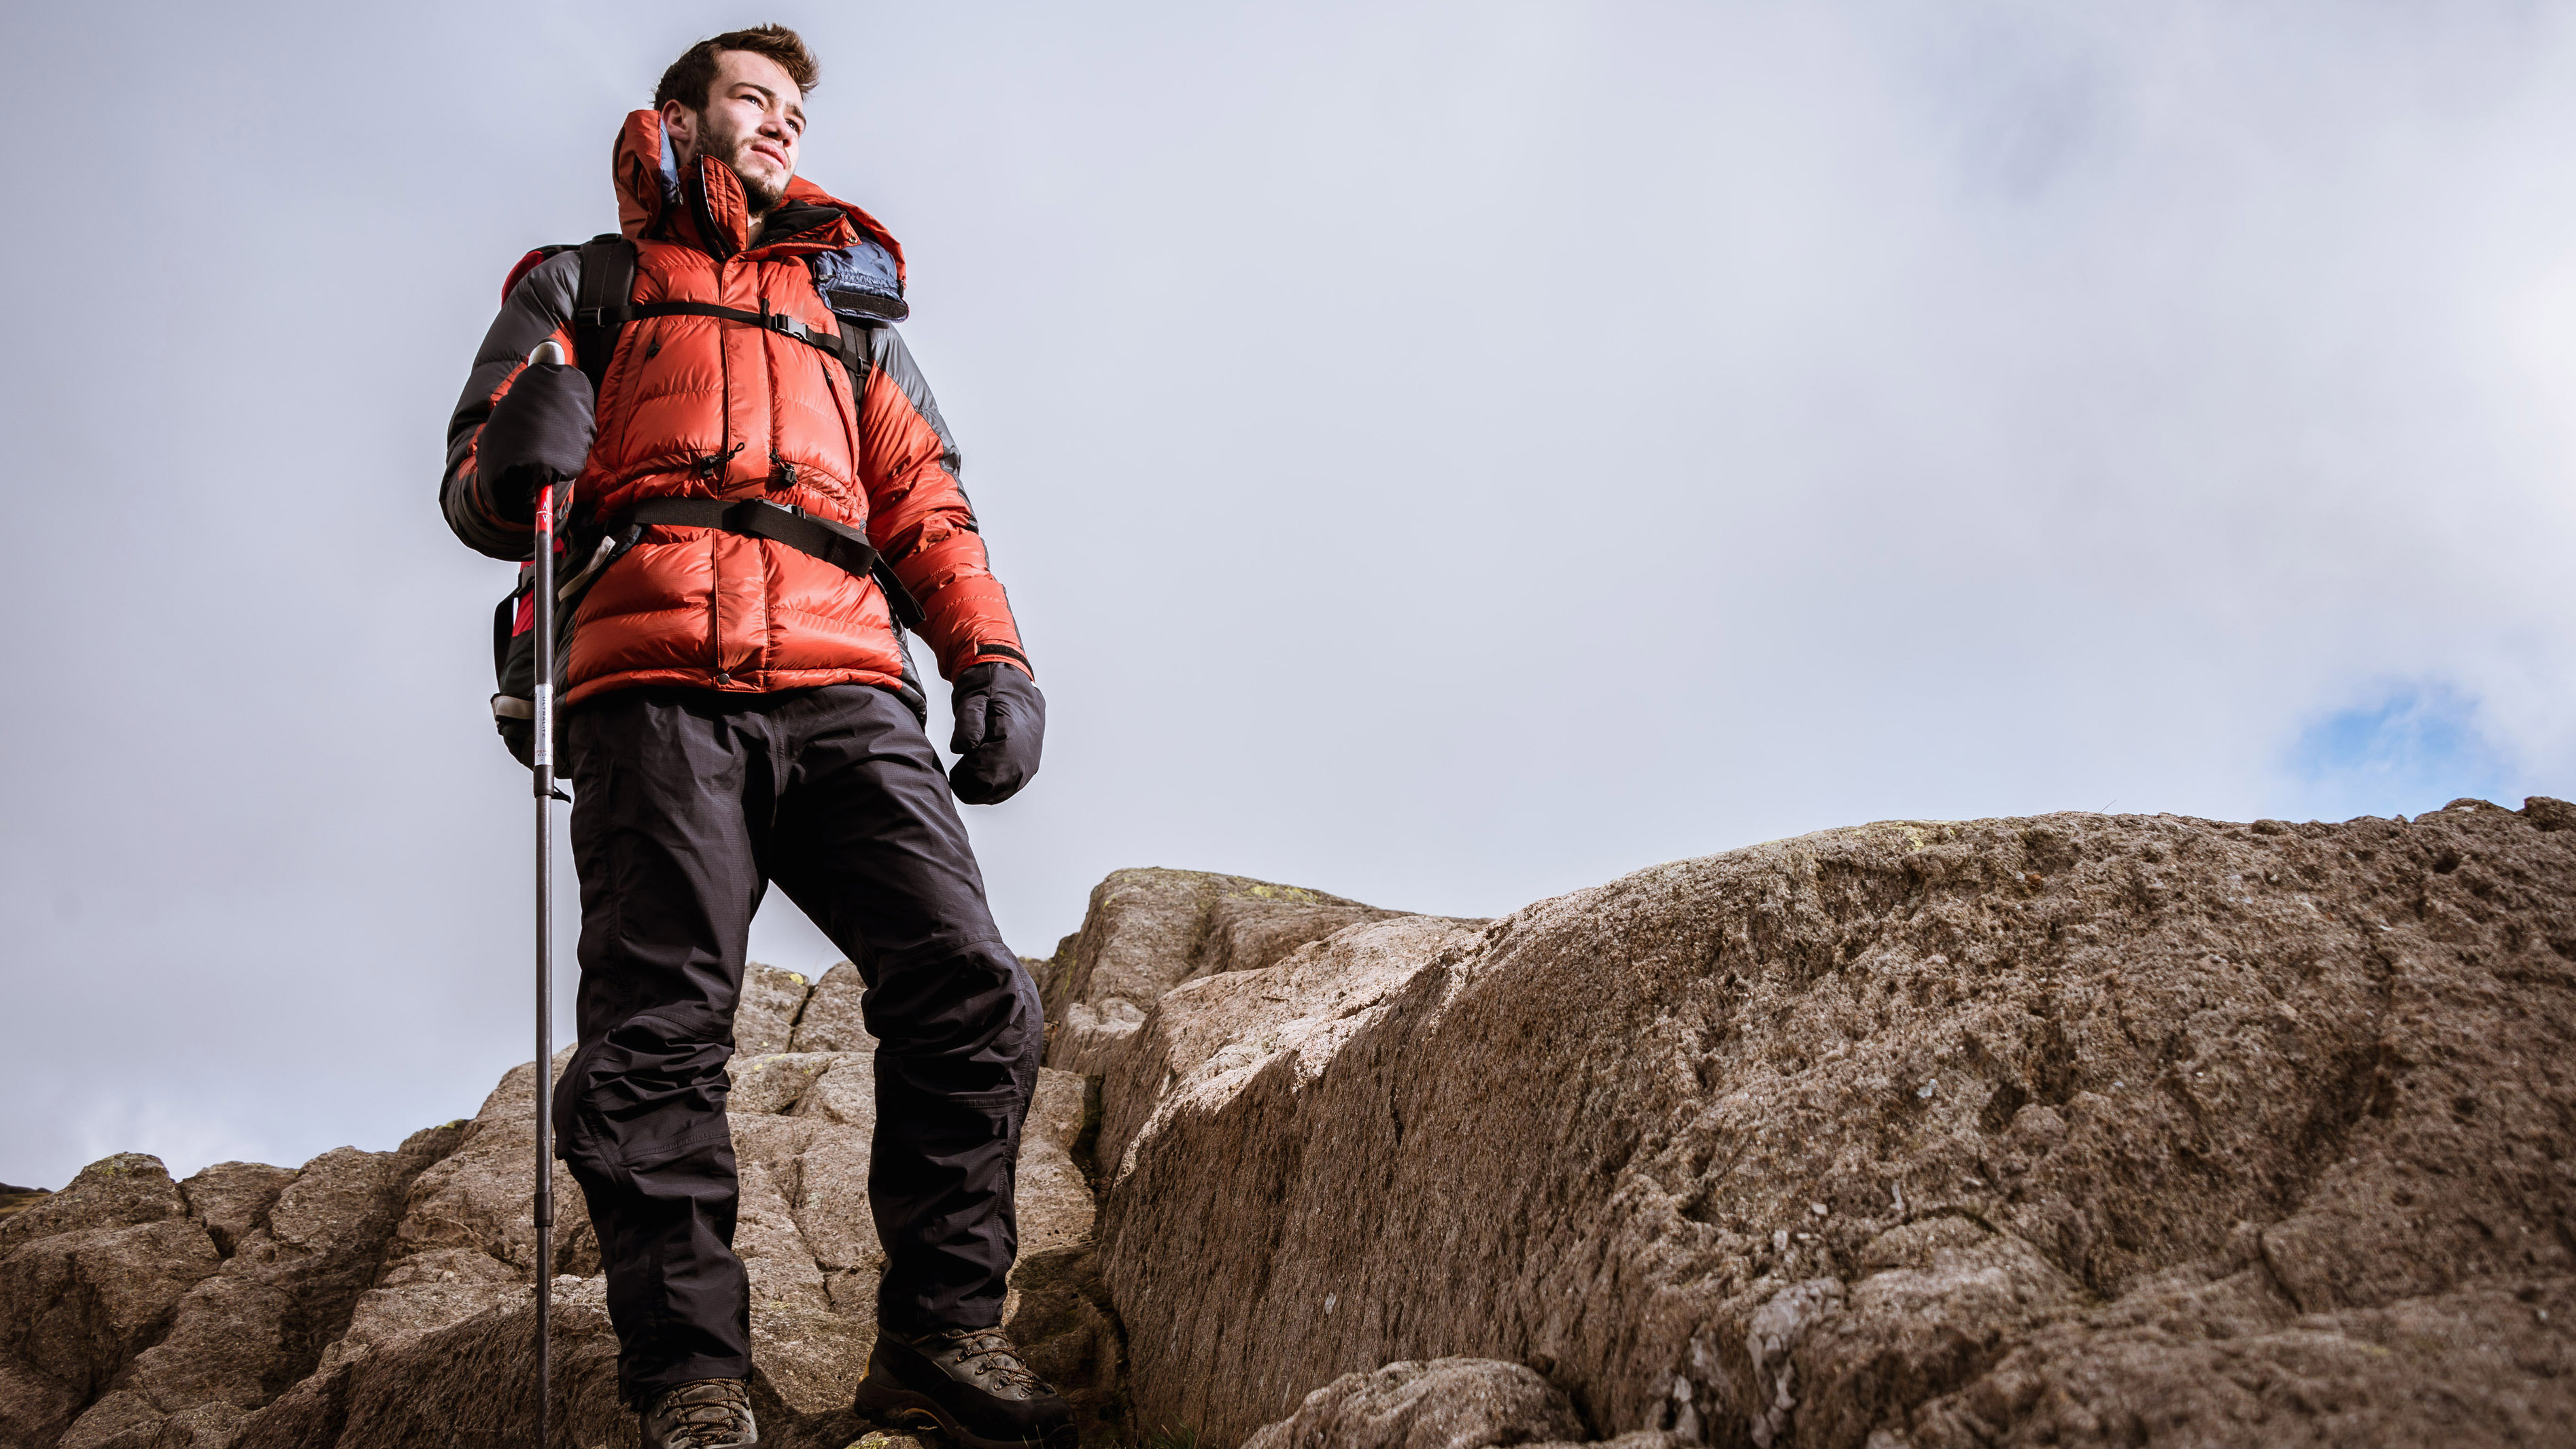
How to use trekking poles: quick tips
- Keep a definite, but fairly loose grip on the pole, so you can flick it out properly with each step.
- Don’t impale the ground with the pole – it only needs to touch the turf to be effective, and if you stab it into the ground like Excalibur you’ll expend half your strength trying to extract it. Remember that, as when camping, you should aim to leave no trace when hiking. A series of pole holes where you've been walking doesn't achieve this.
- Make sure your arms stay close to your body – if they’re flailing around all over the place you’re wasting energy and are likely to lose your balance.
- Maintain the opposite arm/leg motion with the poles, otherwise you’ll find yourself swaying from side to side, which is awfully inefficient, makes you look daft and increases the risk of taking a tumble.
- Adjust the length of the poles when ascending and descending steep hills.
Getting set up
It’s essential to purchase the right pole for you, and also the correct model for the kind of purpose you intend to put it to. While weight and construction are important, length is the most crucial consideration. Luckily, virtually all good quality poles allow for some adjustment, but most will have a limited range between the minimum and maximum height they can be extended to, so check this and make sure they measure up.
For the majority of hiking experiences, the pole will work best if it is set so that your arm forms a 90-degree bend at your elbow when you’re holding the pole with the tip on the ground near your foot.
There are occasions when it’s useful to adjust the height of your poles mid hike, especially if you’re taking on a climb or a series of ascents while walking through a range. For example, when hiking uphill for a long period of time, it can be worth dropping the length of each pole by about 5 or 10cm (depending on the gradient – the steeper the incline the more pole height you’ll want to lose, to avoid stress on your shoulders). Equally, during length descents, it’s wise to lengthen poles. And if you’re doing a big traverse along a contour line, you might want to shorten the length of the pole on the hillside, and lengthen it on the downhill side. For all of these reasons, choosing a pole that can be quickly and easily altered is a good idea.
Get a grip
Good trekking poles have straps, which are designed to be used in a certain way and are usually hand-specific (often they are labeled left and right to avoid any confusion). Put your hand up and through the strap before gripping the pole. If correct, the strap should be over the top of your hand, while your thumb goes over the strap. Tighten the strap, but not too much. When wearing hiking gloves, it's worth going a little tighter as you won't have quite the same feedback from the pole, so it is more easily dropped.
Unlike Nordic walking poles, where the straps are used extensively as the wearer pushes down on them quite aggressively, the straps on a trekking pole are largely there so you can let go of the pole (intentionally or otherwise) for a short period without dropping it entirely. Grip the pole between your thumb and forefinger – again not too tight – and then loosely curl the rest of your fingers around it. A relatively relaxed grip makes for better pole placement, and improves the pivot point when you flick the pole forward with each step.
Setting off
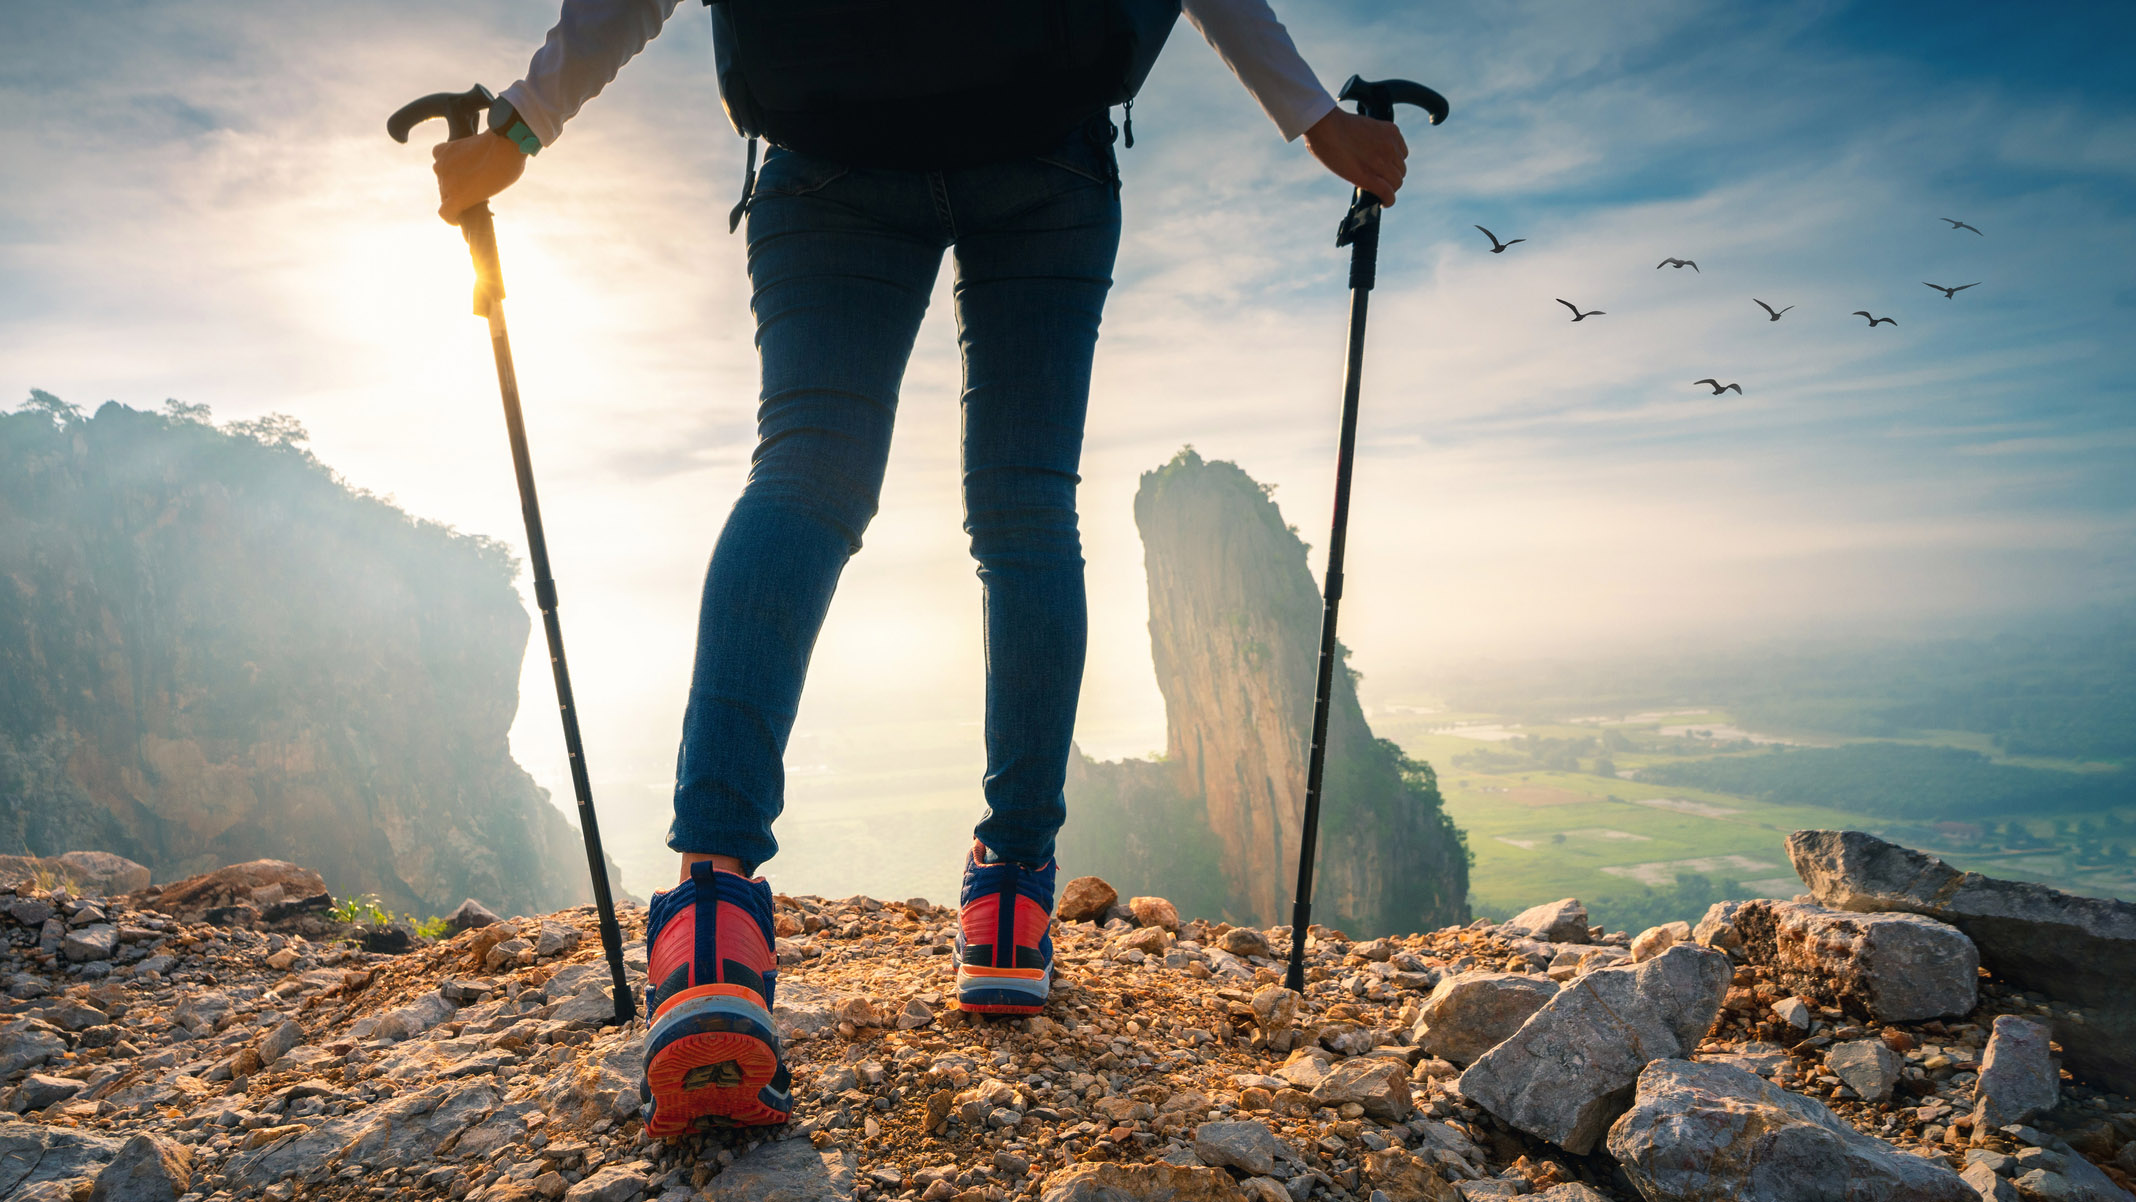
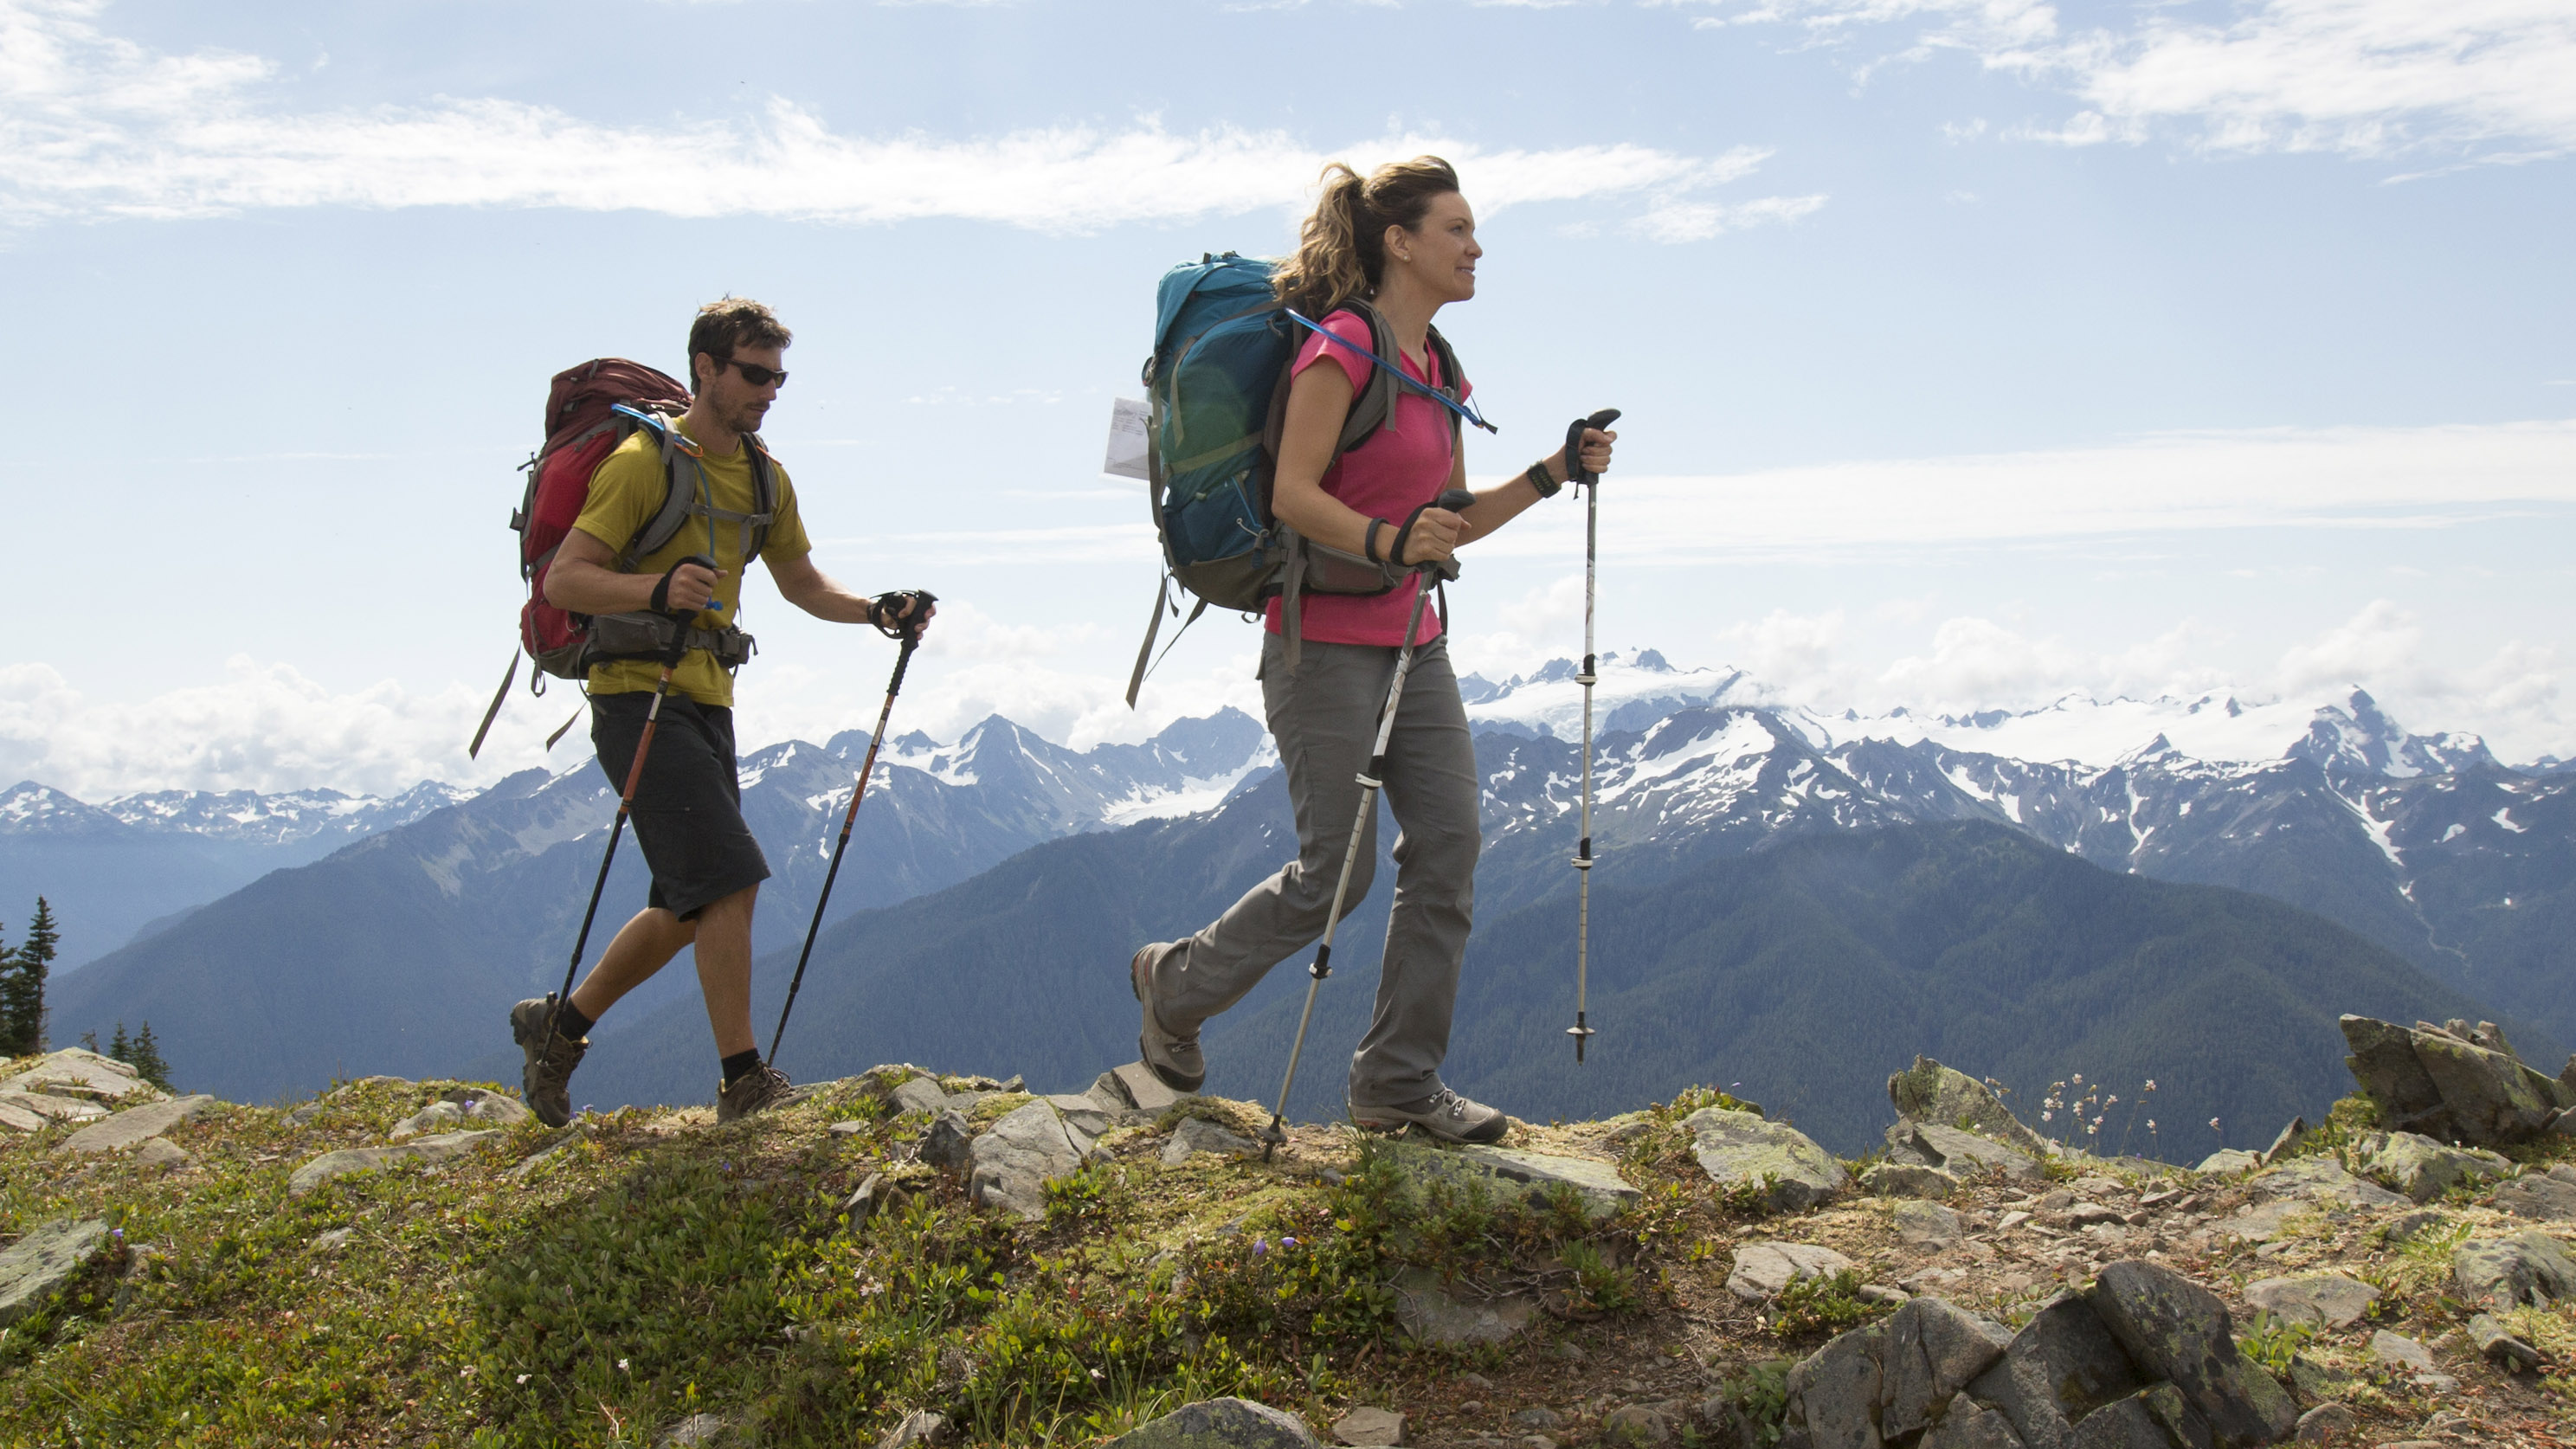
There is a natural rhythm to walking with trekking poles, which becomes easier the less you think about it. The point of each pole should connect with the ground at the same time as your opposing foot: as your left foot comes down, so does the point of the pole being held in your right hand; as your right foot subsequently lands, so does the point of the pole being held in your left hand.
Hold the poles slightly angled backwards, and while walking on level ground plant the points of the poles parallel with your body. When you push off, apply pressure backwards and downwards.
As you walk, keep your elbows swinging close to your sides, and as you take each step, flick the pole forward on the opposite side, with a small upward motion from your forearm and wrist. It’s important to keep this offset gait going (if you start placing the pole on the same side as your landing foot, you will sway from side to side, which is terrible for stability), but it will become second nature very quickly.
And then just repeat. Again and again and again. There – you’re practically pole dancing. If you fall out of sync, keep the tips of the poles off the ground for a minute, then start again. This is the same technique used by cross-country skiers, and it’s extremely efficient, creating momentum and spreading load-bearing and impact stress across the whole of your body.
Climbing and descending
When descending, lengthen the poles a little (or a lot, depending on the severity of the slope) and plant the tips slightly ahead of you on each step, to assist with braking. When ascending, shorten the poles a bit (or to a greater degree if the climb is steep), but keep planting the tips parallel to your body – you should be pushing off the poles, rather than pulling yourself up the hill.
Side benefits
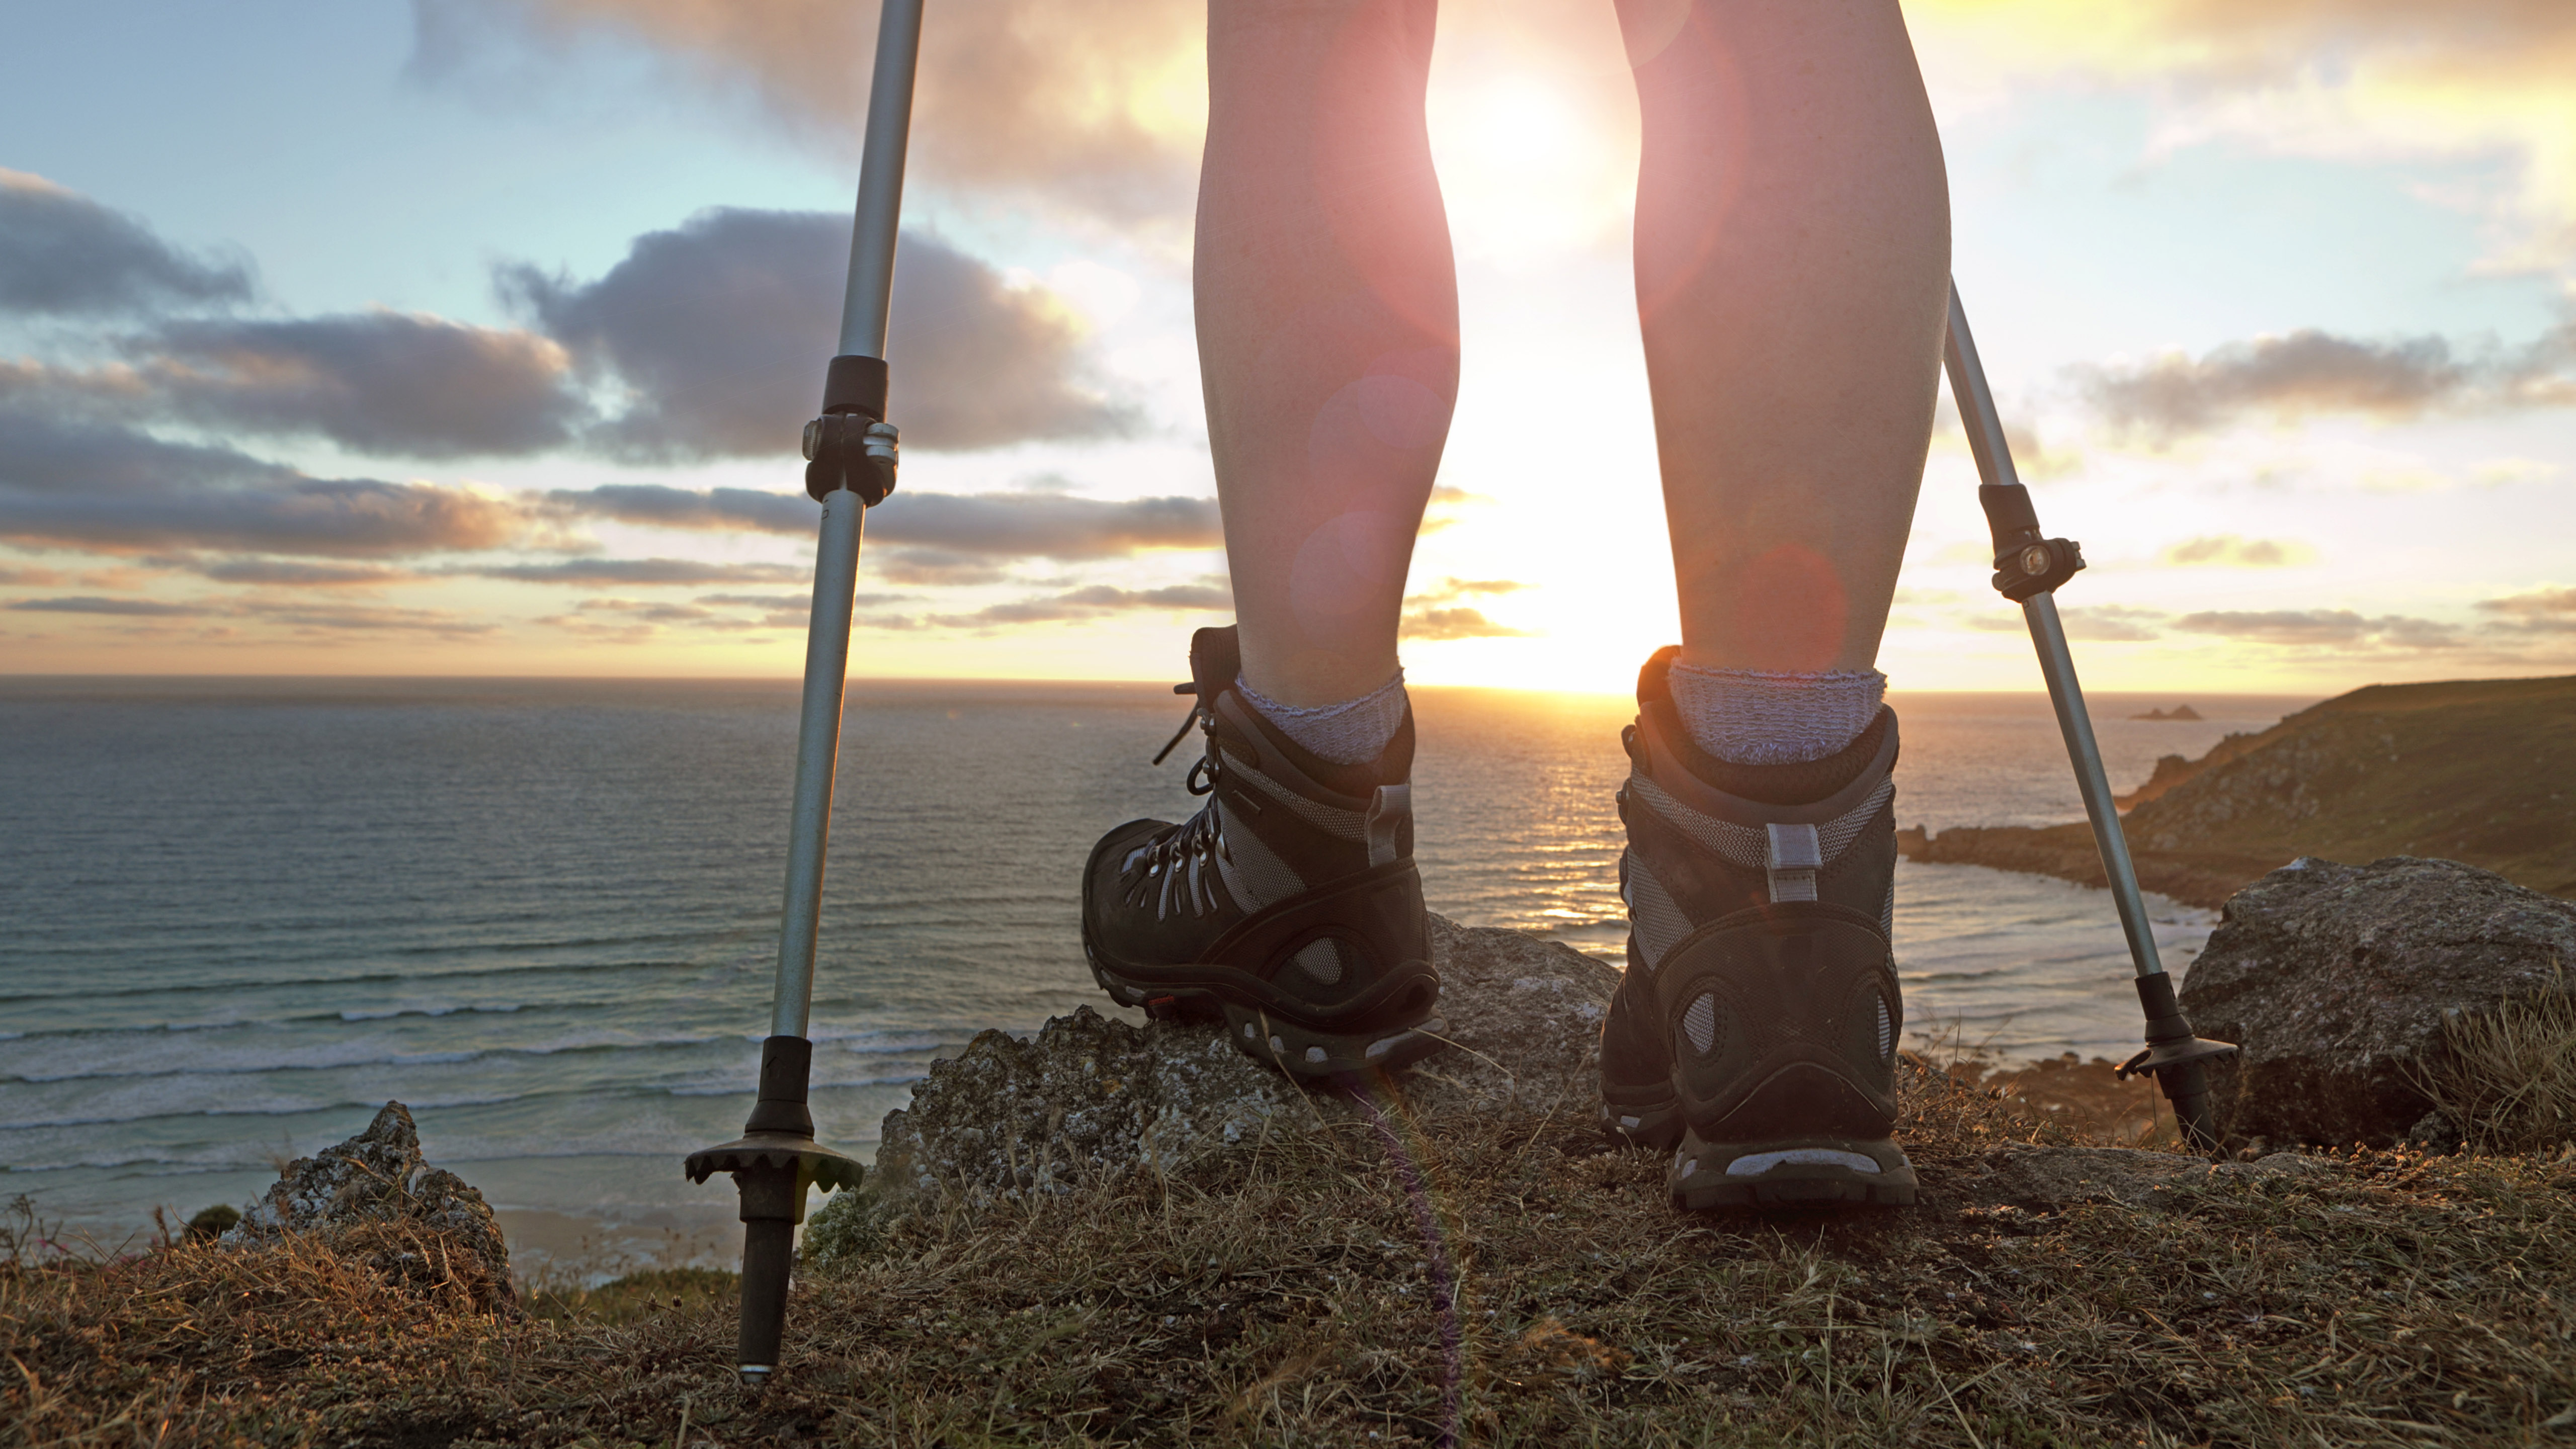
Besides increasing the efficiency of your walking technique, spreading the stress and effort of the exercise more evenly across your joints and making you more stabile on rough terrain, trekking poles can be used creatively for all sorts of things while on the trail, including the following:
Support
It’s safer and easier to negotiate snow-covered and rock-strewn paths, or to cross streams, when you have poles to hand.
Probing
Use poles to test the depth of snow, water or deep mud.
Weight-bearing assistance
Poles can be very useful for helping you to sit down and get back up again when taking a short rest with a heavy pack on.
Vaulting
Double poling into a leap can be a good way of crossing a stream.
Path clearing
If you find your way obscured by stinging nettles and brambles, poles can be used to bash the offending flora back a bit.
As a tent pole
Many minimalist hikers make use of their poles to erect a shelter with a lightweight tarp.
Crossing rivers
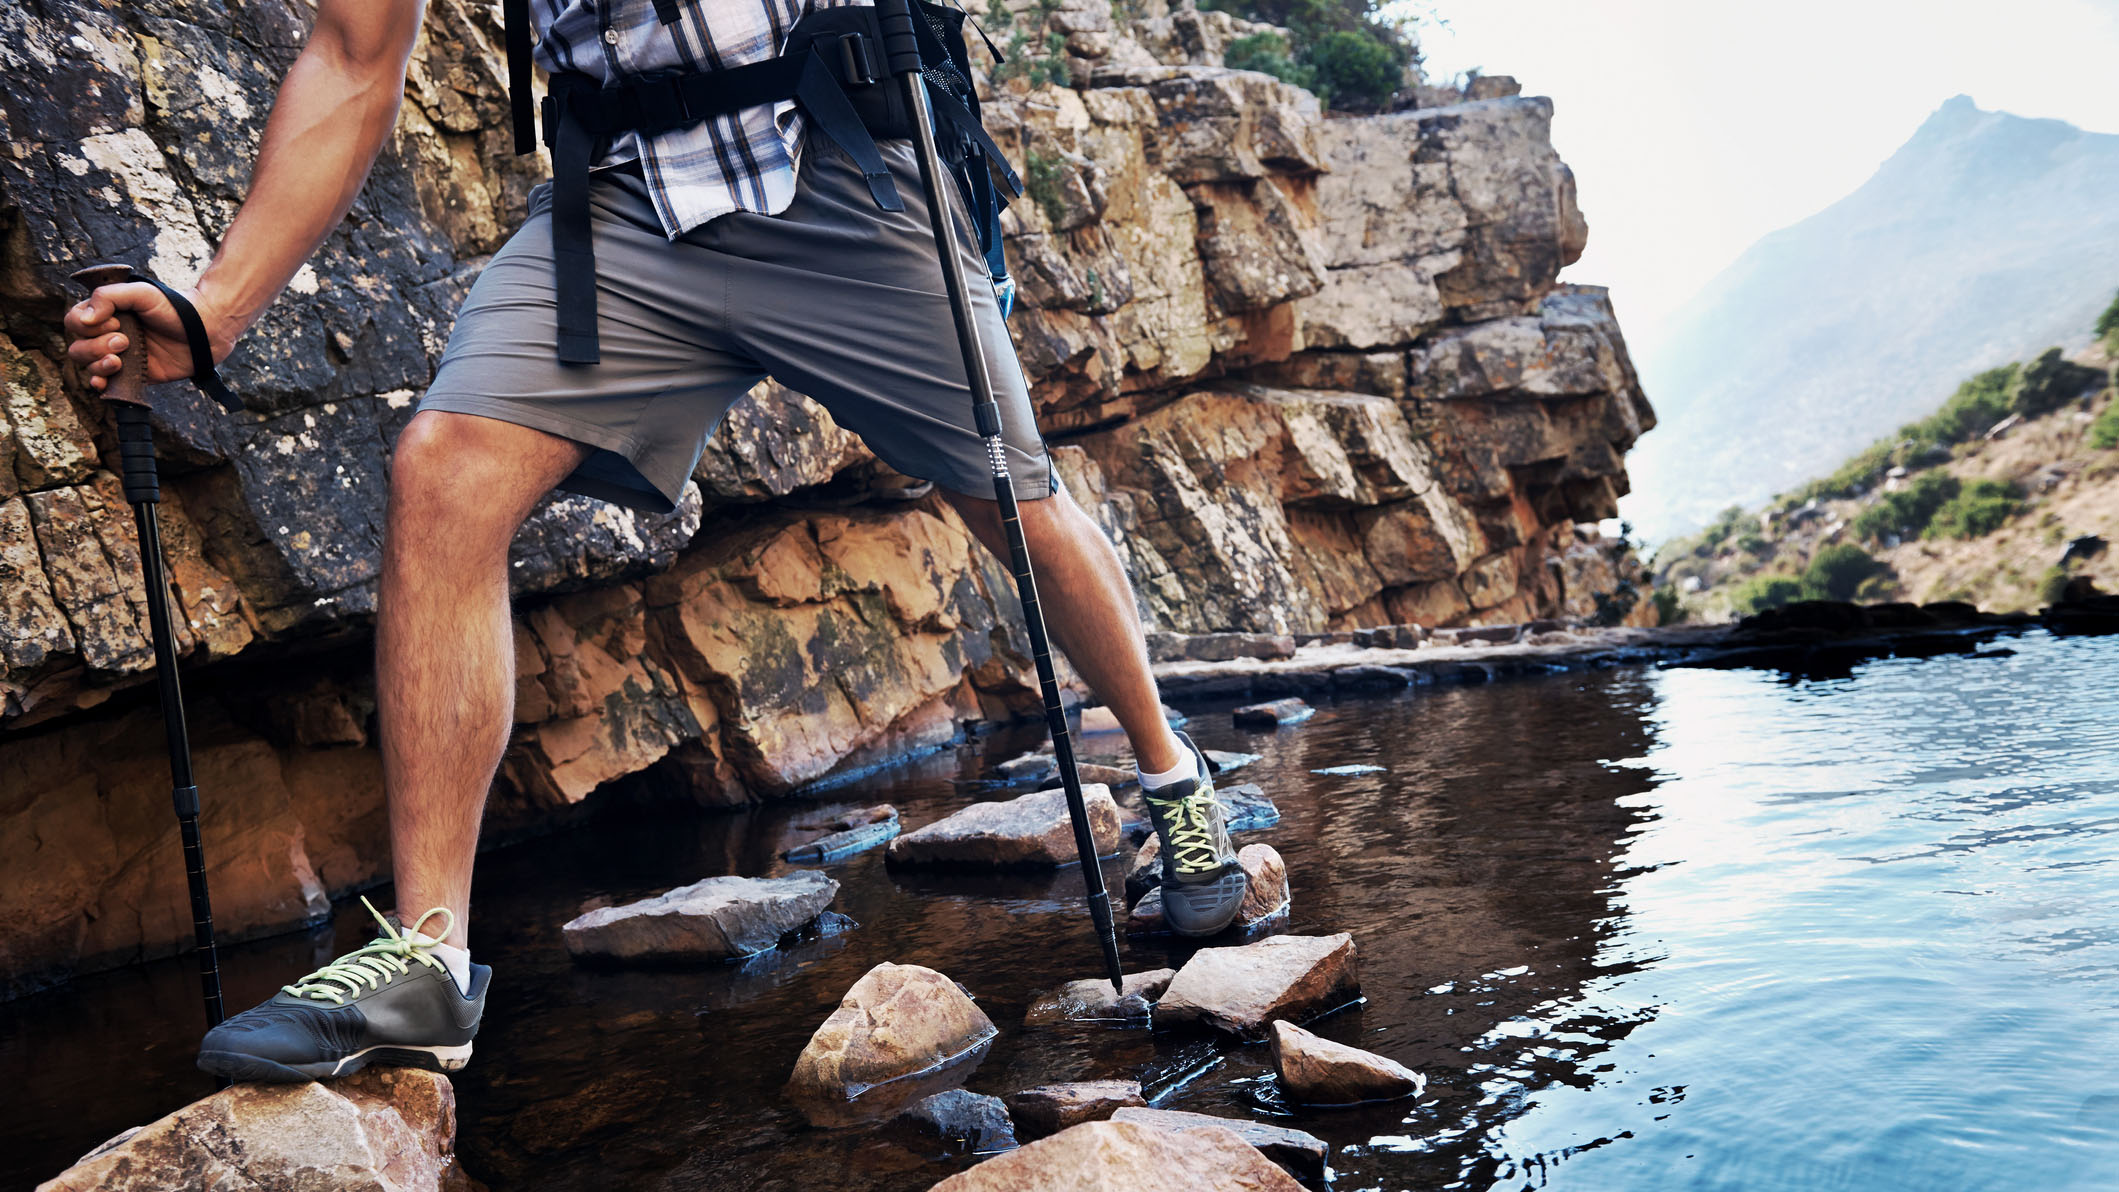
A difficult river crossing can be made easier with trekking poles. You can use the poles to probe under the surface to get a feel for the submerged terrain, or use them as additional support as you hop from one rock to the next. As you progress, you can offer your pole as a support to your fellow hikers too.

Author of Caving, Canyoning, Coasteering…, a recently released book about all kinds of outdoor adventures around Britain, Pat has spent 20 years pursuing stories involving boots, bikes, boats, beers and bruises. En route he’s canoed Canada’s Yukon River, climbed Mont Blanc and Kilimanjaro, skied and mountain biked through the Norwegian Alps, run an ultra across the roof of Mauritius, and set short-lived records for trail-running Australia’s highest peaks and New Zealand’s Great Walks. He’s authored walking guides to Devon and Dorset, and once wrote a whole book about Toilets for Lonely Planet. Follow Pat’s escapades on Strava here and Instagram here.
