How to do a plank: improve your efficiency on the trail
Plank is hands down the best exercise for your core, and can improve your endurance, strength and reduce injury risk, but only if you do it properly
All the latest inspiration, tips and guides to help you plan your next Advnture!
You are now subscribed
Your newsletter sign-up was successful
If you like traveling on trails, a strong core achieves things that even the best trail running shoes and hiking boots can’t. It helps you maintain good posture and pelvic stability, which in turn can prevent strain on your hips, knees and ankles. There are loads of great core exercises out there, some using weights and bands while others rely on body positioning and gravity, but there is one exercise to beat them all, and that is the unassuming but powerful plank.
Compared to a good old fashioned ab curl, plank may not seem like the most obvious choice for strengthening muscles like your abdominals, but the science shows that it really does beat out the competition, literally hands down. In a 2013 study published in the Journal of Strength and Conditioning Research, researchers at Penn State stuck electrodes on participants and had them do different core strengthening exercises such as plank and crunches. They concluded that so-called “integration exercises” such as plank, that require activation of the both distal trunk muscles (deltoids and glutes) and proximal trunk muscles (abdominals and lumbar muscles) were best in terms of maximizing strength, improving endurance, enhancing stability, reducing injury, and maintaining mobility.
But that’s only if you’re doing it right.
When I first encountered planks in yoga classes many years ago, I was a bit mystified myself. Probably due to the name, I just tried to make myself as straight as possible, never seemed to know what to do with my shoulder blades (or why there was such an emphasis on them) and after a while, my wrists would get tired and I’d give up and do a Child’s Pose instead. Once I learned more about anatomy in graduate school and started training yoga teachers myself, I figured out exactly how to do a plank for those optimal results the Penn State researchers noted, and now I love plank. In fact, I teach it so much that my yoga students hate me.
What is a plank?
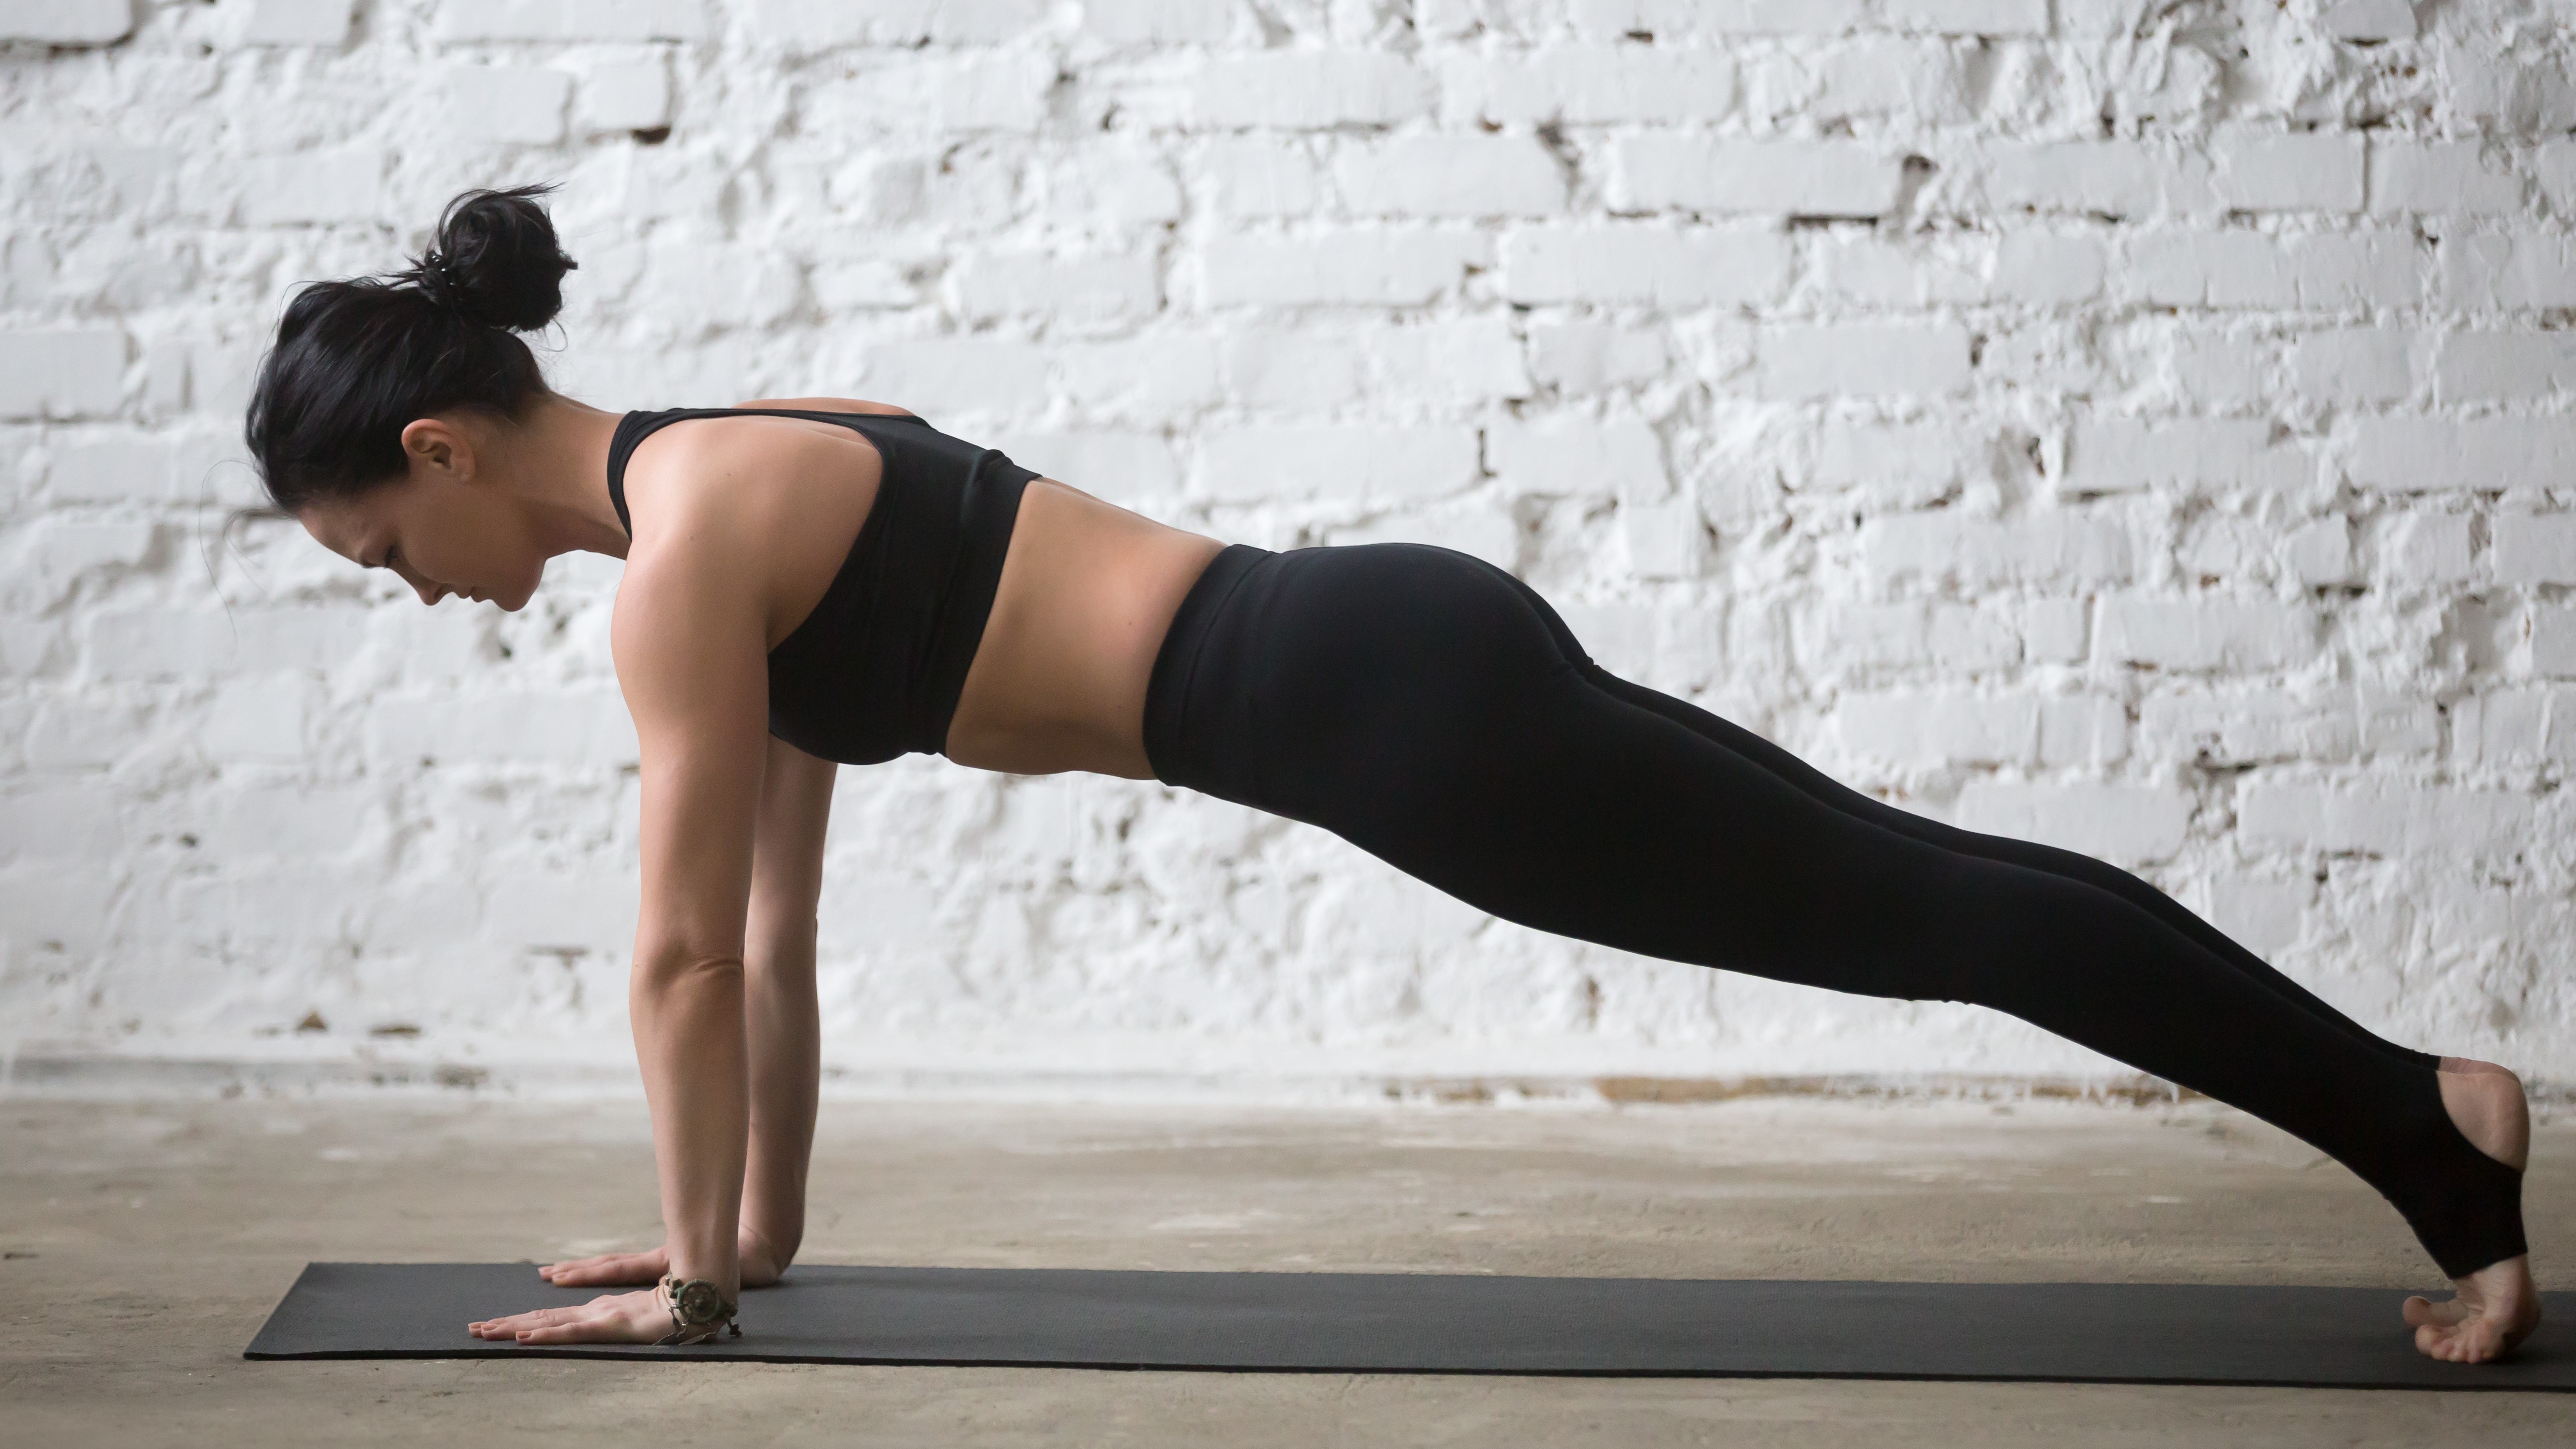
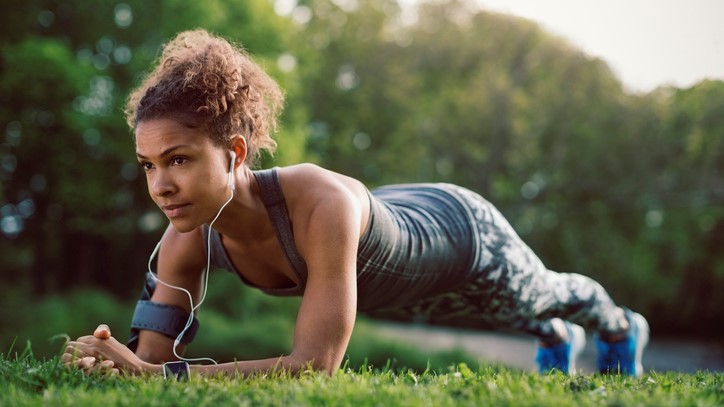
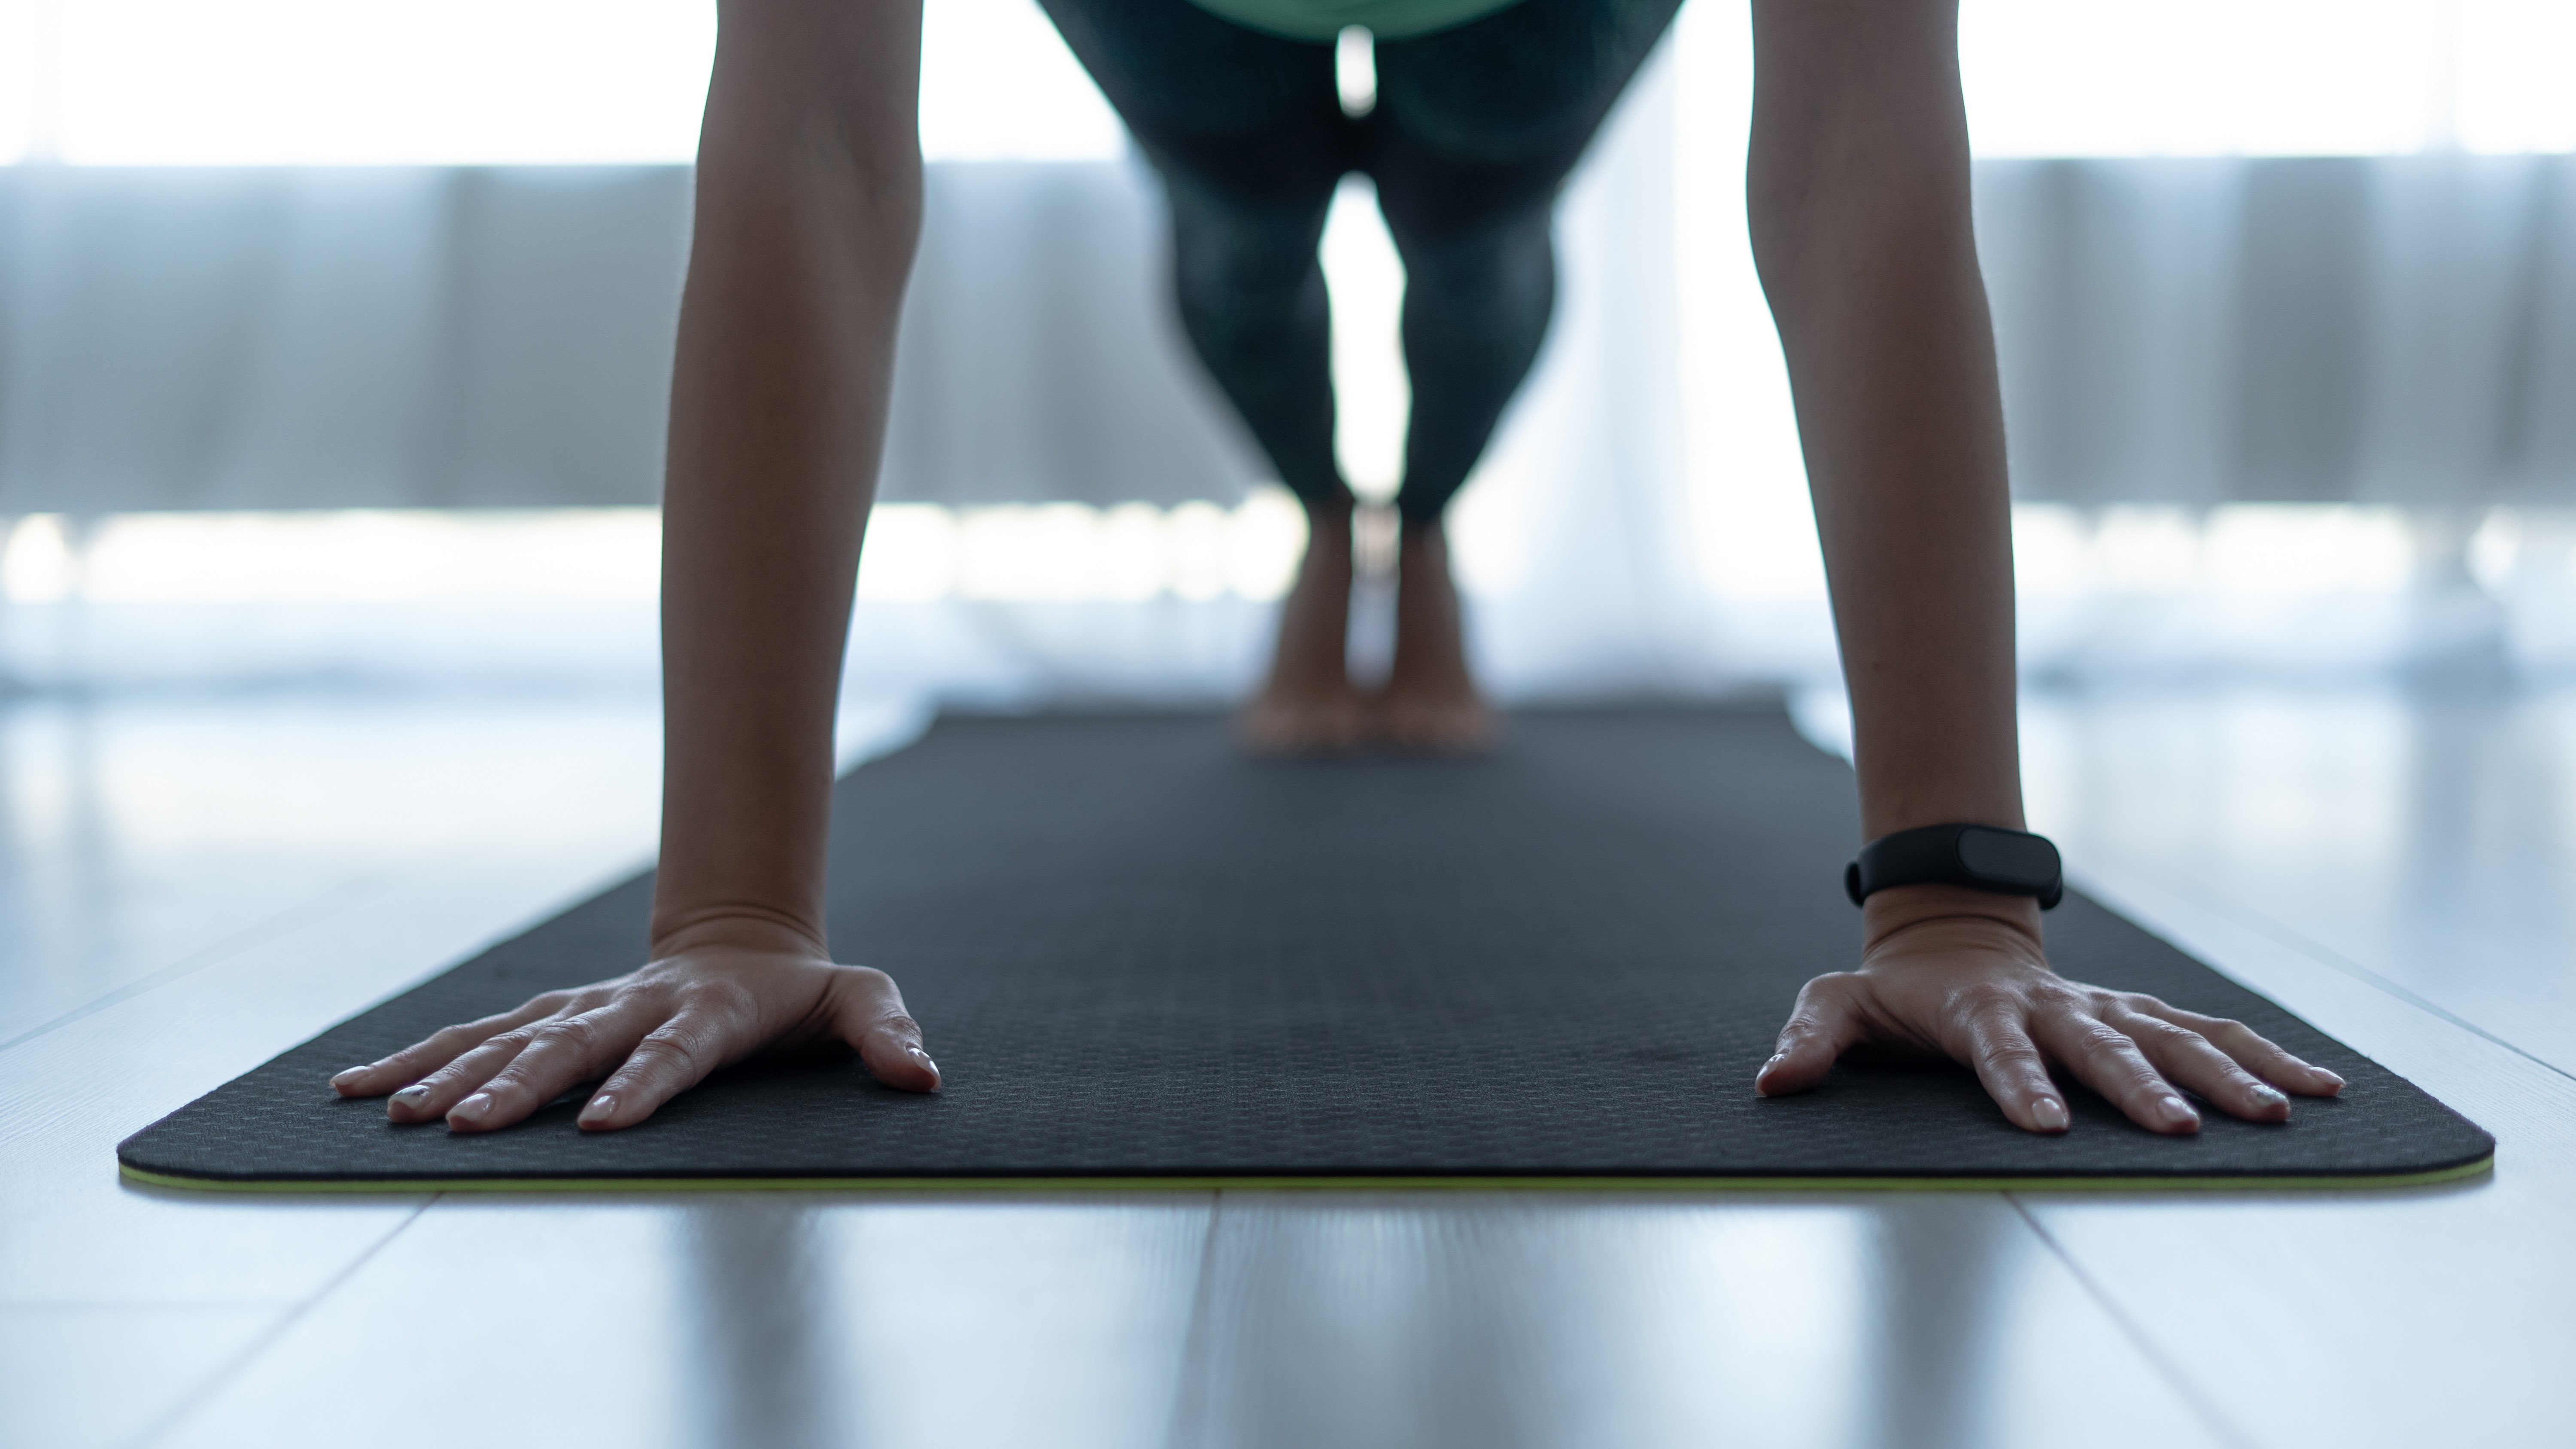
If you don’t already know, a plank is a core strengthening exercise that looks like you’re at the top of a pushup if you’re doing it on your hands, and has many variations such as on forearms, lifting a leg and “side plank” on one hand or elbow. Planks are a form of isometric exercise, where there is no movement at any joint while the muscles fire (as opposed to crunches, which move you through concentric and eccentric contractions), and are performed with your spine in axial extension.
What muscles does plank strengthen?
What muscles a plank strengthens depends on how you do it. If you’re not at the office or a coffee shop when you’re reading this and you want to see for yourself, drop down and try a plank with your abdominals relaxed and even let your hips sag slightly. You don’t need to (or want to) hold it for very long to realize that it’s not going to strengthen very much at all, barring maybe your arms a little. Worse still, it probably doesn’t feel very sustainable for your wrists or your low back.
But done properly, planks can be incredibly strengthening for a lot of muscles. As bipeds, our bodies are designed to resist the downward flow of gravity while we’re upright. When you’re walking around, there’s not much surface area for gravity to grab onto and your back and leg muscles are working subtly all the time to keep you from collapsing. When you move into a plank position, however, that gravity suddenly has a whole lot more surface area to tug on, and if you’re not going to just sag down onto the floor in surrender, you need to start recruiting some muscles, fast.
All the latest inspiration, tips and guides to help you plan your next Advnture!
This is what makes plank so hard. If you don’t know which muscles to engage, you just end up coming out after a few seconds or, worse, hurting your back. But with just a little finesse, plank will strengthen all of your abdominals, your lumbar muscles, glutes and quads, never mind your triceps, lats and shoulder muscles.
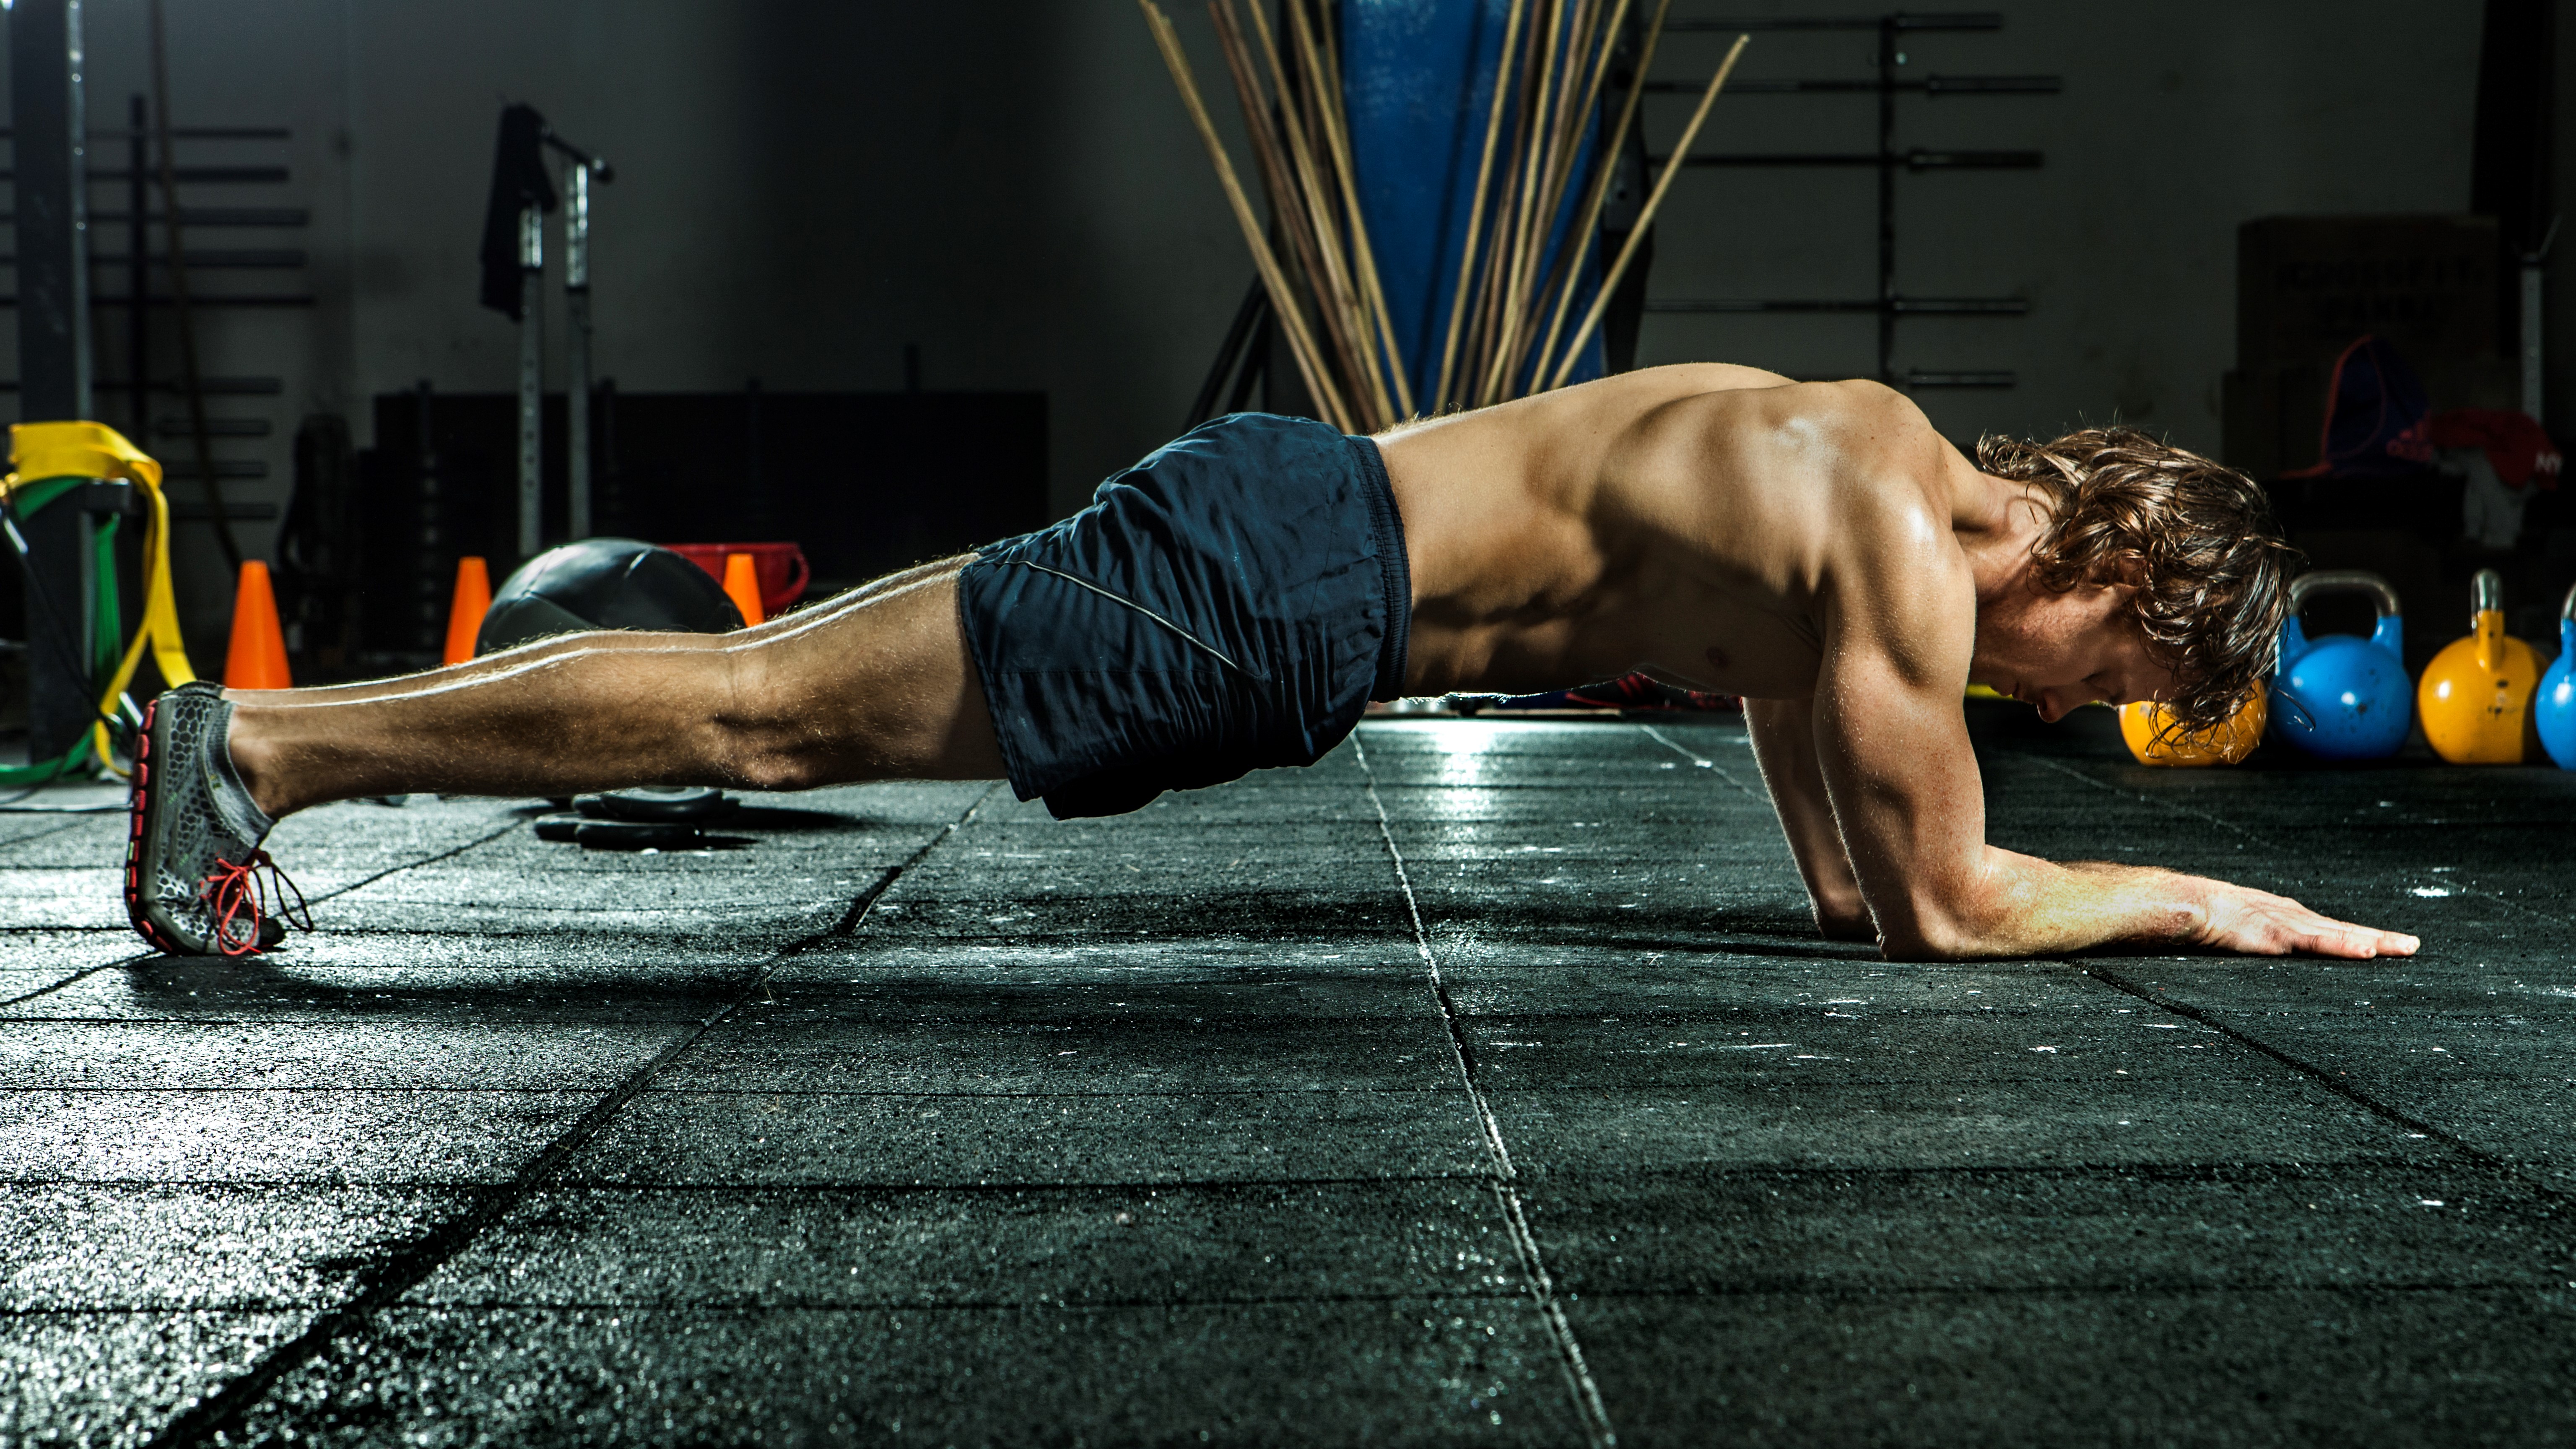
How to do a plank
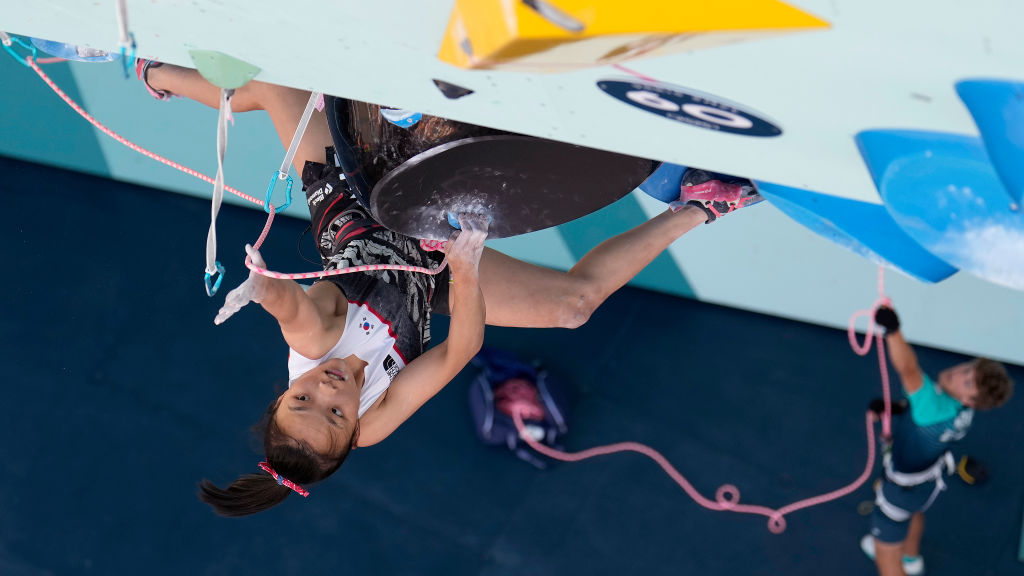
Planks are free and require no special apparatus. On their own, they don’t exactly make a full body workout, but they can easily be incorporated into any existing workout or weight lifting routine as well as your regular pilates or yoga practice. Once you know how to do a plank properly, you can make every one count to support your efficiency on the trail or at the climbing wall.
You can do a plank on the floor or on an exercise mat – just make sure the mat is not too thick or if it is thick, it should be very firm.
- Start on your hands and knees with your hands a little wider than your shoulders (lower to your elbows if you’re performing forearm plank and bring the palms of your hands together in a prayer position).
- Push your hands (or forearms) down into the floor and feel the space between your shoulder blades pressing up toward the ceiling. Imagine you’re pressing your hands against a stuck door trying to open it, and the rebound action helps take the weight out of your wrists and up into your chest and shoulders.
- Next, step back your feet one at a time to lift your knees and straighten your legs. Straight away, activate your quadriceps muscles to recruit your legs.
- Move into a posterior pelvic tilt by drawing your public bone up towards your navel without lifting your hips. You’ll feel your abdominal muscles waking up.
- Keep pressing your hands or elbows down and, without losing the upward tilt of your pelvis, press your heels back and the crown of your head forward to create one long line of energy in your spine and legs.
- Finally, without losing that length, start to drag your hands (or elbows) towards your toes and your toes towards your hands – they won’t actually move position, but the whole front of your body will light up.
- Relax your jaw, remember to breathe – if you're not shaking by now, you're not doing all of the steps outlines above!
- Try to hold your plank for 15-30 seconds at a time. Lie down on your belly to take a break, then do another.
No matter what variations you’re implementing, try to keep these basic movements of hands pushing down, public bone drawing up, and pressing forward and backwards through your crown and heels and dragging hands and toes towards each other.
Common mistakes
The main “errors” when doing a plank are allowing any part of your body to droop with gravity, which only makes it more difficult and within seconds, the whole thing starts to crumble. Watch out for these common mistakes:
- Forgetting to activate your legs for support.
- Dropping your hips down.
- Raising your hips up to try to bypass the need for a posterior pelvic tilt.
- Sinking in between your shoulder blades and allowing your weight to drop into your wrists.
- Dropping your head down.
- Holding your breath.
- Best trail running shoes: for speed, agility, comfort, and grip
Julia Clarke is a staff writer for Advnture.com and the author of the book Restorative Yoga for Beginners. She loves to explore mountains on foot, bike, skis and belay and then recover on the the yoga mat. Julia graduated with a degree in journalism in 2004 and spent eight years working as a radio presenter in Kansas City, Vermont, Boston and New York City before discovering the joys of the Rocky Mountains. She then detoured west to Colorado and enjoyed 11 years teaching yoga in Vail before returning to her hometown of Glasgow, Scotland in 2020 to focus on family and writing.
