What are crampons? We get to grips with these key pieces of mountain kit
What are crampons? We look at their heritage, consider their features, explain their ratings and take a look at correct crampon technique
All the latest inspiration, tips and guides to help you plan your next Advnture!
You are now subscribed
Your newsletter sign-up was successful
There’s something undeniably exciting about strapping a pair of crampons to your boots. They give you the license to safely take on frozen terrain you otherwise wouldn’t dream of venturing into. Adding crampons means that you're about to enter really adventurous and exciting mountaineering terrain.
With an ice axe in hand and crampons attached, you're ready to take on the gnarly stuff. But what are crampons exactly? Our mountaineering experts are here to reveal all about what they are, how they compare to microspikes and other traction devices, look into their history, delve into their features and go over proper crampon technique.
What are crampons?
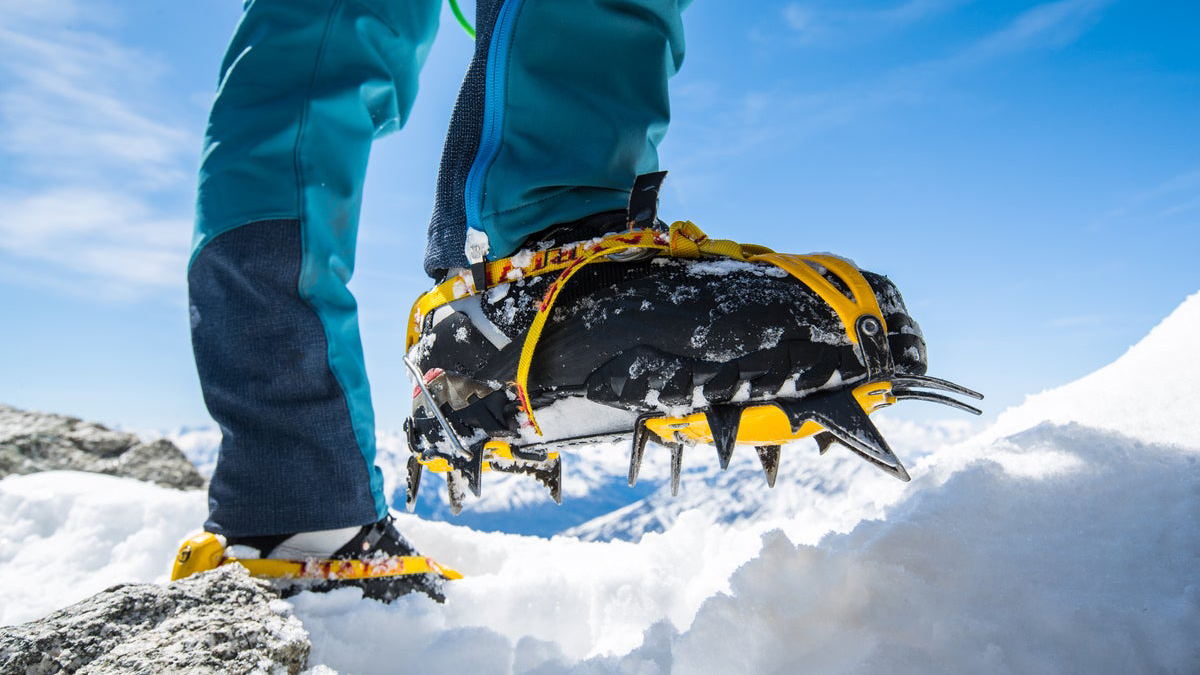
Crampons are robust frames with metal spikes that you attach to your boots to give you much-increased traction on hard snow and ice. Their sharp metal spikes bite into the frozen terrain, giving mountaineers, ice climbers, winter walkers and glacier hikers grip and the confidence to tackle the terrain safely.
There are broadly three types of crampons: C1s, C2s and C3s, which we'll get to in more detail when we explain crampon ratings. The less aggressive C1s usually feature 10 spikes and are used for glacier travel and winter walking. C2s are good all-rounders, with 12 spikes for general mountaineering, while C3s are the most aggressive and are used by ice climbers.
In modern terms, the story of crampons dates back to the early 1900s, though there’s plenty of evidence of similar tools being used thousands of years ago. Celts, Romans and Vikings all used crampon-like devices to get around on frozen terrain.
Meet the experts
With the mountains of Eryri (Snowdonia) National Park as his playground, Matt has access to some glorious winter mountaineering when the conditions play ball. He's one of our leading kit experts and has tested many pairs of crampons in his time.

Alex is the former President of the London Mountaineering Club and a Mountain Leader. He's enjoyed various trips to the Alps to climb some of Europe's big mountains. He loves adventures on snowy peaks, whether it's the Alps in summer or the Scottish Highlands in winter.
Today's best deals
Can you use crampons with hiking boots?
- Crampons only fit onto winter hiking and mountaineering footwear
- Other traction devices like Yaktrax or Microspikes can be used instead on easy terrain
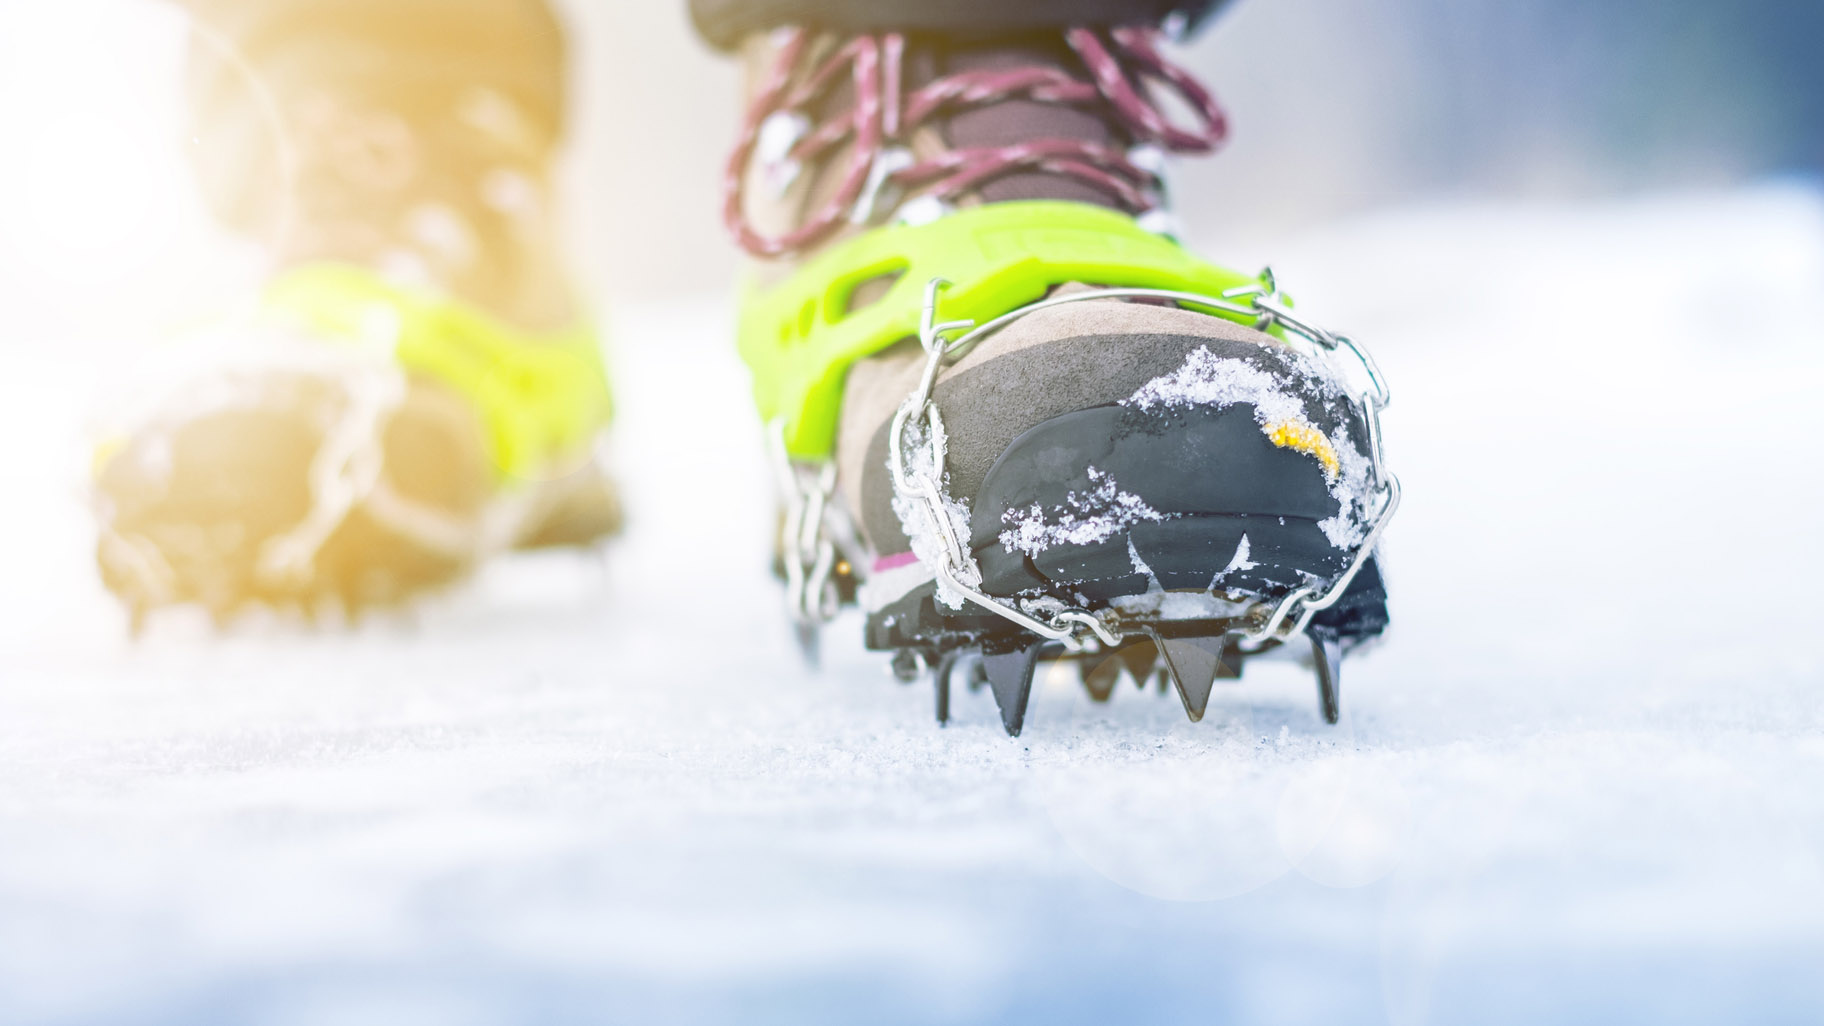
Not all boots are suitable for crampons – for instance, the best hiking boots for spring, summer and fall are not rated to take technical crampons. If you’re a winter walker or you simply want something that enables you to step outside when everything is iced up, there is the option of microspikes. These are flexible, lightweight and fit most hiking shoes but, crucially, they don’t allow you to take on steeper ground. Other winter traction devices include coiled traction devices like Yaktrax. See the table below for a comparison between these, microspikes and crampons.
If you’re serious about winter mountaineering or have your eye on alpine routes, you need crampons and you’ll also need a pair of the best winter hiking boots or mountaineering boots, which are specifically designed to take a suitably spiky attachment. To find out more about crampons' features, which ones fit which boots, correct technique, and the history behind them, read on…
All the latest inspiration, tips and guides to help you plan your next Advnture!
| Traction device | Features and compatibility | Suitable terrain |
| Coiled traction devices | Rubber upper and steel coils. Can be fitted to hiking and running footwear. | Hiking and running on flat or gently inclined snow. Work well on snowy tarmac, less suitable than microspikes for ice. |
| Microspikes | Rubber upper, metal chains and metal spikes. Can be fitted to hiking and running footwear. | Hiking and running on flat or gently inclined ice or packed snow. |
| Crampons | Metal frames armed with robust spikes. Can only be attached to compatible mountaineering boots. | Mountaineering terrain: steep slopes and gullies. |
The history of crampons
- Traction devices similar to crampons have been used throughout human history
- The modern, 10-point crampon was born in 1908, created by Oscar Eckenstein
- He teamed up with Henri Grivel and mass production began
Tools created to aid human feet across icy terrain are commonplace throughout history, though the modern crampon appeared just over one hundred years ago. There were iterations of the crampon around in the late 19th century, at a time when the great peaks of the Alps were falling one by one to characters like Edward Whymper and Lucy Walker. However, during this era, nailed boots were much more popular than any device that was separate to the footwear.
That all changed in 1908, when English climbing pioneer Oscar Eckenstein created the first piece of equipment comparable to the modern crampon. Made from lightweight steel and featuring 10 points, it was a revelation, opening up whole new possibilities for mountaineers. Commercialization followed, as Italian blacksmith Henry Grivel worked with Eckenstein to mass produce and sell this new marvel.

Grivel would go on to be a name synonymous with ice tools and today they are one of the leading brands for mountaineering equipment. Around 20 years after Eckenstein's breakthrough, Laurent Grivel (Henry’s son) went on to produce the first 12-point crampon. It was famously pioneered by Ludwig Vörg and Anderl Heckmair, the German climbers who, along with Austrians Heinrich Harrer and Fritz Kasparek, made the first successful ascent of the Eiger’s formidable North Face. Crampons have been a mainstay ever since, be it the worlds of mountaineering, alpinism or ice climbing.
The features of crampons
- Crampons feature spikes, a heel clip, a toe basket, a flex bar and a strap
- The flex bar allows you to adjust the length, while the strap tightens everything up
- Many feature anti-balling plates that stop snow building up beneath
- The more technical the crampon, the more spikes it tends to have
Generally, a crampon will have its array of spikes; a heel clip that allows it to lock onto a boot’s heel welt, which is a pronounced ledge on the back of the boot; an adjustable toe basket that goes over the front of the boot; a flex bar that allows the length of the crampon to be adjusted according to size; and a tether or strap to ensure a secure connection with the boot and keep everything tight and compact.
The modern-day crampon is a far sleeker beast than those used in 1938 on the Eiger and, indeed, those used to conquer Everest and the other great Himalayan peaks during the 50s and 60s. Today, they’re made from steel alloys and lightweight aluminium, feature various innovations and there are numerous different types of crampon available for different disciplines.
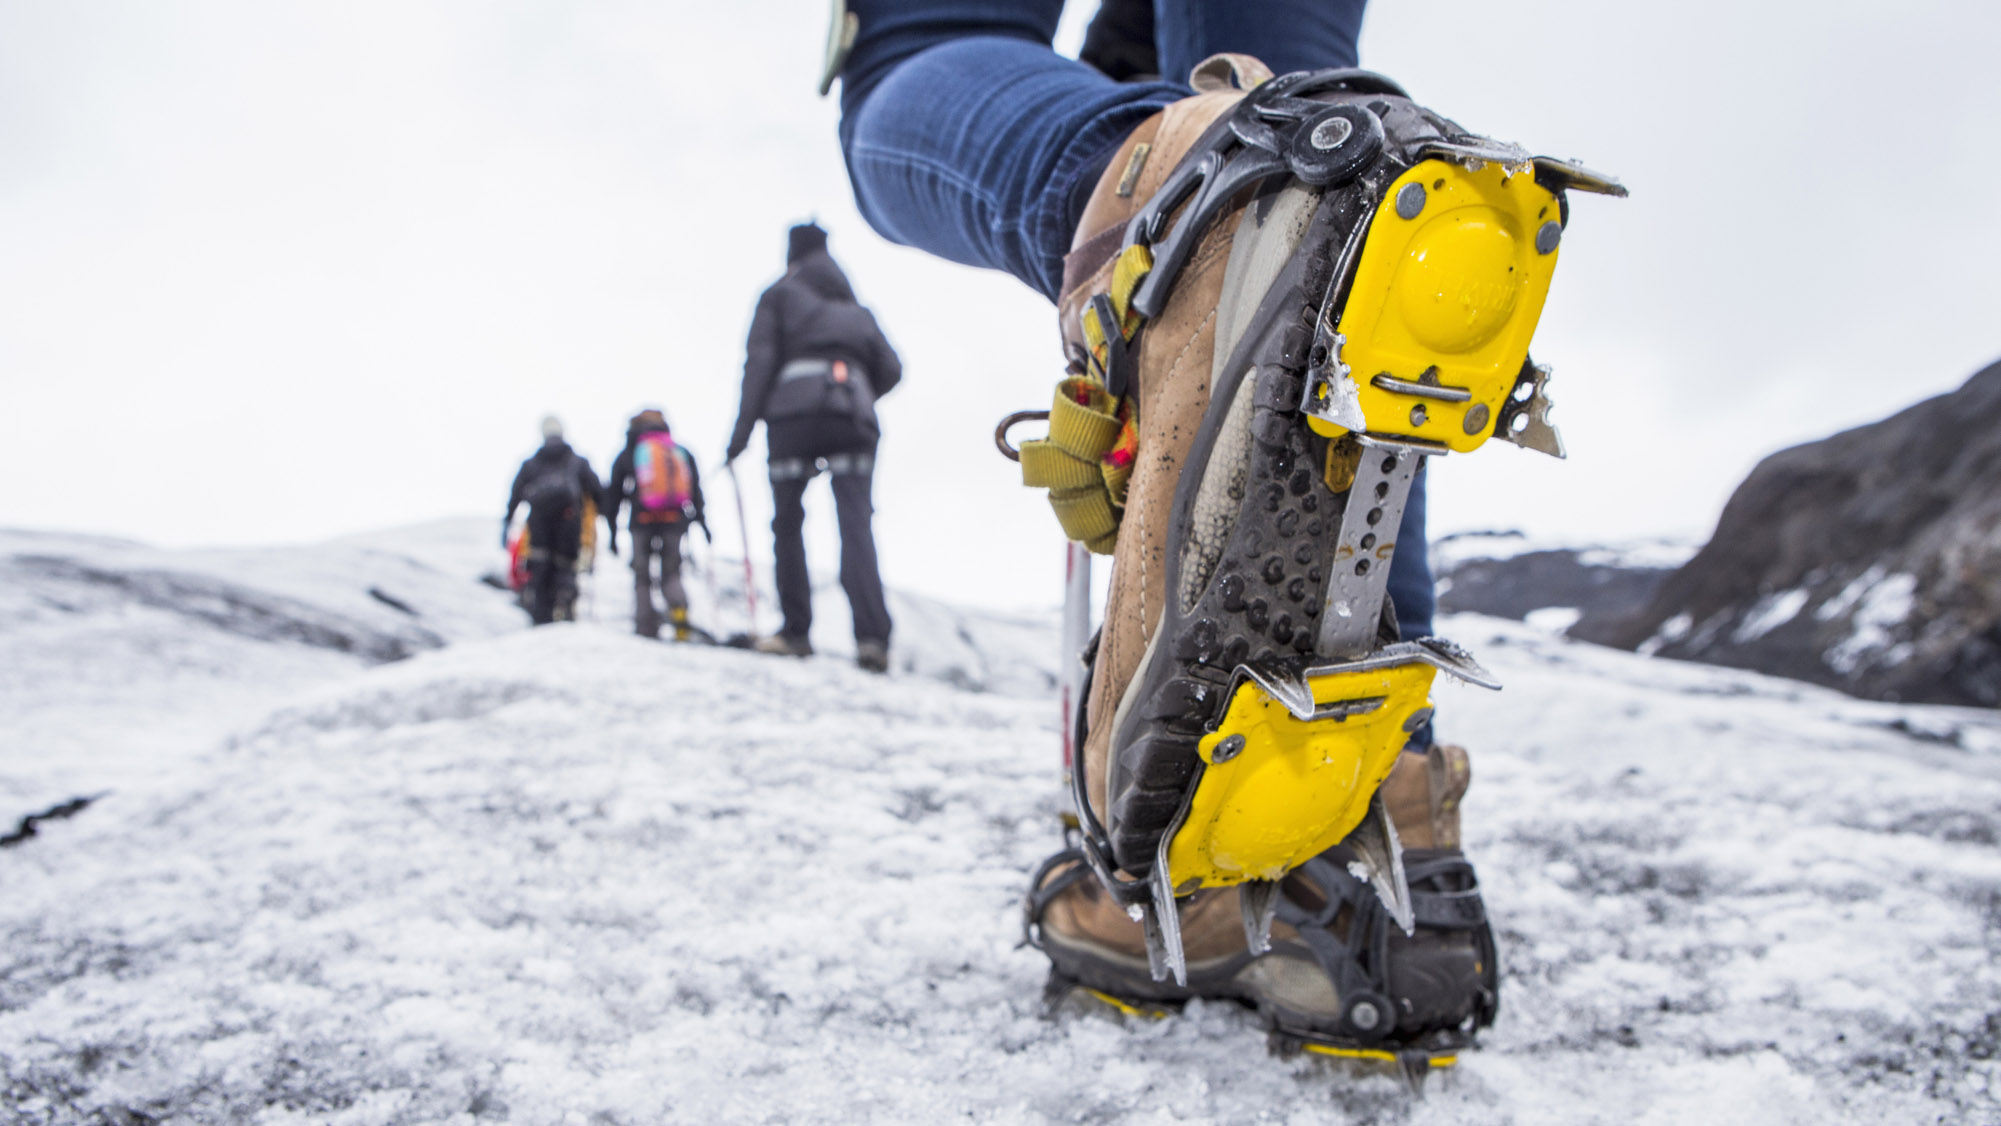
Most crampons feature anti-balling or antibott plates. These are fitted to the underside of the crampon and stop snow from building up underneath, which could add unwanted weight to your feet and reduce, or even eradicate, the amount of spike making contact with the terrain.
10 or 12 spikes is par for the course where crampons are concerned. C3 crampons, designed for ice climbing and other technical terrain, generally have 12 or 14 points and their front points often feature a serrated edge for increased grip. They can also be much more rigid than crampons designed for activities that aren’t quite so vertical in nature. Mountaineering and winter walking crampons, C1s and C2s, usually comprise of two parts, a heel and front section, connected by the flex bar, which can be adjusted in terms of length. The more flexible the crampon, the more boots it will be able to fit...
Crampon ratings explained
- C1 crampons fit B1 boots, C2s fit B2s and C3s fit B3s
- C1s and B1s are good for glacier hiking and winter walking
- C2s and B2s are ideal for general mountaineering
- C3s and B3s are designed for steep ice climbing and technical mountaineering
The major difference between a three-season boot and the best winter hiking boots – aside from general toughness – is the stiffness of the sole. Four-season boots have a rigid shank embedded in the midsole, which stiffens the boot both longitudinally and torsionally (ie, from toe to heel and from edge to edge), preventing it from flexing or bending too much in either direction. As well as providing increased stability on uneven terrain, this also ensures the boot can be safely used with a technical crampon.
Crampon-compatible boots are usually rated either B1, B2 or B3. Similarly, crampons are usually classed with a matching C1, C2 or C3 system. So, a C1 crampon is best used with a B1 boot, a C2 crampon with a B2 boot and so on. Having said that, you can match a B2 boot with a C1 crampon, but not the other way around. Here’s why:
A B1 boot has a stiffened midsole with a half or three-quarter length shank to accommodate a flexible C1 ‘hillwalking’ or ‘glacier walking’ crampon. These have step-in bindings and (usually) 10 points.
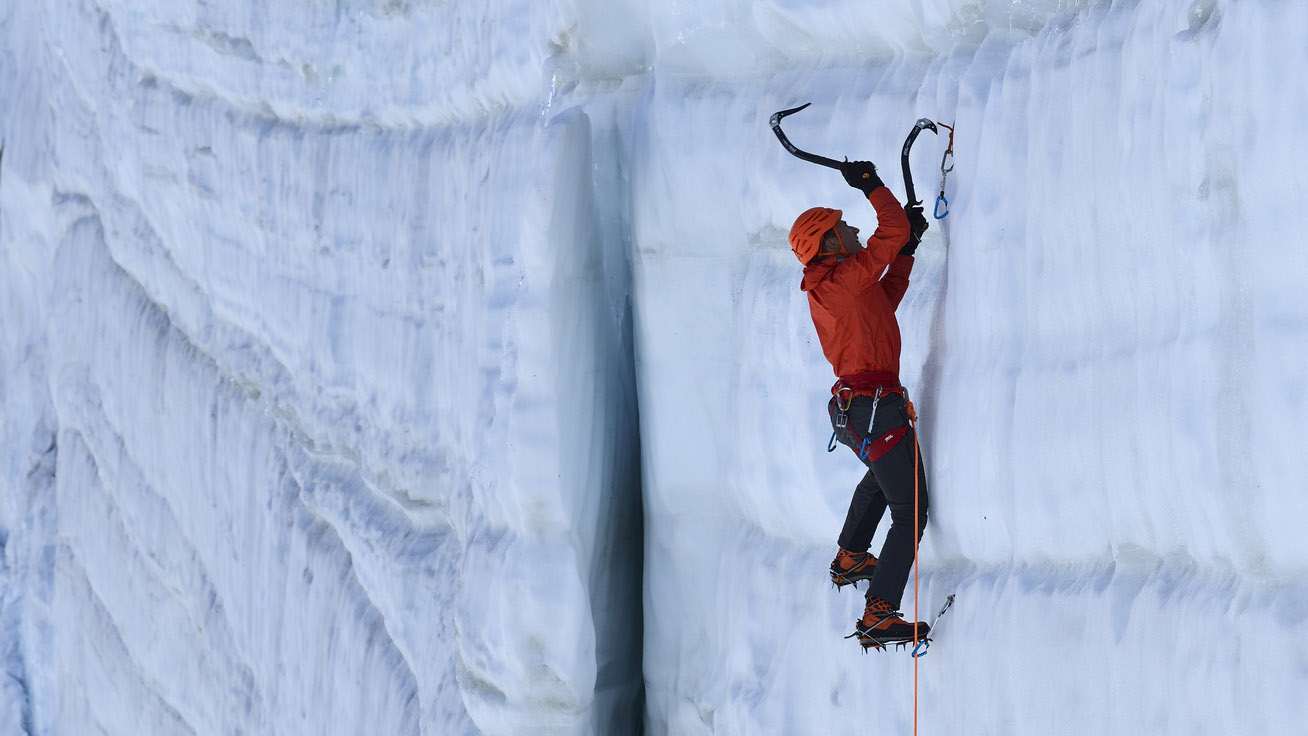
A B2 boot has a fully stiffened midsole with a full-length shank. In addition, it has a noticeable heel welt to fit a C2 semi-automatic crampon. This is a crampon with a rear binding fitted with a clip or lever, and a flexible basket at the toe. C2 crampons are usually fitted with 12 points.
A B3 boot is a true mountaineering boot with a full-length shank. They are usually too rigid to walk comfortably below the snowline. They have a heel welt and a toe welt to accommodate a fully automatic C3 crampon, which has heel and toe slips. A C3 crampon usually has 12 or 14 points, and may have modular front points that can be switched from dual points to monopoints for tackling challenging ice climbs.
The table below details which boots can be worn with which crampons:
| Type of crampon | Best use | Compatible boots |
| C1 | Winter walking and glacier hiking | B1, B2, B3 |
| C2 | Winter mountaineering and alpinism | B2, B3 |
| C3 | Ice climbing and high altitude mountaineering | B3 |
Correct crampon technique
- Walk with your feet spaced further apart to stop the spikes snagging on clothing
- Keep your feet as flat as possible to allow all spikes to bite into the terrain
- Front pointing is where you use your two front spikes on very steep ground
- It's worth practising taking your crampons off with gloves on
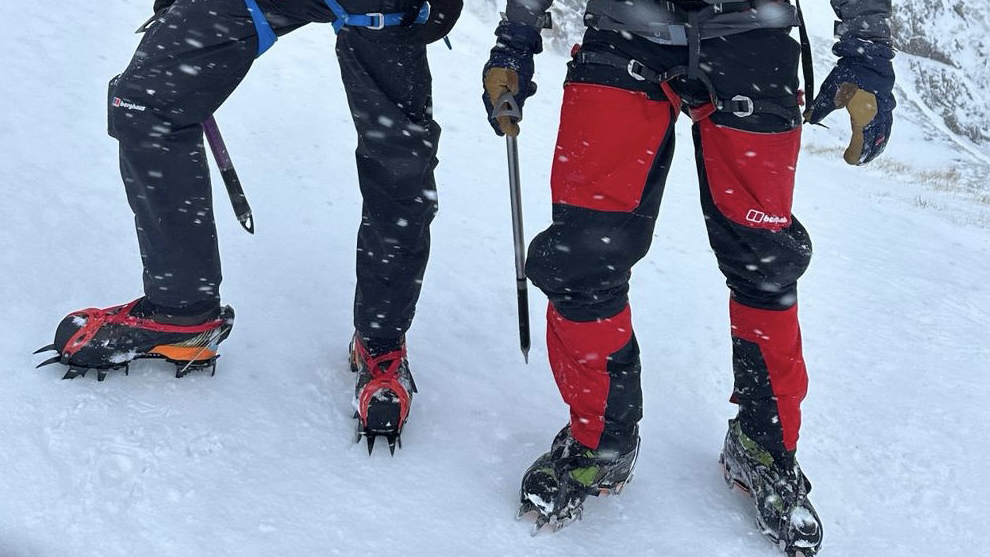
Walking with crampons on feels strange initially, like any new experience that’s different to the norm. You’ll be slightly taller, heavier and nailing the correct walking technique might feel unnatural but with practice, you’ll soon hit your stride. The first thing to remember is that the spikes can easily snag on your clothing, which could put a great, big tear in your best hiking pants or, worse, send you tumbling. To counter this, walk with your feet spaced slightly wider apart than usual, at about shoulder width.
Try to keep your foot flat to the ground with each step, so that all the spikes engage with the terrain in unison and try to lift off in the same way. This technique is the most efficient and gives you the most grip. The same goes for when you hit a slope. Keep your foot parallel with the ground as you plant your foot by bending at the heel. Remember, ten points in contact with the ground are better than four. As the ground becomes steeper, you can turn your toes outward or turn your body sideways to maintain this flat foot technique. Knowing how to use your ice axe correctly to stabilize yourself will also help.
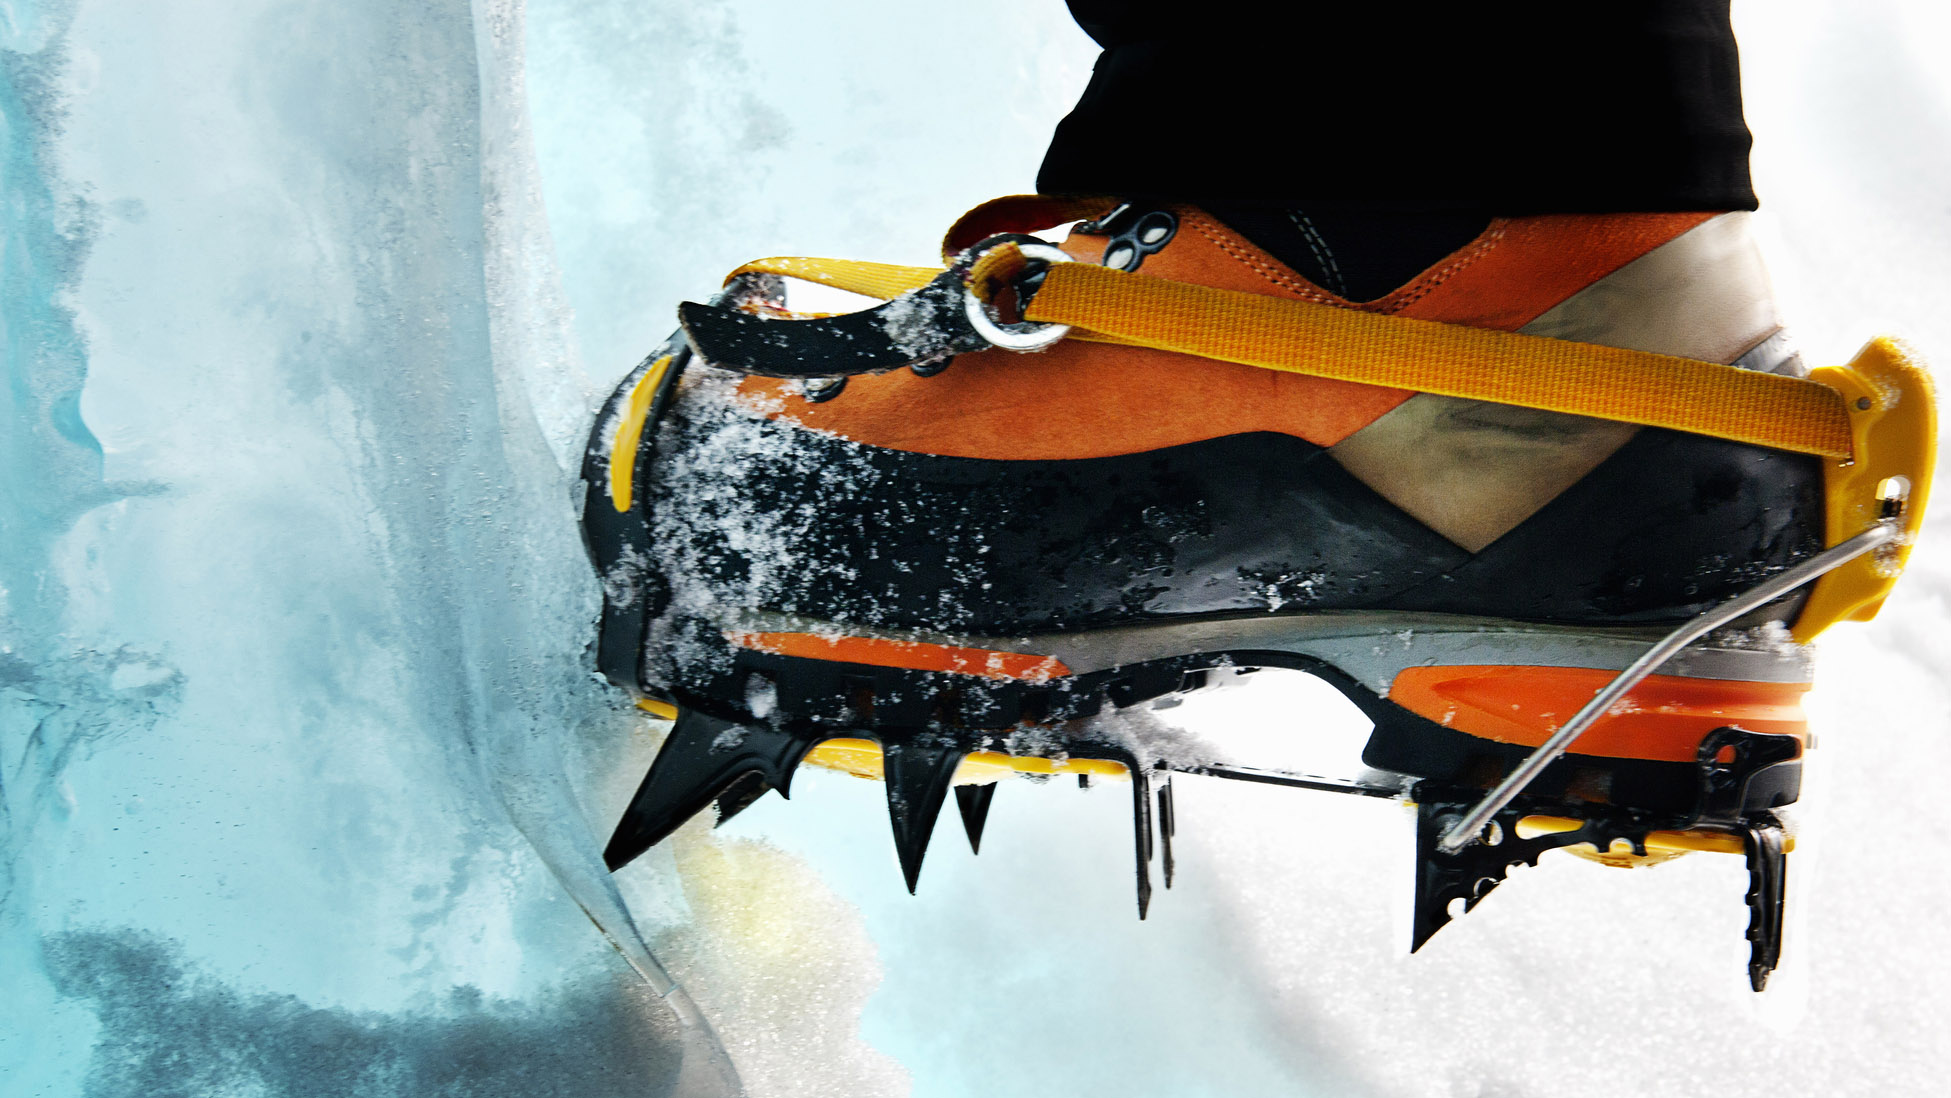
If you’re tackling really steep ground, there will come a point when angling your foot to match the terrain becomes impractical. This is where the two horizontal front points of your crampons come into their own. Unsurprisingly, the technique is called ‘front pointing’. Facing into the slope and keeping your heel level with your toes, take small steps upwards, using the front points of your crampons. Lowering your heel slightly allows the points behind your front points to engage, giving you slightly more grip. Try not to lift your heel above your toes, as this can cause your front points to shear out of the snow or ice. Bear in mind that you’ve only got four spikes (at most) in contact with the ground when you lift each foot, so maintain contact with your ice axe whenever you move your feet.
Practising attaching and detaching your crampons at home using your best hiking gloves is a good idea. One day you could be caught out in a blizzard and when that day comes, removing your gloves won’t be an option you'll want to entertain. Finally, always remove your crampons if you decide to glissade – that is, sliding down a safe slope on your bum – down the mountain. This is because the spikes could suddenly snag on something and send you flying head over heels!
An outdoors writer and editor, Matt Jones has been testing kit in the field for nearly a decade. Having worked for both the Ramblers and the Scouts, he knows one or two things about walking and camping, and loves all things adventure, particularly long-distance backpacking, wild camping and climbing mountains – especially in Wales. He’s based in Snowdonia and last year thru-hiked the Cambrian Way, which runs for 298 miles from Cardiff to Conwy, with a total ascent of 73,700 feet – that’s nearly 2½ times the height of Everest. Follow Matt on Instagram and Twitter.

