
For success in hiking, you definitely need a pair of the best hiking boots and strong leg muscles, but what about core strength? Though more core strength is never a bad thing, it might not jump out as the most obvious area that’s essential for hiking, and yet if you’ve ever felt low back, hip or lower body pain after a long hike (or worse, tweaked your back putting a backpack on), it’s something you'll want to look at. To get down to the nitty gritty of the topic, we spoke to Denver-based physical therapist Keri Bergeron about why core strength really matters for hikers, and which are her go-to core exercises for hiking.
Bergeron explains that the first area where improving core strength can make a huge difference, of course, is in pain reduction.
“Improving core strength helps with decreasing back pain for sure. Decreasing hip and knee pain? Absolutely. It helps you to hold your legs in the best possible structure versus collapsing.”


Even if you don't experience pain with hiking, however, strengthening your core can actually help to improve your performance on the hiking trails.
“Good core strength helps you with stamina, so being able to go for longer, or carry more of a weight or even just finish your hike and to feel not wrecked,” says Bergeron, who grew up as a competitive gymnast and dancer, and these days is an avid hiker in the Rocky Mountains.
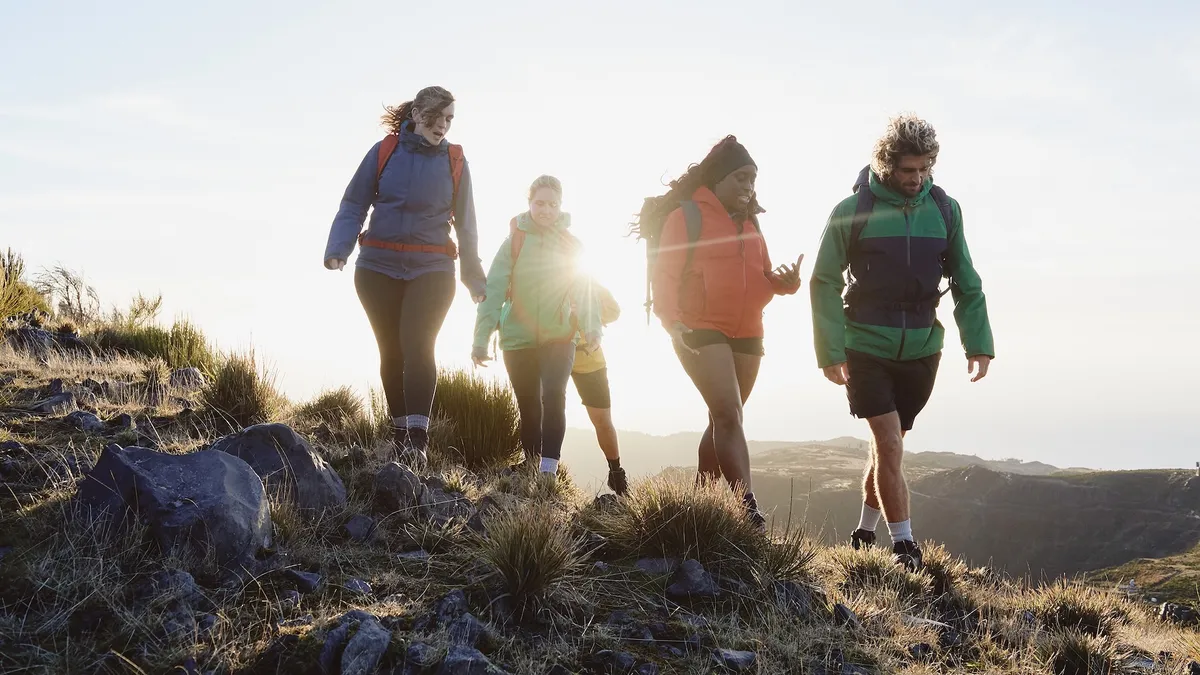
Of course, you need a certain amount of core strength to lift each leg as you’re climbing up a steep hill, but as Bergeron explains, you’re actually using your core muscles the entire time you’re hiking because you’re essentially always moving while balancing on one leg, on uneven ground, and often carrying extra weight. So if you’re not relying on core strength to stabilize yourself, you’ll collapse into areas she called the “path of least resistance” – your low back and hips, which might manifest as swaying side to side or your knees dropping inwards while you walk.
It helps, Bergeron says, to think of your core not as just your abs, but as a cylinder that includes your abdominal muscles at the front, the lumbar muscles of your lower back, pelvic floor muscles at the bottom and your diaphragm at the top.
“All of those muscles don't function independently in the body, they have to work in concert with each other.”
Just as we often hear about the stabilization – or lack of it – in your feet and ankles affecting your knees, hips and low back, the same is true in reverse.
“If we don't have pelvis stability and lumbar stability going down, it can affect hips, knees, feet, and you end up with injuries or much more wear and tear in those places because gravity and ground reaction forces meet at the lower back and pelvis and hip joints.”
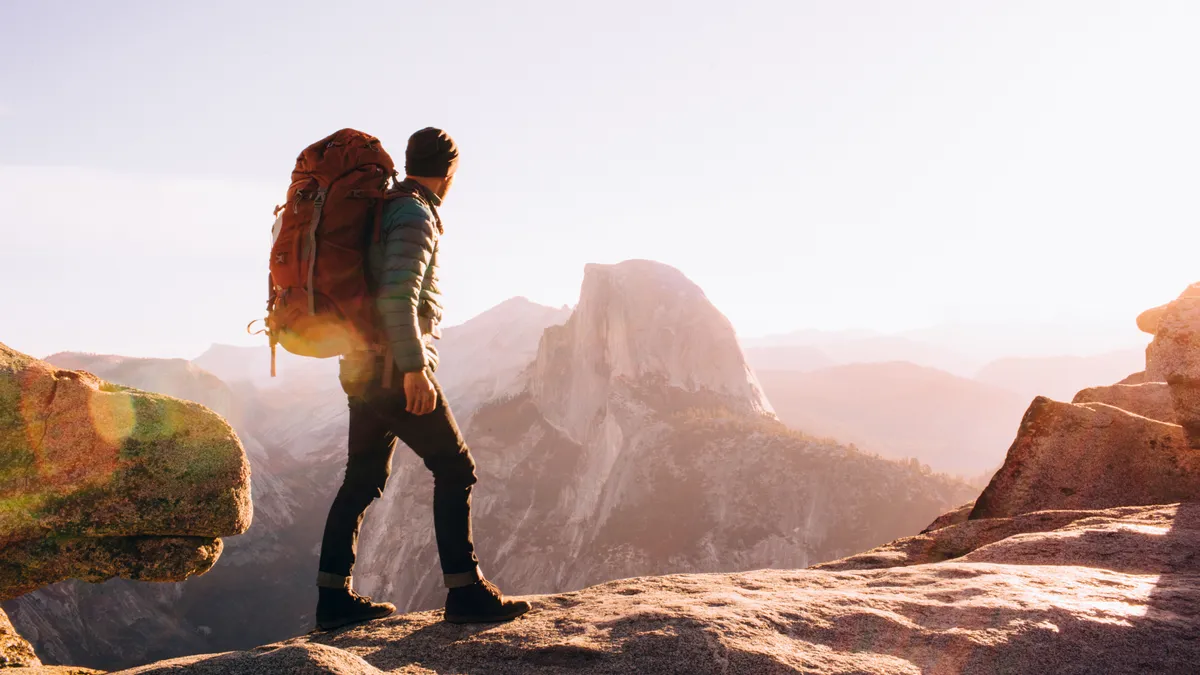
This phenomenon, she explains, is very much exaggerated with hiking long distance hiking, especially when you add the weight of a heavy backpack.
“Being able to have support around the center will change the mechanics going up and down for the better. It will decrease the tendency towards back and SI joint pain, but also the lower joints, and increase stamina because you’re moving more efficiently.”
So how do you strengthen your core in the best way possible for the demands of hiking? The ubiquitous plank, Bergeron says, is always useful, so long as it's done correctly and sure, crunches won’t hurt, but she recommends a specific set of core exercises that you can do on their own 2-3 times a week or as part of your workout routine to help you strengthen and activate deep core muscles while you’re in motion. For these exercises, you’ll need a foam roller, a yoga block and a yoga ball.
1. Single leg abdominal press


- Lie on your back with your knees bent and press your lower back into the floor.
- Lift your right leg, keeping it bent, so your knee is stacked over your hip and your shin is parallel to the floor.
- Place your right hand on your right thigh, close to your knee.
- Press your hand into your thigh with a palpable upward motion (your hand won’t slide up your thigh) and press your thigh back into your hand to create equal pressure.
- Hold for 30 seconds, then switch sides.
- After doing both legs separately, press both hands into both legs at the same time.
2. Supine spinal rotation with yoga block


- Lie on your back with your knees bent and press your lower back into the floor.
- Place a foam yoga block between your thighs.
- Spread your arms out wide with your palms facing down.
- Stack your knees over your hips so your shins are parallel to the floor.
- Squeeze your thighs into the block, then slowly bring your legs about half way over to the right side.
- Bring your knees back to center and then take them over to the left side, squeezing both thighs into the block the whole time and keeping your low back on the floor.
- Repeat 5-10 times on each side.
3. Dead bugs

- Lie on your back and bend your knees, pressing your lower back into the floor.
- Stack your knees over your hips and bring your shins parallel to the floor.
- Take a yoga ball and use both hands to press it against both thighs.
- Keep pressing your left hand and right thigh against the ball, and slowly take your right hand and left thigh away from the ball.
- Stretch your right hand back behind your head and your left leg forward, keeping your lower back pressing against the floor and trying to keep the ball stable.
- Bring your hand and knee back to the ball, then switch slides, reaching your left hand back and your right leg forward.
- Repeat 5-10 times on each side, keeping your lower back heavy and the ball stable.
4. Foam roll marching

- Lie down on your back on top of a foam roller, so that it supports your entire spine, the back of your head and your hips.
- Bend your knees and place your feet flat on the floor.
- Take your hands out the sides and balance on your fingertips.
- Press your lower back into the foam roller and engage your pelvic floor muscles (as if you really have to go to the bathroom and there isn’t one available!).
- Slowly lift your right foot a few inches off the floor, without rocking to one side or the other, then lightly place it back down and lift your left foot.
- Continue slowly, lightly “marching,” by lifting one foot at a time, trying to remain stable on the foam roller, for 1-2 minutes. When this exercise starts to feel easy, try balancing on just one or two fingertips.
5. Foam roll chest expanders


- Stay on the foam roller, and place both feet flat on the ground with your knees bent.
- Hold a light hand weight (2 lbs or 1 kg) in each hand and reach your hands straight up toward the ceiling, stacking them over your shoulders.
- Press your lower back down into the foam roller, and try not to move the foam roller as you slowly lower your right arm out to the side, taking care not to overextend your shoulder.
- Lift your right arm back up, and lower your left arm to the left side.
- Repeat 5-10 times on each side, keeping your lower back heavy and trying to remain stable on the foam roller.
- Best hiking boots: seriously tough boots tested and rated on real trails

