How to plan a hike: 7 tips for successful, stress-free days on the trails
Make sure your hikes are hassle-free and go off without a hitch by learning how to plan a hike like a pro
All the latest inspiration, tips and guides to help you plan your next Advnture!
You are now subscribed
Your newsletter sign-up was successful
Many hikers are apt to think that fastidious planning detracts from the romance and adventure of their time on the trails. The obvious retort to this, however, goes something along the lines of this: there also ain’t much romance in getting lost, finding yourself unwittingly on a route that’s way above your paygrade in terms of technical difficulty or length, unplanned benightment, or discovering mid-hike that you’re seriously under equipped for the challenges that lie ahead.
In short, enjoying a successful hike requires more than simply having the best hiking boots, best backpack, a healthy supply of enthusiasm, and oodles of gas in the proverbial tank – it also needs a little bit of forethought to ensure that all goes smoothly and sans stress, drama, or misadventure.
To that end, we’ve put together a list of simple pre-trip prep tips on how to plan a hike to help you avoid all of the aforementioned eventualities and hit the trails with confidence.
How to plan a hike in 7 simple steps
How to plan a hike step 1: choose your route (wisely)
The annals of hiking history and trail lore are littered with tales of hikers who bit off more than they could chew, and the consequences of making this common mistake are often far more serious than simply not making it home in time for dinner or date night.
The ways in which you can overextend yourself with your trail choice relate to both the difficulty of the route and timing (more on this below), and some of the better-avoided outcomes that might await should you choose unwisely range from the inconvenient (hiking in the dark, that missed dinner/date night) to the downright dangerous (benightment, getting lost, dealing with hazards you don’t have the skills or knowhow to negotiate safely).
When you sit down to plan a hike, the best policy is to opt for a trail that’s within the limits of your technical ability and – to avoid having to complete their hike after nightfall and dealing with all the added risks that entails – which you’ll be able to complete comfortably within the allotted timeframe, whether you’re heading on an all-day adventure or even just a Sunday afternoon stroll. (You can also look for advice from other walkers who've tried similar routes, using komoot or other navigational apps.)
At this stage, it’s also worth doing a little self-interrogation, asking yourself a series of questions that might help to nip any unhelpful excess of enthusiasm in the bud. Some of the questions you might ask include: Am I fit enough to do this hike in a day? Am I currently in good enough shape to take on a route of this type/length? Will my hiking partners be comfortable on this route? Do I have the navigational skills required to complete the route if visibility is low? How non-negotiable is returning in time for that aforementioned dinner/date night?
All the latest inspiration, tips and guides to help you plan your next Advnture!
How to plan a hike step 2: estimate your trip time
Although guidebooks and online route descriptions can give you a good idea of how long any hike will take, it’s always best to take the cited timings with a pinch of salt and take into account variables such as weather conditions, conditions underfoot, the fitness levels of all members of your group, and the size of the load you’ll be carrying. Also bear in mind that most timing estimates are for walking time only and don’t include lunch breaks or rest stops.
The most effective way to gauge how long your hike will take you is to use Naismith’s Rule, which tells us to allow one hour for every three miles of hiking plus an additional hour for every 2,000 feet of ascent. For example, if you’re heading on a 6-mile hike with 2,000 feet of ascent, you should allow roughly 3 hours to complete the route. It’s worth noting, of course, that this calculation only works if you can comfortably walk at a rate of three miles per hour – if your pace is a little less sprightly, adjust accordingly and bear in mind that your pace is likely to drop towards the end of the day on longer hikes.
How to plan a hike step 3: gather your gear
Once you’ve chosen your poison, it’s time to choose your antidote, i.e. the kit that will keep you safe, comfortable, nourished, hydrated, while you drink of it. Because the gear required for different trails can vary vastly depending on the season, the length of the trail, and the trail’s technical difficulty, this is a good place to redirect you to our guide on hiking essentials, which itemizes all of the kit you’ll need for adventures of all shapes and sizes, from the best hiking shoes and best fleece jackets right through to the best trekking poles and best insect repellent.
Regardless of shape, size or season, on any hike be sure to carry a map and compass (and know how to read a map and how to use a compass), plenty of food and water, and clothing that’s capable of keeping you warm and dry in the very worst conditions you might encounter. This last item may seem persnickety, but weather forecasting is an inexact science and the forecasters have been known to get it (very) wrong from time to time.

How to plan a hike step 4: plot your route
Before setting it off, it’s wise to take a little time to familiarize yourself with your route as a means of giving yourself a heads up on what you’re letting yourself in for. (Consider it a matter of courtesy to the future self who will be tasked with carrying out whatever plan you cook up.)
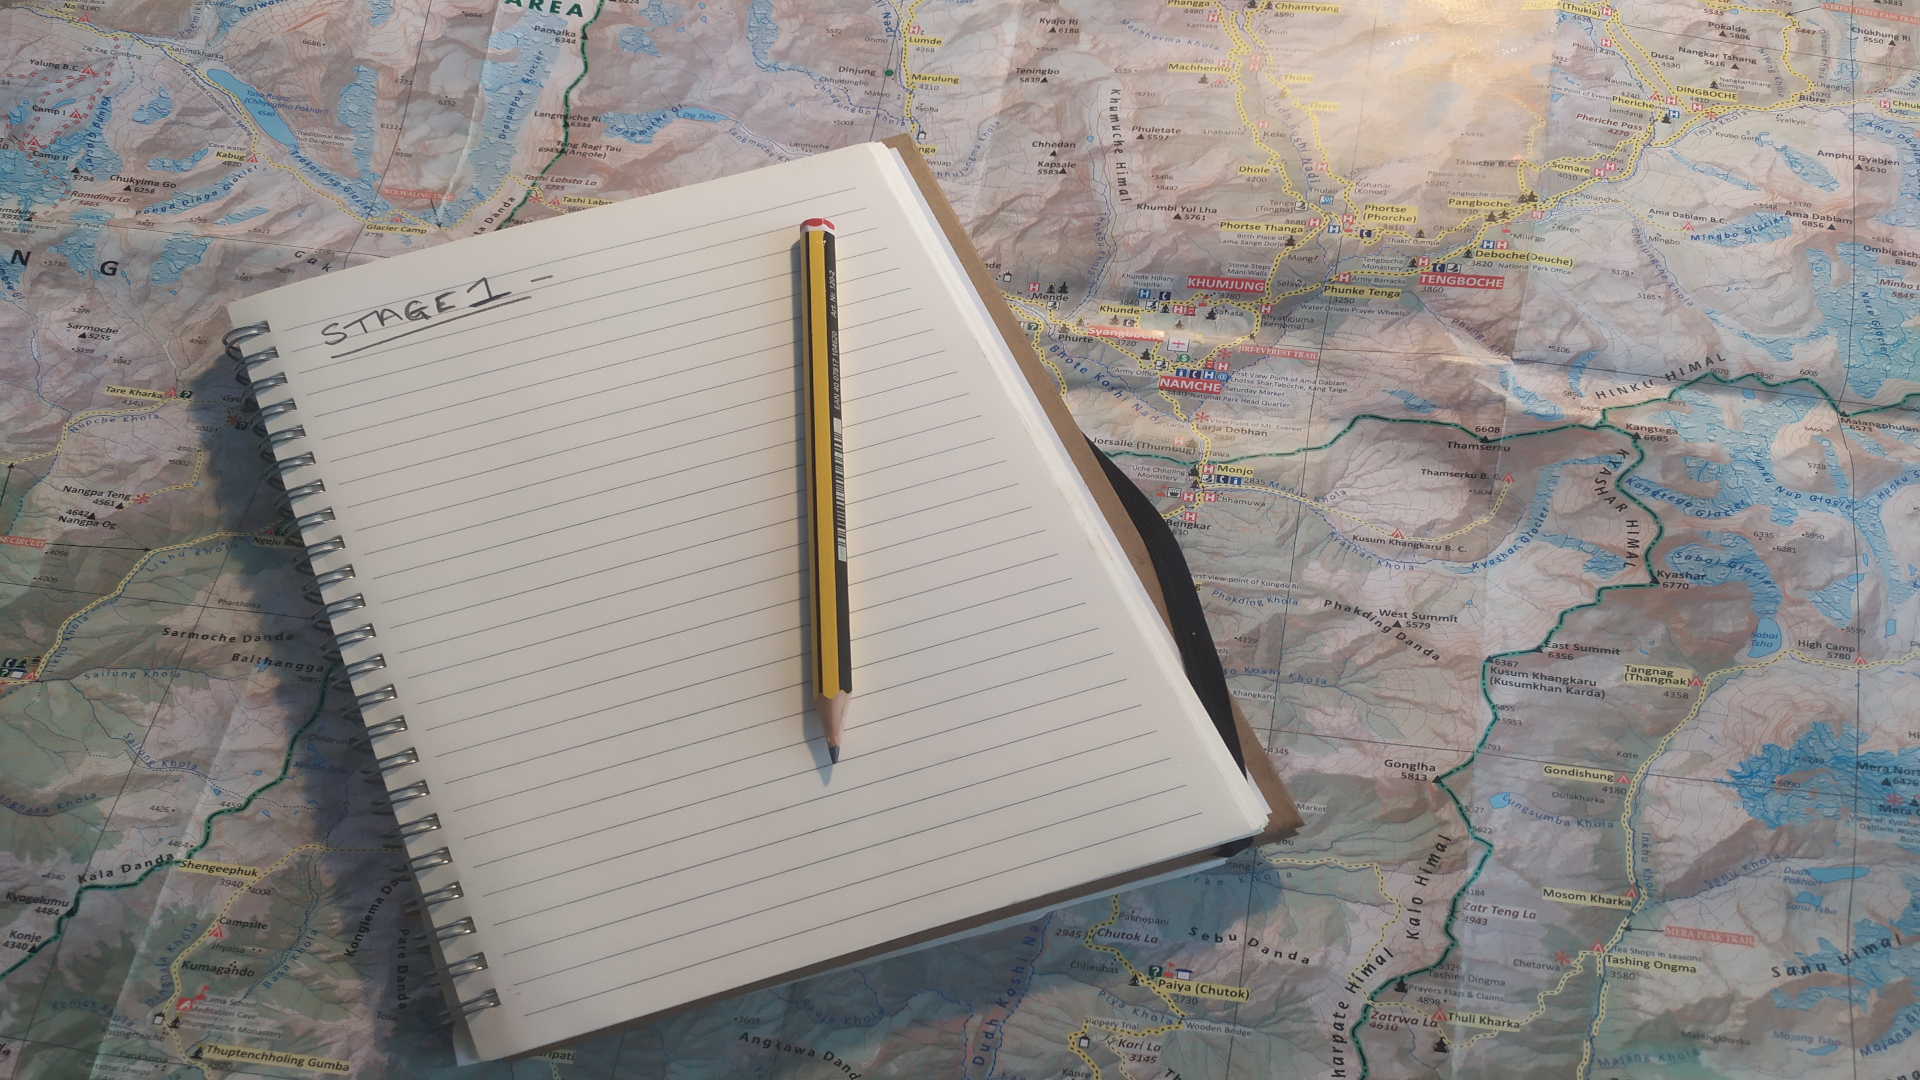
First up, get your hands on the most up-to-date and detailed map of the area you’re heading to. Set aside half an hour or so to identify significant waypoints (i.e. easily identifiable features) on your route and, if hiking off-trail, take the bearings between each of them. While this might feel like overkill from the comfort of your home, you’ll be glad you did it if you end up hiking in poor visibility or a whiteout. Dividing your route into stages should also help with estimating timings and give you a few shorter-term targets to work towards, which can be a useful motivator when hiking longer routes.
How to plan a hike step 5: identify hazards, safe harbors, and hydration points
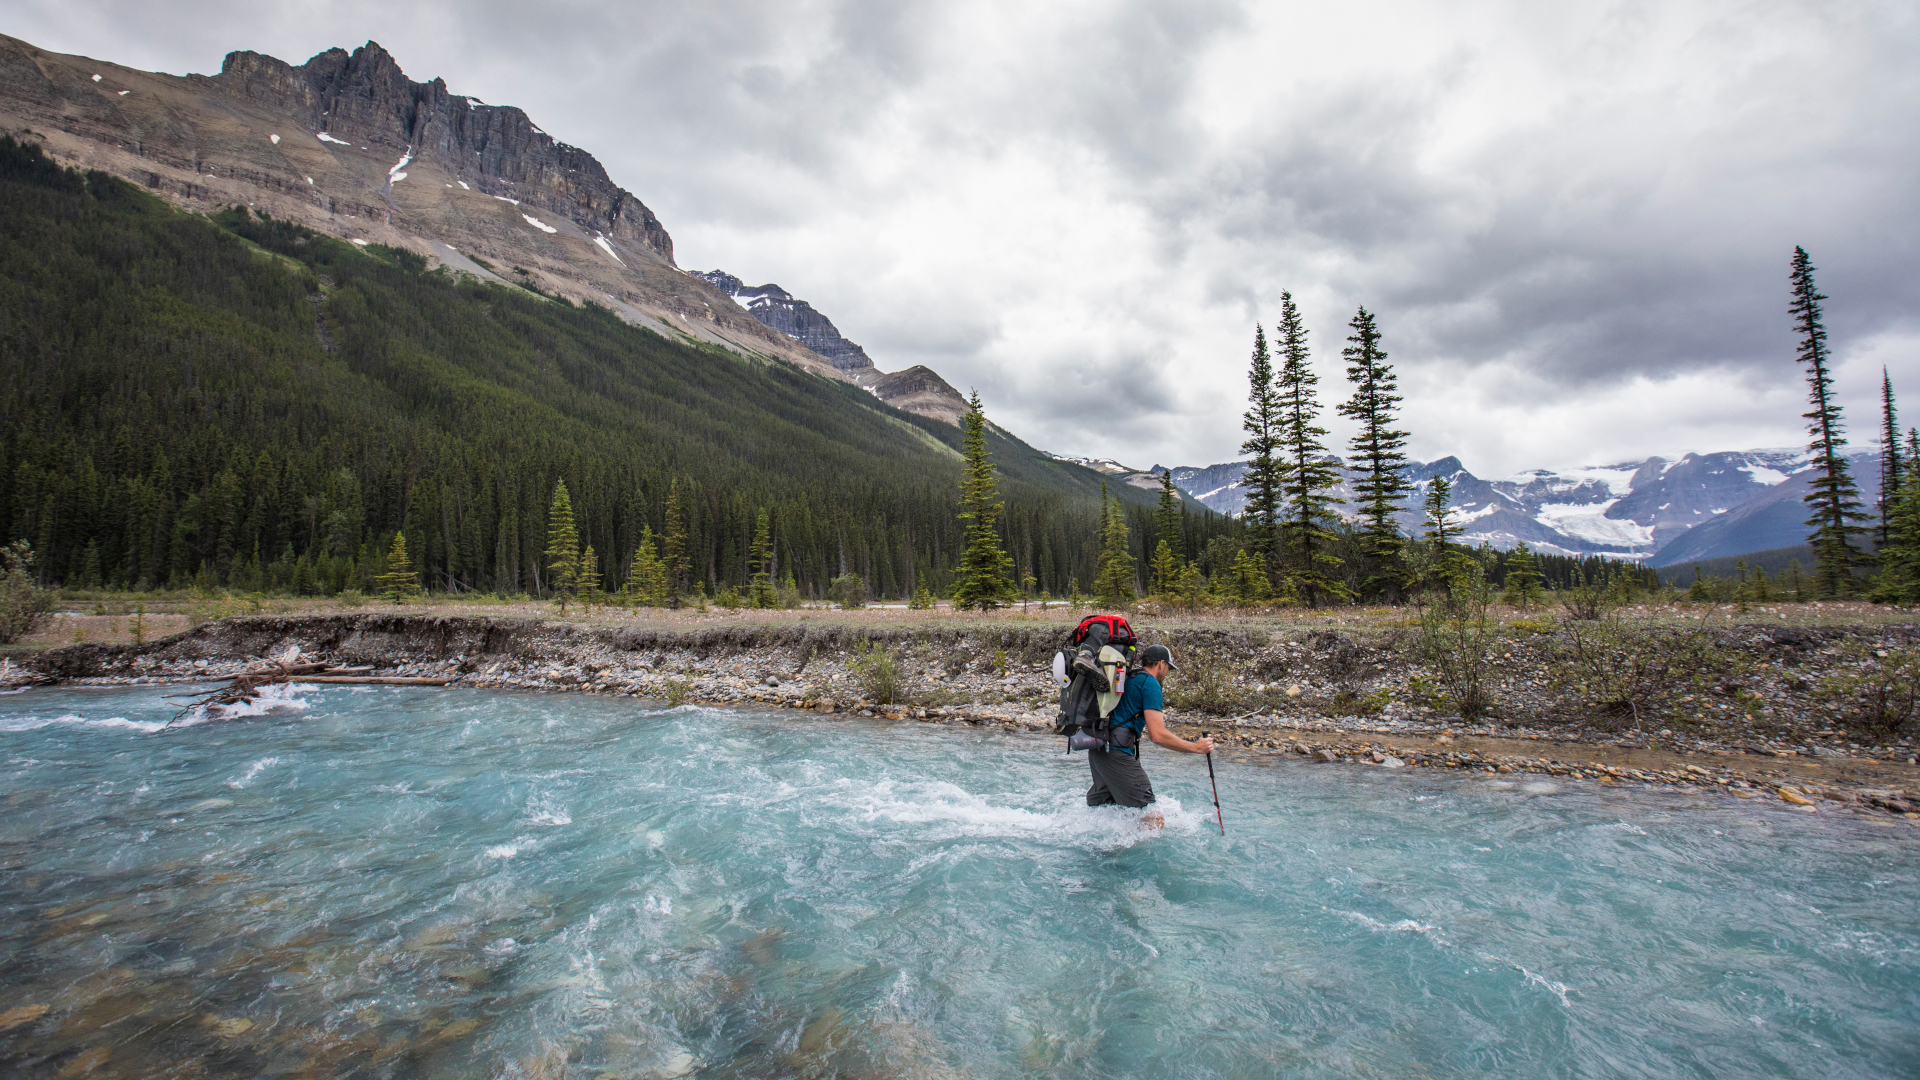
Depending on the length and location of your trail, the number of hazards you might encounter along the way could run into the dozens. Some of the most notable include tricky river crossings, iced-up north-facing slopes if hiking in the shoulder seasons or winter, snowbound passes, areas prone to rockfall, avalanche-prone gullies, exposed sections of trail you want to steer well clear of in low visibility, sections of coastal trails that become impassable with high tides, or exposed ridges that you want to pass before the arrival of afternoon thunderstorms.
Identifying these potential party-poopers pre-trip is a good policy for a variety of reasons, but mainly because it will give you the chance to reroute if necessary and/or allow yourself more time to negotiate them.
Another good policy is to identify suitable places to take shelter should conditions turn south, a recon point to meet your hiking buddies in case you become separated along the way, and, on longer routes, a “Plan B” escape route that will let you return to safety if need be.
When hiking in summer months, and particularly if you happen to be hiking in arid climates, it’s also wise to locate wild water sources along your route – if, that is, you’re carrying a water purification system (see our guide hydration packs vs. water purification). This will give you a better idea of how much H20 you’ll need to carry and help you avoid schlepping more with you than you need.
How to plan a hike step 6: inform yourself ahead of time
Mountainous environments and wild landscapes are constantly evolving and trail conditions can change significantly in very short time frames. An excellent – if extreme – case in point is Switzerland’s Piz Cengalo, where the rockfall captured in the video below obliterated several popular trails up and around the mountain, rendering them impassable for several months.
If you plan on hiking in a national park, state park or recreation area, be sure to call the day before or to check for updates on trail conditions, snow conditions, road closures, or any other circumstances that may affect your trip.
If you’re heading to a more remote area, then the best sources of up-to-date info are local mountain rescue services, mountain guides, hiking clubs or groups, and social media groups.
How to plan a hike step 7: leave a route plan with a friend or family member

Once you’ve planned your route and estimated the time needed to complete it, it’s always a good idea to leave a note with a reliable someone back home. Your note should include all of your hike’s pertinent details – where you plan to park, the route you plan on taking, your camping location if doing an overnighter – and an expected return time. Doing so will let your contact know when to alert the relevant authorities if you fail to return and make it much easier for rescue teams to find you should things go amiss.
Former Advnture editor Kieran is a climber, mountaineer, and author who divides his time between the Italian Alps, the US, and his native Scotland.
He has climbed a handful of 6000ers in the Himalayas, 4000ers in the Alps, 14ers in the US, and loves nothing more than a good long-distance wander in the wilderness. He climbs when he should be writing, writes when he should be sleeping, has fun always.
Kieran is the author of 'Climbing the Walls', an exploration of the mental health benefits of climbing, mountaineering, and the great outdoors.

