How to store your camping water filter over winter: our three-step guide
If you’ve packed away your tent for the freezing season, learn how to store your camping water filter over winter to help you get back outside faster when warmers days return

All the latest inspiration, tips and guides to help you plan your next Advnture!
You are now subscribed
Your newsletter sign-up was successful
Shorter daylight hours, freezing conditions, snow plastered across the trails and all the myriad ways to enjoy winter sports may mean that your hiking and camping gear goes into a form of hibernation during the colder months. A failure to prepare for this hibernation may mean your gear wakes up a little groggy and its performance will be affected when the warmer days return.
This holds especially true for storing pricey kit, like your best tent and sleeping bag, as well as safety gear, like your camping water filter, a gadget that you want to be as clean and functional as possible for the sake of your own hygiene and hydration.
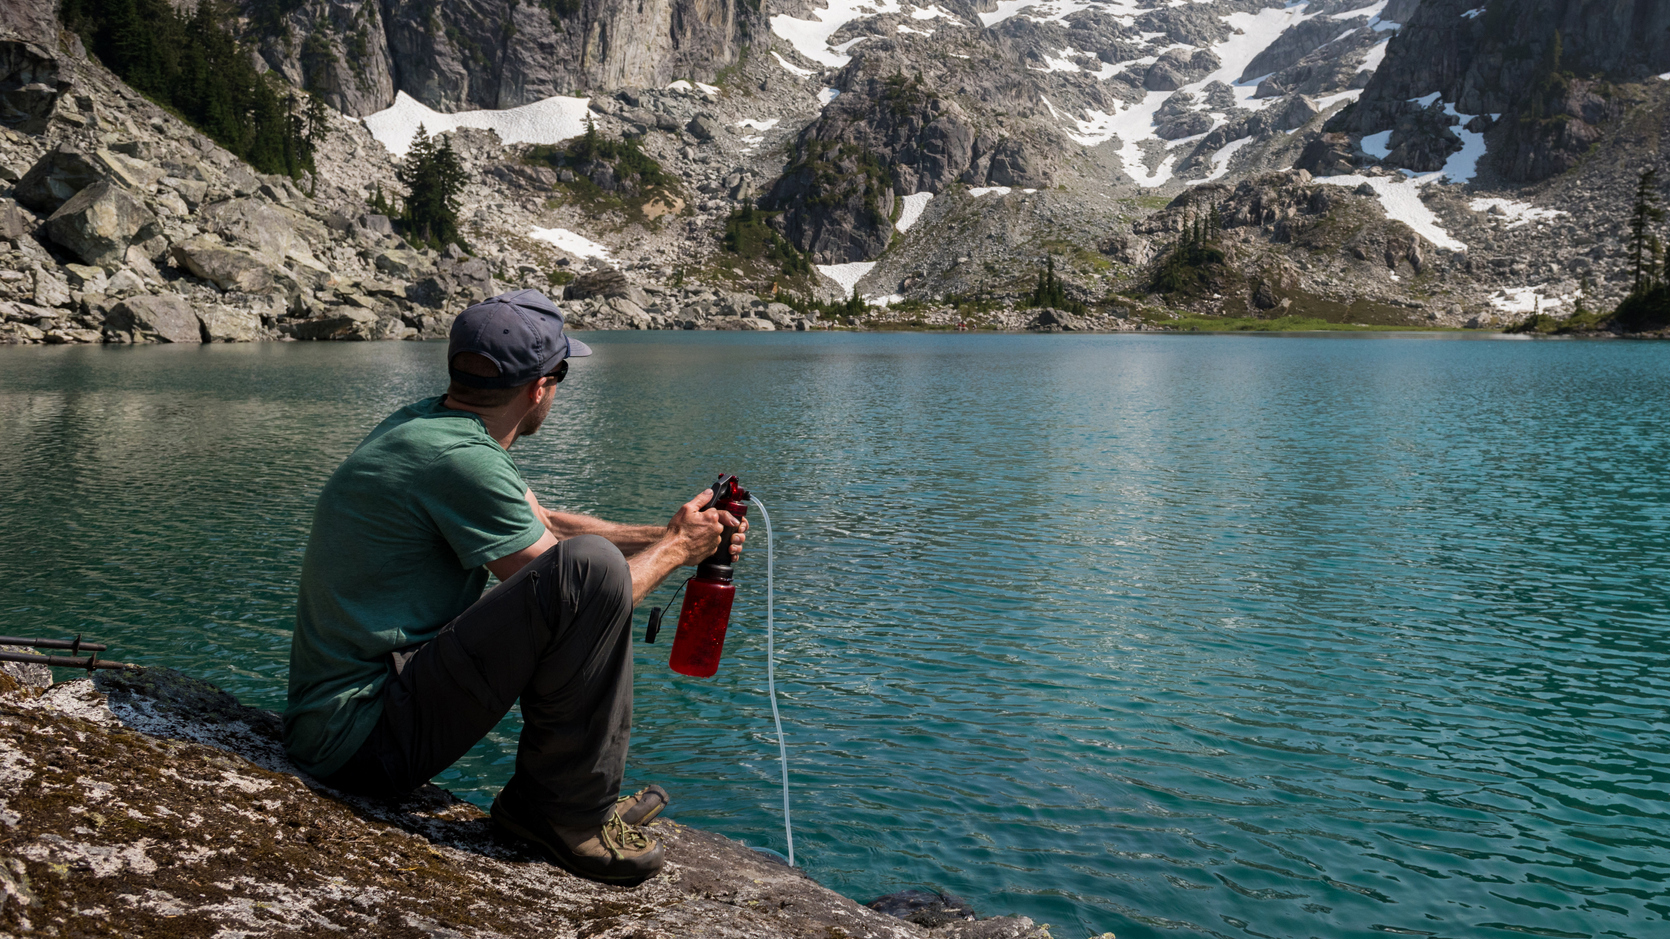
If you use your camping water filter a lot in the warmer months, the chances are it stays in your hiking backpack in between adventures, or at best gets tossed in your camping bin until its next use. You can probably get away with this for a while at least, but when it comes to longer periods of non-use, it’s important to take good care of your water filter so that it works optimally when the warmer weather rolls around again, otherwise you might find yourself with a clogged filter and unable to pull much water through it.
Fortunately, keeping your water filter in tip top shape over winter is an easy task that you can quickly take care of now to save you time, hassle and possibly even money in a few months time. Follow these steps for how to store your camping water filter and get back outside faster when the long days return.
Meet the expert

An veteran of days spent exploring the wilderness, Julia has particular fondness for the American backcountry. Having moved around the States a fair bit after emigrating across the Pond for university, she settled in Vali, Colorado for 11 years and enjoyed many great outdoor adventures. Now back in her native Scotland, she loves long days among the Munros of the Highlands and always has her water filter for filling up from burns and little lochans.
Today's best deals
Step 1: Rinse and flush your filter
- Give its exterior a thorough rinse and run clean water through the filter
- Some filters require regular backflushing – do this a few times before storing

Before we begin, it’s important to note that all water filters are different and each should come with its own specialized guidance for cleaning it. If you threw your user manual away with the packaging, take a look on the company website to see if you can download the instructions.
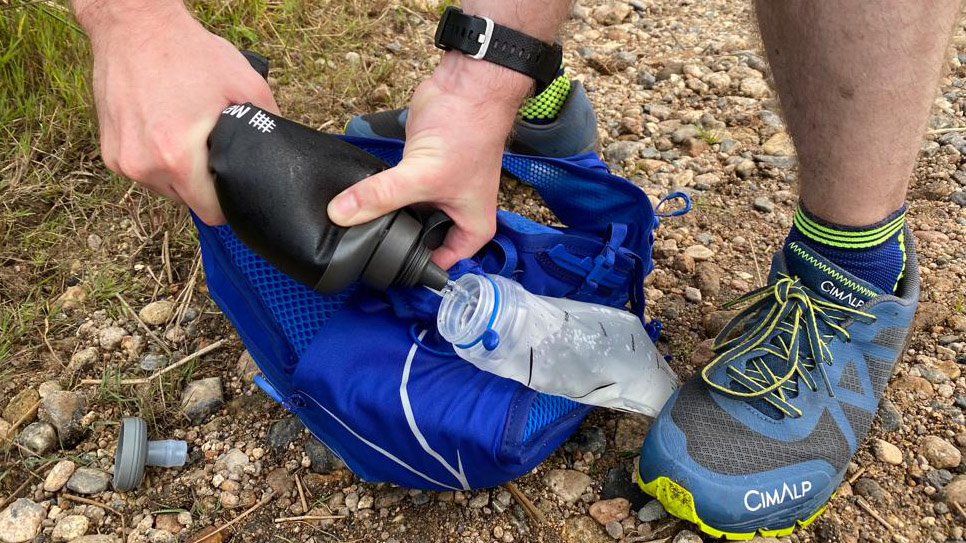
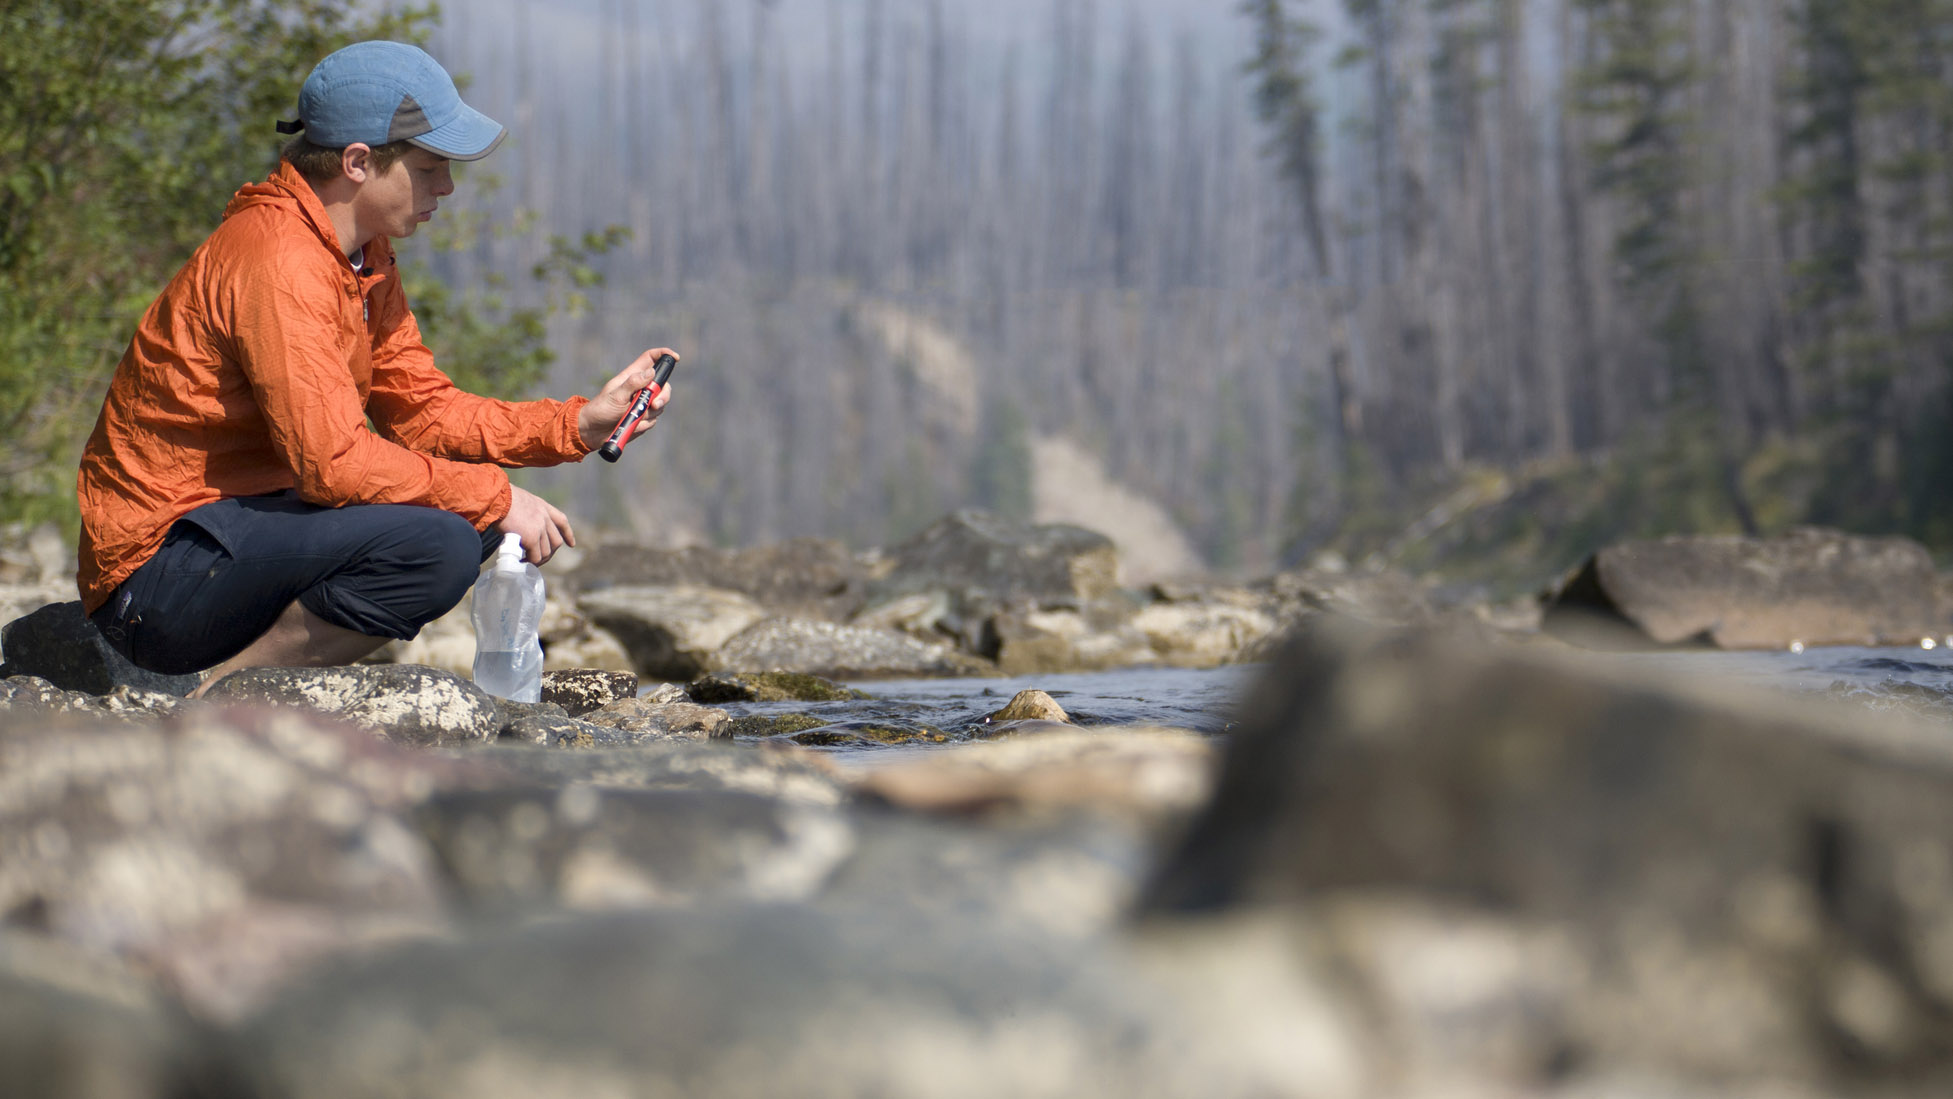
Regardless of what type of filter you have, it’s a good idea to start by giving it a thorough rinse with clean water to remove some of the bacteria, grime and other particles that might be clogging it up or clinging to the outside. Chances are, your filter has been submerged in rivers and lakes, placed on the ground while you’re screwing the cap back on your water bottle and knocking around in your backpack amongst your other gear, so it’s bound to be a bit dirty. Run it under the tap to wash it, and at the same time, run some clean water through the filter to prepare it for backflushing.
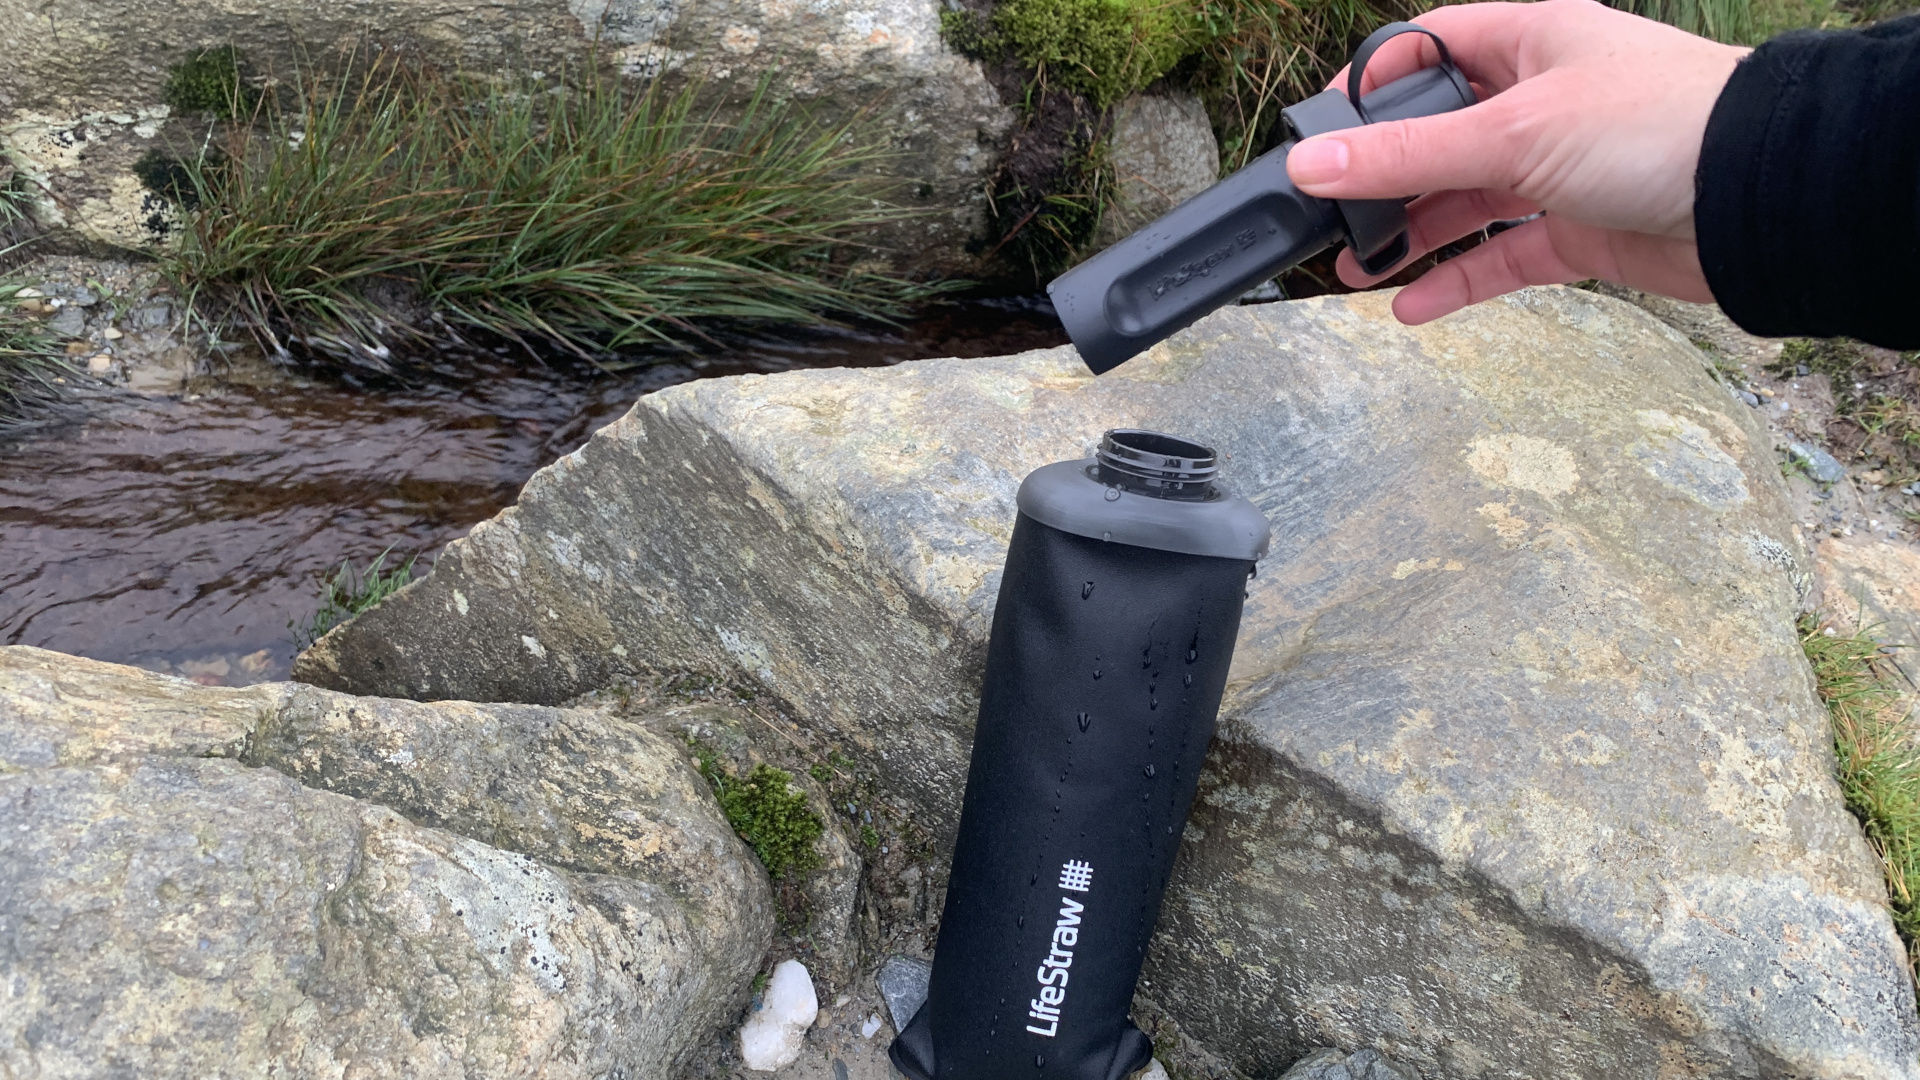
Many filters require you to perform regular backflushing, where you run water through the filter in the opposite direction, to keep it working properly, and if so, you’ll want to do this before storing it. Some filters, like the Lifestraw Peak Series Collapsible Squeeze 1L Water Bottle with Filter, come with a special backflushing syringe that you can screw onto the filter to plunge the water through, while others will have you attach the filter to a bladder and shake it to backflush. Check your filter’s user guide for specific instructions, and perform two or three backflushes before long term storage.
All the latest inspiration, tips and guides to help you plan your next Advnture!
Step 2: Sanitize your filter
- Sanitizing your filter with a bleach water solution kills any remaining bacteria
- Check your individual filter's instructions to see what the manufacturer recommends

In addition to rinsing your filter, it is recommended that you properly sanitize it before storing it for long periods. Exactly how you do this and what disinfectant you use will depend on your filter, but for example, Lifestraw recommends submerging the product mentioned above in a bleach water solution (usually one cap of bleach to a liter of water) and using the backflushing tool to pull the solution through the filter in both directions several times before rinsing again. This will take care of any bacteria that is still loitering in your filter, and in doing so will rid your future drinking water of any off-putting taste.
Step 3: Store your filter
- Some manufacturers recommend dry storage while others recommend wet storage
- If you're after dry conditions, keep it in a well ventilated place at room temperature
- If it requires wet storage, follow the manufacturers guidance
- Either way, avoid places with freezing temperatures

Complicating matters a little, some water filters require you dry them out before storage, while others, such as the Lifestraw, recommend wet storage.
If yours is a dry-storage filter, you’ll want to place it somewhere dry, room temperature and well-ventilated such as a linen cupboard for a few days after washing and flushing it. Once it’s fully dry, you can pack it up inside a dry sealable plastic bag or its original packaging and place it in a bin with your camping gear for storage. If your filter specifies wet storage, follow the directions to mix up a saline solution and store it, as well as how to rinse it out when you’re ready to use it again.
In both cases, you should store your filter away from direct sunlight and somewhere it won’t freeze, so avoid non-heated garages, attics and basements. When you’re ready to pitch a tent again, your filter will be ready for use so you can source water safely in the wild.
- Best hiking boots: tough footwear tested and rated
Julia Clarke is a staff writer for Advnture.com and the author of the book Restorative Yoga for Beginners. She loves to explore mountains on foot, bike, skis and belay and then recover on the the yoga mat. Julia graduated with a degree in journalism in 2004 and spent eight years working as a radio presenter in Kansas City, Vermont, Boston and New York City before discovering the joys of the Rocky Mountains. She then detoured west to Colorado and enjoyed 11 years teaching yoga in Vail before returning to her hometown of Glasgow, Scotland in 2020 to focus on family and writing.

