
For many hikers, the reward for that long, arduous climb up a steep slope is enjoying a spectacular view at the top with a delicious lunch, and let’s be honest, sometimes a cheese sandwich just doesn’t cut it. Hiking with a thermos can be a great way to uplevel your hiking meals and refuel on a long hike, what with their ability to keep yummy meals hot for hours. You can use your thermos for warm beverages too, such as tasty hot chocolate, tea and coffee and even to keep food and drinks cold in the middle of summer. Using a thermos might seem simple enough, but if you don’t get it right you could end up with a lukewarm meal or even exposing yourself to bacteria that can cause food poisoning. To avoid that and ensure a tasty treat on the trail, follow our guide to how to use a thermos, including what to look for in a thermos, and what to put in yours.

How to choose a thermos
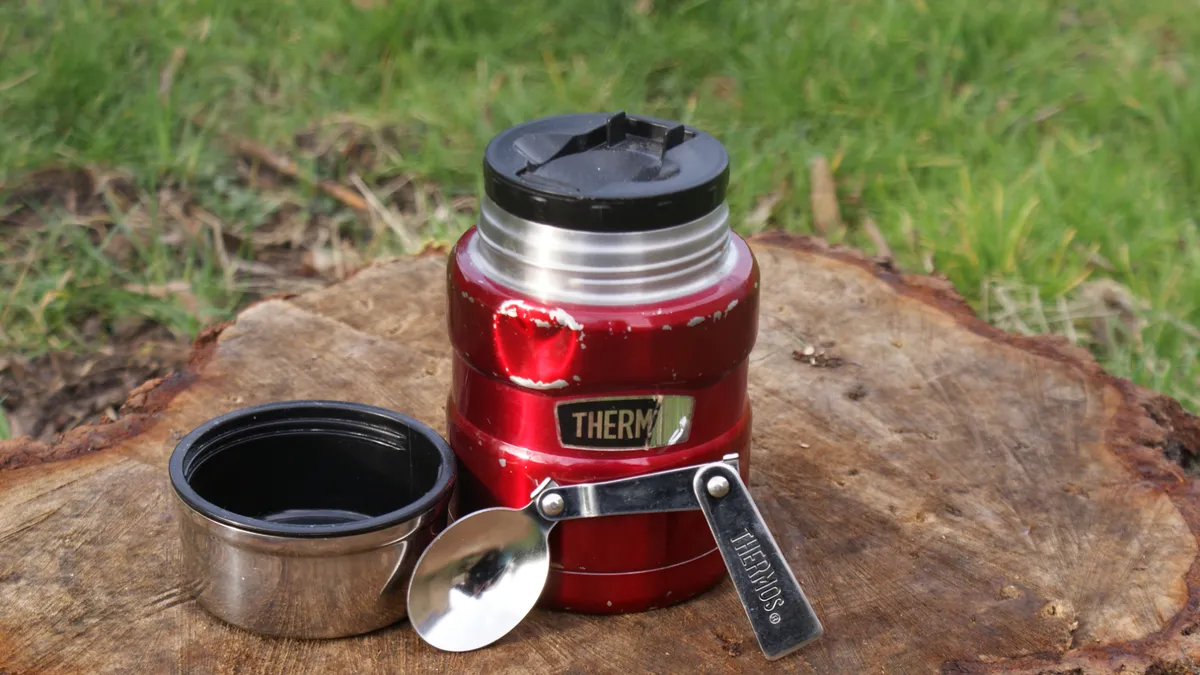
The best hiking flasks of course keep your food or drink hot for several hours, and don’t add too much weight to your backpack, but there are a couple of other factors to look out for. First, you’ll always want to start with a clean thermos, which is why it’s a good idea to search for one that is dishwasher safe. If yours isn’t fit for the dishwasher, make sure that it has a wide enough mouth that you can easily get in there with a brush and give it a good scrub. A wide mouth also makes it easier to eat directly from the thermos, cutting down on the fuss when you stop for lunch. That said, the wider the mouth, the more quickly you will lose heat once the lid is off, so don’t get too crazy here if you’re planning on doing a lot of winter hiking.
What should you put in a thermos?
When it comes to what goes in your thermos, the first rule of thumb is that it needs to have some liquid in order for the thermos to keep it hot, so don’t think you can chop up a steak and some potatoes and throw it in and expect it to be warm hours later. This is why soup works great in a thermos, as do stews, chilis and oatmeal. For hot food, it’s a good idea to make sure you only put fully cooked food in your thermos for food safety reasons, but it’s also helpful to know that food will continue to cook in the thermos if you use it properly, so consider leaving foods like vegetables and pasta little al dente lest they turn to mush.

If it’s cold food you’re after, you can use your thermos to keep yogurt and smoothies chilled on the hill, too.

How to use a thermos to keep food hot
If you’re heading out in cold weather, chances are you’ll want your thermos to keep your food or drink hot. For the best results, prepare your food or drink just before leaving the house for your hike so it doesn't cool off too early.
1. Warm your thermos
Wait, doesn’t the thermos itself keep your food hot? Well, yes, but it does a much better job if you’ve warmed up your thermos to begin with, trust us. While you’re preparing your foot or beverage, boil the kettle and fill the thermos with hot water. Screw the lid on and let it stand for a few minutes.
2. Heat your food or beverage
The next step in ensuring your food or drink is still hot when you get to the trail is to get it very hot to begin with. This also helps with food safety, since bacteria likes to thrive in temperatures between 40 - 140°F, otherwise known as the danger zone. Though to be certain of that, you’d need a thermometer, as a good rule of thumb you should plan to cook your food at a boil for at least two minutes so it’s piping hot.

3. Fill your thermos
Don’t delay – as soon as your food or drink is ready, empty the thermos of the hot water and immediately pour your hot food or drink into the thermos, then screw the lid on tight.
4. Enjoy a hot meal
Your food or drink will be warmest if you consume it within a few hours. Obviously, each time you unscrew the lid, you’ll lose a few degrees, especially if it’s cold out. When it comes to food safety, if you don’t eat everything in your thermos at once, you can end up carting around slightly warm food for hours which can increase your risk of bacteria growing, so it’s best to enjoy it all at once if you can rather than snacking on it. This matters less for a hot brew, but of course you probably also don’t want to be shipping on tepid tea either.

How to use a thermos to keep food cold
Prefer to use your thermos in the summer to keep your food and drink icy? The steps for using a thermos to keep food and drinks chilled are similar to keeping food warm. Your thermos will work best if it’s cold to begin with, especially in hot weather. so the night before you plan to use it, place it in the fridge. If you forget this step, simply fill it with cold water and a few ice cubes and let it sit for a few minutes, then empty it out, fill it with your cold drink or food and screw the lid on tightly. If you’re just using it to keep water cold and it’s really hot out, you can always add a few ice cubes, too.

