How to pack a daypack for hiking in 4 easy steps
We give your daypack for hiking the Marie Kondo treatment to make sure you have everything you need at hand
All the latest inspiration, tips and guides to help you plan your next Advnture!
You are now subscribed
Your newsletter sign-up was successful
We’ve already talked you through how to pack a backpack for backpacking trips when you’re carrying your tent, sleeping bag and sleeping pad on your back, but what about how to pack a daypack? Do you just shove everything in since you’re not carrying nearly as much gear?
Well, sure, that’s one approach, but if the heavens open or you find yourself caught in a swarm of chomping mosquitos, the last thing you want is to have to dump out the entire contents of your backpack on the ground frantically searching for your waterproof jacket or insect repellent. That’s a sure fire way to end up with your packed lunch in a puddle and one of your best hiking gloves disappearing into the wind.
You might not need to bring nearly as much gear with you on a day hike as you do for an overnight trek, but you still need to bring a fair few items to make sure you stay safe, dry, hydrated and nourished. Not to mention the fact that your daypack is quite a bit smaller – typically no more than 32L compared to around 60L for a backpacking pack. Follow our guide to how to pack a daypack and you’ll be sure to have everything you need when you head out for the day and spare yourself the nuisance of rummaging around, lost items and squashed sandwiches.
What to bring on a day hike
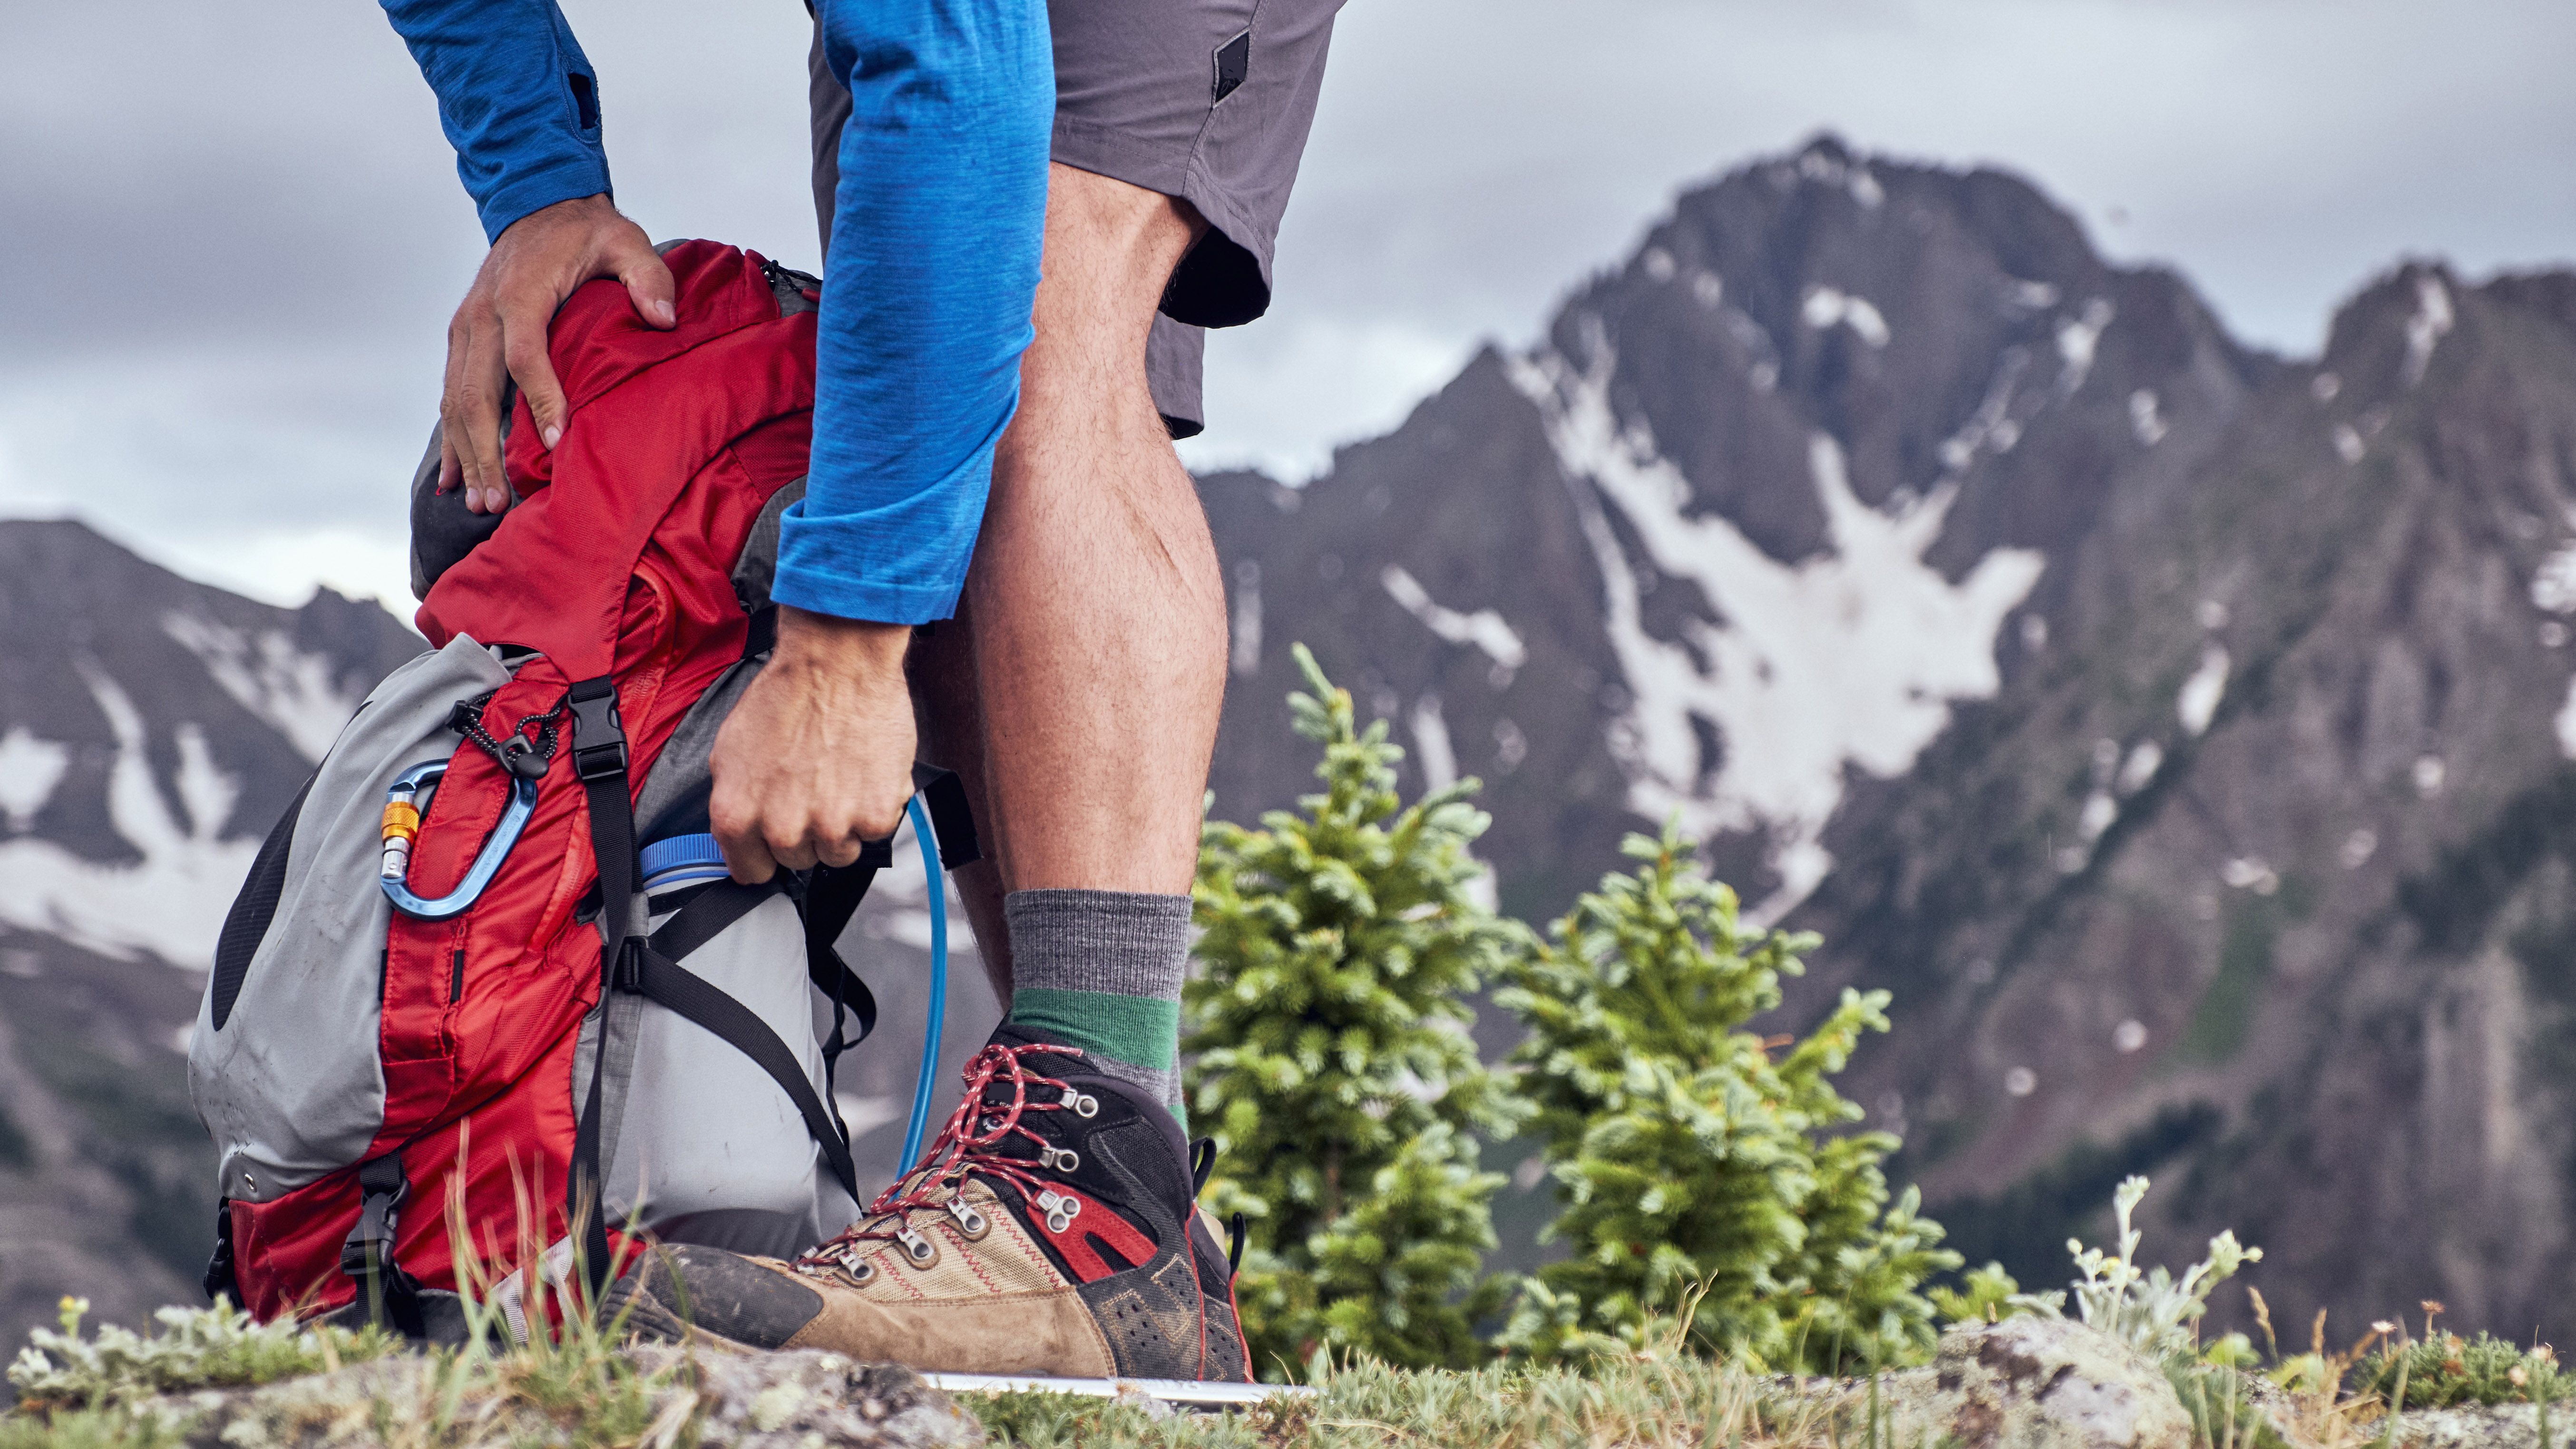
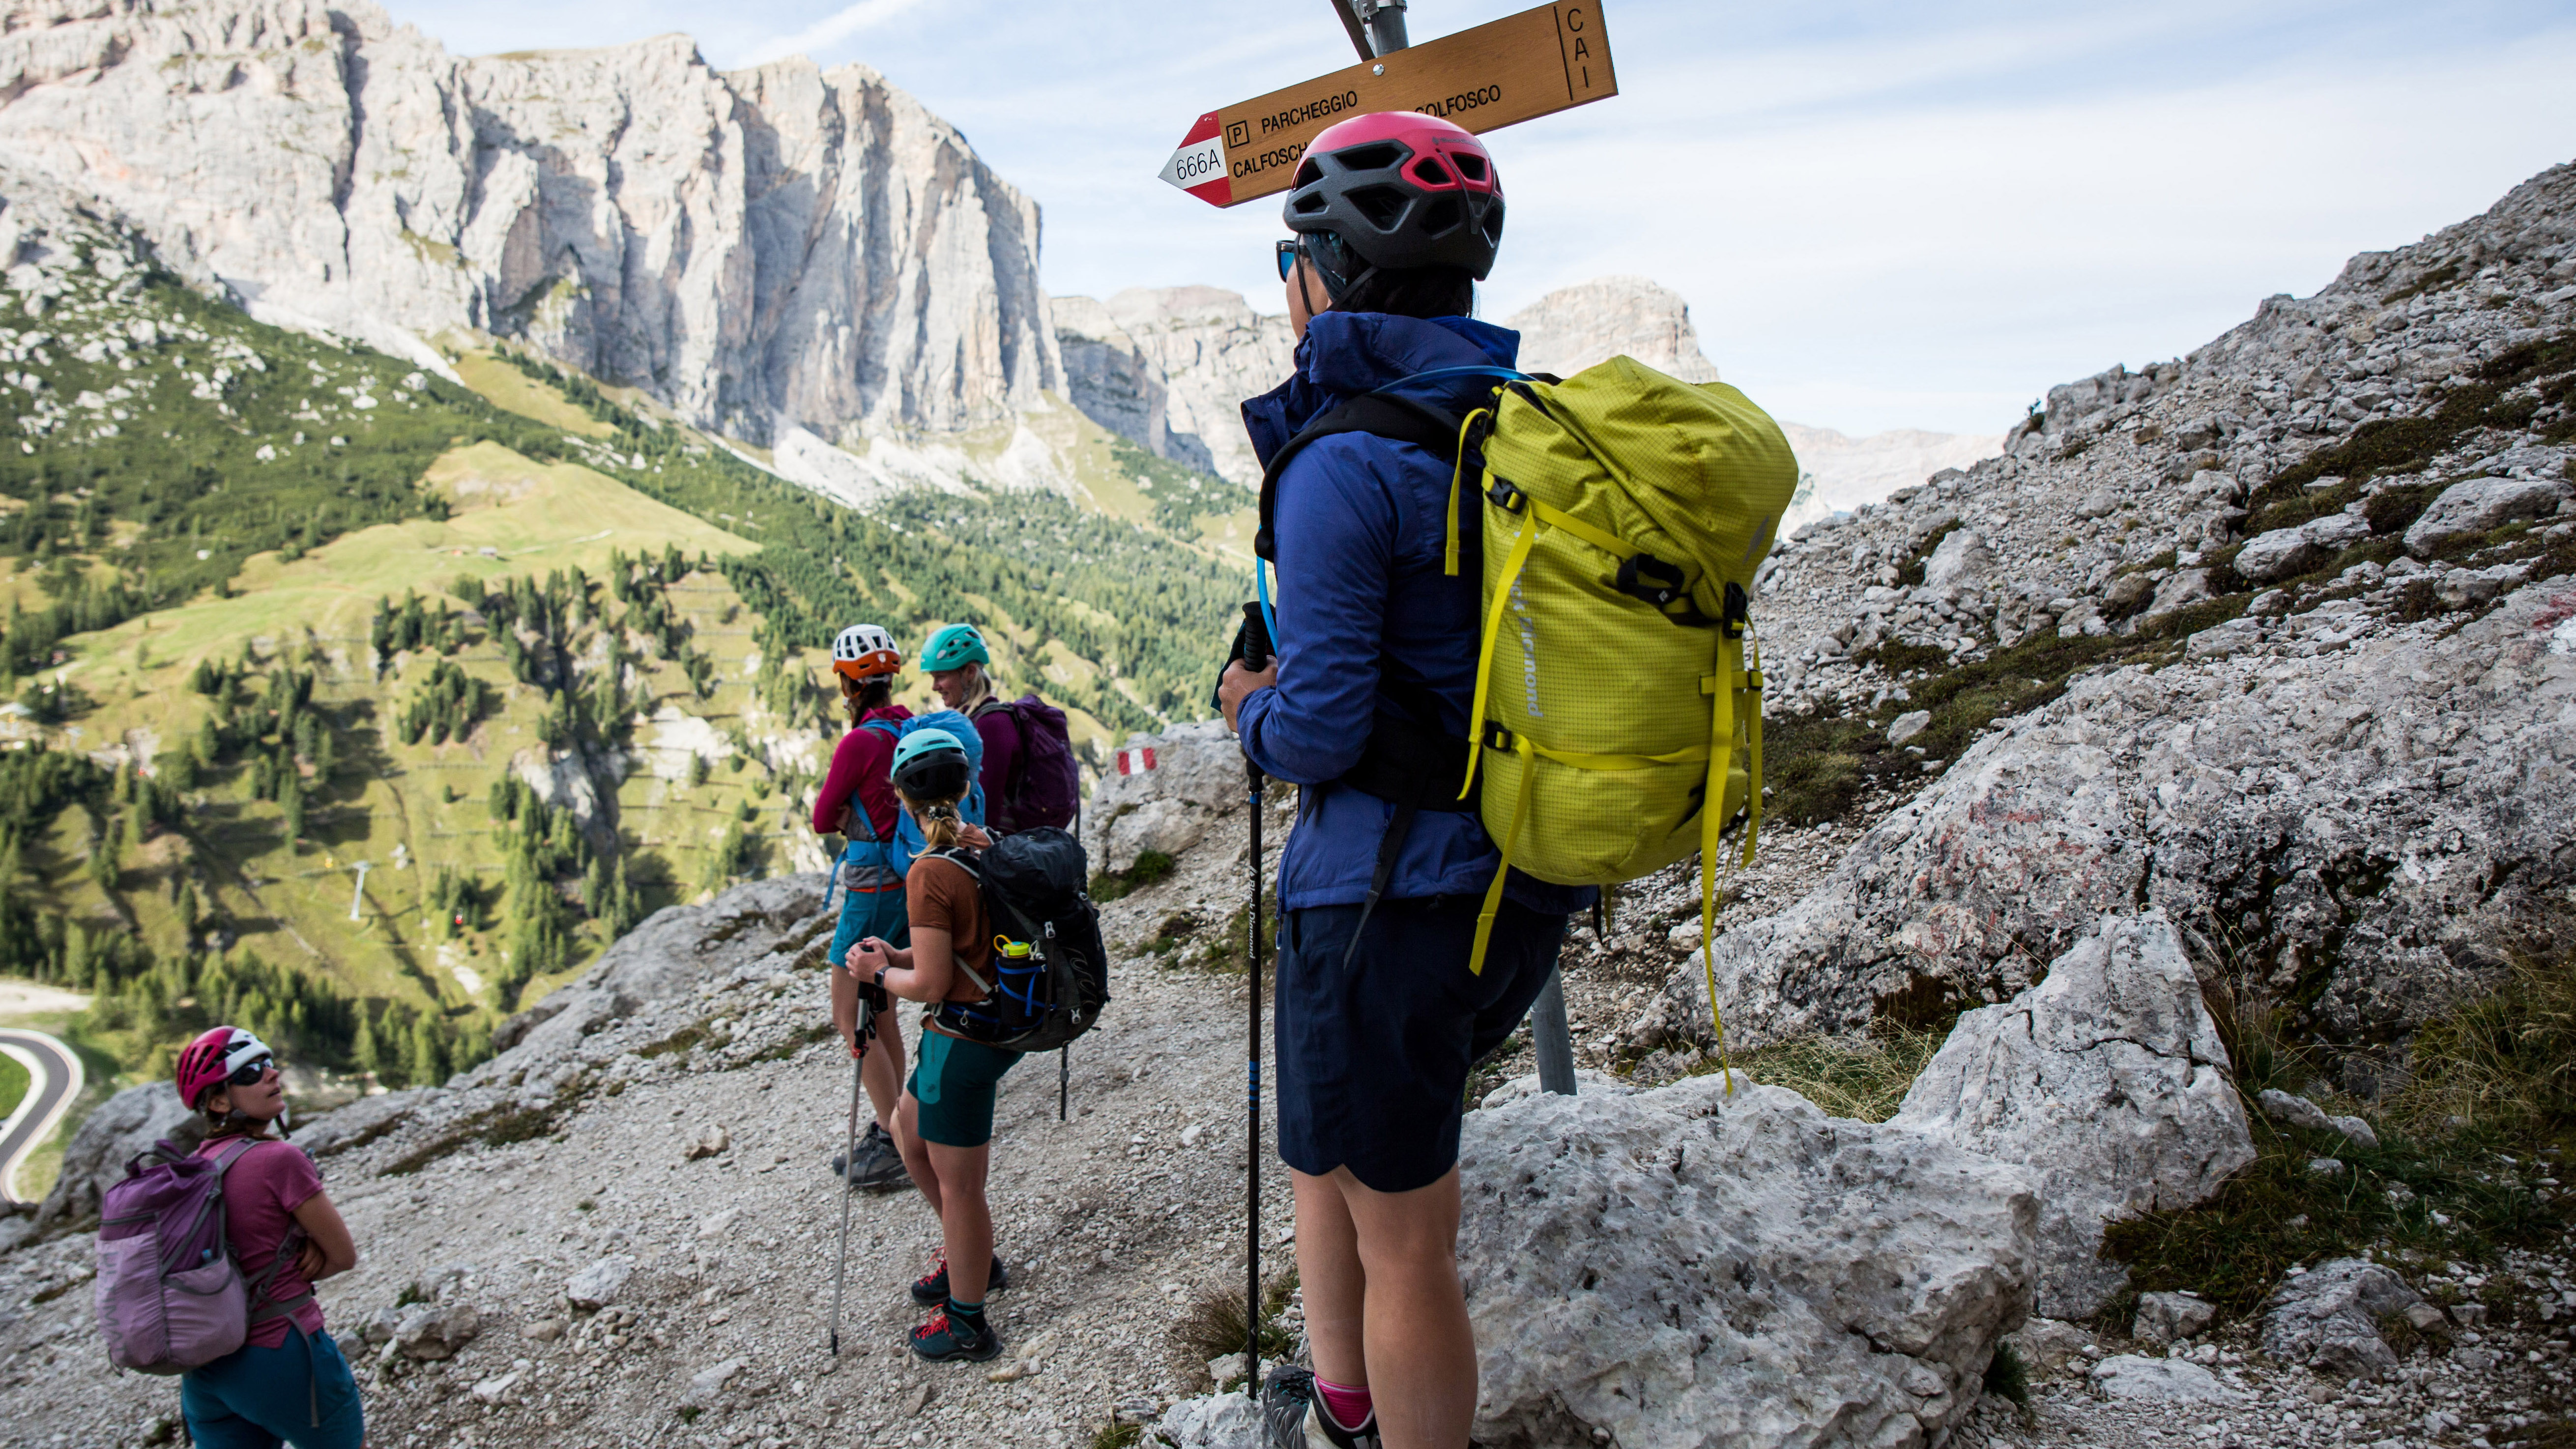
First, let’s go over what you’ll need to bring with you on a typical day hike to ensure you start with everything you need:
- Waterproof jacket and rain pants
- Hiking gloves and hat
- Sunscreen and sunglasses
- Chapstick
- Insect repellent
- Water bottle or hydration bladder
- Lunch and snacks
- Hiking first aid kit and emergency blanket
- Phone
- Map and compass
- Spare hiking socks and base layer
- Foam or inflatable seat pad
- Trekking poles
- Rain cover or backpack liner
How to pack a daypack in 4 easy steps
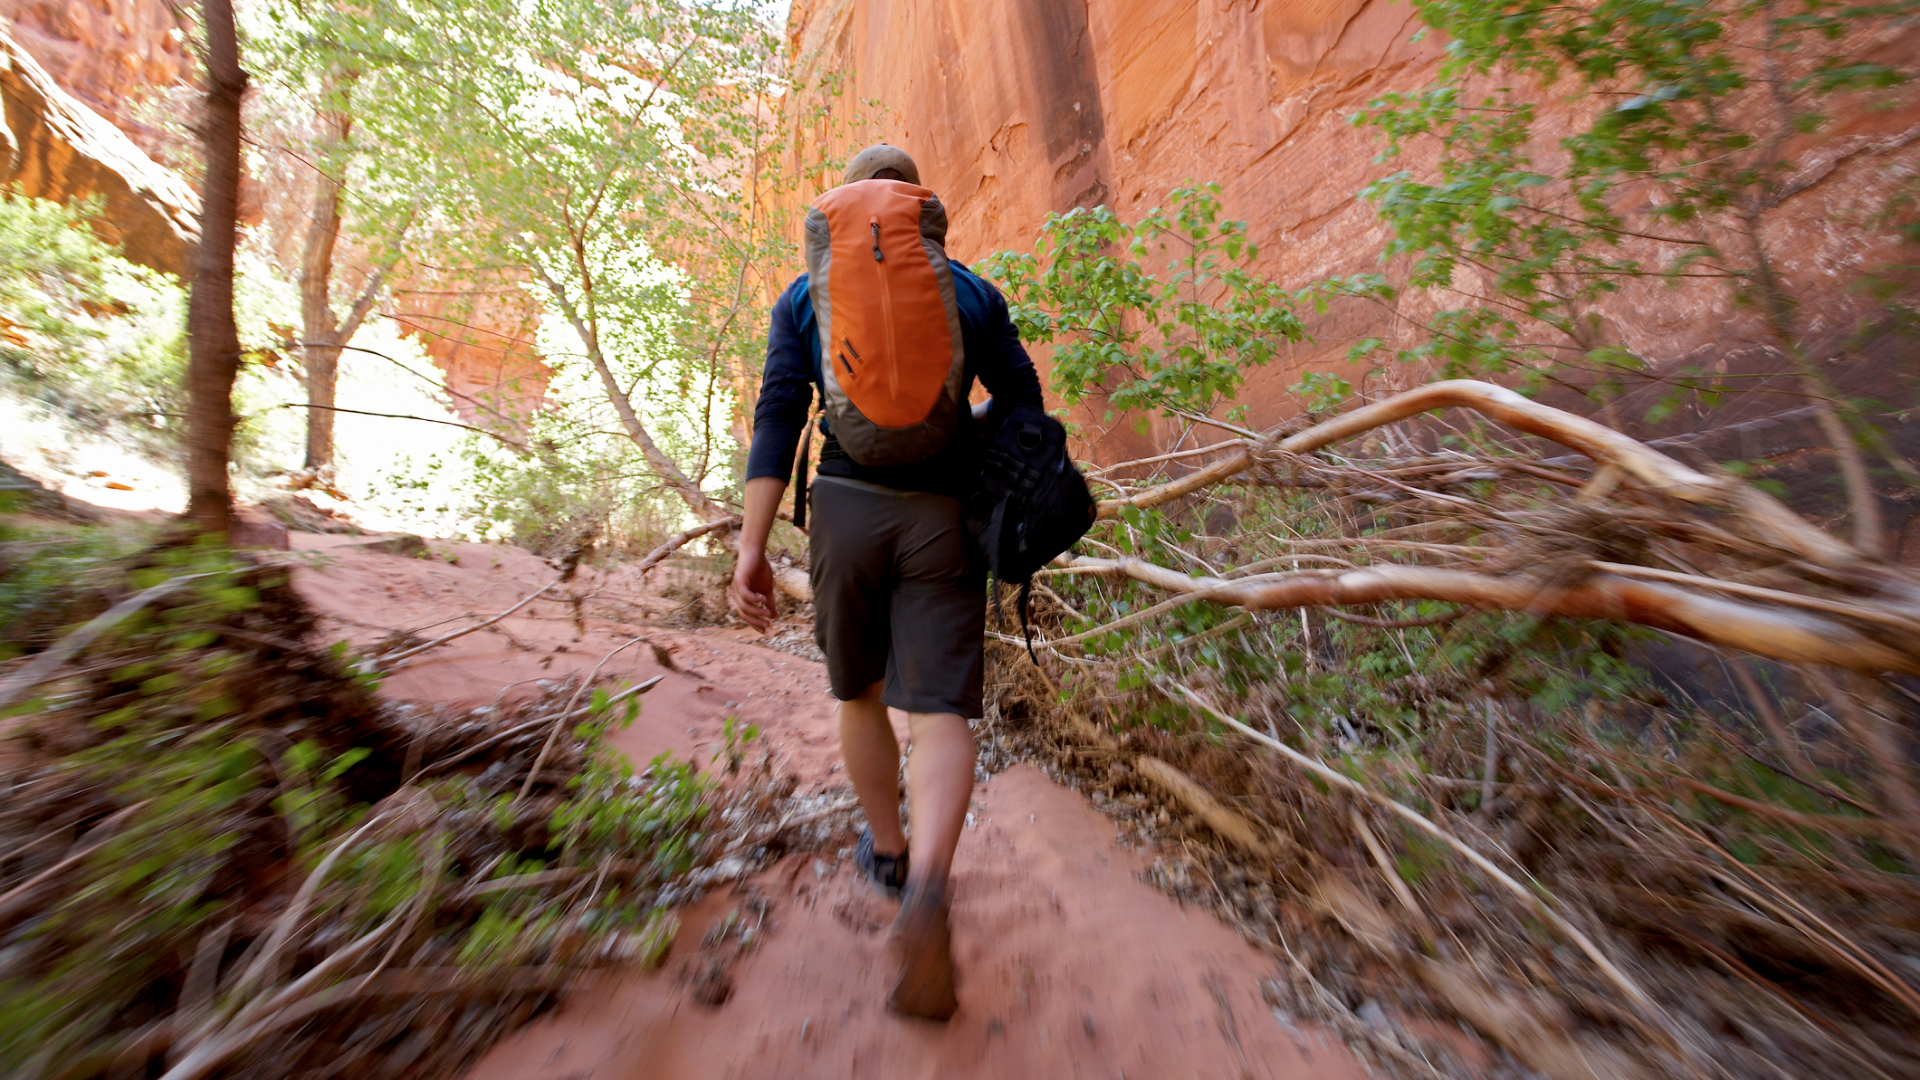
1. Gather your gear
Start by gathering all of the above gear together on one clear, flat space such as your dining table or on your bed. Rather than shoving the items in as you go, lay them all out so you’re sure you have everything. It can be useful to store all these items together in one bin when you're not using them to speed this part up.
2. Line your pack
If you’re hiking somewhere rainy, you’ll want to consider rain protection for your pack to keep the items inside dry. While a good hiking backpack will have some water repellency, it won’t be completely waterproof in a deluge so to avoid all your gear and sandwiches getting soggy, either invest in a rain cover for your backpack or start by lining your pack with a sturdy trash bag.
3. Pack in order of importance
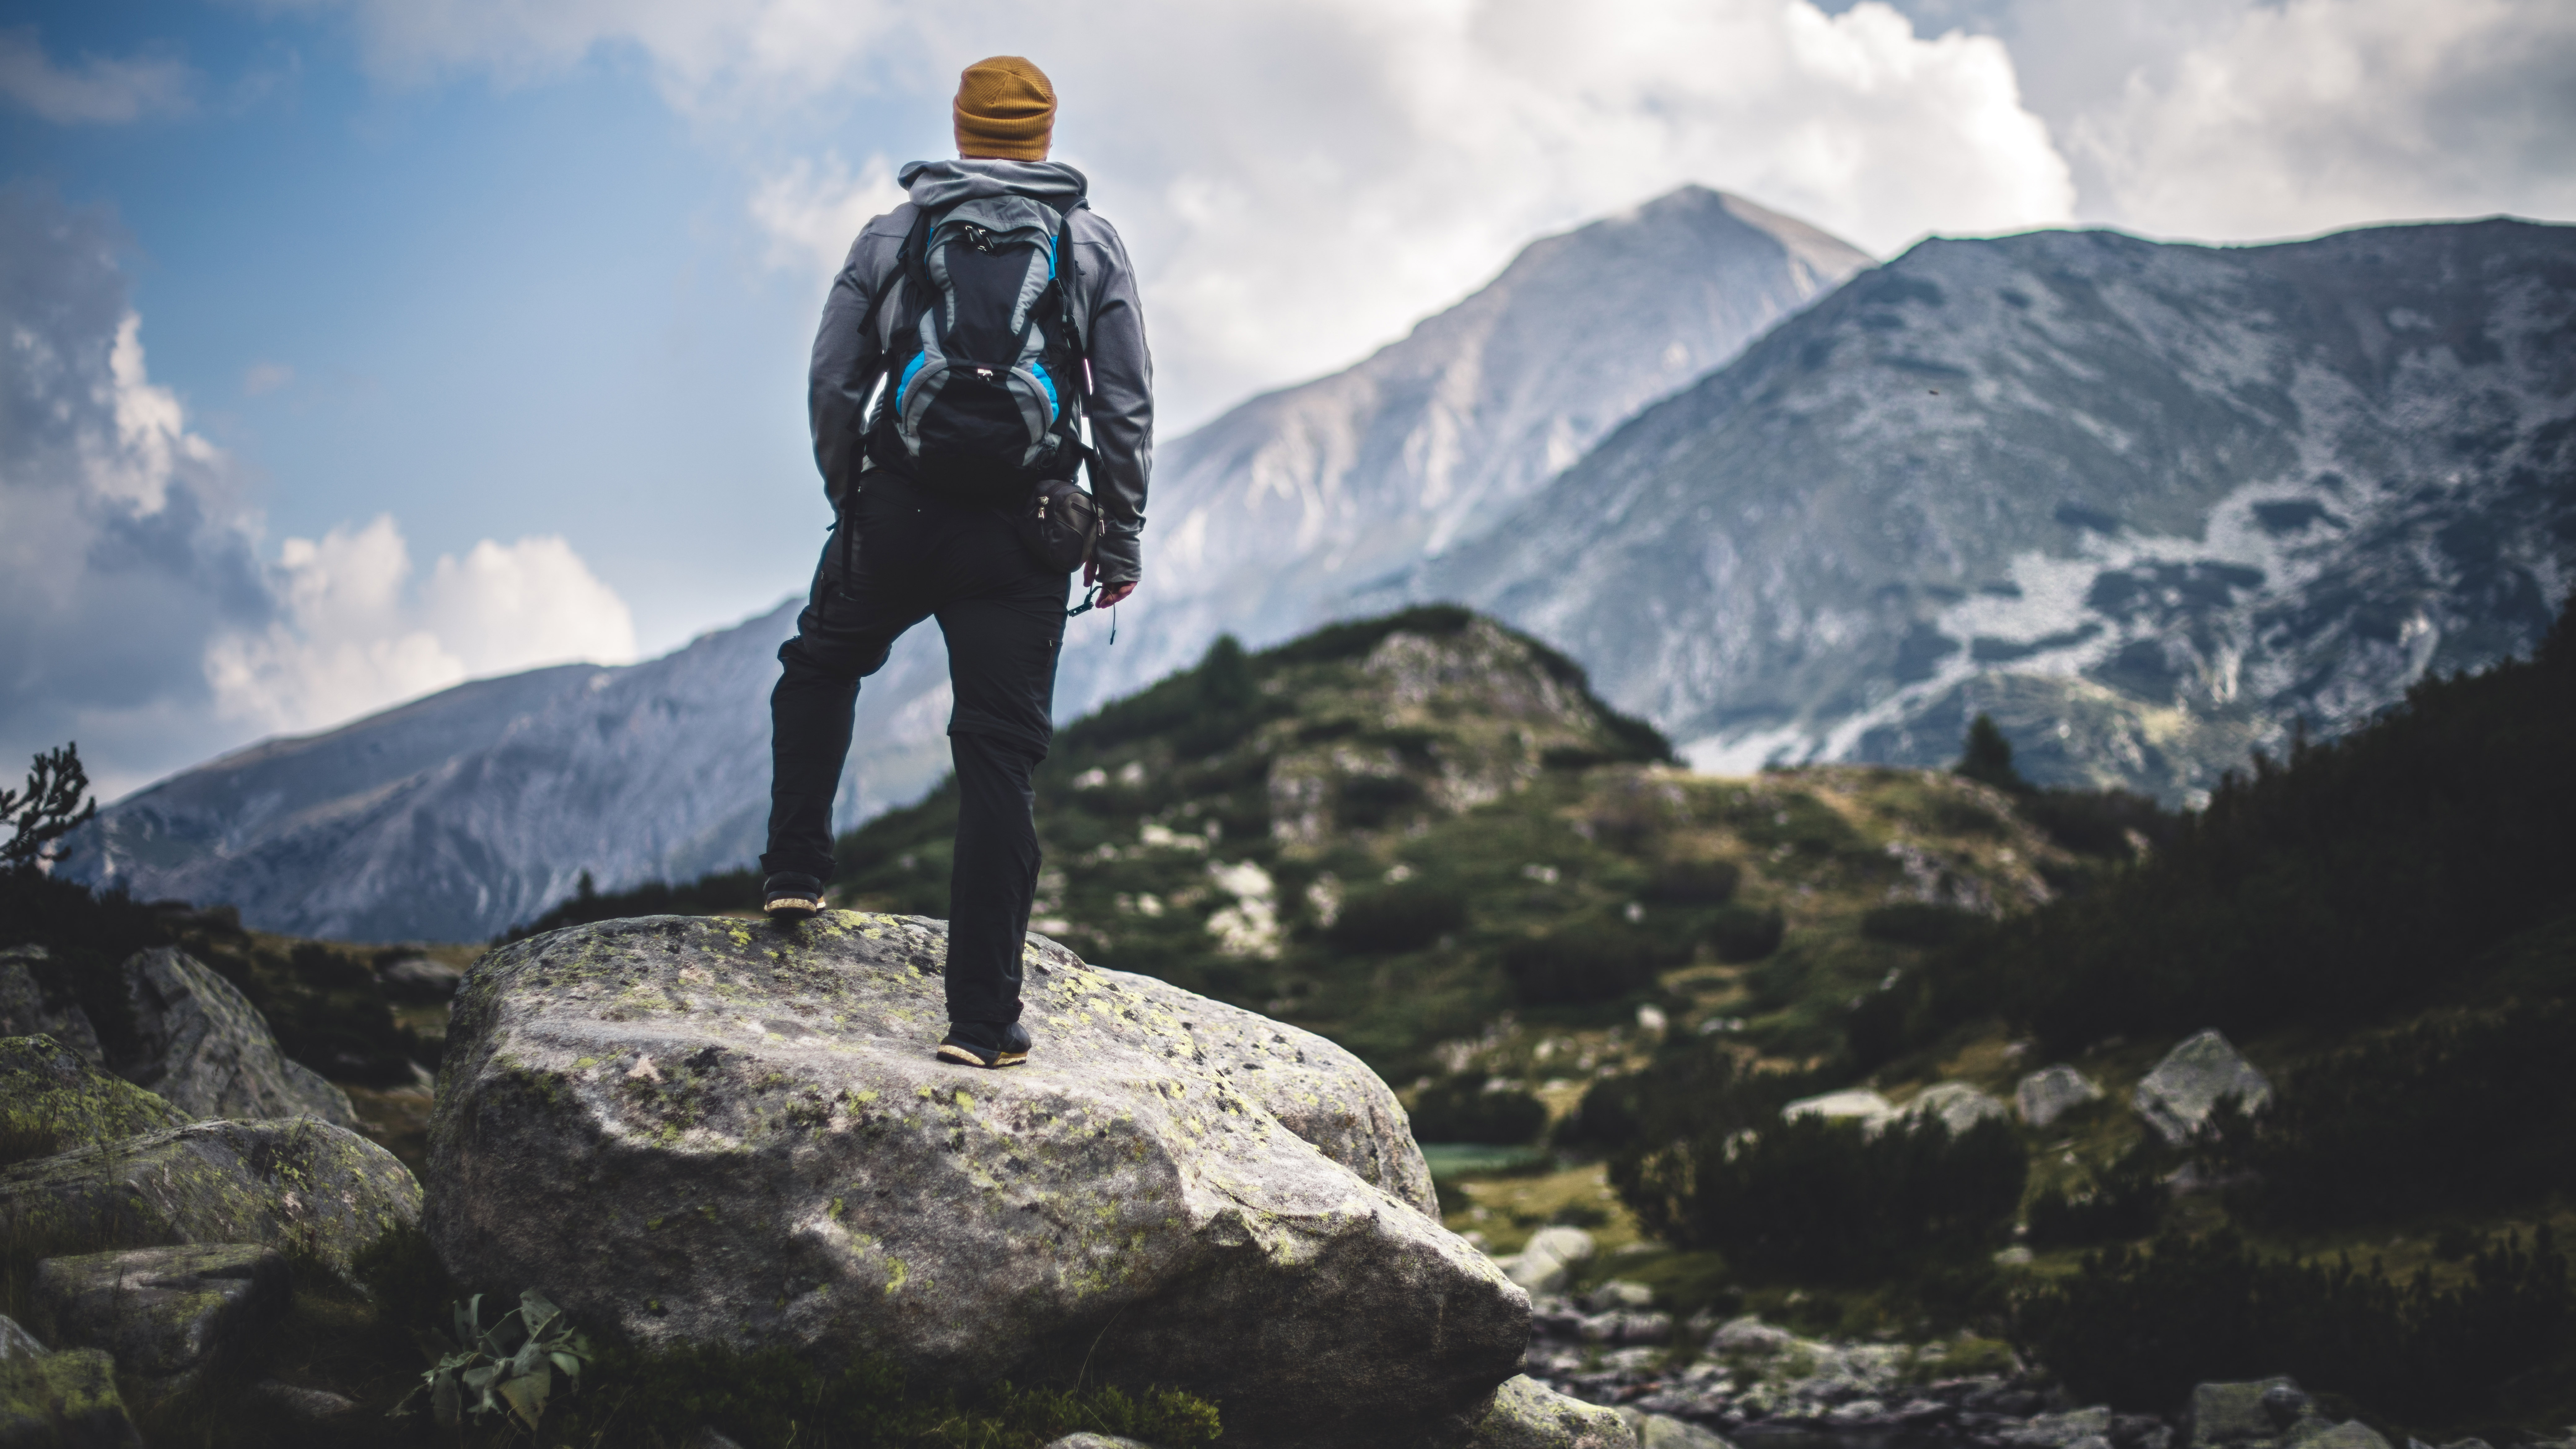
When you’re packing for a backpacking trip, it’s important to think about weight balance and pack heavy items at the bottom. This isn’t so important for day hiking, since nothing you’re carrying should be particularly heavy except for your water, which we’ll get to in a moment. Instead, you want to pack in order of importance.
All the latest inspiration, tips and guides to help you plan your next Advnture!
If you’re using a hydration bladder (which is a great space saver if your pack has a sleeve for it), put this in while your pack is empty. Then figure out which items you’re not likely to need but are bringing along as a precaution, such as your first aid kit, emergency blanket, spare dry clothing and perhaps your rain pants. Pack these items at the bottom (roll up any clothing to save space).
In the middle of your daypack, pack the items that you’ll need, but you don’t have to access straight away or in a pinch, such as your lunch and snacks, seat pad if you’re bringing one, and sunscreen and insect repellent which you can apply before you set off.
Finally, you’ll want to pack the items that you want close to hand or might need to access frequently towards the top, such as your waterproof jacket, map and compass, hat and gloves. If you’re carrying a water bottle rather than a bladder, put this in towards the top. You can use the mesh side pockets, but that may make your pack feel imbalanced if you’re only carrying one big one, so consider either bringing two or using the main compartment. For day hikes I personally really like bottles with a tapered top, such as the FLSK drinking bottle, because they’re easy to slide upside down into a stuffed backpack.

4. Pack the pockets
Use the pockets of your backpack to stash smaller items that are easy to lose, such as your phone, keys and chapstick, as well as delicate items like your sunglasses that you don’t want to get crushed. It’s helpful to keep the side pockets free for your trekking poles when you’re not using them, but you can also use these if you want to stash your hat and gloves without stopping and taking off your pack.
Julia Clarke is a staff writer for Advnture.com and the author of the book Restorative Yoga for Beginners. She loves to explore mountains on foot, bike, skis and belay and then recover on the the yoga mat. Julia graduated with a degree in journalism in 2004 and spent eight years working as a radio presenter in Kansas City, Vermont, Boston and New York City before discovering the joys of the Rocky Mountains. She then detoured west to Colorado and enjoyed 11 years teaching yoga in Vail before returning to her hometown of Glasgow, Scotland in 2020 to focus on family and writing.
