How to tie hiking boots: top tips for increased foot comfort on the trails
Don’t tie yourself in knots trying to find the right fit for the trails, our guide on how to tie hiking boots is here to help
All the latest inspiration, tips and guides to help you plan your next Advnture!
You are now subscribed
Your newsletter sign-up was successful
I’m well aware you probably know how to tie your laces and it’s likely that you probably know how to tie hiking boots in the standard way. However, as the old saying goes: ‘there’s more than one way to skin a cat.’ Well, the same is true for tying hiking boots.
The handy hints and tips here might just enhance your hiking experience, improving your comfort and helping you to avoid injuries and blisters. Often find your heel slipping while you’re out on the trails? We’ve got a knot for that. Uncomfortable pressure where your foot meets your ankle? Clever lacing can sort that out.
Try the different tips below and before long, you’ll be an hiking lace expert, or a lace venturer, if you will…
Anatomy of a hiking boot lace system
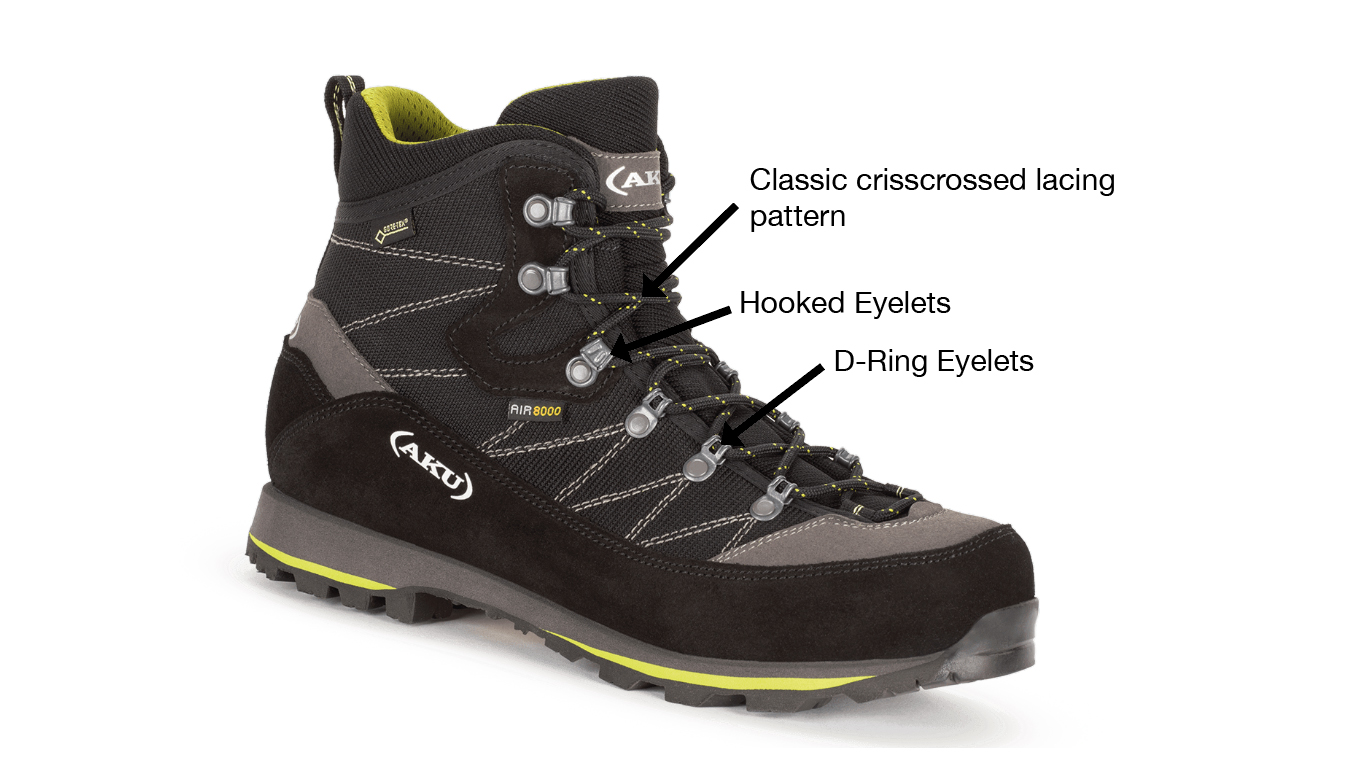
Before we get into different types of knot and various lacing techniques, let’s take a look at the anatomy of a hiking boot’s lacing system. The standard approach is to have laces threaded through the boot’s eyelets in a crisscrossing pattern, tied off with a shoelace knot at the top.
In terms of eyelets, it’s usual for hiking boots to have 6 to 8 durable, closed D-ring eyelets running along the lower part of the boot, followed by a similar number of open hooked eyelets. The advantage of hooked eyelets is the speed at which you can both lace up and remove the laces from the system when taking the boot off.
Standard lacing
When tying your boots using the standard crisscrossing method, the laces should be taut, but not excessively right, right the way from the front D-Rings to the top pair of hooked eyelets. If there are any loose strands of lacing, lace it up again. This is particularly crucial on winter hiking boots, as an unwanted loop can snag a crampon – a potentially fatal trip hazard.

To tie the laces off on your boots or hiking shoes, use a traditional square knot, which you’ve hopefully mastered by now already, unless you've spent your entire life wearing footwear fastened by Velcro.
All the latest inspiration, tips and guides to help you plan your next Advnture!
While standard lacing works most of the time, everyone’s feet are different. Here are a few amendments you can make to find that Cinderella fit.
Different types of knot
Surgeon's Knot
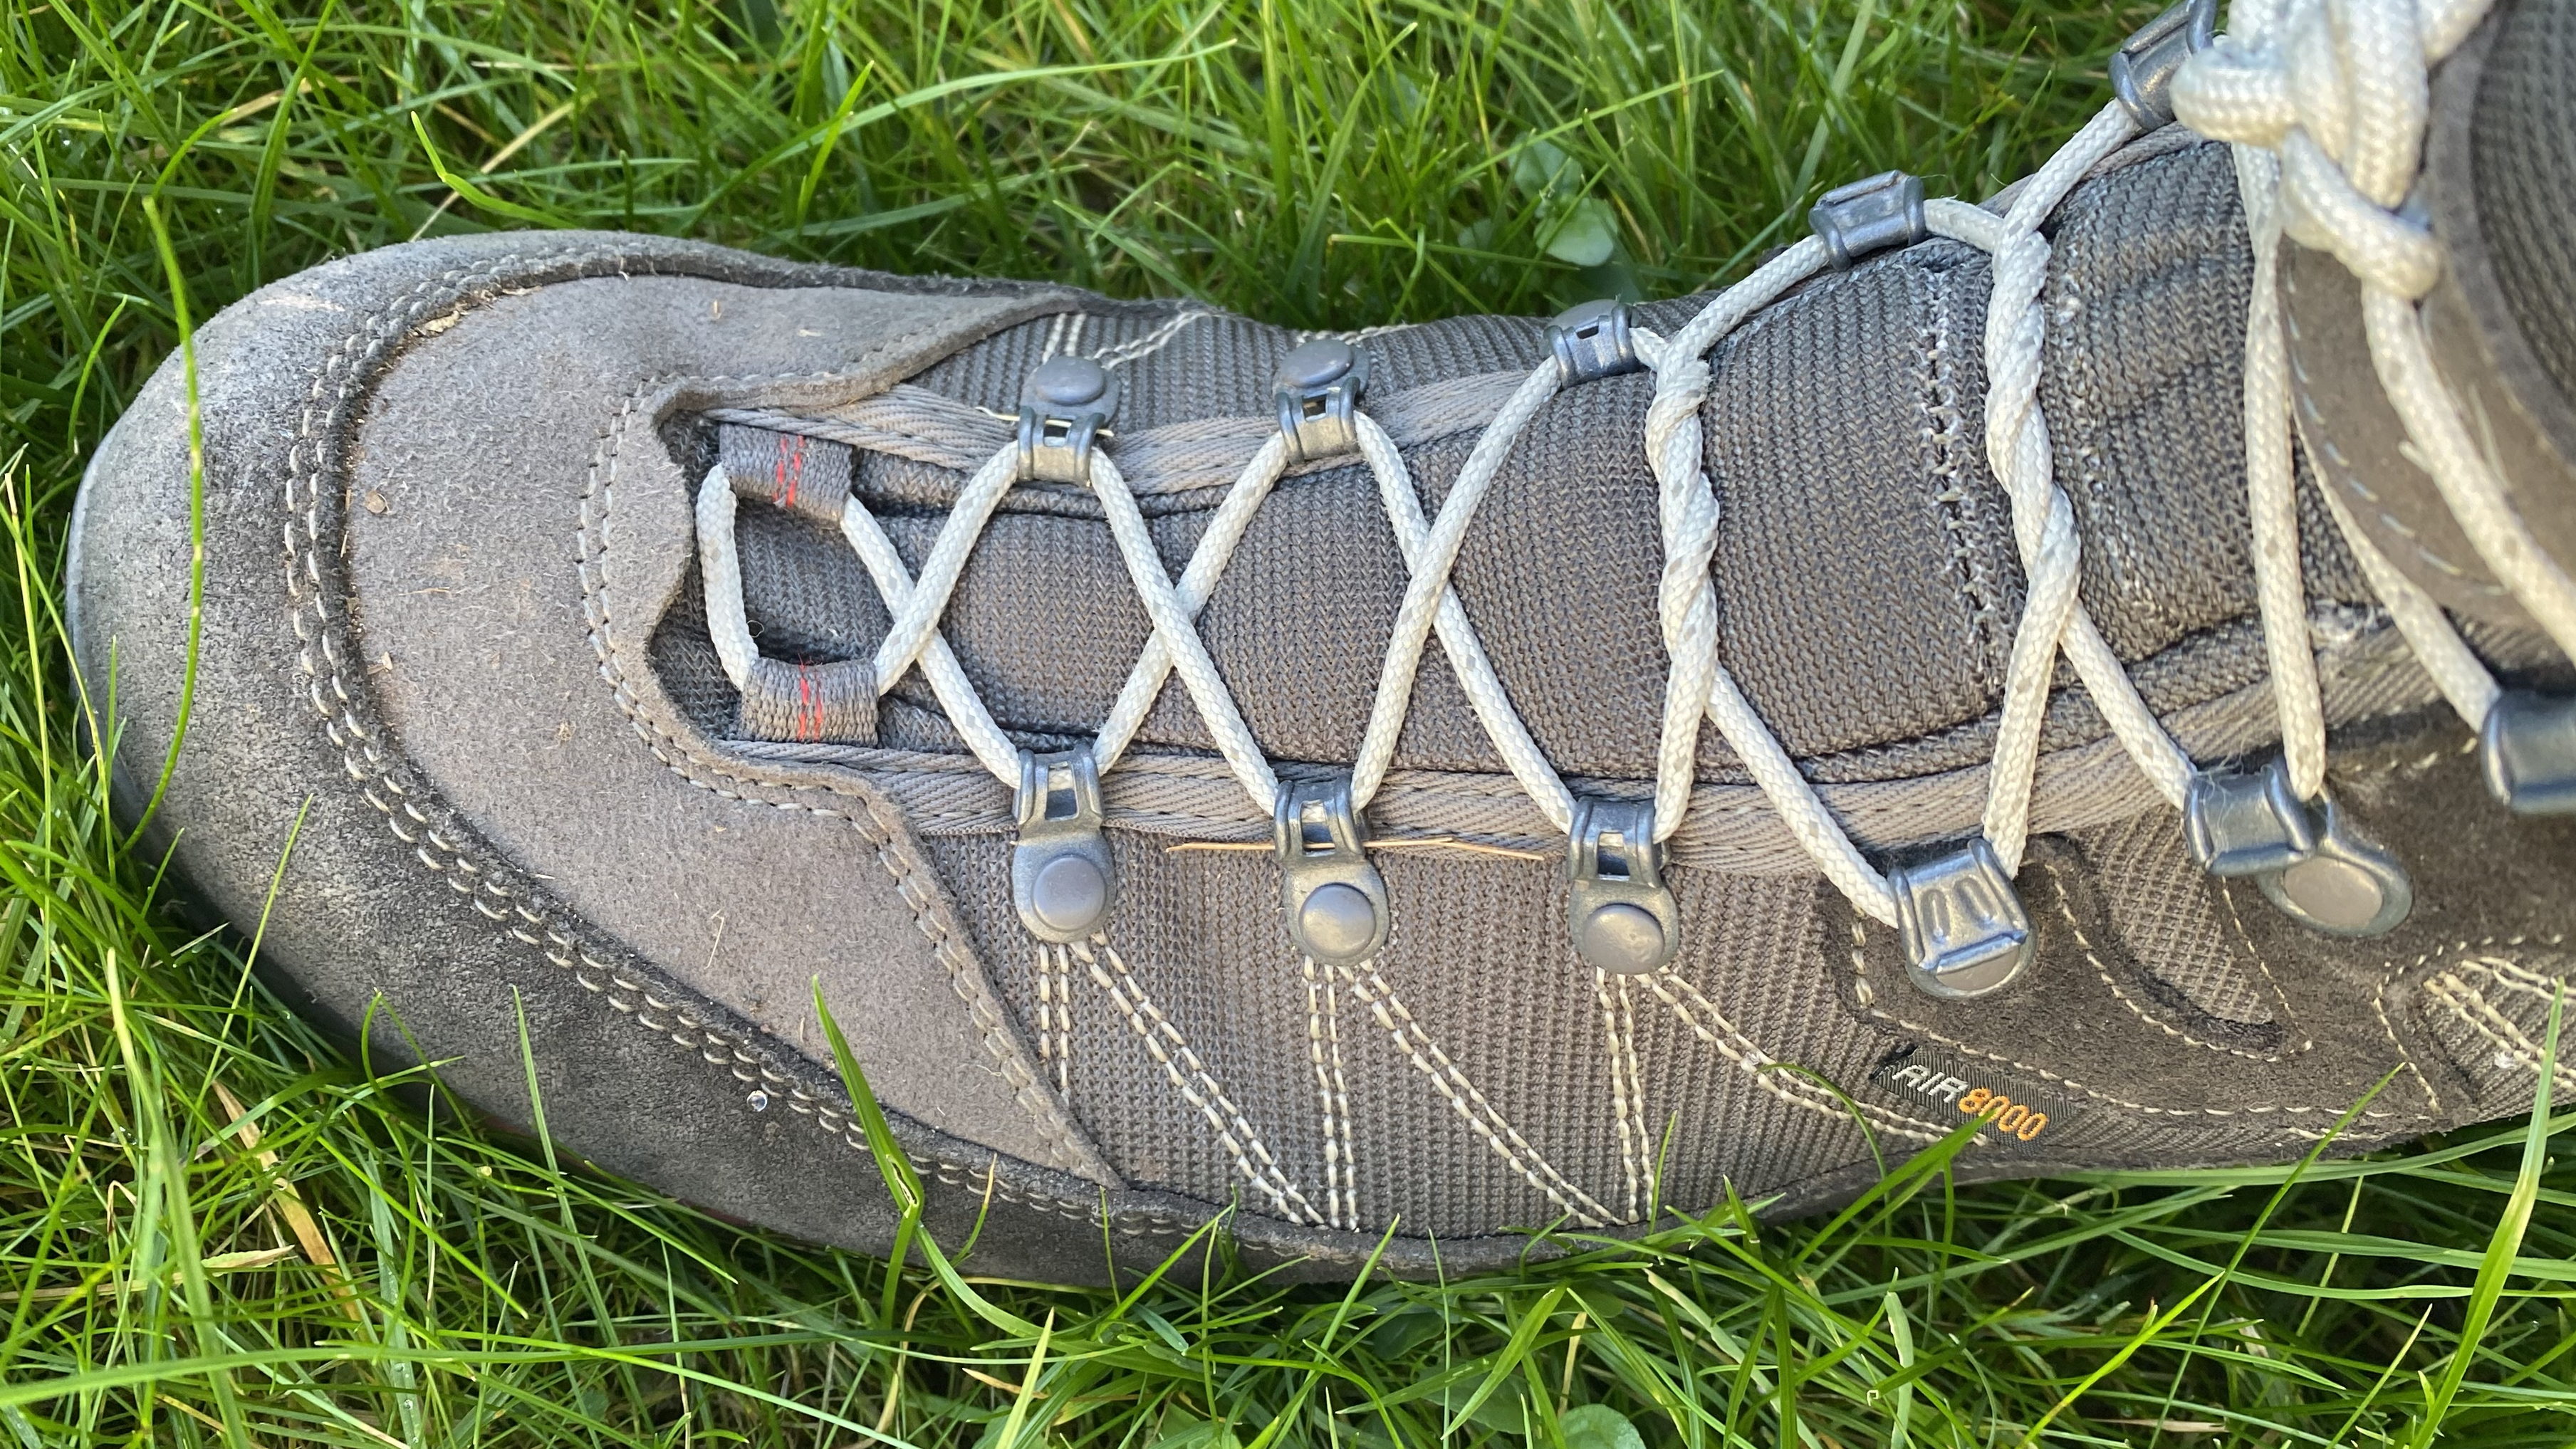
If you often experience heel slippage when hiking, it might be time to tie a couple of Surgeon’s Knots into your lacing system at the points where the foot meets the ankle. The advantage of the Surgeon’s Knot is it doesn’t loosen as you hike, which holds the boot firmer to your foot, thus alleviating heel slippage.
First, bring your laces taut, ready for threading through the first pair of hooked eyelets.
Prior to threading through the eyelets, wrap the laces around themselves twice before pulling them tight.
After threading them through the hooked eyelets, tie a secondary Surgeon’s Knot, before continuing to lace in the standard way.
Overhand Knot
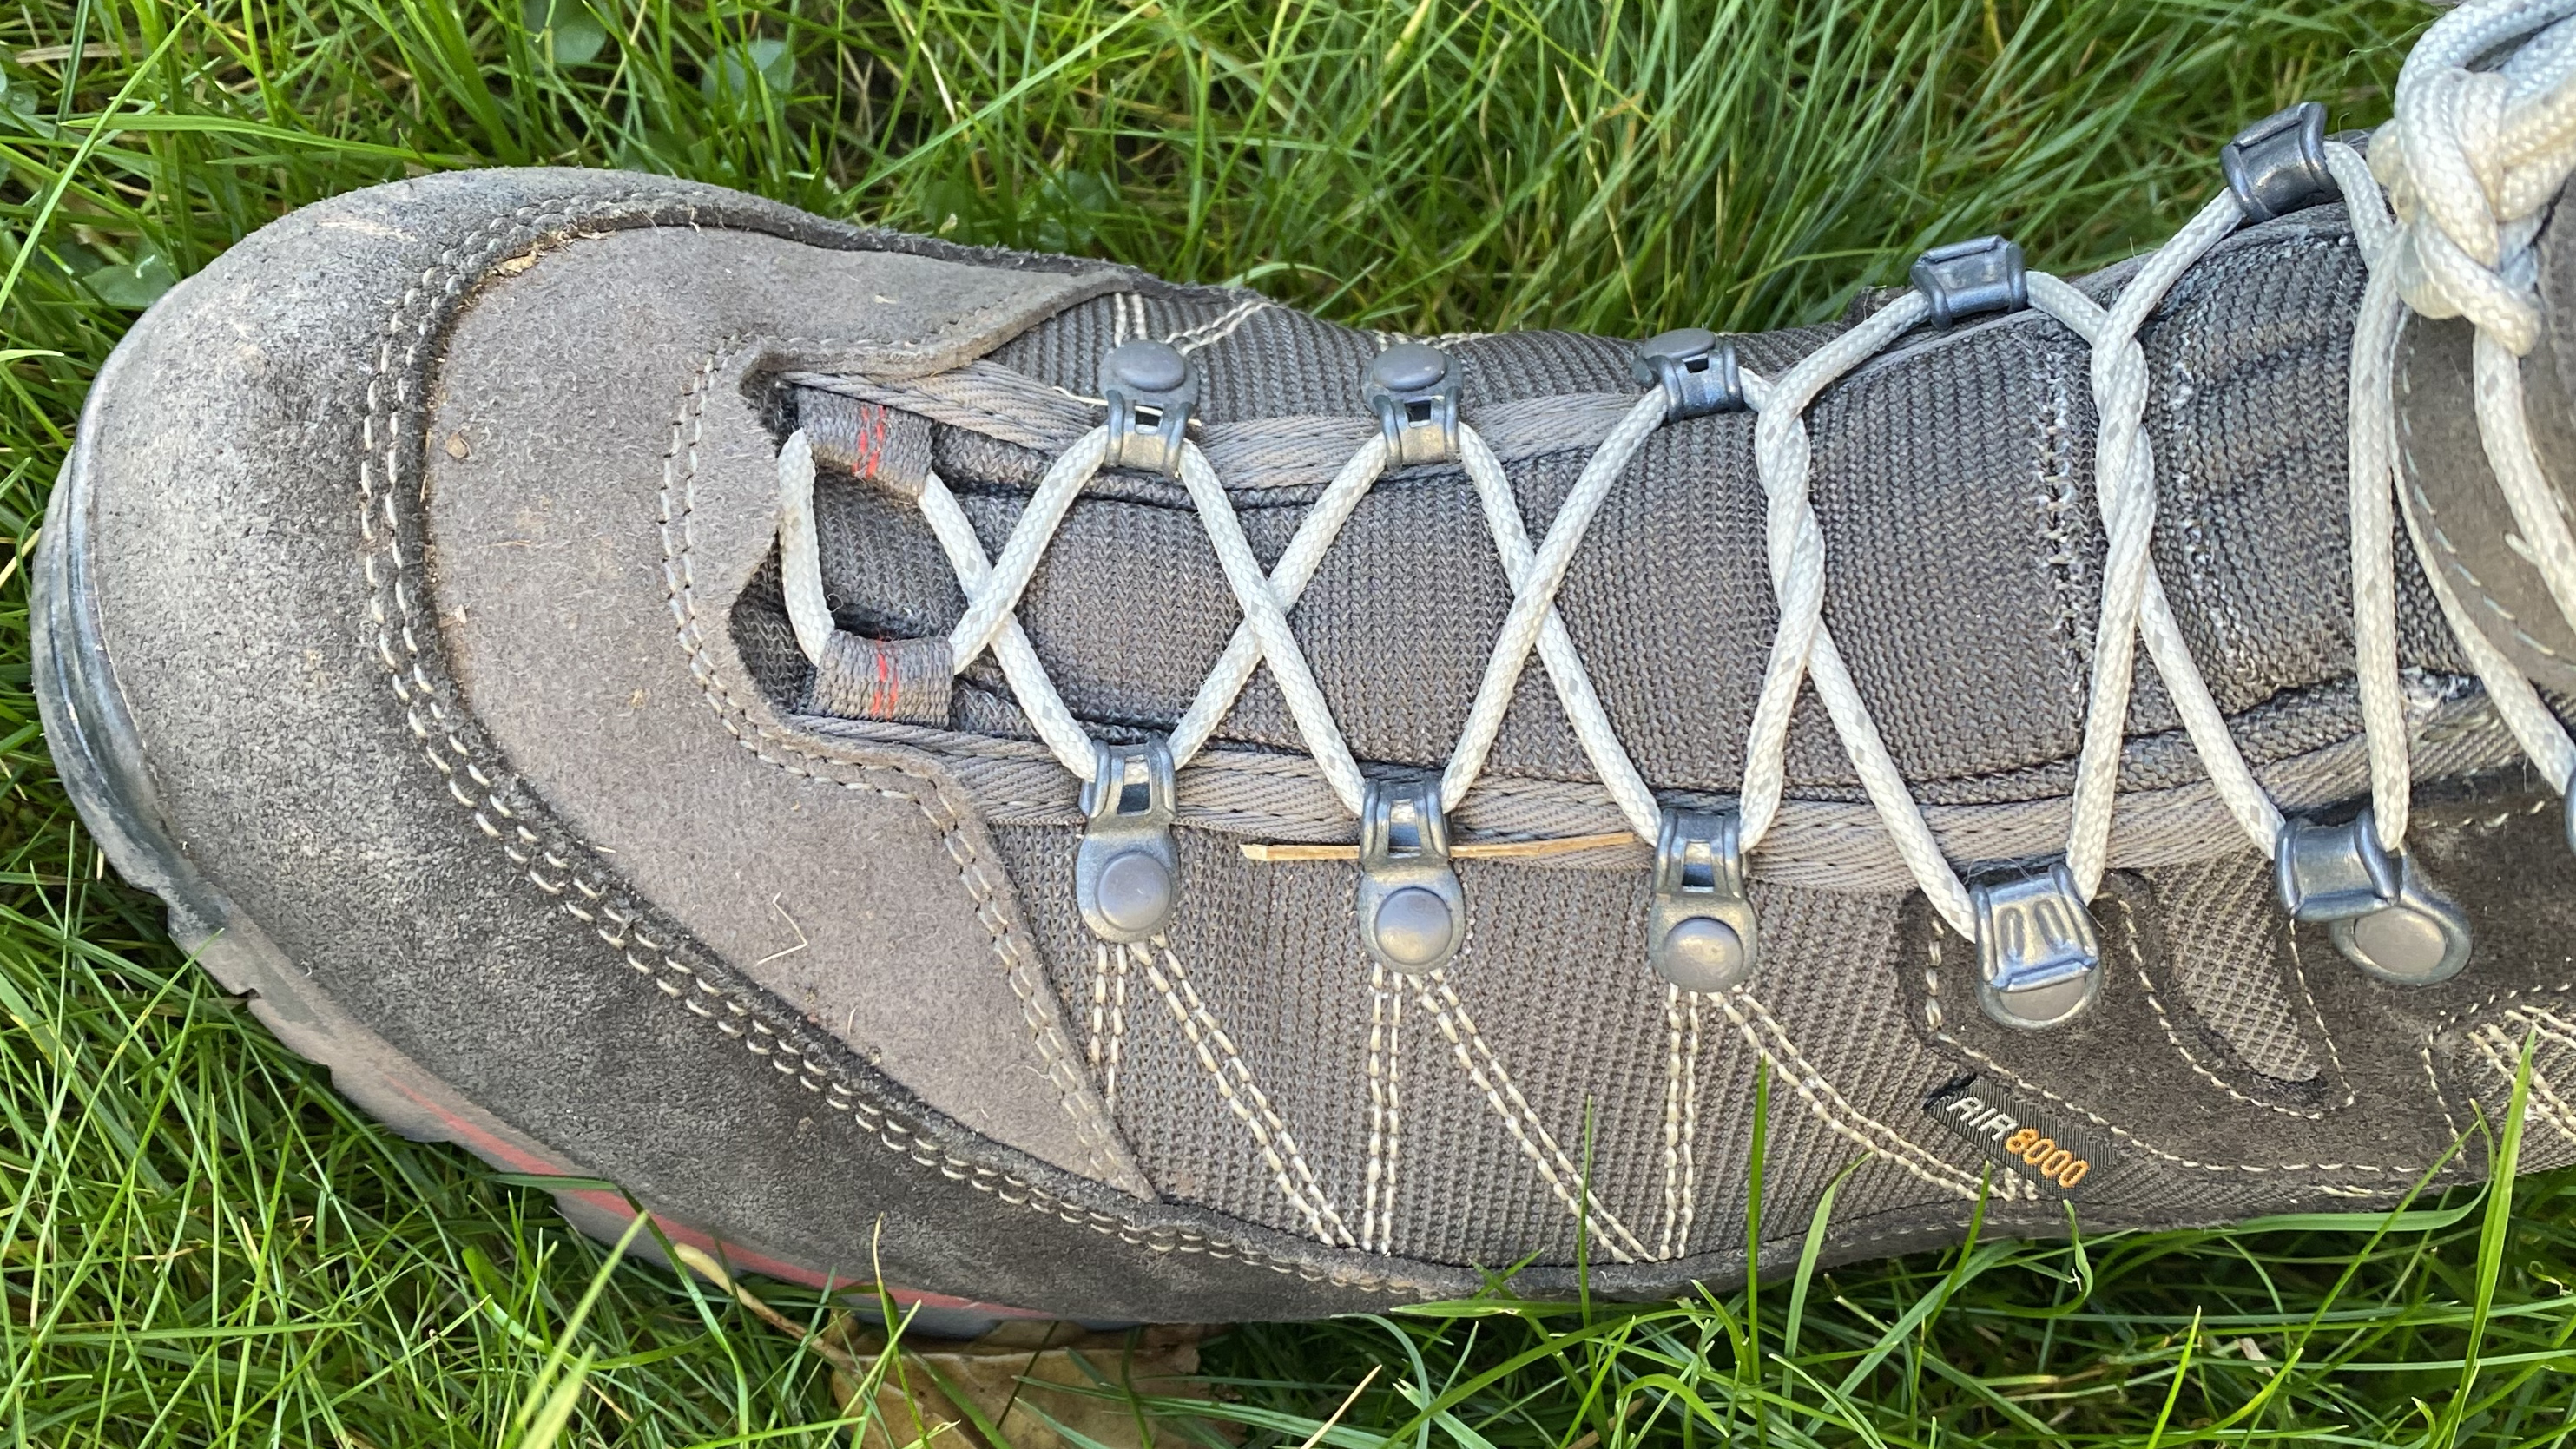
A simpler alternative to the Surgeon’s Knot is the Overhand Knot, which is pretty much the same but involves wrapping the laces around each other just once instead of twice. You’re undoubtedly familiar with an Overhand Knot, even if you don’t know it, as it’s the first stage in a classic shoelace knot. We’d recommend the Surgeon’s Knot, as it’s that little bit more secure.
Different lacing techniques
Toe-relief lacing
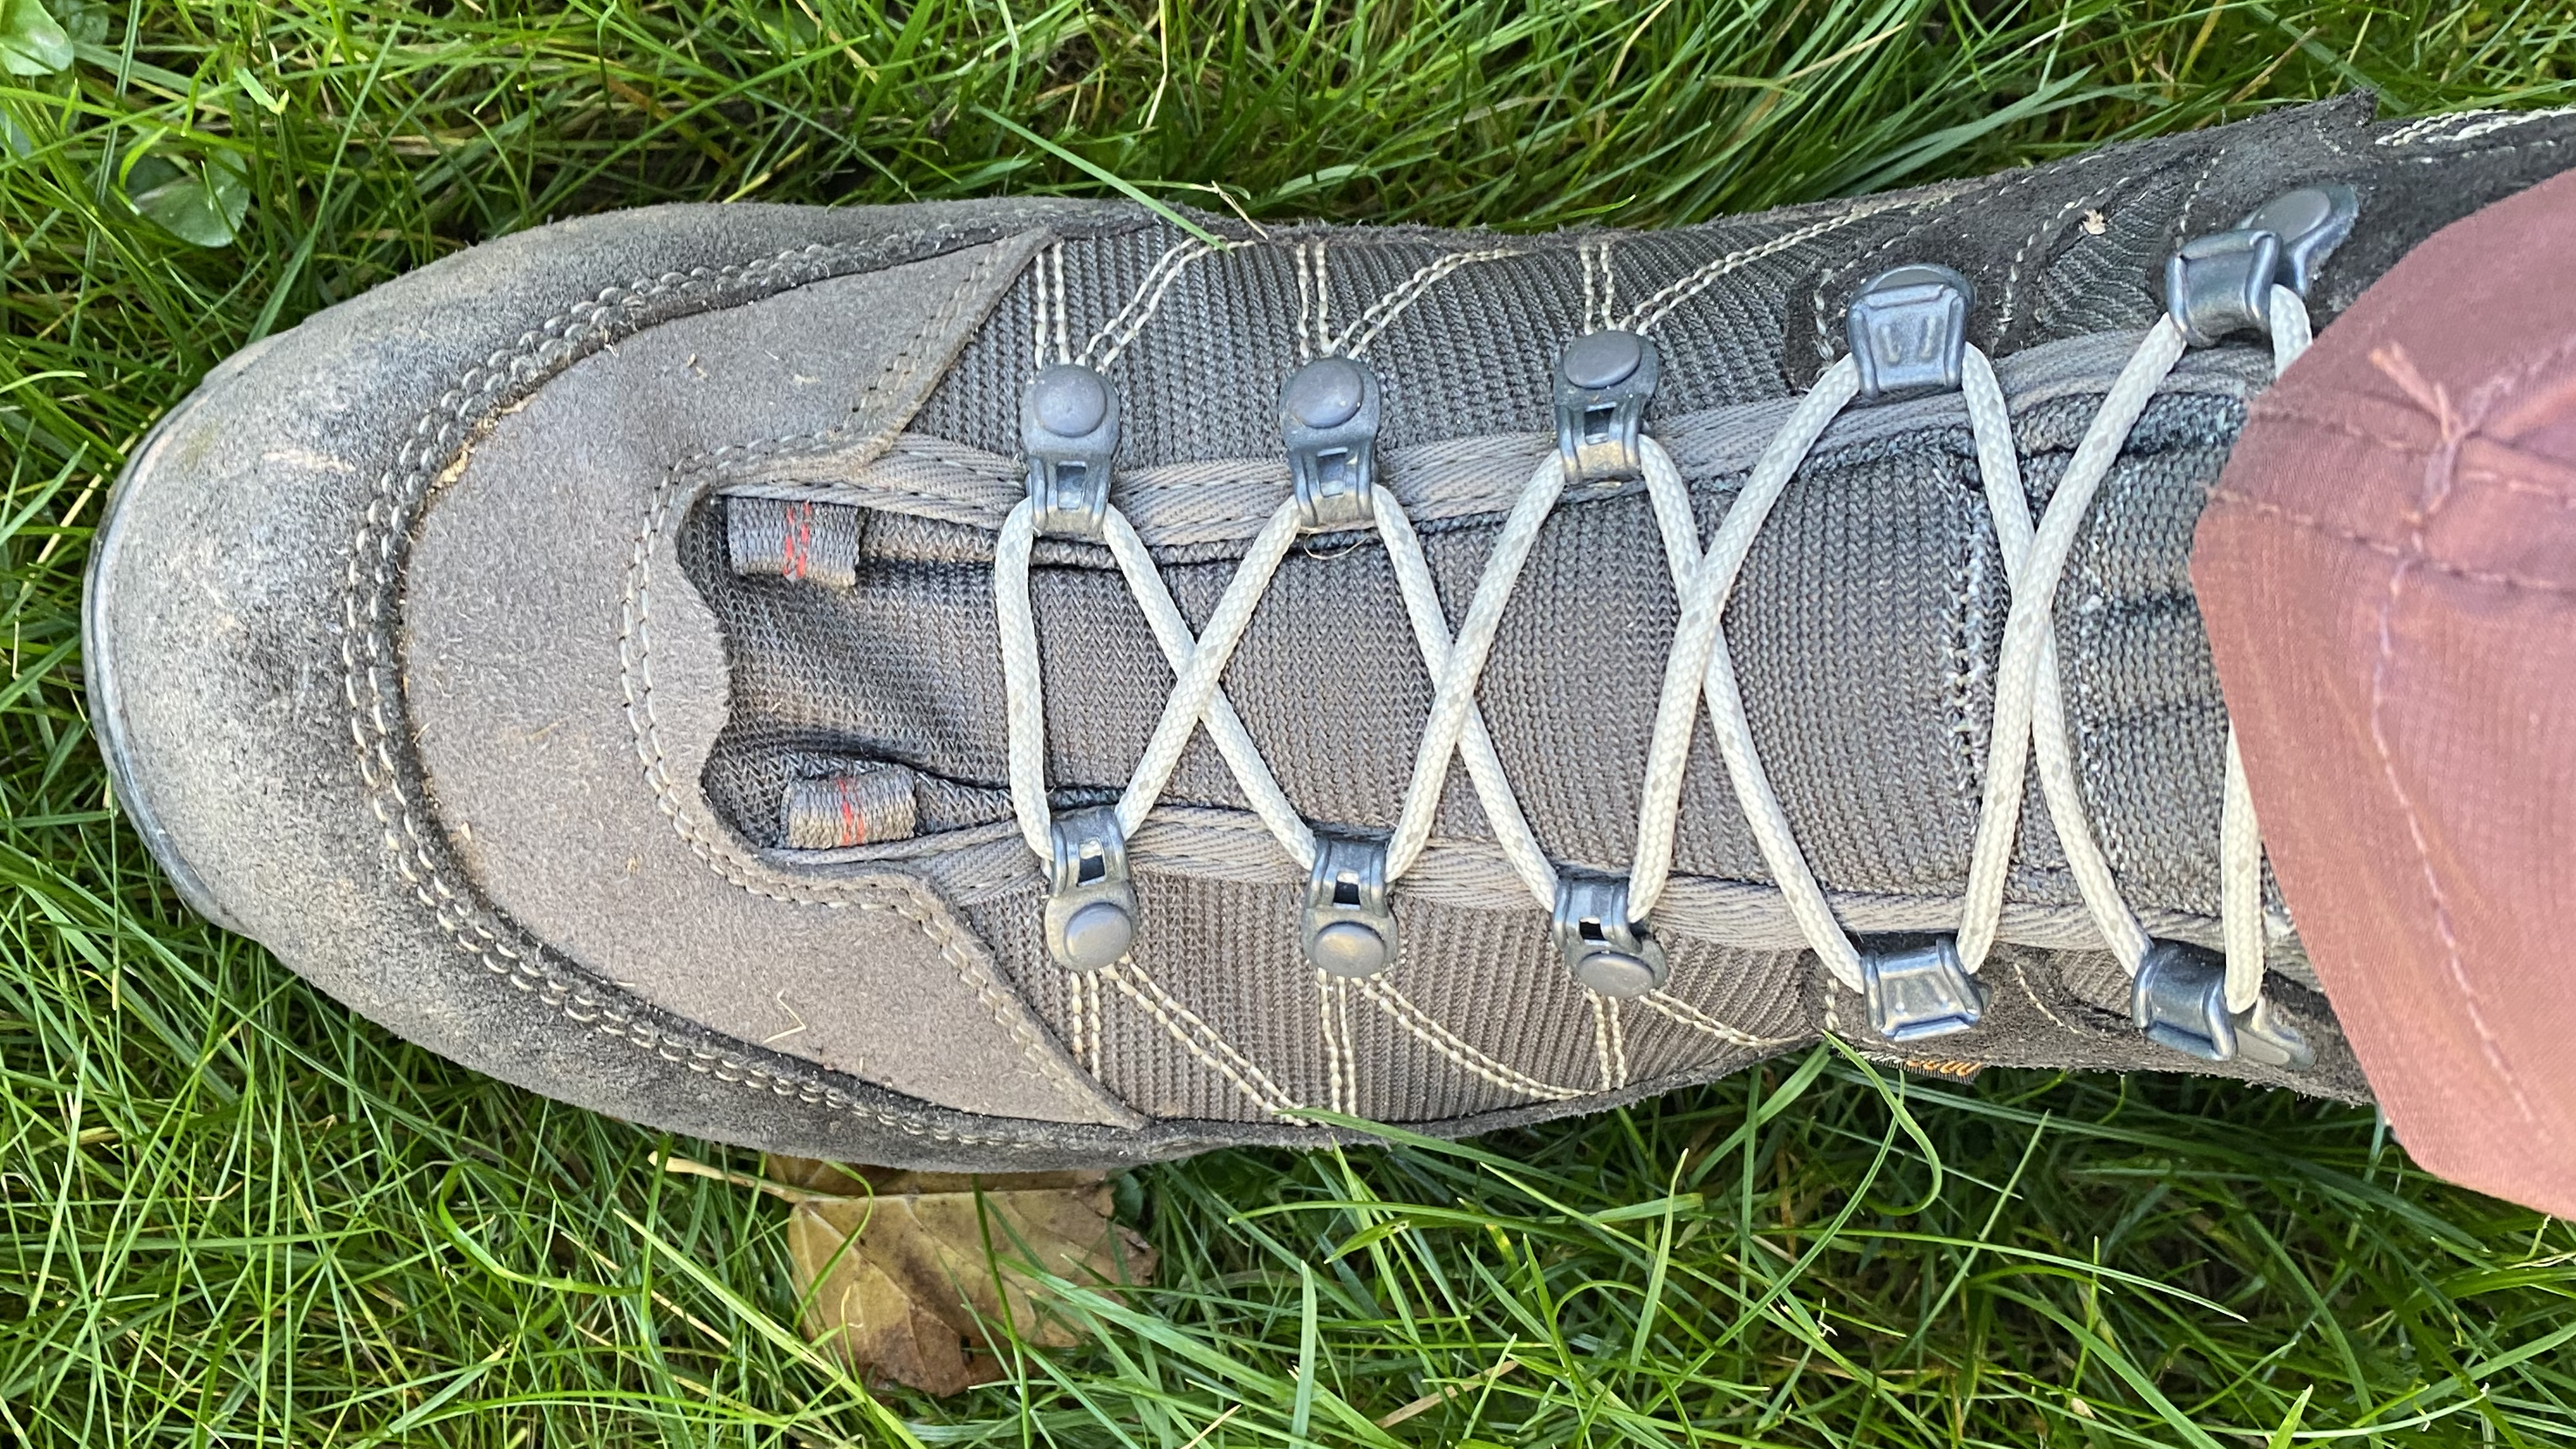
Toe-relief lacing does exactly what it says on the tin: relieves pressure on the toes. This can be a godsend if you’ve been experiencing digit discomfort or bruised toenails. It’s a stop-gap solution though, usually employed mid-hike. If you’re often experiencing toe pain, it’s time to get new boots.
It’s easy to achieve – simply unlace the boot and skip the bottom pair of eyelets. When you tighten the boot up, the toe-box will be left loose.
Window lacing
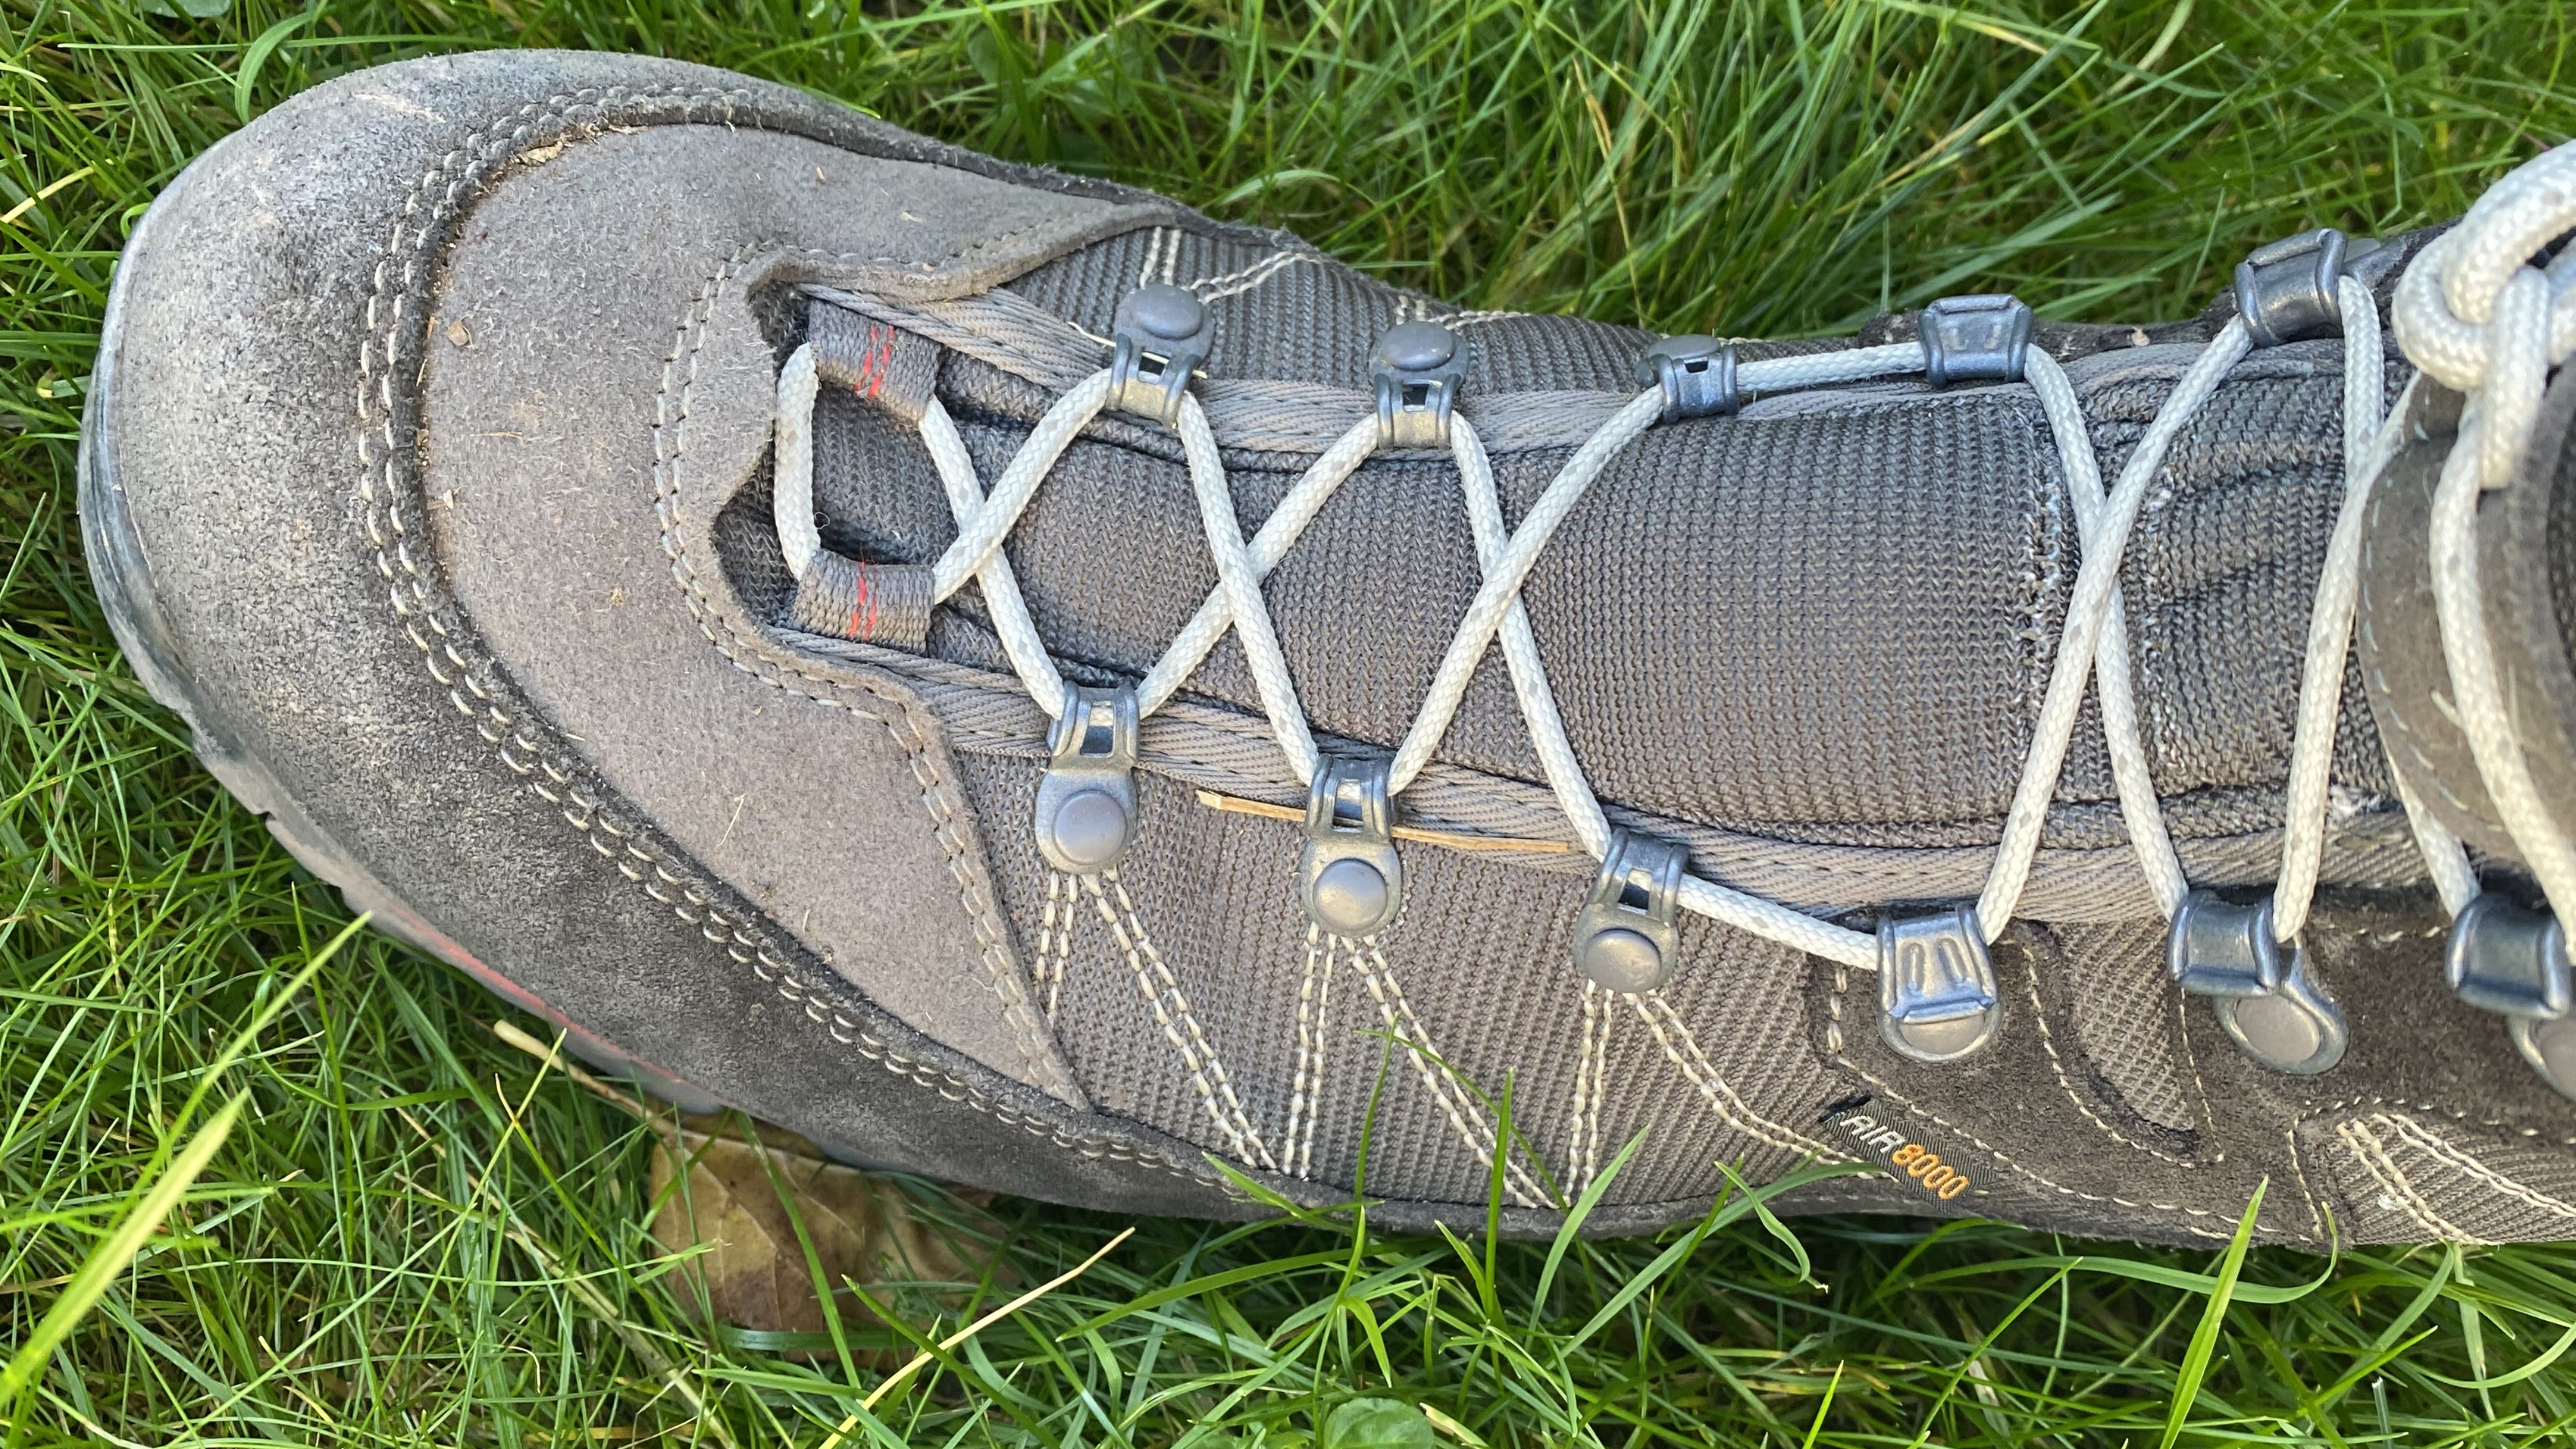
Window lacing creates a space in the lacing system, relieving the pressure on the part of the foot beneath. If, for example, your boots are giving you gyp at the instep, you can reconfigure the laces to alleviate the issue.
To set this up, unlace the boot down to just below the area of discomfort.
Next, instead of crisscrossing the laces, take each lace end straight up to the eyelet above, before continuing to tie the rest in the usual way.
Hook loops

Hook loops are a way of stopping the lace slipping on a hooked eyelet. This simply involves looping the lace around a hook from the top first, rather than threading through it from below.
Why you should always carry spare laces
It was while doing my Mountain Leader training a few years ago that I discovered there was an essential item missing from my first aid kit: shoelaces. There are a few gear malfunctions that can have a serious impact on your hike – think, headlamp running out of battery or hydration bladder freezing up. We pre-empt these kinds of failures by bring a spare torch and a hot drink, mitigating the risk.

It's the same with boot laces. Few things are as annoying, not to mention potentially dangerous, as a snapped hiking boot lace when you’re miles from home up and thousands of feet up on a remote mountain. I hadn’t realised it was such a vital component of a first aid kit until our esteemed guide opened his out to show us what we should be carrying in the backcountry.
You can buy spare laces from any decent outdoor store and from a range of online retailers.
- We're hand-picking this year's best Black Friday hiking deals
Alex is a freelance adventure writer and mountain leader with an insatiable passion for the mountains. A Cumbrian born and bred, his native English Lake District has a special place in his heart, though he is at least equally happy in North Wales, the Scottish Highlands or the European Alps. Through his hiking, mountaineering, climbing and trail running adventures, Alex aims to inspire others to get outdoors. He's the former President of the London Mountaineering Club, is training to become a winter mountain leader, looking to finally finish bagging all the Wainwright fells of the Lake District and is always keen to head to the 4,000-meter peaks of the Alps. www.alexfoxfield.com

