
From slick conditions to tree roots that appear out of nowhere and even stepping too close to the edge for a selfie, taking a tumble on a hike is easy to do, even on a pretty gentle trail. In fact, falling on a hike can happen to anyone, regardless of fitness, experience or the difficulty of the terrain, but that doesn’t mean that tripping, sliding and falling are an inevitable part of hiking. The consequences of falling can range from mild embarrassment to catastrophic injuries, neither of which are ideal, so in our guide to how not to fall on a hike, we cover training, technique and gear you can implement on the trail to help you stay on your feet and injury-free.
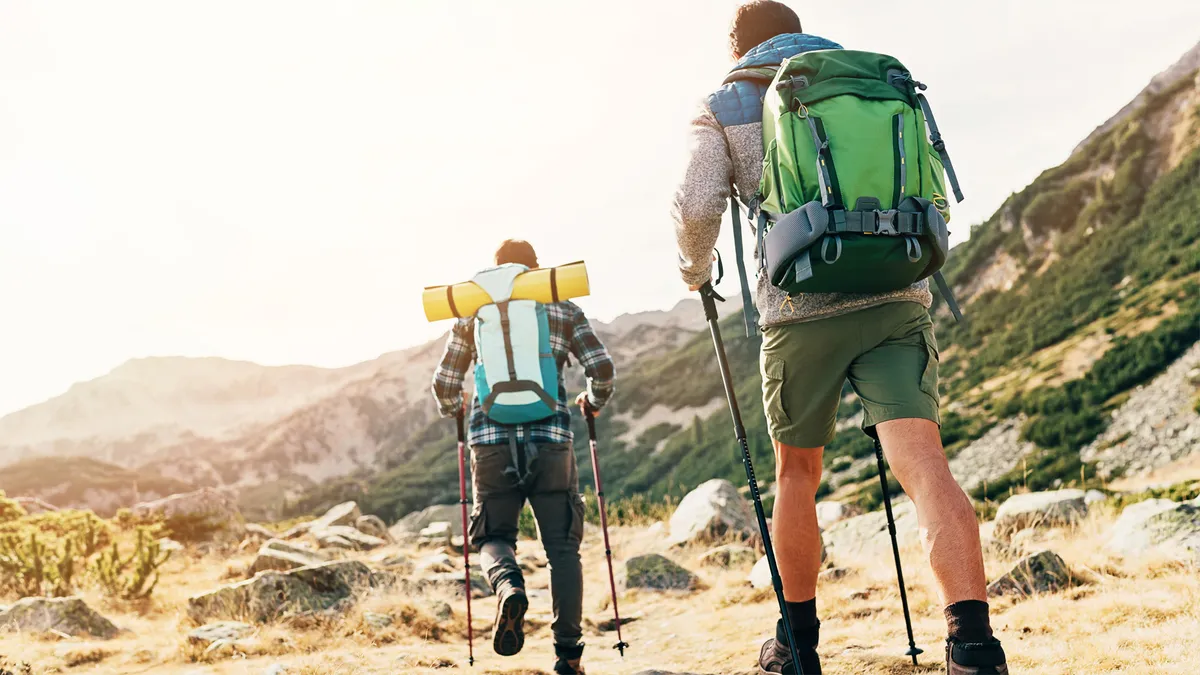
1. Use trekking poles
No, they’re not just for old people; many a young hiker’s ankle has avoided a sprain thanks to a good pair of trekking poles. Using poles on a hike is one of the best things you can do to prevent falls. Lots of falls happen when you’re descending on steep, rocky terrain and your thighs are starting to quiver – but pull out your poles and you can test the ground before you step as you’re crossing those boulder fields, steady yourself, and take the strain off your thighs and knees. They also come in handy for testing terrain that looks icy or determining how deep water might be before you cross a river.
You don’t have to use your poles all the time either – the best trekking poles fold up so you can pack them away neatly in your backpack when you’re not using them, or when you need your hands for other things.

2. Use your hands
For some terrain that’s particularly steep and rocky, it’s a better idea to put your poles away and use your hands instead. This is called scrambling in hiking and it’s a great way to ensure balance as well improve your overall mobility. When you’re scrambling, you’ll often be squatting down low or sitting, while using your hands to help move yourself along, so you’re less likely to fall. Make sure you get a good pair of hiking pants like the Fjallraven Keb Trousers Curved that will hold up to all that scooting though!

3. Get grippy
Many falls begin with a slip, which can happen on loose, crumbly scree, dry, dusty slopes, mud, ice and snow. That’s why proper hiking boots or shoes are imperative for hitting the trail. You might be able to find cheaper footwear with more basic soles, but it’s truly worth getting hiking boots with good Vibram soles intended for tough terrain. You can simply turn any pair of boots or shoes over in the shop and see if they have the yellow diamond stamp of approval.
In addition to proper soles, for high elevation areas beginning in the fall and through the spring, it’s also a good idea to carry backup traction such as Yaktrax in your pack. That way if you come across a glacier or a section of the trail that’s constantly in the shade, you can add some extra grip for crossing ice.

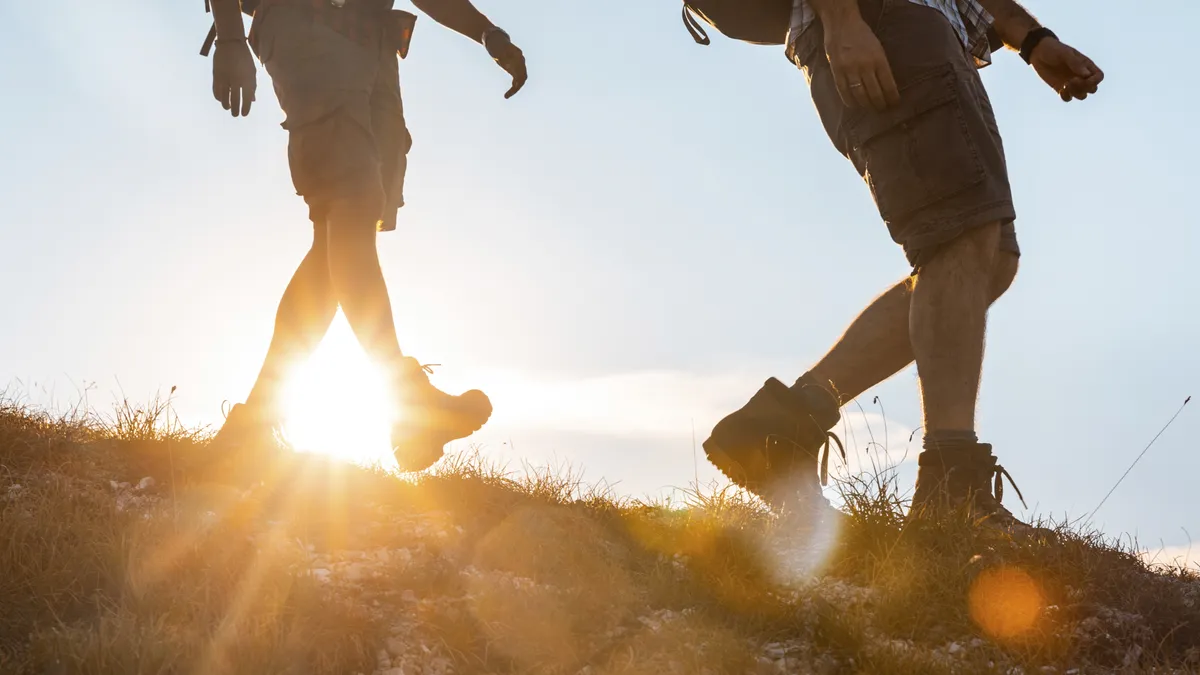
4. Pay attention
This sounds obvious, but it’s amazing how many falls occur because you’re not paying attention to your surroundings. You might be deep in conversation, enjoying the view or taking photos and before you know it, you’ve twisted your ankle or worse. You can definitely enjoy a nice chat on a hike, but do keep your eyes on the trail, and maybe pause the conversation when you’re navigating cliffs, ledges and scrambling.
Selfie-related hiking injuries are on the rise, so if you want to snap a picture, stop walking and be mindful of where you put your feet while you’re framing up for your shot. Pack your phone away safely before you start walking again so you’re not tempted to look at your pics or mindlessly check your messages while you walk.

5. Slow down and take smaller steps
On steep, downhill terrain and scree, slow your pace and take little steps so you can keep your weight over your feet. If you try to stride it out, you can end up unexpectedly doing the splits (ouch) or twisting a knee. Learn more in our tips for hiking downhill.
On flat terrain, you can walk at a more normal pace, but once you start climbing it’s also a good idea to slow down and shorten your stride – though you might be less likely to fall on the uphill, this is a good way to conserve your energy and avoid those silly trips that happen when you’re tired.
6. Get in shape
Most falls happen on the descent, when you’re tired. For big hikes, tiredness may be inevitable, but the better conditioned you are, the better you’ll be able to respond to steep climbs and descents without your legs giving way and taking you on an unwanted fast-track down the mountain. Hiking itself is great training for hiking, but it’s also worth getting in the gym and doing some strength training to prepare you for the added load of hiking on an incline while carrying a pack. If you’re new to working out, consult a trainer about safely doing movements like squats, lunges and deadlifts to help improve your leg strength.

7. Optimize visibility
There are lots of reasons why you might miss an obstacle on the trail, but don’t let the fact that you’re too lazy to take your sunglasses off be one of them. Make sure you’ve got a good pair of polarized sunglasses to help you with glare, sure, but in low light conditions take them off so you don’t miss that rock or root underfoot. Similarly, carry a headlamp or flashlight if there’s any chance at all of you getting caught out on the trail after dark.
8. Don't be afraid to turn back
Finally, as we’ve already mentioned, exhaustion is a common cause of hiking injuries. You might have overestimated your fitness or underestimated the demands of your route, and while it can be disappointing not to reach the summit, it’s better to try again another day and have enough energy to get down safely this time. Furthermore, if the conditions change and there’s rain or snow moving in, head for home rather than risk slick conditions – poor weather means there won’t be much of a view at the top anyway.

