What is 'scrambling' in hiking? We get hands on
What is scrambling in hiking? Our experts provide insights into the pursuit, looking at how it's graded and recommending some rules to follow
All the latest inspiration, tips and guides to help you plan your next Advnture!
You are now subscribed
Your newsletter sign-up was successful
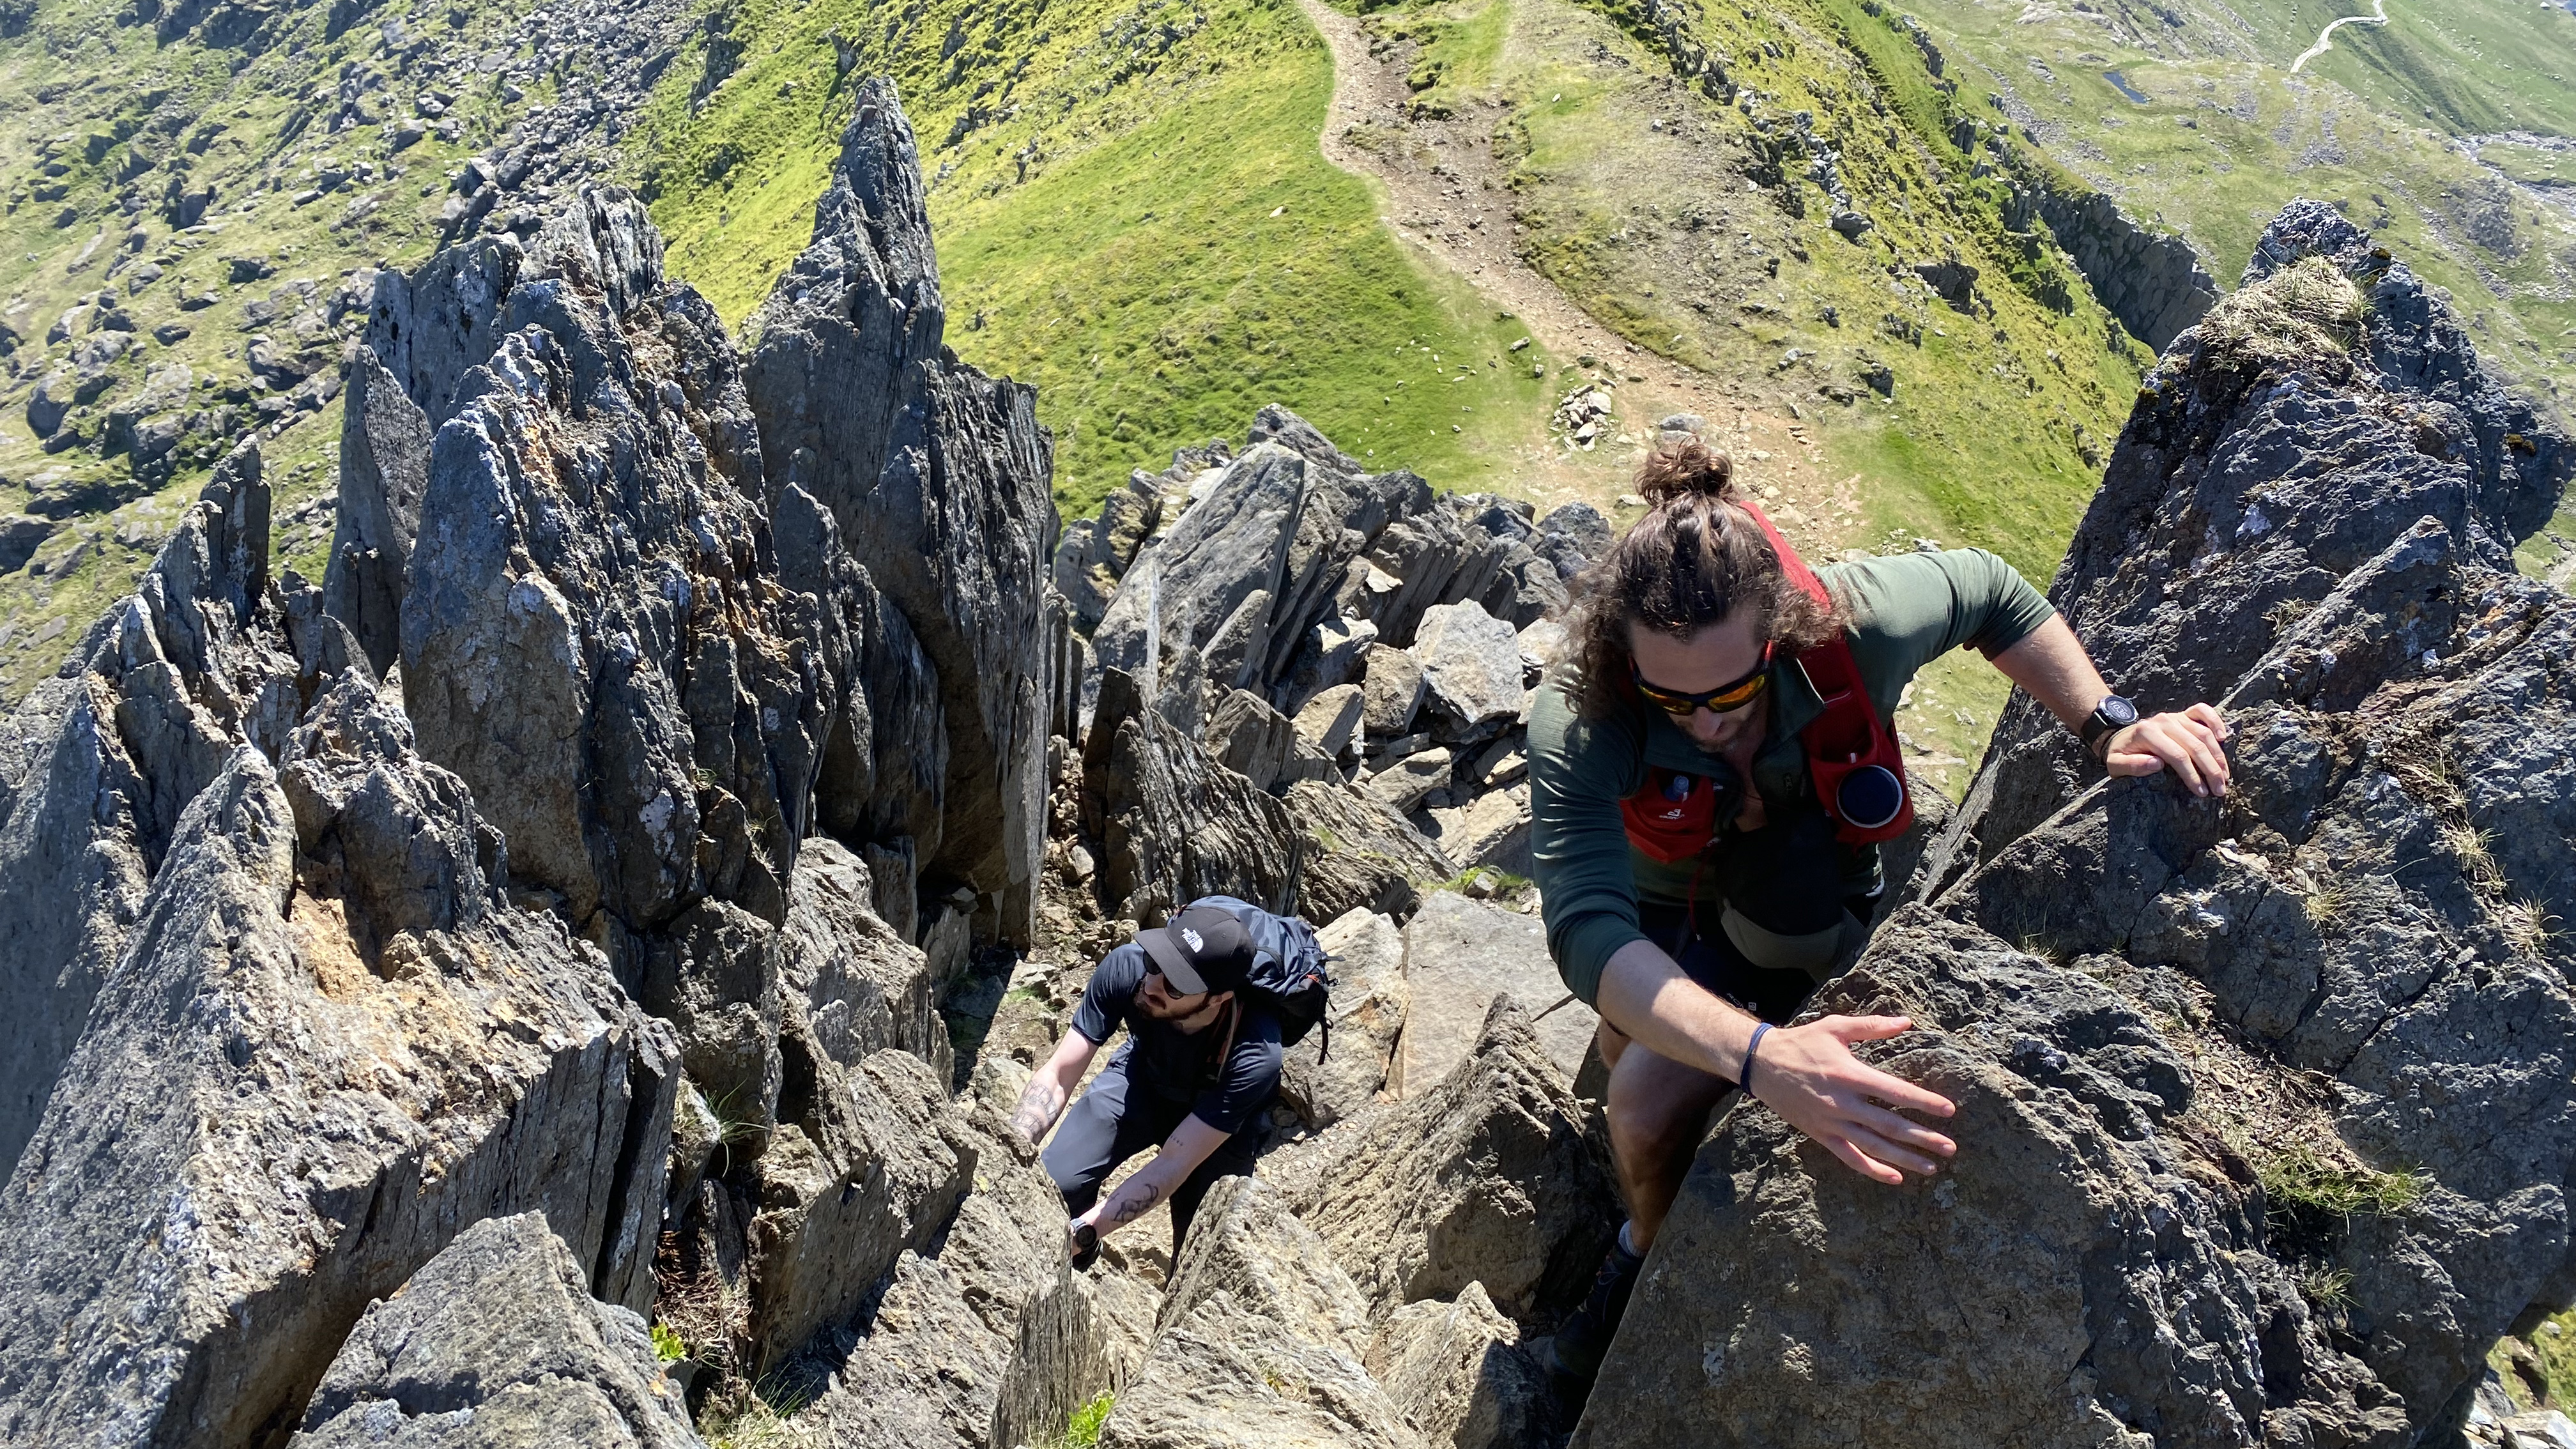
The middle ground between hiking and climbing is a thrilling place to find yourself. Now you're using your hands just as much as your feet and the sense of adventure has just gone up a notch. Your heart's racing, half because of the effort and half because of the thrilling exposure of your improvised climb. You're scrambling.
But, what is scrambling in hiking and what do you need in order to do it? How do you know how difficult – and therefore scary – any given scramble is likely to be? When do you need a rope? Never fear! We've scrambled a couple of our mountaineering experts to answer these questions and more.
What is scrambling?
Scrambling is the act of using both your hands and your feet to progress safely in rocky, often exposed backcountry terrain.
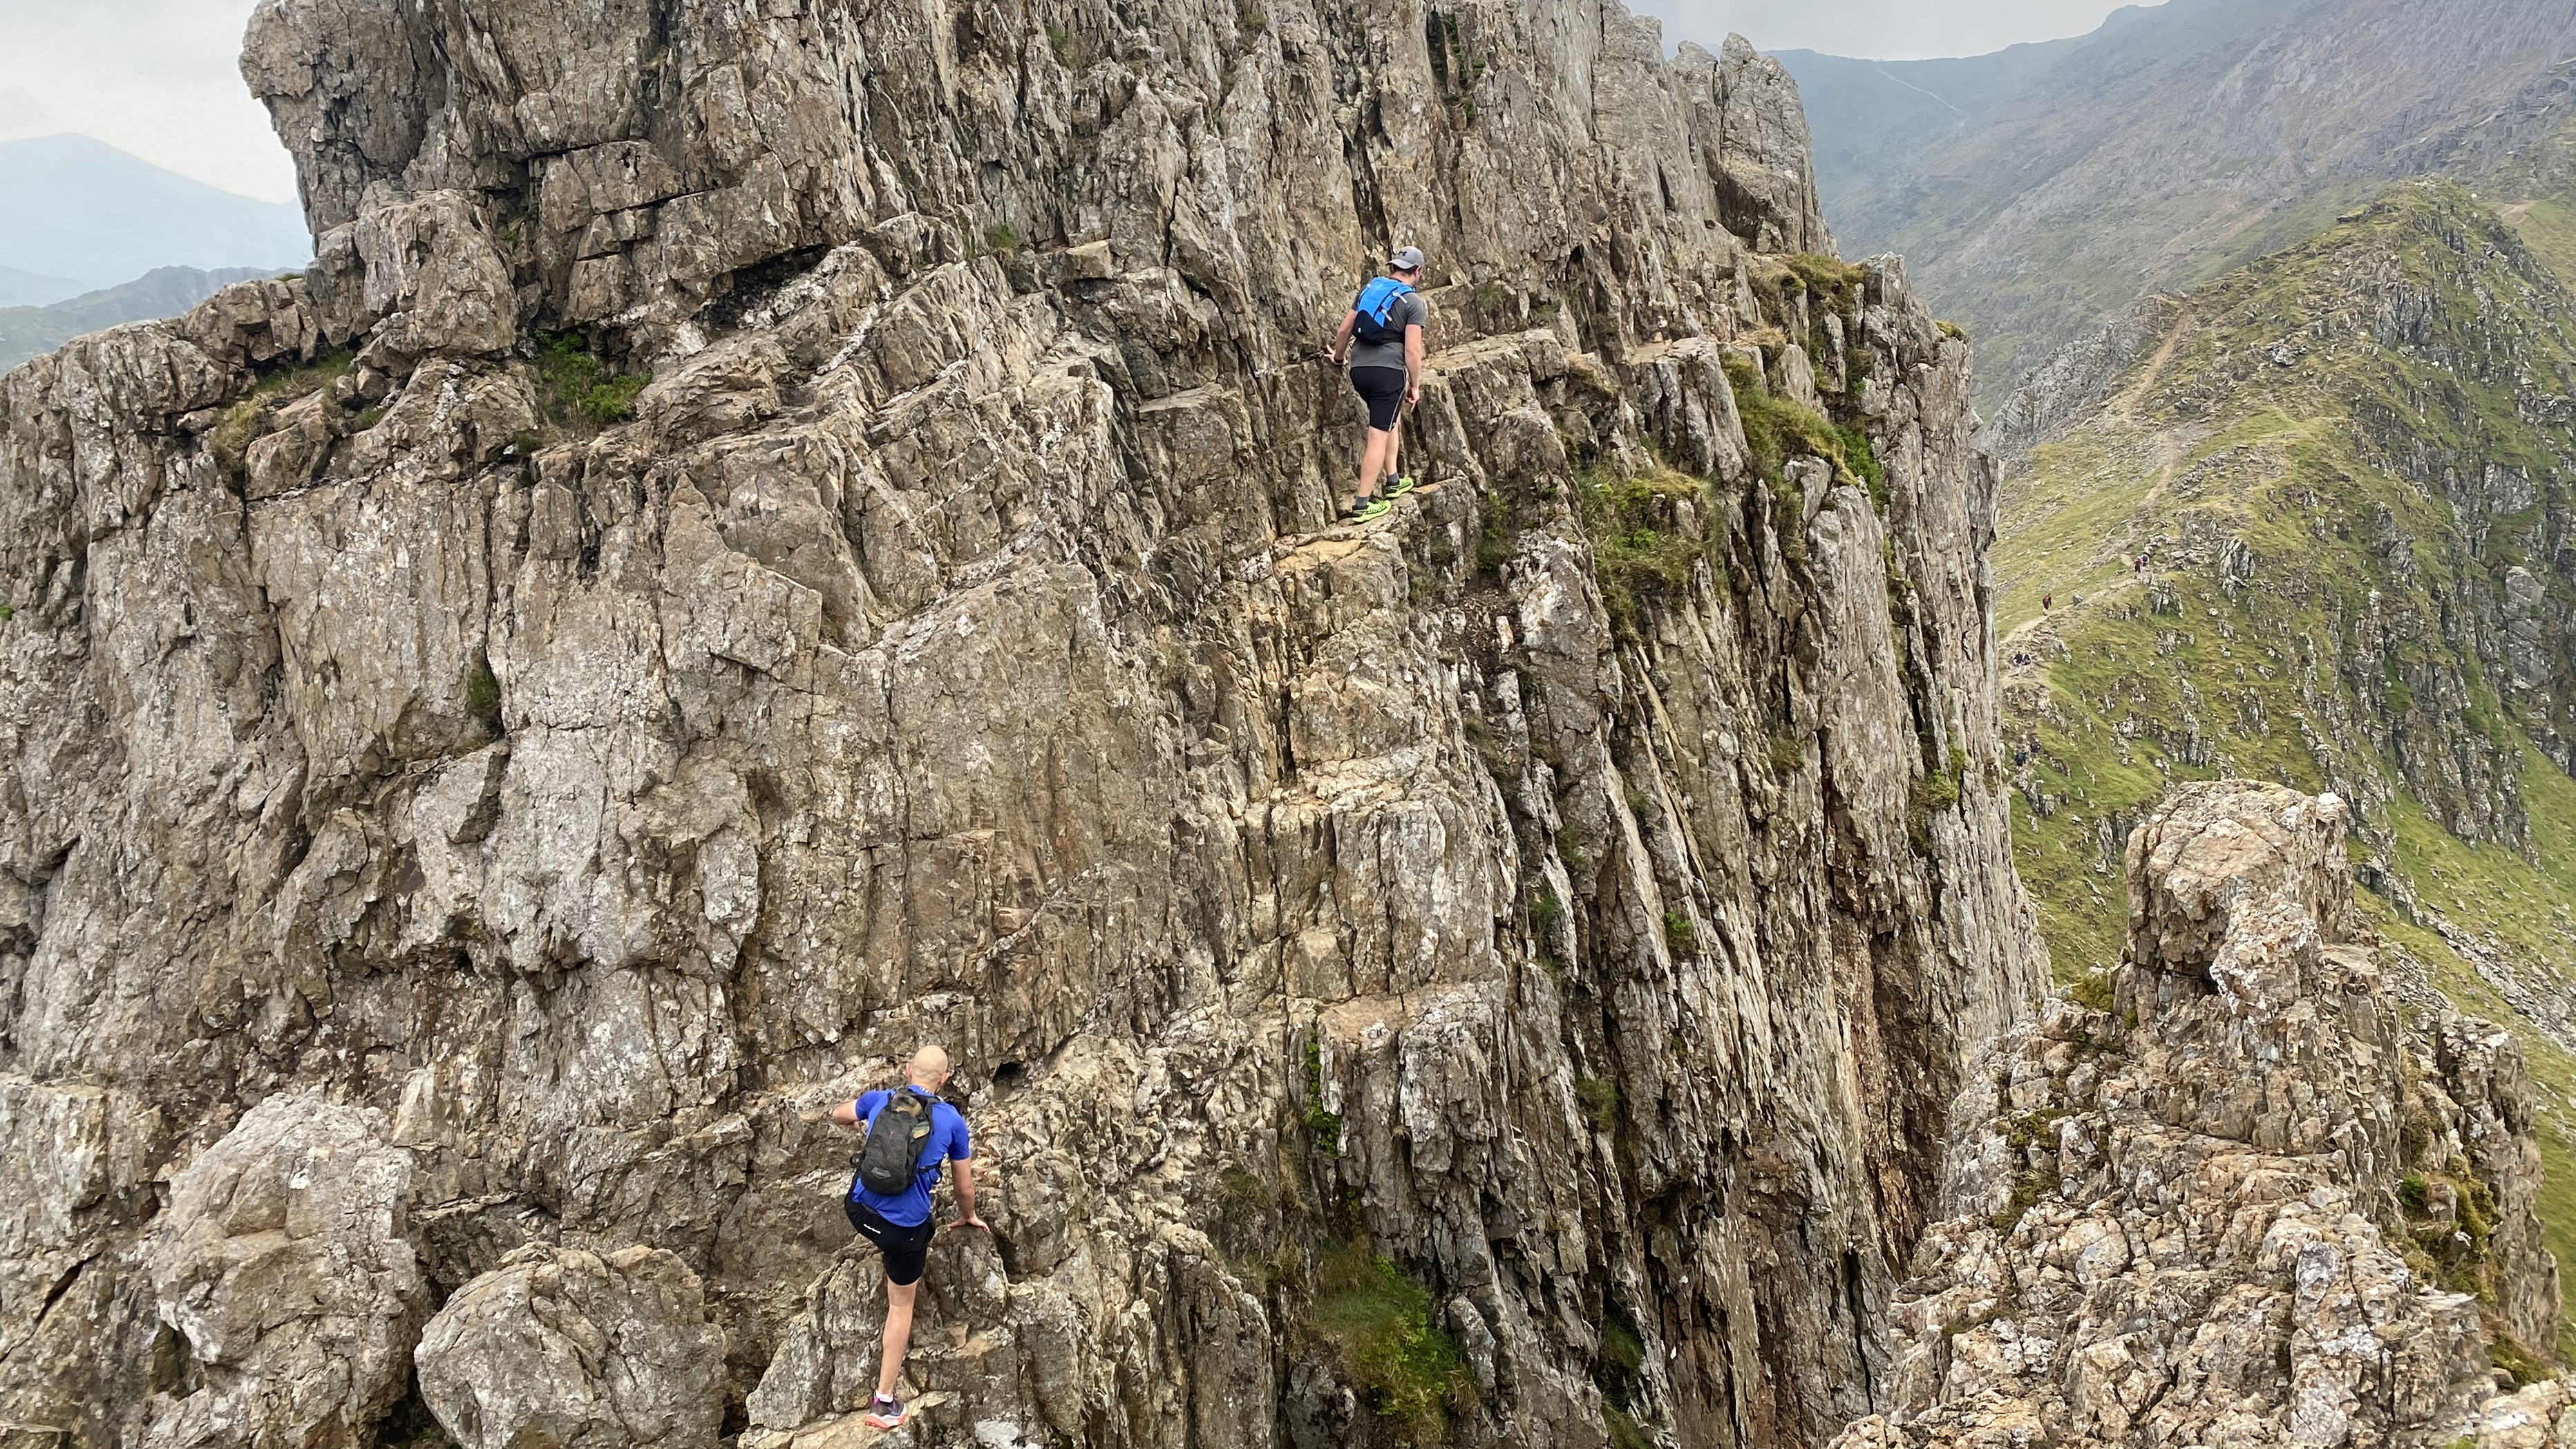
I love the sense of freedom you get when scrambling without ropes. It really feels like your climbing the mountain, rather than just walking up it.
Alex Foxfield, avid scrambler
It's essentially the middle ground between hiking and moderate rock climbing, though you're much more likely to do it in your hiking boots than your climbing shoes. This bare-bones definition, however, fails to do justice to something that is a stand-alone recreational activity all of its own, has thousands of dedicated participants the world over, and has far more nuance than the oversimplified handle of “hiking-climbing hybrid” suggests.
Many hiking routes contain the occassional rocky step, where a little bit of scrambling is needed to continue. When the scrambling terrain becomes more sustained, you get named scrambles that are accompanied by a grade to indicate their difficulty, just as with rock climbing routes.
Meet the experts
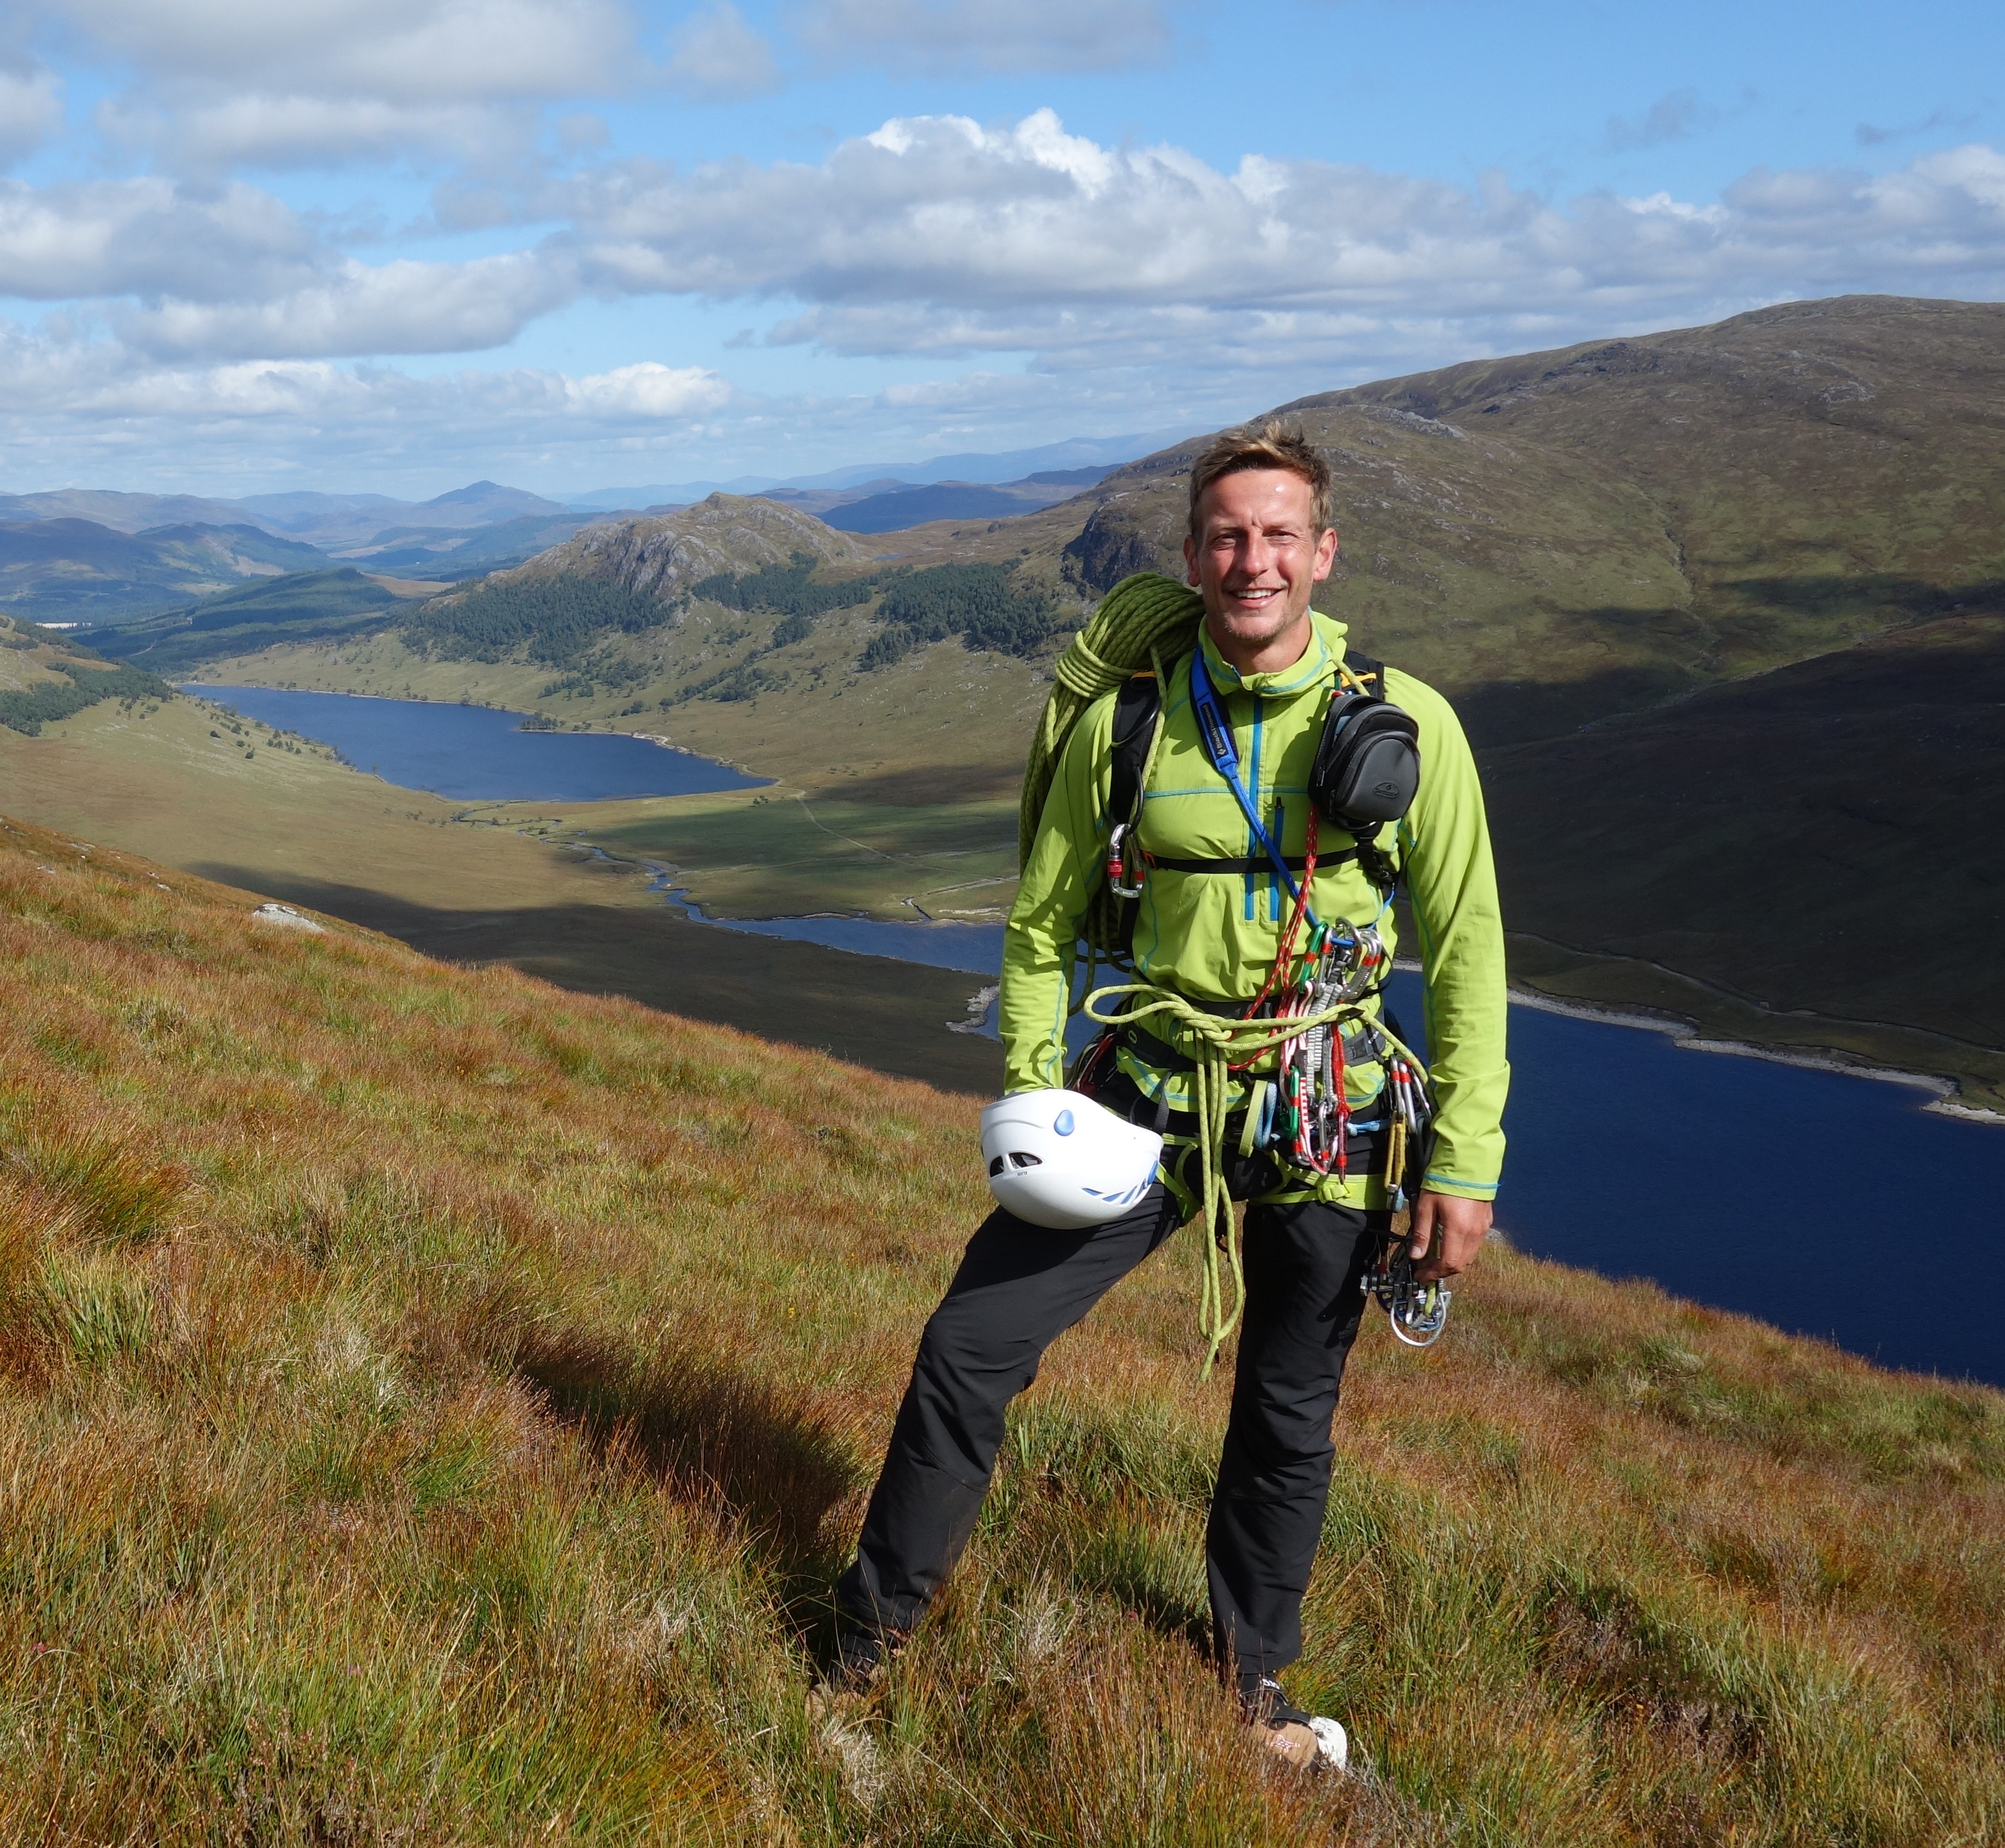
Our former esteemed editor, Kieran is a passionate rock climber and mountaineer. He's enjoyed many mountain adventures, from the Himalayas to the Italian Alps and he now lives in Scotland. He's an expert when it comes to outdoor skills.
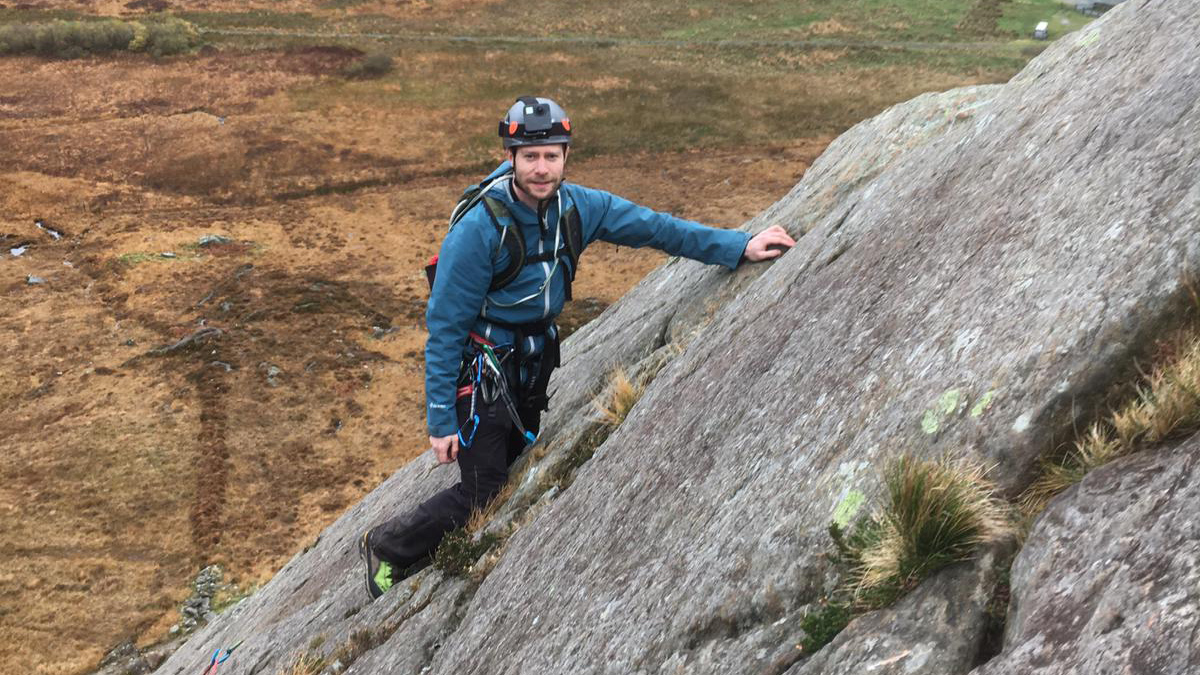
Alex is an accomplished scrambler, having completed many of the classic scrambles and ridge traverses across the UK. He's a Mountain Leader, former President of the London Mountaineering Club and loves getting his teeth into scrambling terrain when hiking.
Scrambling grading systems
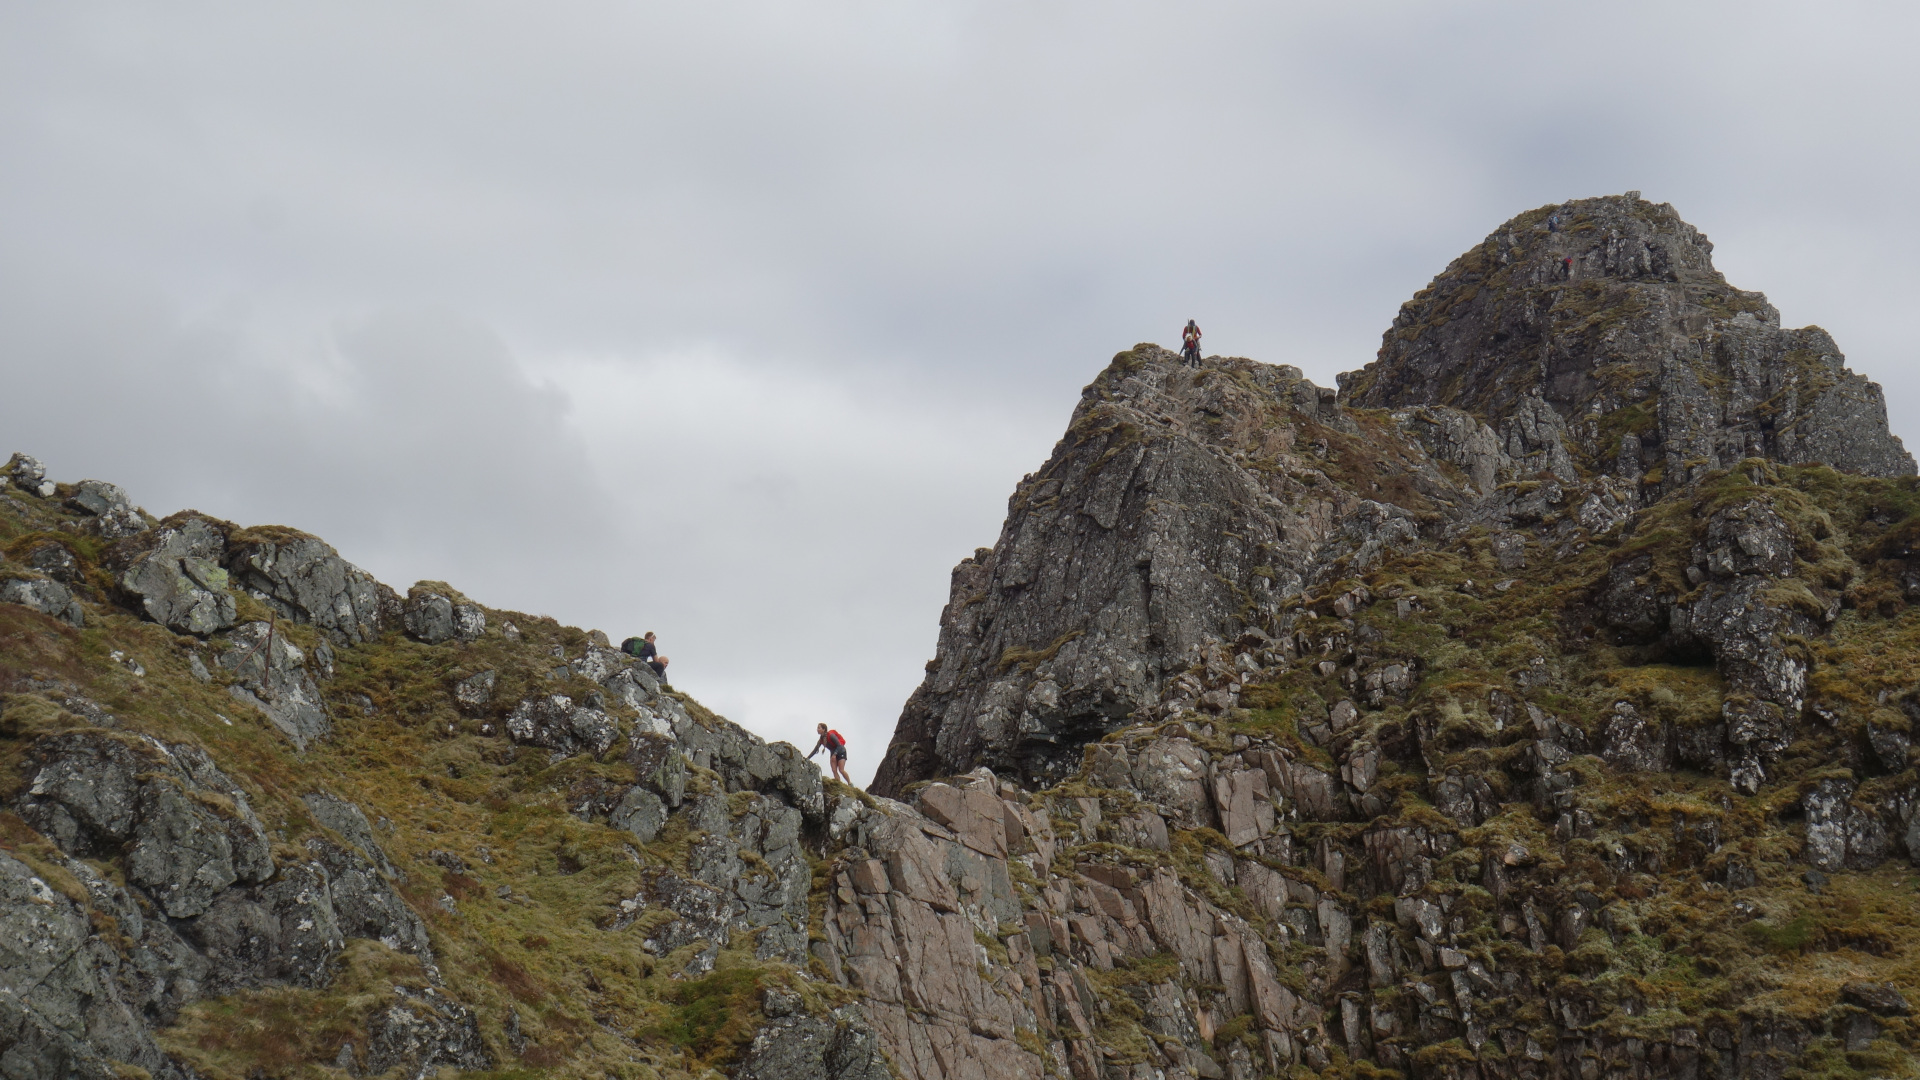
Different countries around the globe use different systems to grade the difficulty of scrambling routes. Below, we’ve added a brief overview of what to expect on scrambles of varying grades in the UK and US Yosemite Decimal Scale (YDS) systems.
Grade 1 UK/Grade 2 YDS
All the latest inspiration, tips and guides to help you plan your next Advnture!
A route on which you’ll need to use both your hands and feet without making any “technical” (read: difficult, as in rock climbing) moves. These routes have limited exposure and, in most cases, do not require the use of ropes.
Some examples of Grade 1 UK scrambles include Crib Goch on Yr Wyddfa (Snowdon) and Striding Edge in the Lake District. Grade 2 YDS scrambles include Mt. Sneffels southeast ridge route in Colorado and the Blueberry Ledge Trail on New Hampshire’s Mt. Whiteface.
Grade 2 UK/Grade 3 YDS
Scrambling on steeper terrain with increased exposure. While these routes are unlikely to require sustained technical moves, there may be a few sections that feel more like easy rock climbing than advanced hiking (see: What is hiking?). Examples of Grade 2 UK scrambles include the Liathach Traverse in Torridon and the Aonach Eagach in Glencoe; popular grade 3 YDS scrambles stateside include the Sawtooth on Colorado’s Mt. Evans and Zion National Park’s increasingly infamous Angels Landing (see: Why do so many people die at Angels Landing?)
Grade 3 UK/Grade 4 YDS
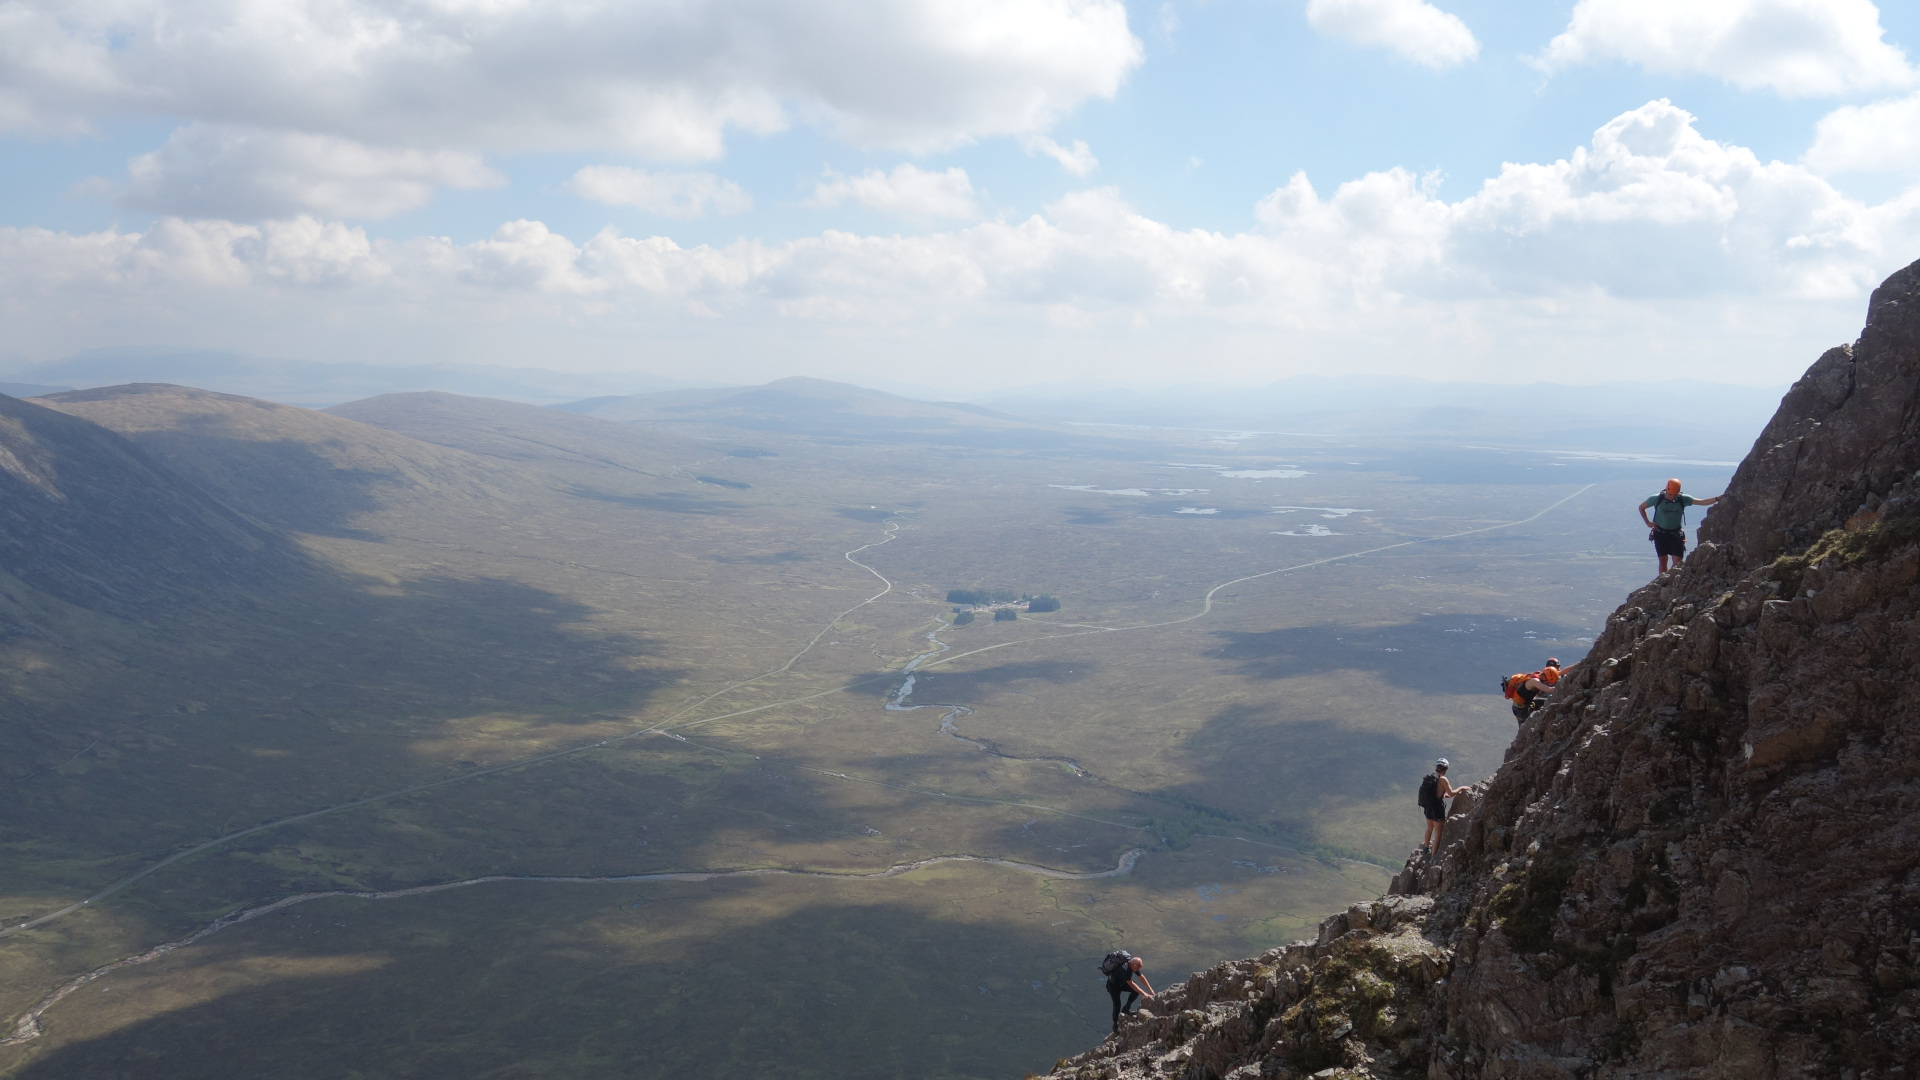
These scrambles are, essentially, moderate rock climbs. You can expect plenty of exposure, more technical moves, and in most cases will need to use a rope, harness, and helmet for safe progression. Examples of grade 3 UK scrambles include Curved Ridge on the Buachaille Etive Mòr, the Lake District’s Pinnacle Ridge, and Elbow Ridge in the Peak District.
What footwear is best for scrambling?
- Approach shoes are arguably the most suitable footwear for scrambling
- Most scrambles could be done in hiking shoes or even trail running shoes
- Climbing shoes are not appropriate for scrambling
I've done loads of UK Grade 1 and 2 scrambles wearing my trail running shoes without any issues.
Alex Foxfield, avid scrambler
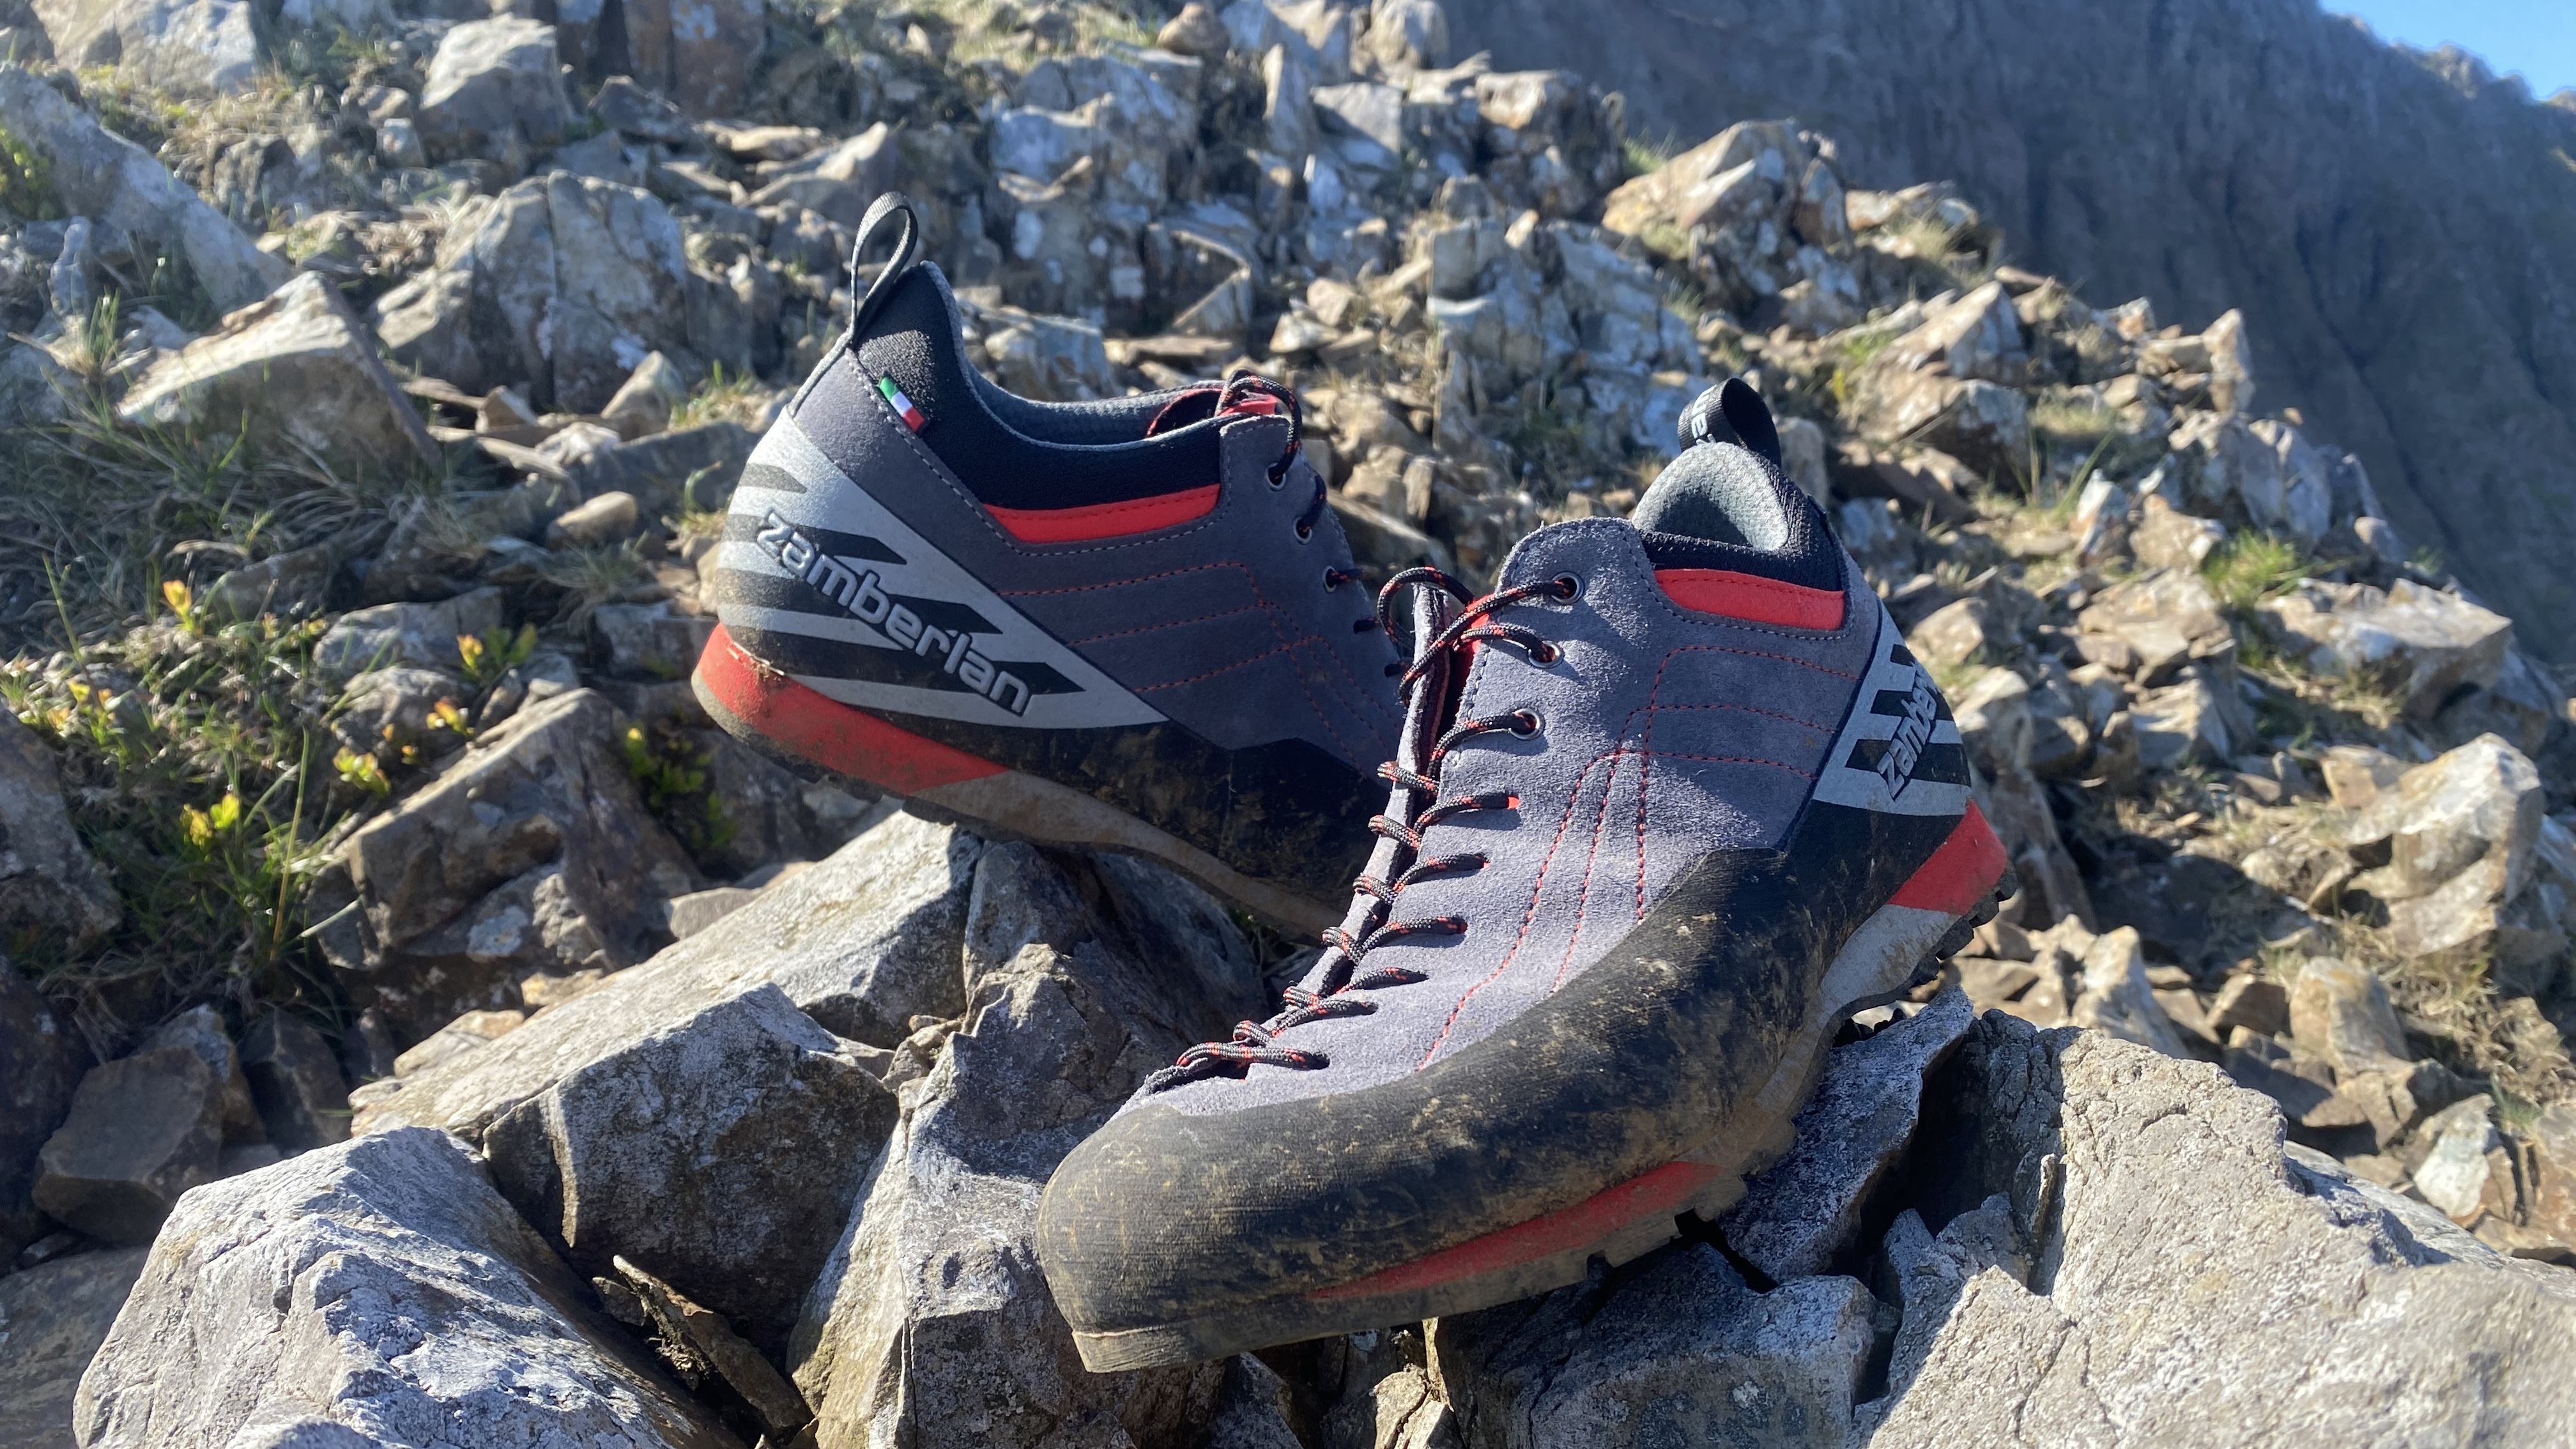
Arguably the best type of hiking footwear for scrambling is the approach shoe, as it's specifically designed for the kind of rocky terrain that graded scrambles throw up. There are many reasons an approach shoe is a good shout, from the stiffness of its outsole and it's flat rubber "climbing zones", to the high levels of protection it provides against rock abrasion and it's narrow, precise fit.
However, quality hiking shoes are perfectly suitable when taking on scrambles too, particularly for less committing routes. Compared to approach shoes, they're generally not quite as grippy on rock or as narrow for intricate footwork. Many hiking boots, particularly winter hiking boots and mountaineering boots, are just as capable as approach shoes thanks to their rigid and grippy soles. The disadvantage is that they tend to be a bit heavier.
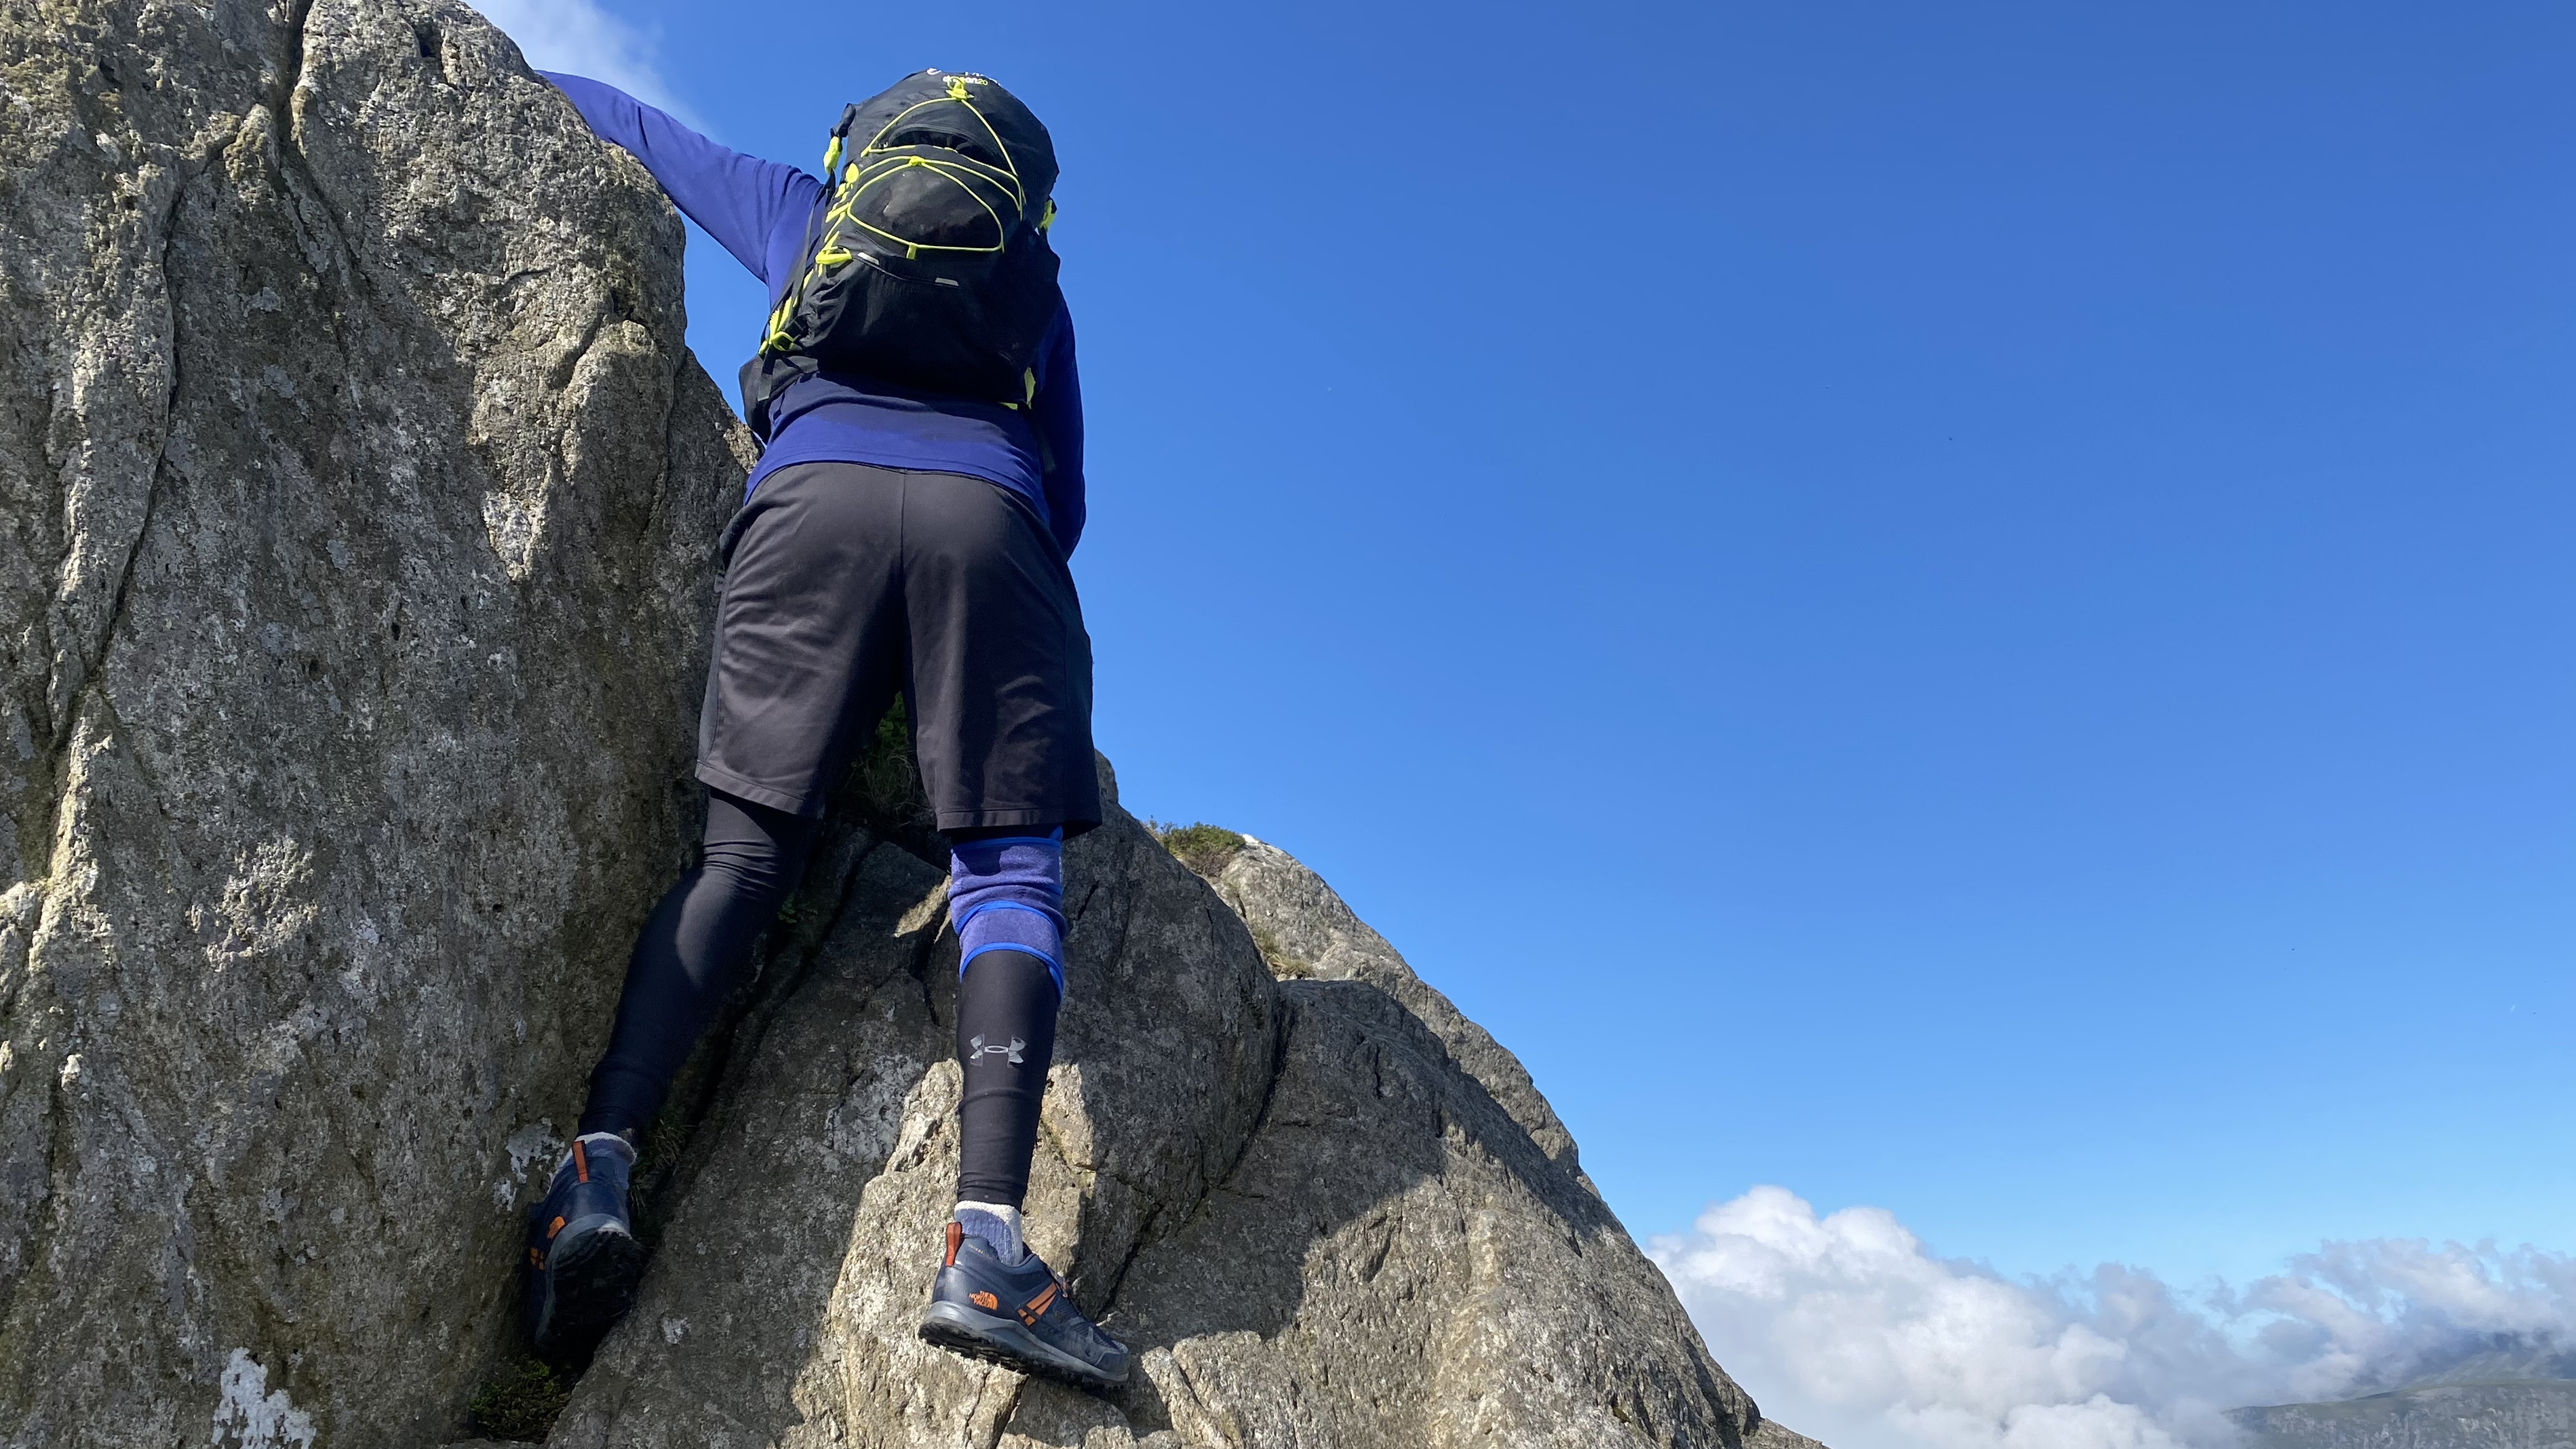
If you're a confident scrambler, you can even wear trail running shoes on easier routes, allowing you to move quickly through exciting terrain. The downsides include less protection against scrapes and not quite as much grip on the rock as some, while the flexibility of the outsole provides less hold when edging.
Scrambling routes usually contain more hiking terrain than they do easy climbing terrain. It's often a case of rock steps interspersed with a bit of walking. Due to this, climbing shoes are not recommended for scrambling, as they're not designed for walking in and would prove to be very uncomfortable.
What equipment do you need for scrambling?
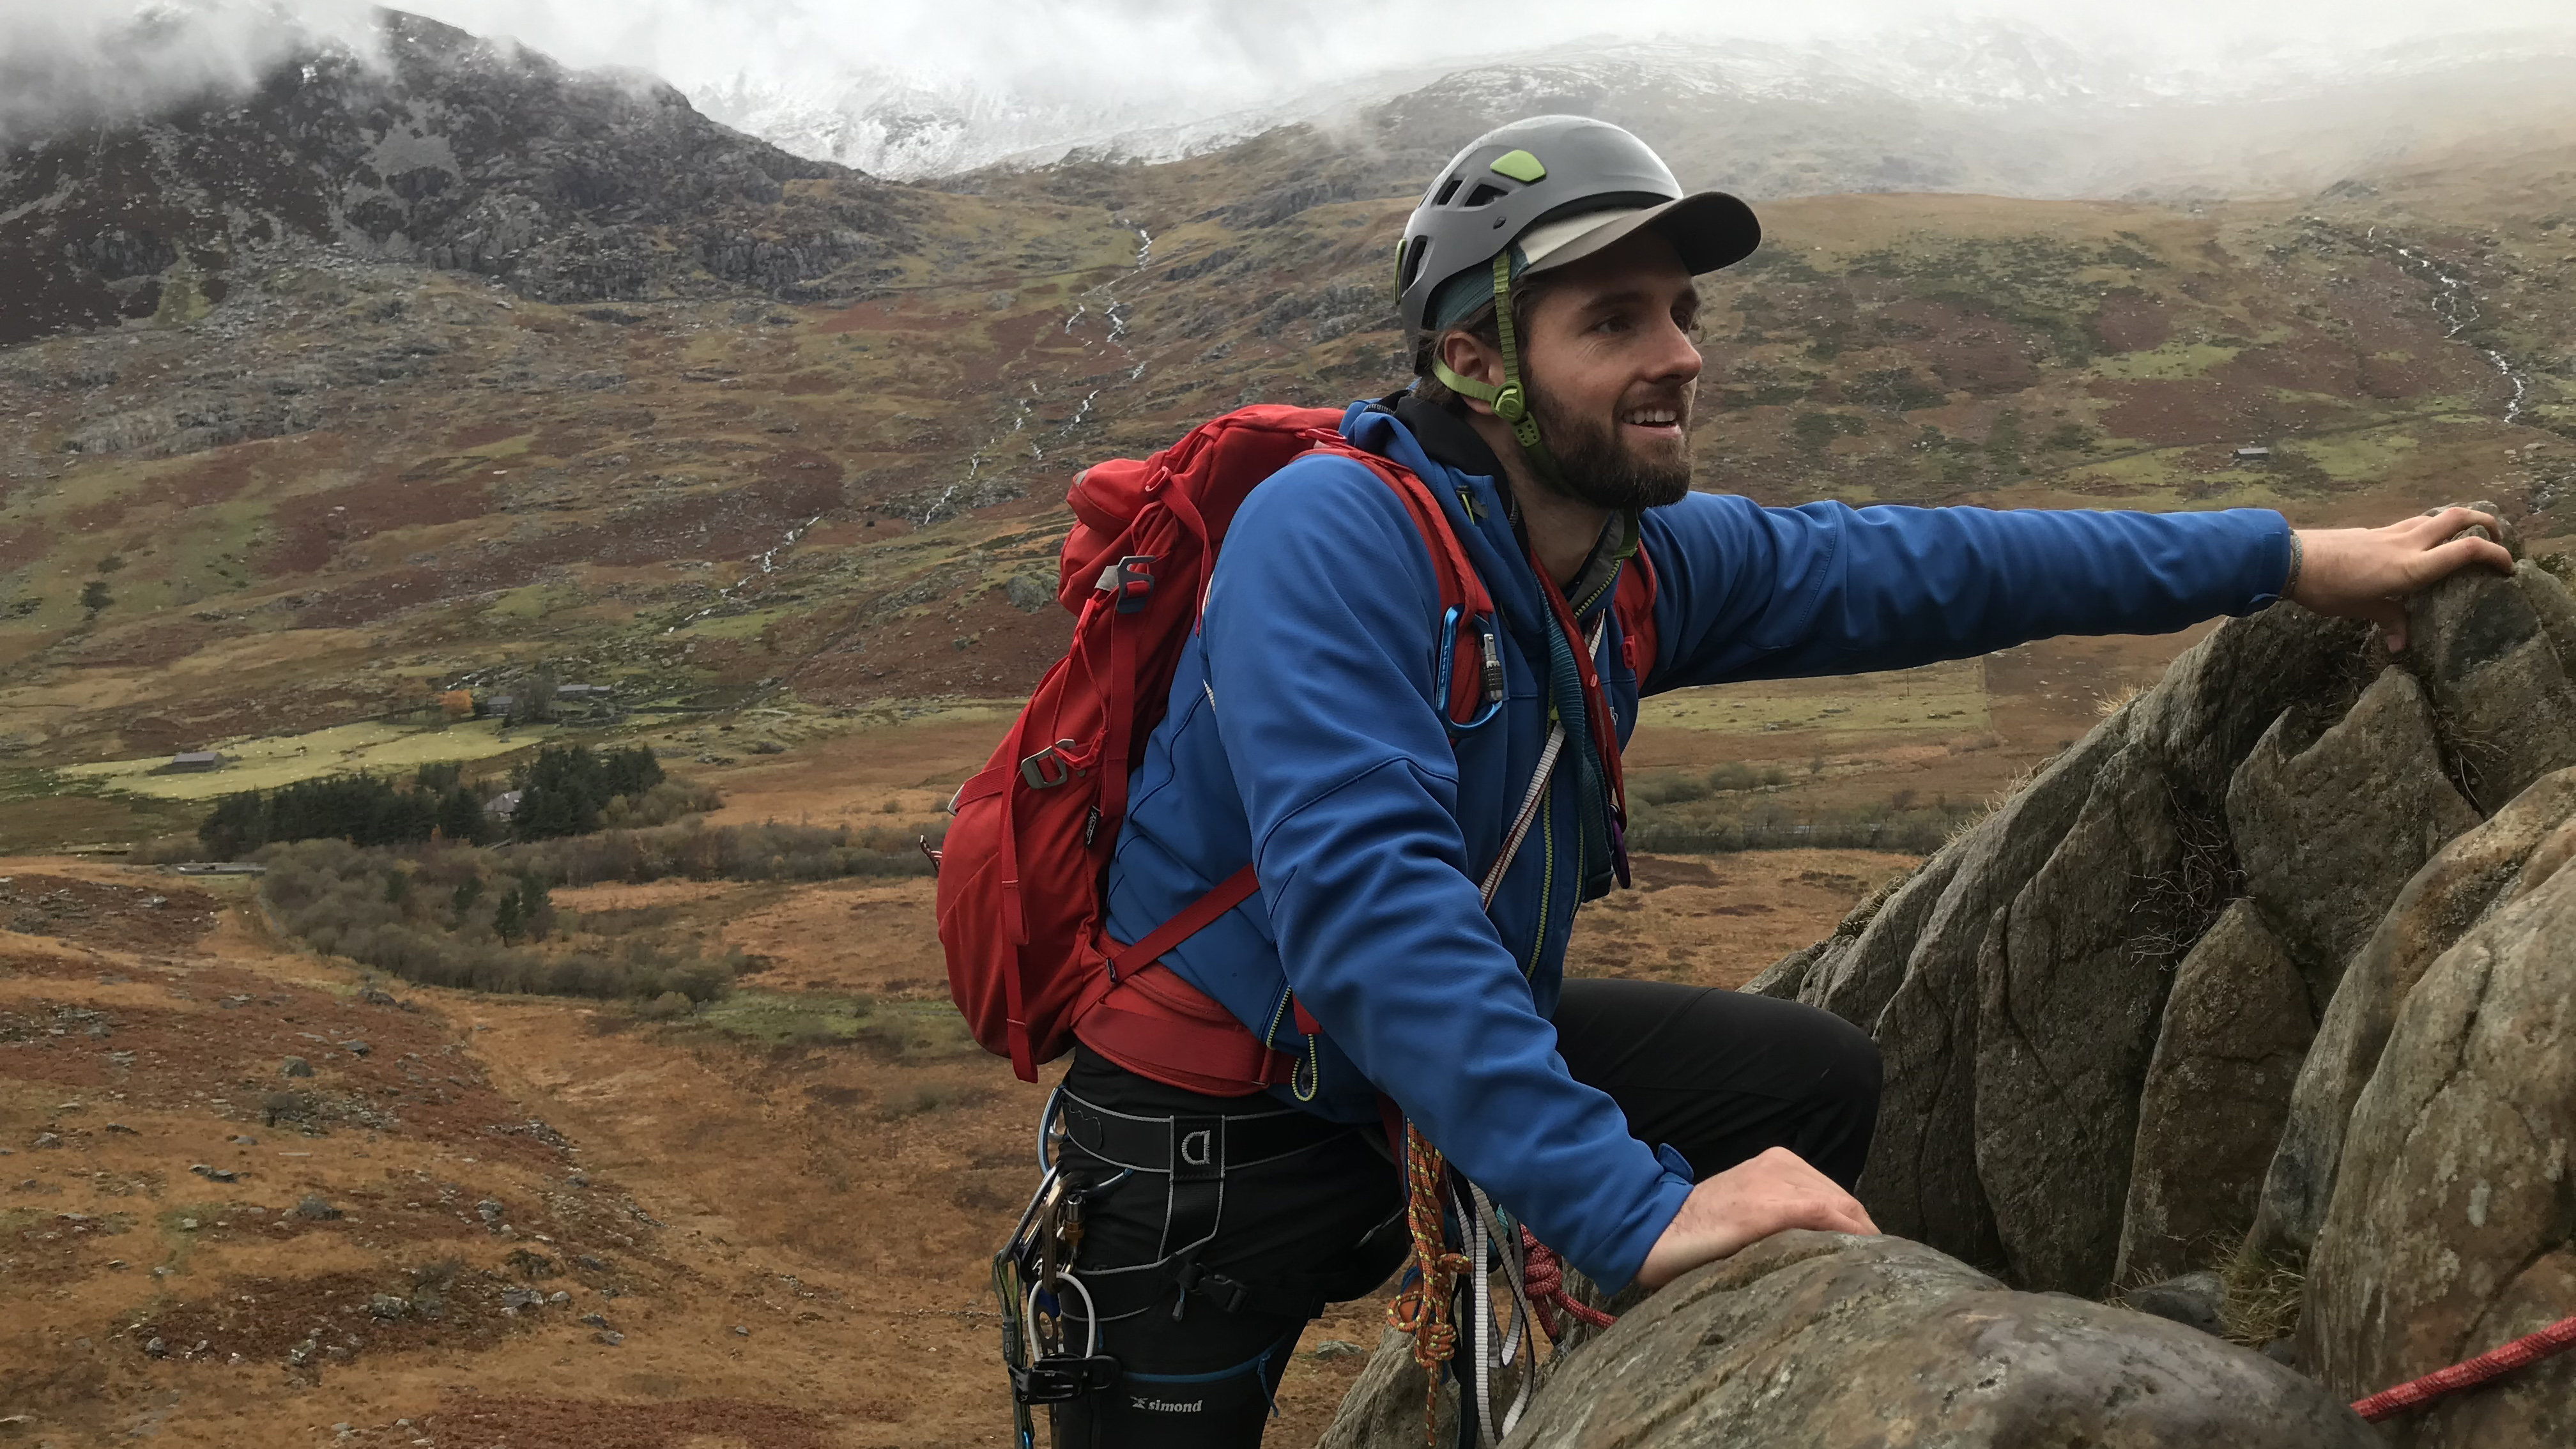
Whether or not you start to deploy climbing equipment really depends on your confidence on steep, rocky terrain. Generally, UK Grade 1 scrambles don't require any additional equipment on top of your hiking essentials. The only caveat here is that if your route takes you up a gully, a climbing helmet is always a good idea, as rocks can fall from above.
Similarly, many people would still be happy without any additional equipment for UK Grade 2 terrain, though some may choose the protection of climbing equipment at this point. Once you get into UK Grade 3 ground, you're essentially rock climbing and most would value the reassurance of a rope. Having said that, many confident climbers would still be content without.
If you do decide to rope up, here's our recommended kit list:
- Climbing helmet
- Climbing harness
- Manual belay device
- 30-50-metre rope of around 10mm thickness
- A few 120cm slings with screw gate carabiners
- A 240cm sling with screw gate carabiners
- 4 or 5 quickdraws
- A set of wall nuts (sizes 2 to 10) on a snap gate carabiner
- A set of hexes, each one attached to a snap gate carabiner
- A nut key
- 3 extra screw gate carabiners
Five rules to follow on your scrambles
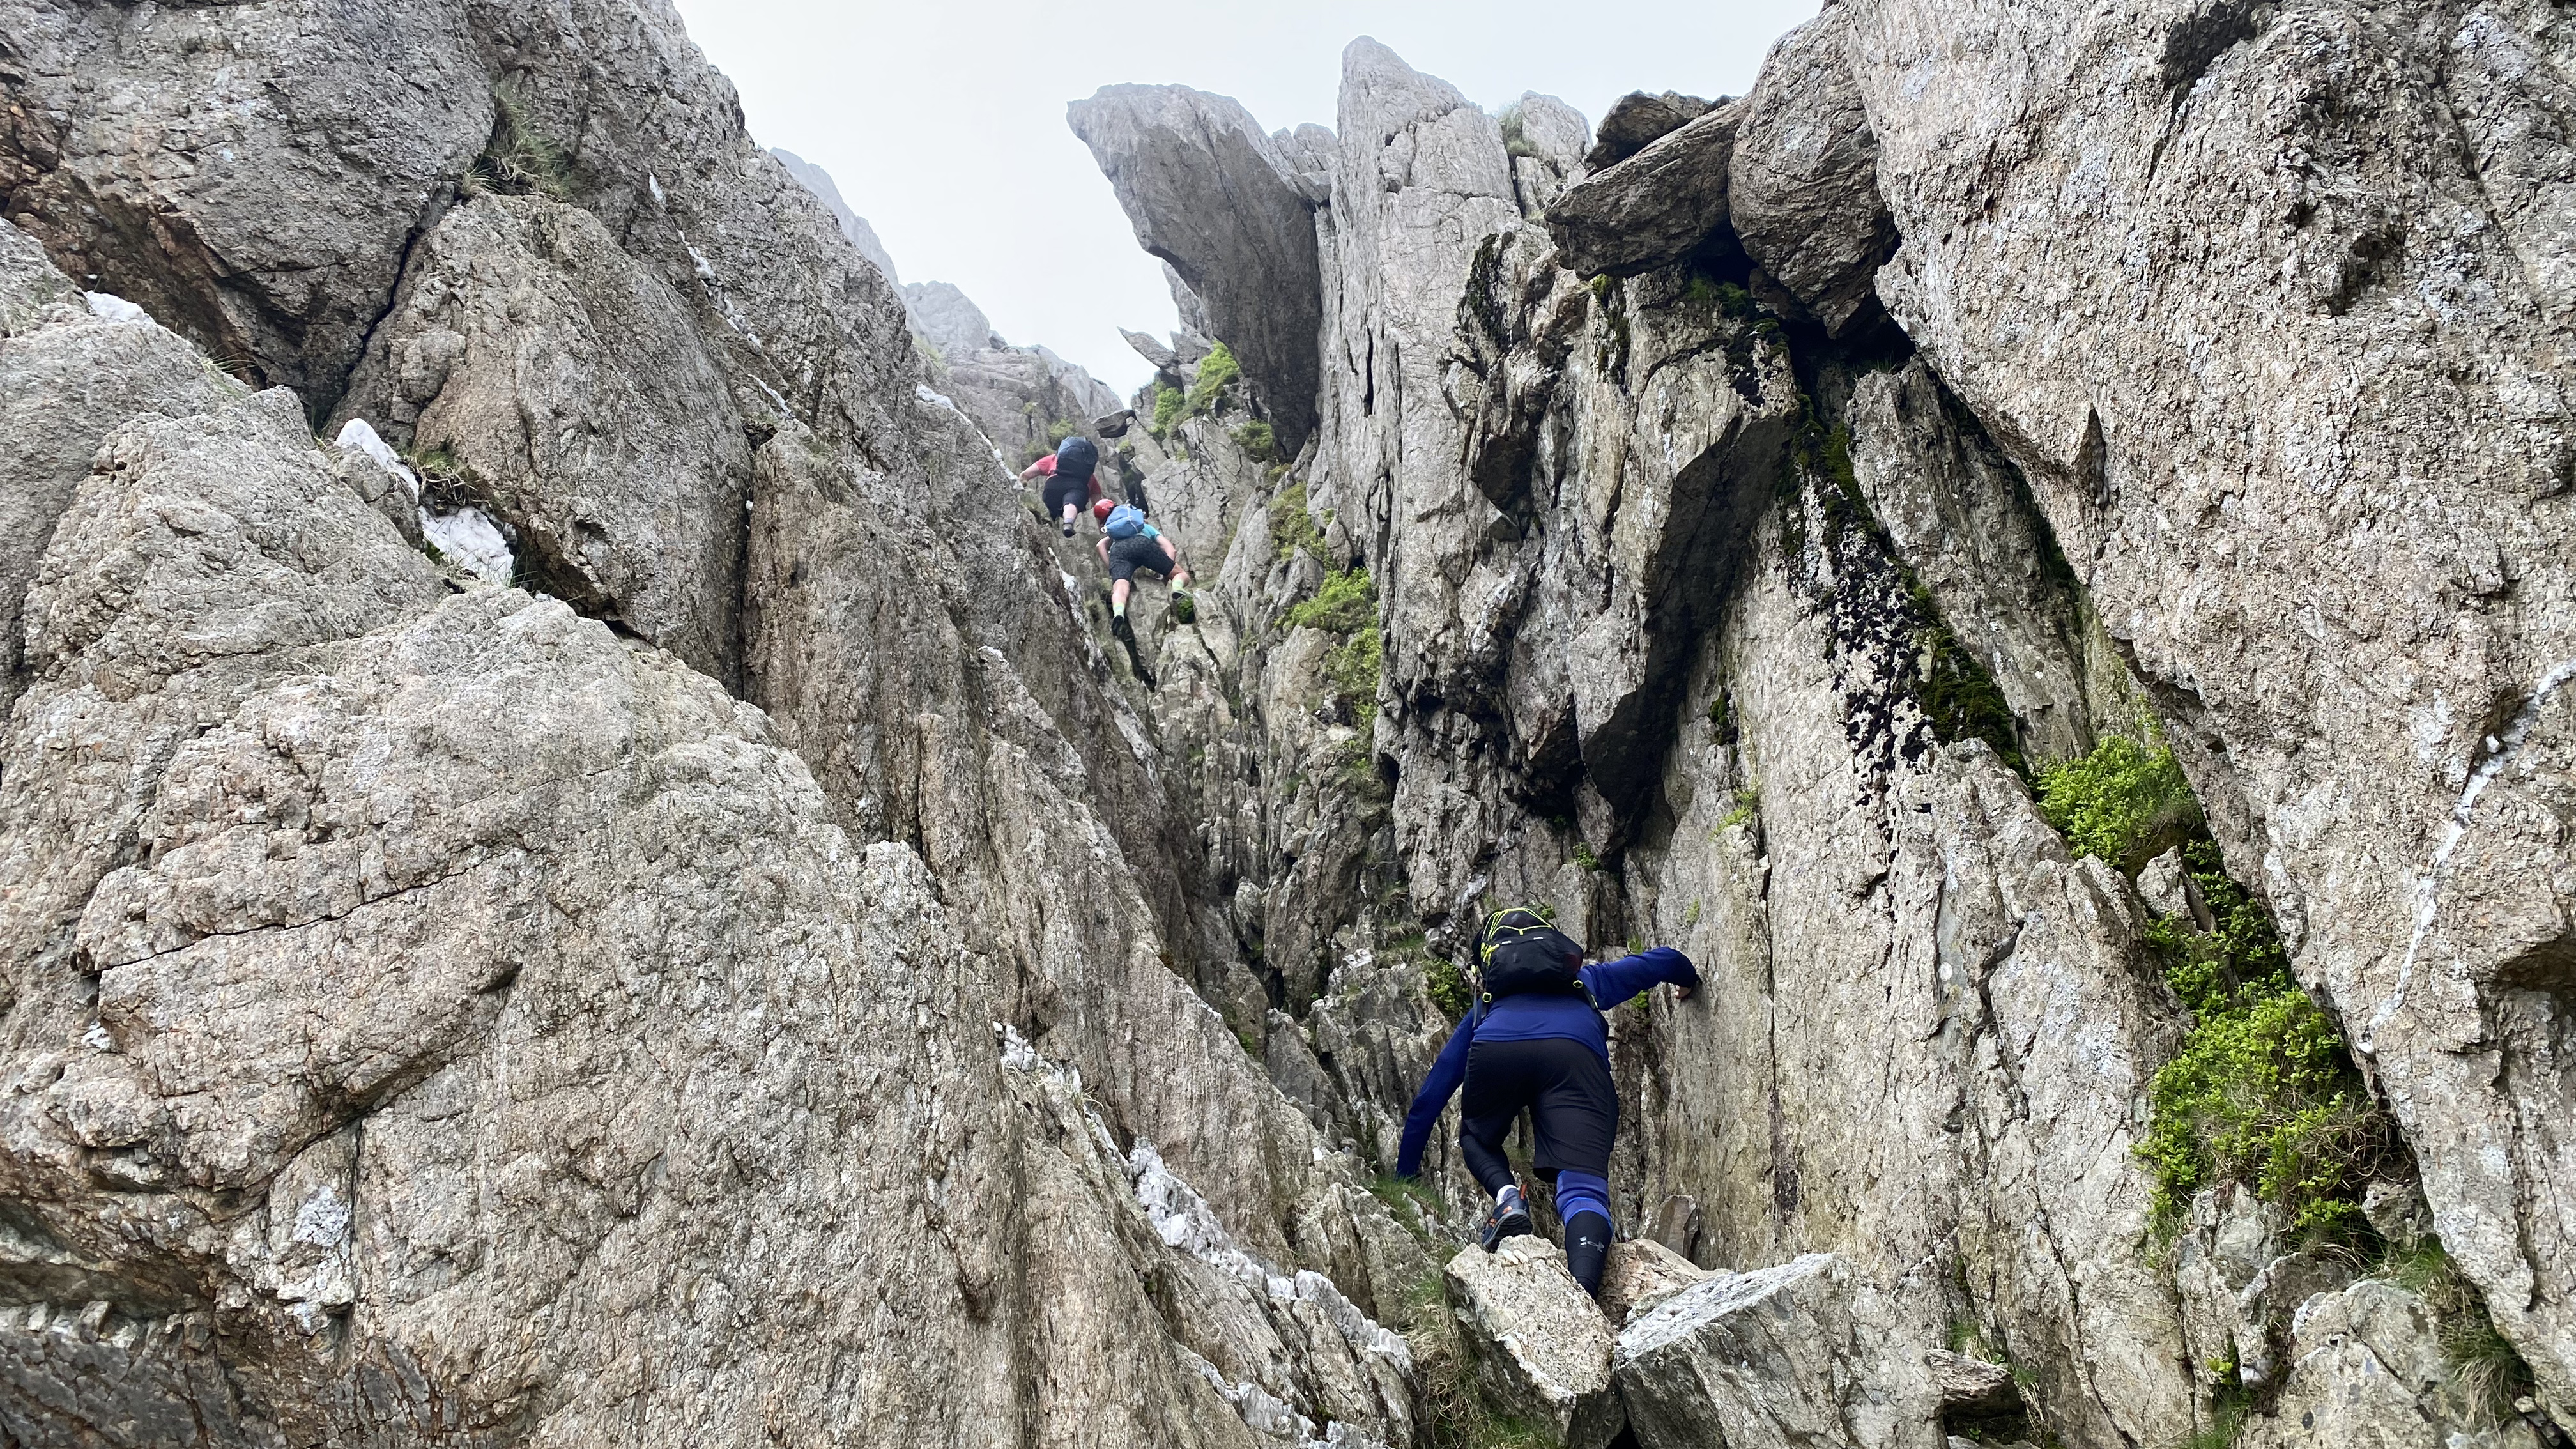
If you’re interested in giving scrambling a try, here are five tips that will help you do so safely:
- Maintain three points of contact with the rock at all times To help maintain balance and ensure you’ll be able to prevent a fall if you slip.
- Wear appropriate footwear Grippy rubber outsoles will make a big difference, as will a stiffer “climbing zone” in the toe. Approach shoes are ideal, as they're specifically designed to grip rocky terrain, though most types of hiking footwear are fine.
- Test handholds before committing your weight to them …because you never know when you’ll come across a loose one!
- Gear up On all but the easiest scrambles, it’s a good idea to wear a helmet and rope up with your partner. Even if you are confident in your ability to negotiate the scramble, you never know when you might lose balance as a result of a loose handhold or rocks knocked down by scramblers above you on the route.
- Up is easier than down Downclimbing is always much more difficult than upclimbing, mainly because of the difficulty of spotting suitable footholds and handholds from above. This being so, it’s best to find a walk-off route for your descent rather than trying to climb back down the same way you go up.
Former Advnture editor Kieran is a climber, mountaineer, and author who divides his time between the Italian Alps, the US, and his native Scotland.
He has climbed a handful of 6000ers in the Himalayas, 4000ers in the Alps, 14ers in the US, and loves nothing more than a good long-distance wander in the wilderness. He climbs when he should be writing, writes when he should be sleeping, has fun always.
Kieran is the author of 'Climbing the Walls', an exploration of the mental health benefits of climbing, mountaineering, and the great outdoors.
