
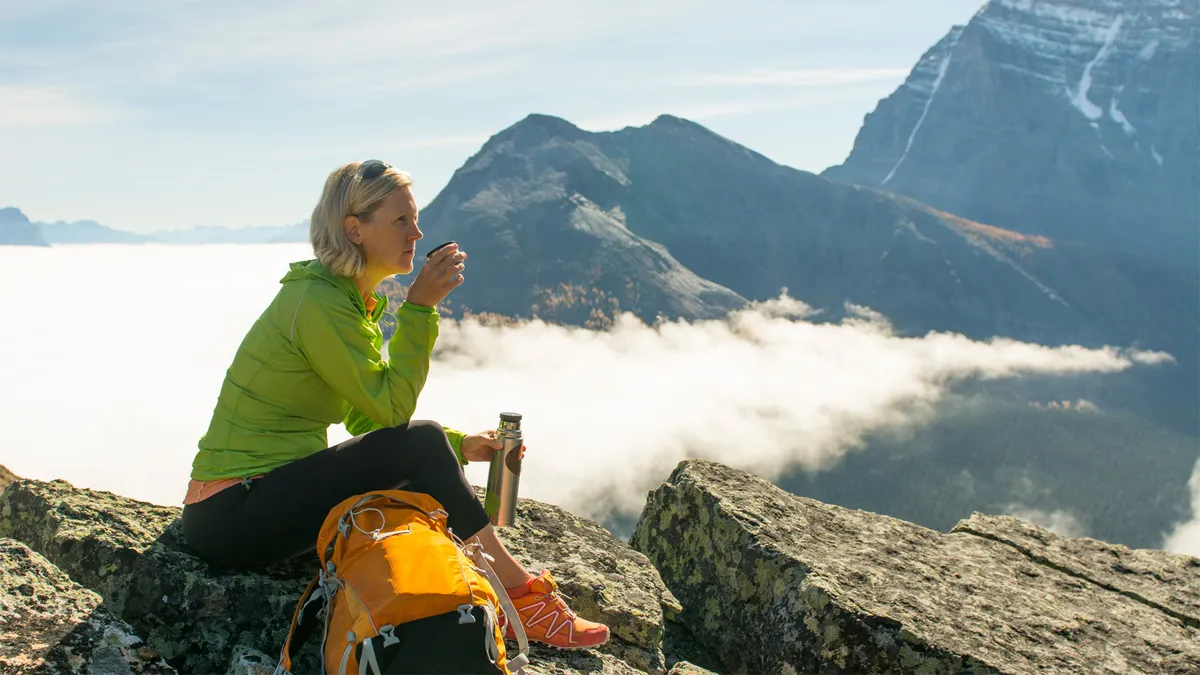
If, like me, you spend a lot of time in your hiking boots, you’ve probably learned that it’s not always easy to stick to a healthy diet on the trail. I’m not just talking about backpacking and thru-hiking here either, although those adventures definitely compound the issue. Even on day hikes, the temptation to just grab a ham and cheese sandwich, a bag of chips and, let’s be honest, a Snickers bar, is all too easy. After all, it’s convenient and packed with calories – perfect when you’ve just had a long climb to the summit. That is, until I discovered the joys of the Thermos meal.
I’ve always been into healthy eating. What that means is different for different people, but for me it means following a primarily Ayurvedic diet – warm, freshly cooked meals, lots of fruit, vegetables, legumes and whole grains, and tons of digestive spices. You know, all the stuff that you can’t easily enjoy on a hike. Or so I thought anyway.
Back in 2012, when I was training to become an Ayurvedic Wellness Practitioner, one of the biggest challenges we had to learn to help clients with was juggling freshly prepared meals with a modern lifestyle. Long days at the office and hectic childcare schedules rarely lend themselves well to enjoying a fresh lentil dahl with rice and steamed veggies for lunch. There’s a reason why sandwiches wrapped in plastic are so appealing, and it’s not often the taste. The best solution I learned on the course, and one that has been beneficial for hundreds of my clients over the years, is the Thermos meal.

The Thermos meal takes under 10 minutes to prepare, it’s super cheap, and as I quickly figured out, it’s not only for busy office workers. When you’re leaving the house at 6 a.m. to bag a peak before the afternoon thunderstorms roll in, you no longer have to rely on packaged, processed foods, or a salad that turns into limp, lukewarm lettuce that’s been bashed around in your backpack for hours.
To be clear, I’m not saying there’s anything wrong with grabbing the odd sandwich, and it’s definitely an easy way to get calories in, but if you hike as often as me, that way of eating can start to become a problem. You might even have found yourself wondering whether you’re off-setting some of the health benefits of hiking in the first place with your dependence on convenience foods.
If that sounds like you, read on for how to make a Thermos meal. With this recipe, you can enjoy a freshly cooked (yes, really!), plant-based, protein-rich, affordable and hot meal on your next summit.

What you’ll need for a Thermos meal
For starters, you’ll need a flask that’s appropriate for food, meaning it has a wide neck for both pouring food into and eating out of. I’ve been hiking with my Thermos Stainless King Food Flask for years and I absolutely love it. It’s not so big that I can’t easily pack it into my hiking backpack (or even shove it in my hiking boot during transport), and it comes with its own folding spoon that packs away inside the lid that can also serve as a bowl. It’s genius.
Other than that, you’ll just want to make sure you always have rice and lentils in your pantry and a couple of vegetables in your fridge. If these are already staples of your diet, you won’t even have to make a special trip to the grocery store, and if you do, buy the pulses in bulk and save money.
How to make a Thermos meal for hiking
Ingredients
- A dash of oil or ghee
- 1/4 cup red lentils (rinse well)
- 1/4 cup basmati rice (rinse well)
- 1 cup fresh vegetables (I like zucchini, carrots and peppers, all diced to a size that will fit into the thermos)
- Spices to taste (e.g. salt, pepper, cumin seeds, black mustard seeds, fennel seeds, coriander seeds, turmeric etc.)
- Some boiling water
Method
- If you’re heading out on an early hike, I strongly recommend chopping your vegetables and soaking your pulses the night before to speed things up in the morning.
- Boil the kettle.
- In a small-to-medium sized pot, heat the oil and gently fry the spices for 30 seconds to release the aromas.
- Add the lentils, rice and chopped vegetables and stir to coat them in spices.
- Straight away, pour enough boiling water in to just cover the ingredients, then boil for five minutes (10 if you live at high altitude).
- Immediately pour the mixture into your flask (you may need to use a spoon to help it go in more easily.) If there is space at the top, add a little more boiling water. Screw on the lid quickly, and leave the thermos closed for at least three hours. The meal inside will cook while you hike.

