
If you're heading out on a thru-hike or even a short backpacking adventure, you have to know how to pack a backpack. Do it wrong and you become the go-to cartoon image of a backpacker, someone who's sweating, buckle-kneed, staggering along under a huge and bulging bag hung with spare hiking boots, a dangling kettle and a cast iron frying pan. The way to avoid being the caricature and having an easier and more comfortable experience is to know how to load that all-important backpack from the get-go.
Advanced technology and new materials have led to the evolution of better and more ergonomic backpacks, and with the addition of new, weight-saving kit to go inside them, the best hiking backpacks have never been easier to pack light. But there are still some guidelines and even a few rules that can make the difference between comfort and struggle when carrying your world on your back. In this article, we guide you through choosing the right pack, preparing your gear and organizing it for the best weight distribution as well as easy access when you're on the move.

1. Choose the right backpack
First and foremost, make sure you have the right sort of backpack. Knowing how to choose a backpack is a whole topic in itself, and you need to consider the following factors carefully:

- Capacity: ranges from 15L to 65L and bigger.
- Weight: as a general rule, the more cushioning and features, the heavier the pack will be.
- Sizing: suitably sized and fitted backpacks ensure that the load is distributed in a way conducive to comfort.
- Comfort: this can be aided by a hip belt, shoulder straps, load lifters and padding.
- Additional features: like a rain cover, hydration sleeve and gear loops
For a backpacking trip, it's useful to have a pack with a few pockets and easily accessible sections where you can stash things you might want to locate and source quickly and easily. Extra layers and waterproofs, for example. And snacks.
Although it’s tempting to go for a pack with large capacity, the bigger a bag is, the more you’ll put in it. We’ll get on to this in a moment, but for a successful backpacking trip, you need to be ruthless with your selection and rejection of gear. Don’t tempt yourself to carry more than you need.
Beyond that, make sure you’re completely comfortable wearing the pack, and that the harness doesn’t sit awkwardly or rub you.

2. Make a list, check it twice
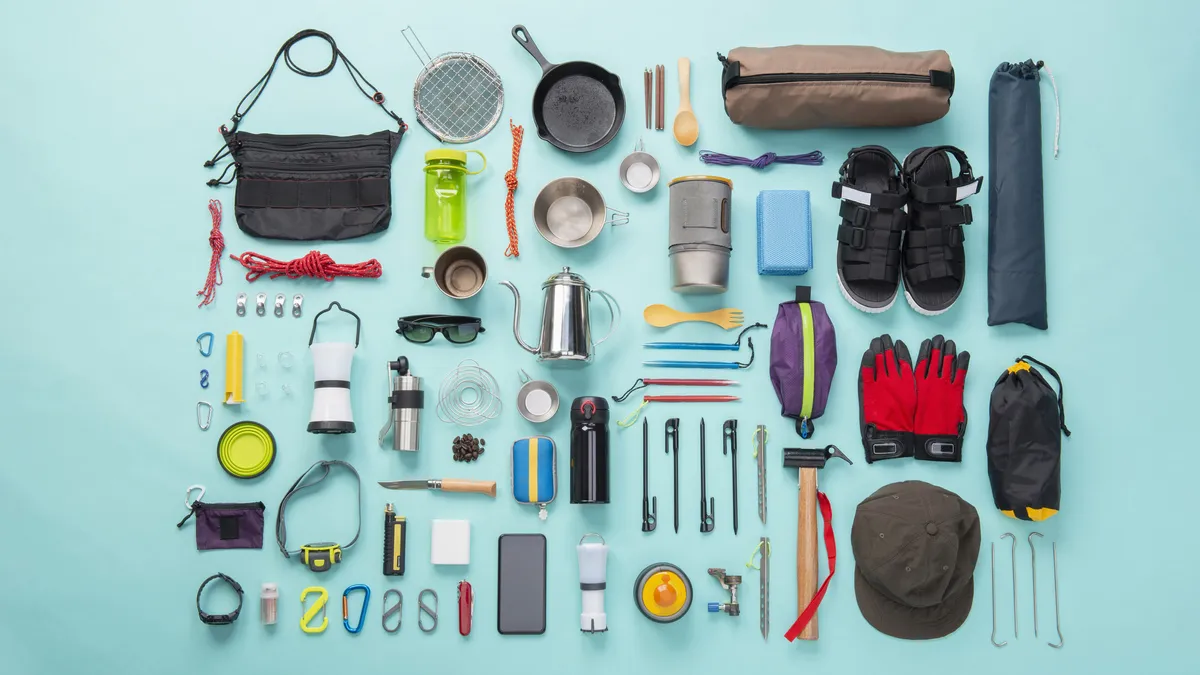
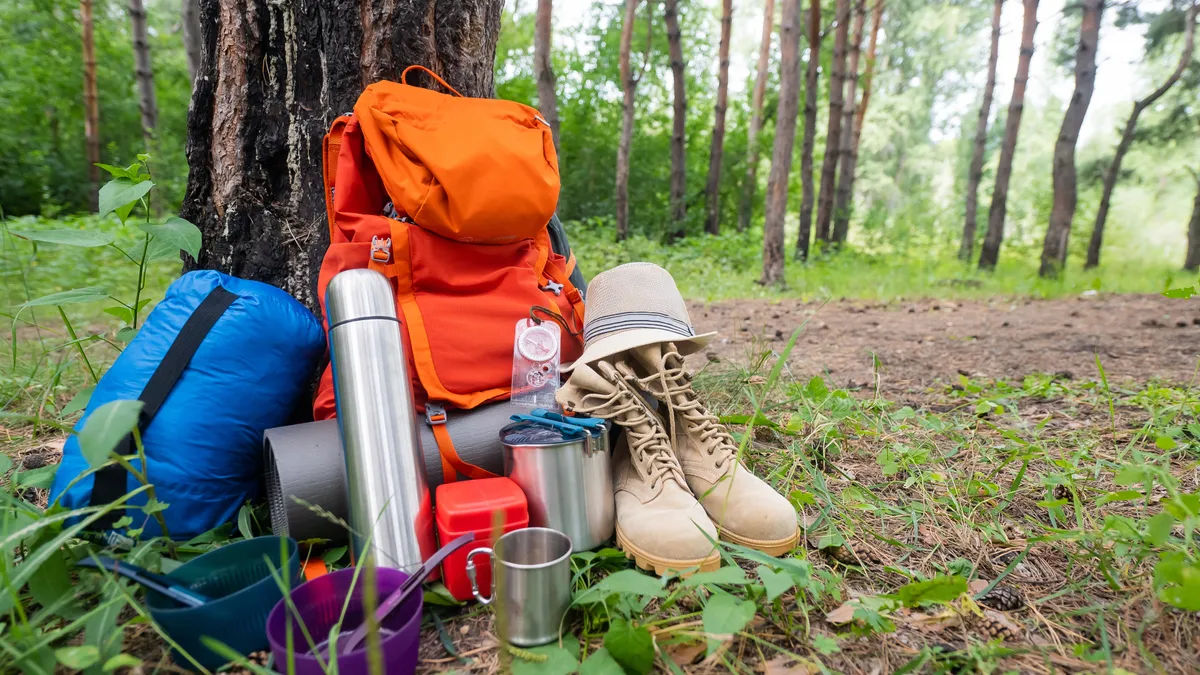
Once you've chosen your backpack, think through the coming journey and make a checklist, not only of your normal trip carry, but adding things you might need for the specific adventure ahead: do you need a hydration bladder, particular maps, gaiters? Assemble all the kit on a clear area like the floor or your bed before you start packing. Sounds obvious but there's nothing more annoying than discovering you've forgotten to put your best sleeping bag liner in with the rest of your sleeping kit in its waterproof bag and so having to unpack and start again.
3. Less is more
Before you start putting things into the backpack, have another look at what you're taking. That thing you're going to haul along 'just in case’ – what are the chances you'll really need it? And if you do, is there something else you’re already carrying that might work as well (a titanium mug for a second pot, for example)? Knowing what you really need – and learning to need less (though better) kit – are two skills that come with more experience.
Don't overstuff your backpack – there's little more frustrating when out on the trail than having to wrestle all your kit out and back in just to get to something wedged in tight. A good tactic when it comes to packing for a multi-day or multi-week hike is to pack everything into the smallest backpack it will physically fit into, then take it all out again, add absolutely nothing, and repack it all into a slightly bigger pack. That means your kit is packed loosely enough to root through easily, and there's extra room inside to add supplies or anything else picked up along the way.

4. Distribute your backpack weight properly
Most people have their own system of organizing and packing what they need, to suit their own style, but there are some basic rules:
- Keep the heaviest items low down and as close to your back as possible. This means most weight is being carried close to the hip belt, and isn't either pulling you backwards or swinging about over your shoulders, which could unbalance you as you walk or scramble.
- Make sure that nothing hard or pointed, (cookware, tent pegs), lies up against your back – especially if using a lightweight pack with a minimal frame. If you're using a foam mat for a sleeping pad, fold it and put it inside against your back to provide extra padding.
- Consider ease of access in relation to how often – or how quickly in the case of waterproof clothing and first aid kits – things might be needed.
4. Weatherproof the essentials
You'll have peace of mind if you pack anything that must not get wet in a light drybag, or even a trash bag, even if you’re using a waterproof backpack. ‘Belt and braces’ is a good policy, especially when it comes to keeping your best sleeping bag and warm clothing dry. It’s best to place sleeping gear towards the bottom of the pack so it doesn’t have to be taken out – especially if it’s raining – before you’ve set up camp. Learn more in our article on how to waterproof a backpack.
Fragile – or small, hard items – can be wrapped in a sleeping bag if not needed during the day. Also insulate spare batteries if walking in the cold months, when they drain quickly.
5. General organization
Follow these tips for general organization of your gear inside your pack for ease of accessibility.
- If you have a tent that erects fly-sheet first you can separate out the inner and keep just the flysheet, poles (if not using trekking poles) and a few tent pegs at the top of the pack to get basic shelter up quickly at the end of the day. Then you can relax and set up the inner and unpack everything else undercover whatever the weather.
- Organize your gear into 'rooms’. Put everything for sleeping into a 'bedroom' bag. Cooking equipment in a ‘kitchen’ bag, with another soot-, fuel- and grease-proof bag inside that for pots and camping stoves. And so forth. There's little more annoying than finding your spoon isn't with the rest of the cooking utensils just as you’re getting going on the rice and chilli beans.
- Nylon, draw-string storage bags are cheap, super lightweight, and come in all sizes, so they are good for organizing your kit into those 'rooms’ – especially if you use different colours for different bags, for quick identification purposes.
- Carry one small drawstring bag near the top of your pack, which is the equivalent of an old sailor’s ‘ditty’ bag: a place to put odds and ends that might be needed, though one doesn’t know where or when. Here's where you put some string, Duct tape (a length wrapped round a pencil to save space), a tiny tube of superglue, spare batteries for any electronic devices like GPS, a small back-up flashlight and the like. Put your first aid kit in there, too.
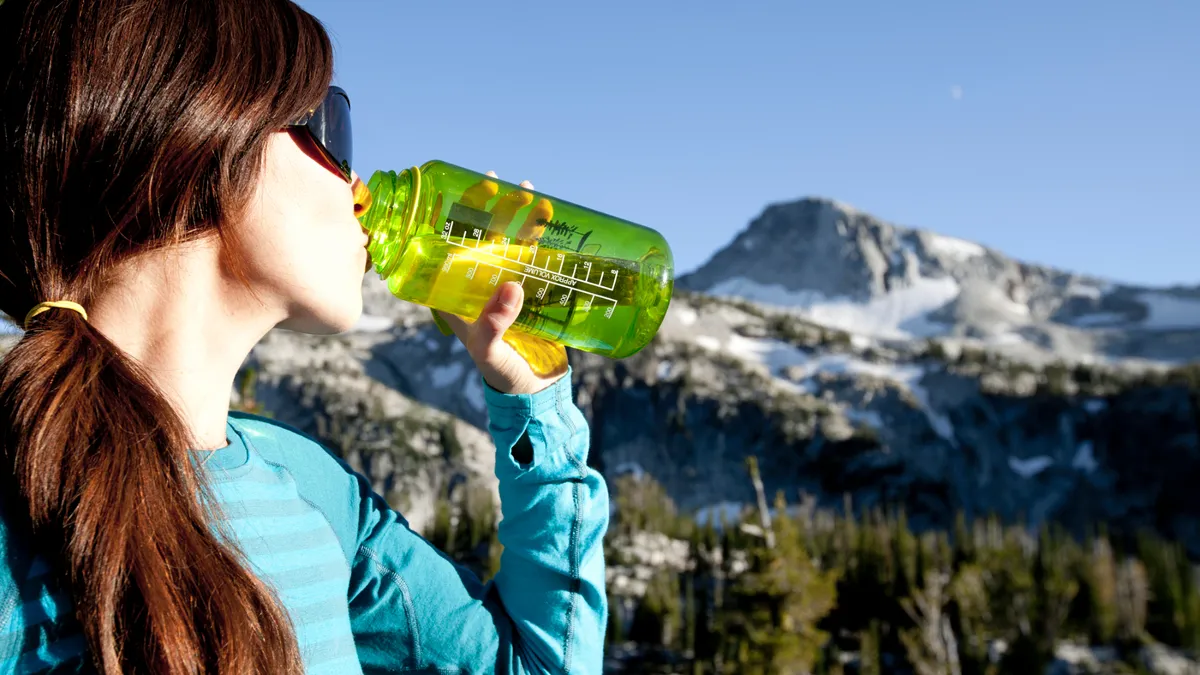
6. Factor in hydration
Having one or more zipped access points into different sections of the main part of a backpack isn’t so usual in modern lightweight backpacks, but most still have at least one outside large front pocket (good for folded maps, snacks) and/or two deep side pockets. Side pockets often take a litre or similar water bottle, and that’s handy for on-the-move hydrating, but try to balance the weight in the two pockets reasonably closely; for example, use tins of sardines as a movable backpack ballast.
Some backpacks have a dedicated pocket for a hydration bladder, with a portal for the drinking tube to exit by your shoulder. These reservoirs then sits centrally on you back, within the body of the pack, which alleviates the need for a balancing act, and having the tube easily accessible means you’re more likely to keep well hydrated.
7. Prioritize easy access
Most backpack designs have either an external or internal top lid pocket. This is a good place to keep things you might need quickly during the day, or when you first get into camp. It’s also where you might keep another tough waterproof bag with your wallet, keys and phone.
If a backpack has pockets on the hip belt wings, they can be handy for carrying your compass, on the go snacks; but they need to be loose enough not to compromise the fit of the belt, and shouldn’t interfere with the swing of your arms if filled.
Each day, before breaking camp, try and predict from the map and the weather forecast what might happen during the day and what you might want to have at the top of your pack or in an outside pocket where it’s easy to get at. If you’re climbing higher, that might mean a beanie and a warm layer; if it’s going to be hot, then sunscreen and sunglasses; if passing a village, then some money and possibly a phone charger.

8. Utilize your compression straps
Keep your waterproofs – whatever the forecast, and whether it’s a poncho, waterproof jacket or full set of foul-weather gear – on the outside of your pack. Stuff them into a long, narrow bag to make a ‘sausage’ several feet long but thin and bend it over the top of the pack and secure it with the side compression straps.
Compression straps are important for their designed purpose too. You should have a volume of kit that’s compact enough to leave a good bit of space in your backpack; cinch the straps in tight to stop things moving as you walk and keep everything inside in its place.
And now you’re ready to hit the trail. Try not to spend the first hour worrying about what you’ve left behind. Whatever it is, you’ll quickly learn to live without it!
- How to run with a backpack: 8 tips for success

