
If you’re an avid hiker, chances are you have your favorite trails that you visit frequently, partly because you love them and mostly because they’re easy to reach and fit into your schedule. Don’t get us wrong, these are all great reasons to keep revisiting the same trails, but if you’re looking for some new hikes, or visiting somewhere like a National Park where you're spoiled for choice, you might want some guidance as to what to look for in a hiking trail. How long does a three-mile hike take? How do you gauge how difficult a trail will be? Do you just pick a scenic spot and start walking? Hiking guidebooks and route finding apps are all handy tools to help you decide, but only if you know how to use them and what to look for. In this guide, we walk you through the steps of how to choose a hiking trail to help you find your next great adventure, and put your hiking boots to the test

1. Distance
The first thing you should check when examining a hiking trail is the total distance involved. That means how many miles the hike is from start to finish, or out and back as it’s better known. Next, ask yourself if you can reasonably walk that distance.
Now, in case it’s not obvious, you can always just walk as far down a hiking trail as you want, then turn back when you’re ready (we recommend leaving plenty of gas in the tank since at the turnaround point, you’re only half way of course), but if there’s a particular waymark that you’re hoping to see, such as a waterfall, viewpoint or standing stones, you’ll ideally want to make sure you can reach it. That means you’ll need the fitness and daylight hours to go the distance.

If you’re new to hiking, look for trails that don’t go much past the three-mile mark. The average hiking speed, without breaks, is 2.5 miles per hour so with a few breaks, you could easily fit that in in a morning or an afternoon, and you’ll know what time you need to leave by,
If you’re more experienced, you should have a rough idea of your own average hiking speed to help you gauge whether the hike is realistic – a six mile hike typically makes for a healthy half day while anything much longer than that will take the best part of the day for most hikers. Finally, if you’re using a route finding app, know that this data can be inaccurate so it’s wise to check several sources.

2. Difficulty
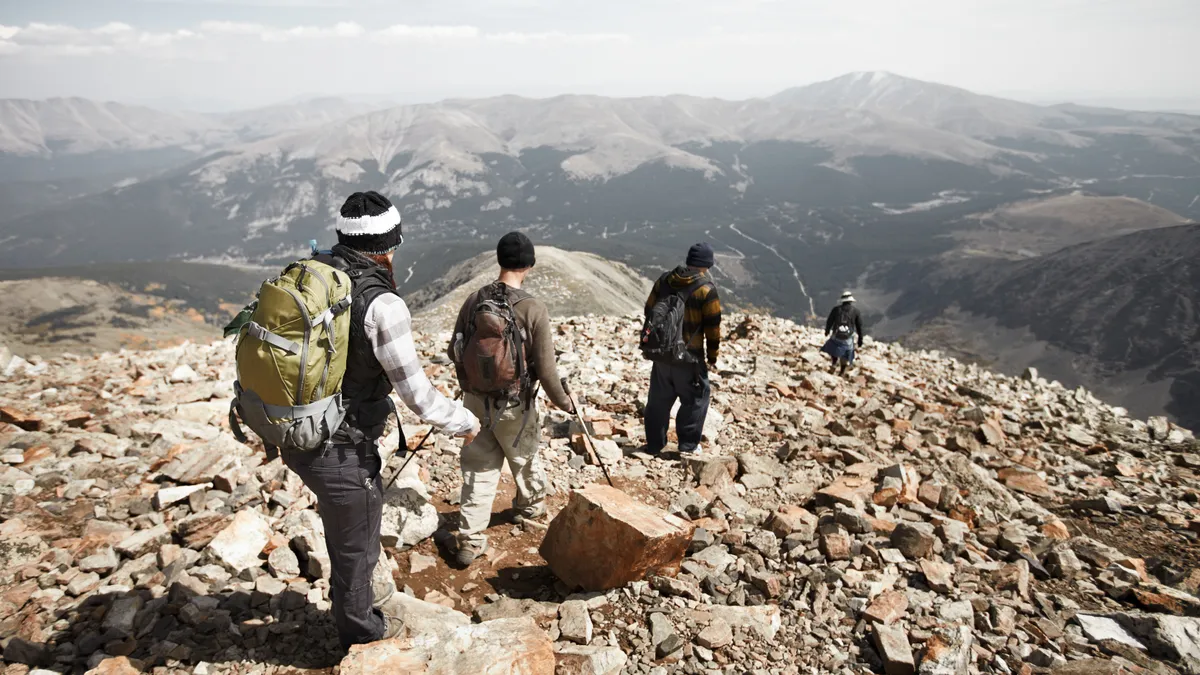
Not all three-mile hikes are created equally, and there’s a big difference between ambling through a forest and stair-stepping up a steep rock face for three miles. When you’re using route finding apps, trails are usually rated as easy, moderate or difficult, but we suggest you find a reliable source of information that tells you what grade the hike is.
The hiking trail difficulty rating system rates hiking tails from Class 1, meaning straightforward walking, all the way up to Class 4, which require climbing and the use of protective safety gear such as ropes and a helmet. Make sure you understand exactly what the hike entails from a skill and equipment standpoint and don’t go into anything you’re not fully prepared to handle.

3. Elevation gain
This one is related to your hike’s difficulty level as it tells you how steep your hike is likely to be, and therefore how fast or slow you might go. Naturally, mountain hikes will involve elevation gain, but for hills and forests, it’s a good idea to check this too as you might be surprised by how steep your hike is and want to bring your trekking poles for support. Any hike description should give you the total elevation gain – take this number and divide it by half the total trip distance, since on a typical mountain hike, you’ll be heading mostly uphill on the way up, and mostly downhill on the way back.
A good rule of thumb is that anything that gains close to a thousand feet per mile, or more, is going to be pretty challenging. Hikes that gain around 500ft per mile are moderate, and anything much less than that should be relatively easy. As an example, let’s say you want to hike Mount Elbert, one of Colorado’s 14ers. The east ridge route is 6.5 miles total, and gains 3,500ft total, so you’ll halve the total distance to understand your ascent, which leaves you with 3.25 miles of climbing. Divide the total elevation gain by 3.25 and you’ve got yourself over a thousand feet of elevation gain per mile, or a challenging hike.
Now, since Elbert is Colorado’s highest peak, that classification shouldn’t come as a great surprise, but shorter hikes can catch you out, such as the Hanging Lake trail in Colorado which gains over a thousand feet in just 1.2 miles, while long hikes that don’t deliver much elevation gain can be undertaken at a surprisingly fast stride.
4. Terrain
Choosing a hiking trail requires knowing what’s going to be underfoot, as this might help you decide between hiking shoes or boots, and whether the climbing is going to be treacherous or stable. On a hike you might encounter all different types of terrain depending on whether you’re up a mountain, in a forest, crossing a desert, hiking a bog or some combination of several of those.
A path such as the one that leads up to Mount Elbert, though steep, entails a well-maintained trail the entire way for relatively easy walking, whereas many other Colorado 14ers involve navigating over tricky boulder fields and across scree slopes. These can mean slow, arduous walking as you pick your way across the land, so do your research and understand what type of terrain you’re likely to encounter.
5. Ease of navigation
Try to find out details of whether the path you’re looking at is well-maintained and well-marked (in National Parks, they usually are) or whether it’s unmarked or involves stretches where you lose the path altogether and are relying on markers such as rock cairns to find your way.
No amount of trail maintenance is really a replacement for carrying a map and compass, and knowing how to use them, but how much navigation you’ll have to do might also determine your enjoyment, and safety on the trail. If you’re experienced in navigation and like a challenge, you might not be daunted by a more wild hike, but if you’re less experienced, seek out better paths and make notes about geographical points to look out for and areas where the trail splits.

6. Current conditions
Once you’ve found a hike that meets your ability level, investigate the current conditions on the trail so you can bring the right gear. This is an area where online resources such as user trip reports have an edge over guidebooks, since they may give you a heads up on any recent flooding, wildfire damage, icy conditions, falling trees or rockslides.
If you’ve been in the area for a few days, you’ll know what recent weather conditions have been like for starters, but check any trip reports posted in the previous few days on apps like Komoot to see if there’s any mention of current conditions. Ice might mean you carry traction devices, while more catastrophic damage such as fires and rock slides might mean the trail is temporarily closed.

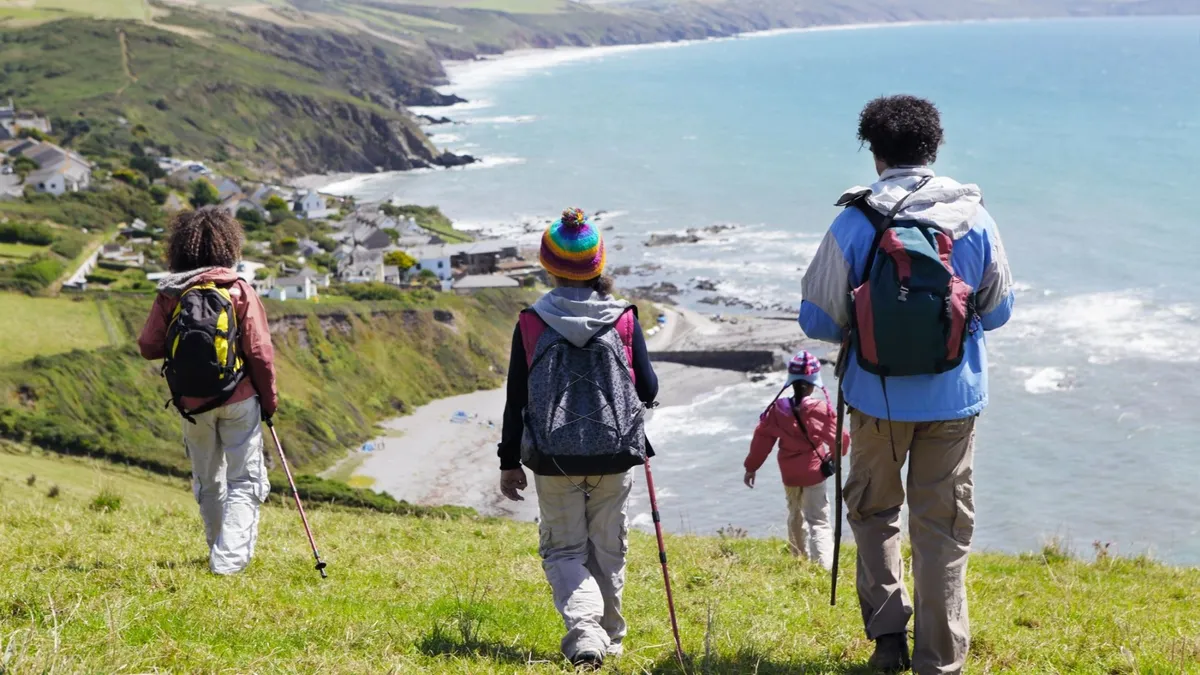
7. Scenery
Alright, let’s get to the fun stuff. Obviously, if you’re going hiking, it’s because you want to see something lovely. A thundering cascade tumbling over a mossy cliff can be a breathtaking climax to a forest hike, while views over glacier-carved valleys and alpine lakes make lovely stopping points for lunch as well as photo ops. Not all hikes have to lead to a fantastic viewpoint, but if you want to get the most out of your day, the things you’ll see along the way are a great reason to choose one hiking trail over another – so long as the rest of it falls within your ability level of course.
Consider the types of nature you enjoy, whether there are opportunities for things you love like bird watching or wild swimming and whether the hike delivers dazzling scenery for the entire way, or involves some fairly boring vistas other than a single, standout peak moment.
8. Out-and-back, loop or point-to-point?
There are tons of different types of hiking trails, from your straightforward out-and-back trails to circular loops and point-to-point trails where you end up in a different location from where you started. Loops can feel very rewarding since you’ll see different things on your way back than you did on your outward journey, but may also cause more confusion navigationally, and point-to-point trails may require two cars or a shuttle in order to get back to your car. Coastal walks with adjacent roads might provide public transport options to get back to your starting point. The most important thing is to check exactly where your trail ends so you’re not surprised to be at a different trailhead altogether.
9. Trailhead access
Speaking of trailheads, it’s important to read up on how easy the trailhead is to access. There’s the obvious stuff to check, like how to get there and whether there’s parking, but another fairly common phenomenon in the backcountry is that a trailhead requires several miles of really rough driving on a 4WD road, meaning you need high clearance on your vehicle. This can slow down your journey significantly, and even mean parking sooner and making up the final few miles on foot before you even get to the trail, so do your research!

10. Popularity
Finally, it’s good to know if your intended trail is a popular spot, or not. Popular hikes are usually sought out by the masses because they’re beautiful, and more often than not because they’re more easily accessible. Sounds like a no-brainer, right? But, they’re also busy, especially on holidays and weekends, which might appeal to you if you’re hiking alone or just like the idea of meeting other hikers. That said, if you’re looking to escape the crowds, it’s best to find less popular trails (look for terms such as 'hidden gem' and 'best kept secret') or save popular trails for weekday hikes.
- Best budget hiking boots: adventuring doesn't have to be expensive

